
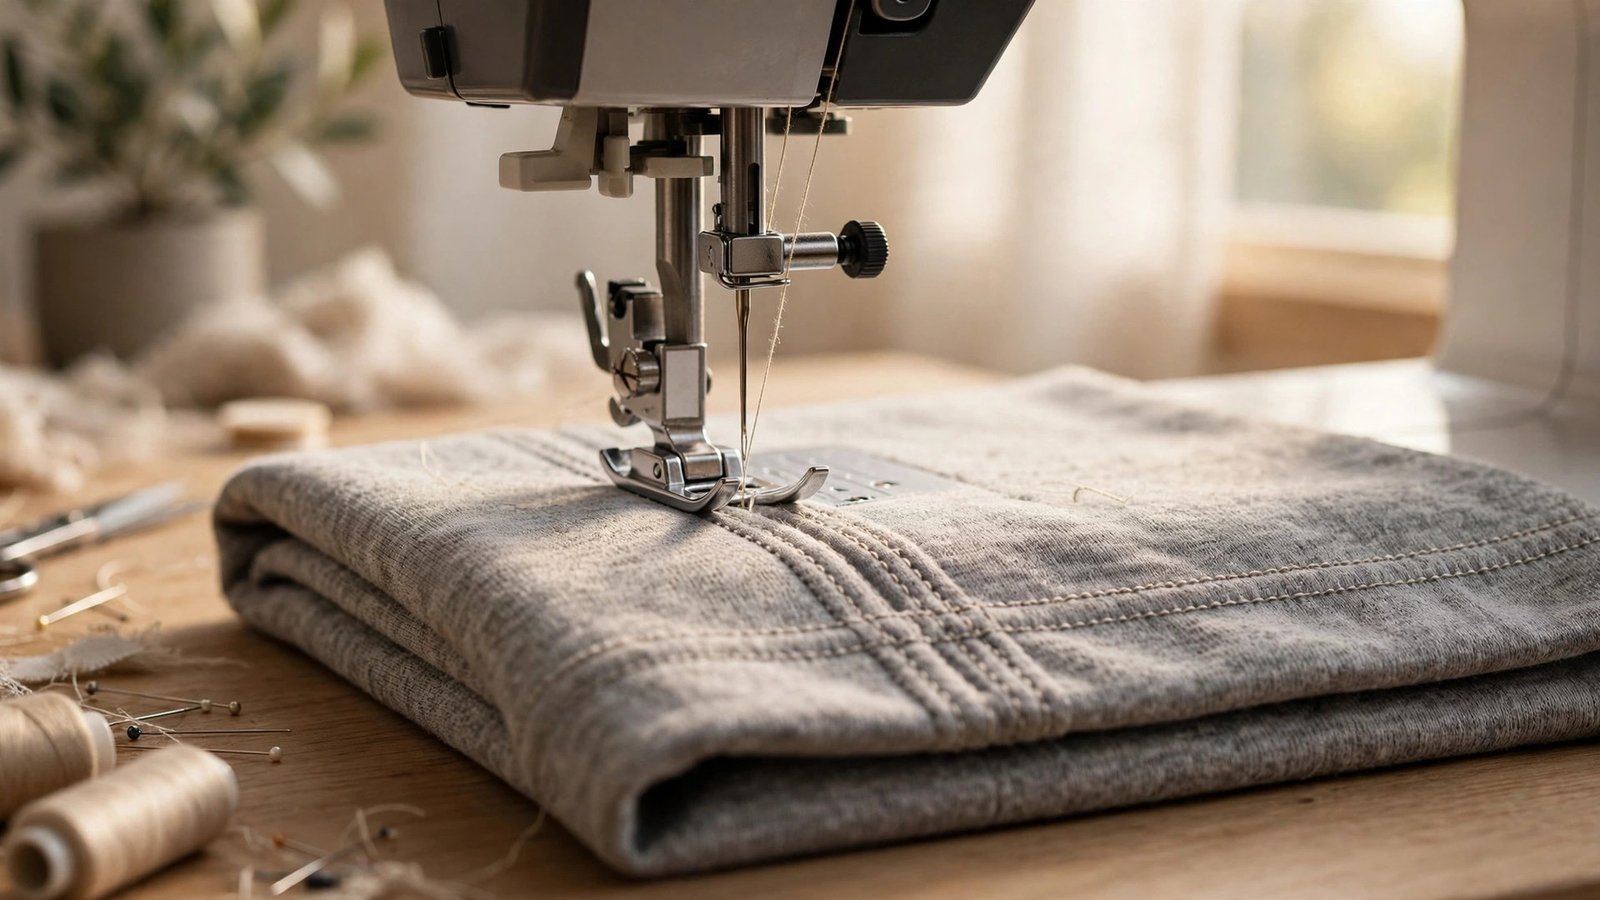
If you want to know how to use a twin needle, here is the good news: it is one of the easiest ways to make a knit hem look like it came from a shop. A twin needle is two needles joined on one shank, and it sews two parallel rows of straight stitching on top while the bobbin thread zigzags underneath. That zigzag is the secret, because it lets the hem stretch with the fabric instead of popping the first time you pull a shirt over your head.
I resisted twin needles for years because they looked fiddly, with two spools and two threads and a needle that looked like a mistake. Then I tried one on a plain cotton jersey top and the hem came out looking exactly like the ready made tops in my drawer. I have used one ever since for knit hems, for decorative topstitching, and for pintuck effects on woven fabric. It is a small tool that makes a big difference, and it costs far less than a coverstitch machine.
This guide walks through choosing the right twin needle, threading it correctly, setting tension and stitch length, and sewing a hem that stretches, lies flat, and stays put. Once you have sewn one successful hem, you will reach for it every time you finish a knit garment.
What a Twin Needle Is and Which Size to Choose
A twin needle, sometimes called a double needle, holds two needles on a single shank that fits your machine exactly like a regular needle. The two needles are spaced a set distance apart, most often 2.5 mm or 4 mm, and that spacing decides how far apart your two rows of stitching sit. For most knit hems I reach for a 4 mm twin needle, because the wider spacing looks like ready made hems and gives the zigzag underneath more room to stretch. For lightweight jersey or a narrow hem, a 2.5 mm or 3 mm needle looks neater.
Twin needles come in universal, stretch, and ballpoint versions, just like single needles. For knit fabric, choose a stretch or ballpoint twin needle so the rounded tips slip between the knit loops instead of piercing them. Pierced loops become tiny holes and ladder runs, especially on fine jersey. On woven fabric for decorative topstitching, a universal twin needle is fine. Check your machine manual before you buy, because a few machines cannot take a twin needle, and the widest spacing your machine allows depends on the width of your needle plate opening.

How to Thread a Twin Needle
Threading a twin needle is simpler than it looks, and it follows the same path as single needle threading, just doubled. Place two spools of thread on your machine, one on the spool pin and one on a second pin or a mug behind the machine if you only have one pin. Feed both threads together through the tension discs and the take up lever, then separate them at the top, passing one thread through each of the two needle eyes. Most machines have a small guide or a second thread path for the second thread, so follow your manual if yours is marked.
Wind a regular bobbin with matching thread and insert it as usual. The bobbin thread is the one that zigzags between the two top rows, so its colour matters less, but matching it to your fabric keeps the underside tidy. Always thread with the presser foot up so the tension discs open, and always hand turn the needle down once to check that both needles clear the needle plate. If one needle hits the plate, stop at once and check your needle position, because a bent twin needle can damage your machine.
Setting Tension, Stitch Length, and Stitch Type
For a knit hem, set your machine to a straight stitch and a stitch length of about 3 mm to 3.5 mm. A longer stitch gives the hem more stretch and a softer look, while a short stitch can pucker lightweight jersey. Leave the needle in the centre position and sew slowly and steadily. A walking foot helps a lot on knits, because it feeds the top and bottom layers together and stops the hem from stretching out of shape as you sew. My guide to using a walking foot explains how it keeps slippery layers moving together.
Tension is where most twin needle trouble starts. If the fabric tunnels or ridges between the two rows, your top tension is too tight, so loosen it a little at a time and test on a scrap. If the rows look loose or loopy underneath, tighten slightly. Test on a folded scrap of the same fabric before you touch your garment, and test it twice, once flat and once stretched, because a hem that looks perfect flat can still pop when the fabric stretches. A little water soluble stabilizer under very fine knits also stops tunneling.
Sewing a Knit Hem Step by Step
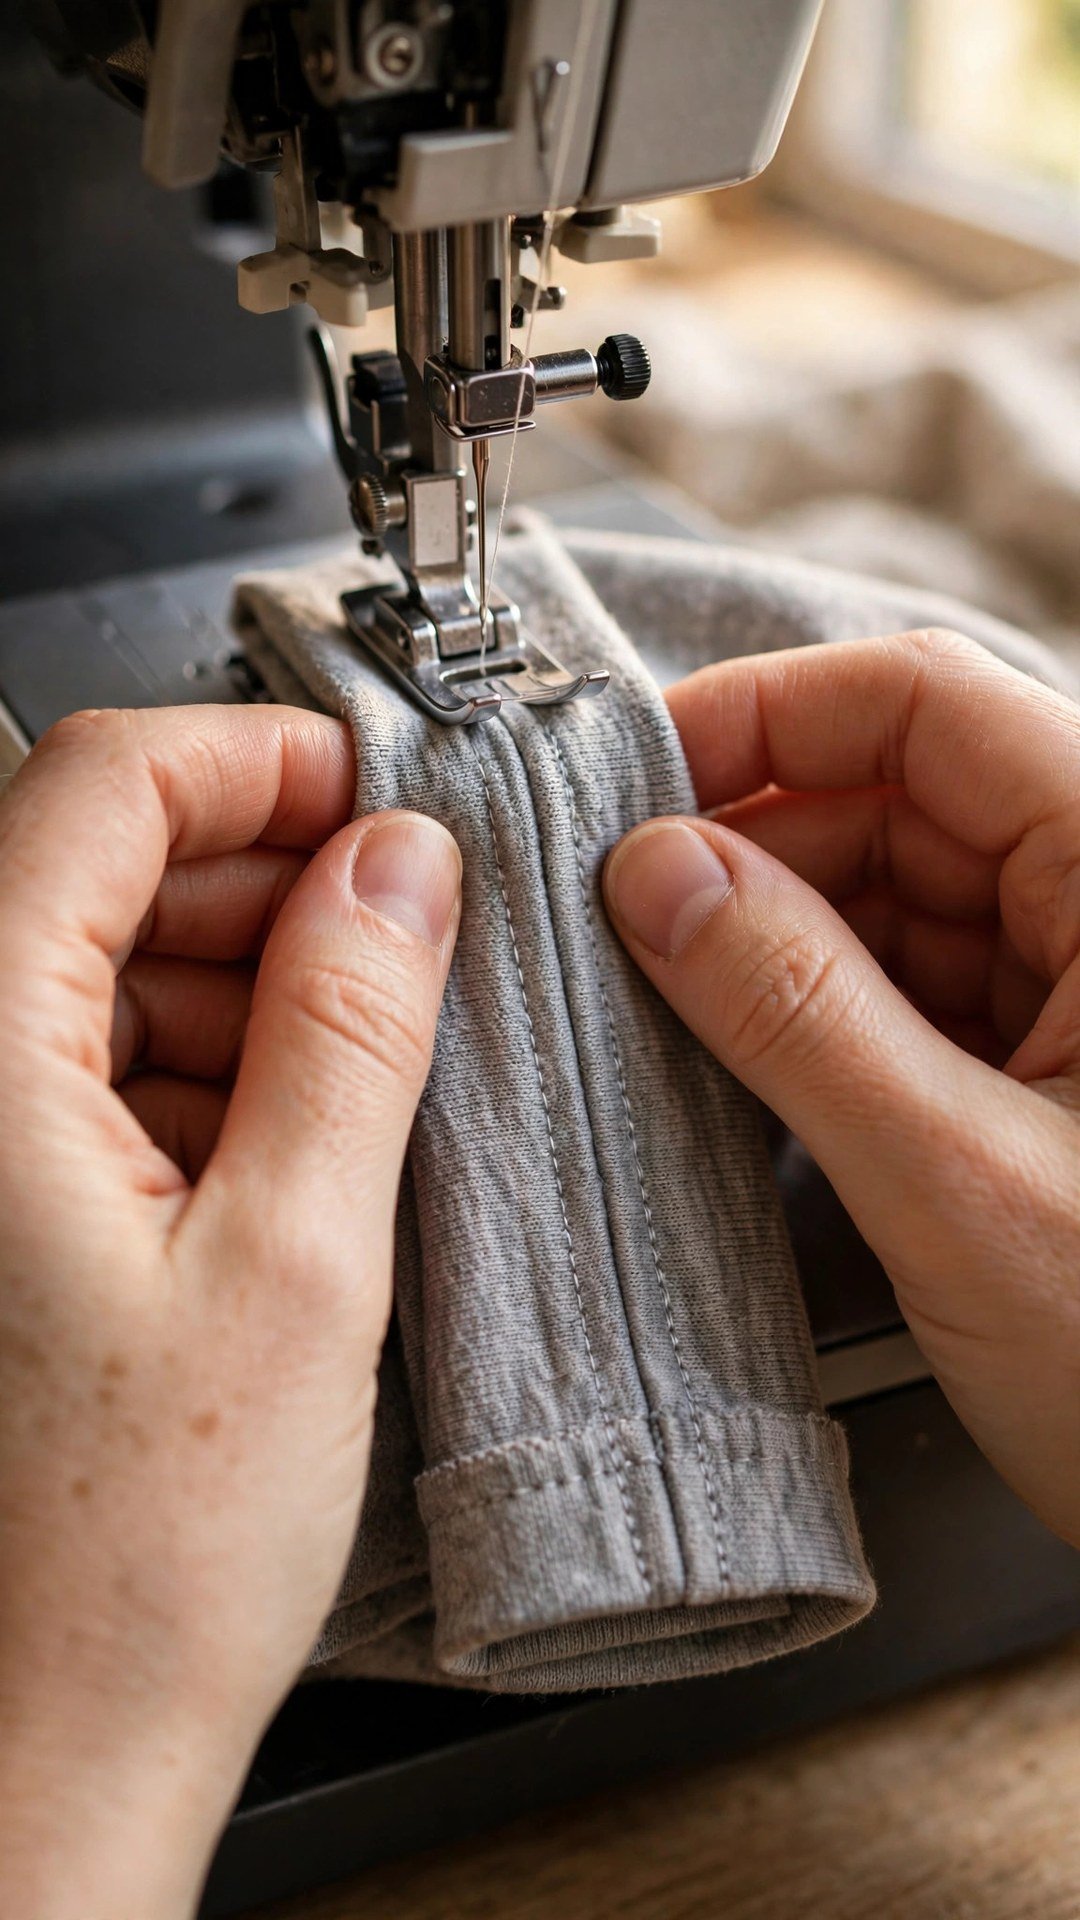
Press the hem up first, exactly as you want it finished, and pin or clip it in place from the right side so you can see your stitching line. I sew twin needle hems from the right side of the garment, because the two neat rows are the feature, and I use the edge of the presser foot or a seam guide to keep the rows even. Start a little past the side seam, backstitch a few stitches to secure the start, and sew slowly around the hem, easing the fabric flat as you go and never pulling it.
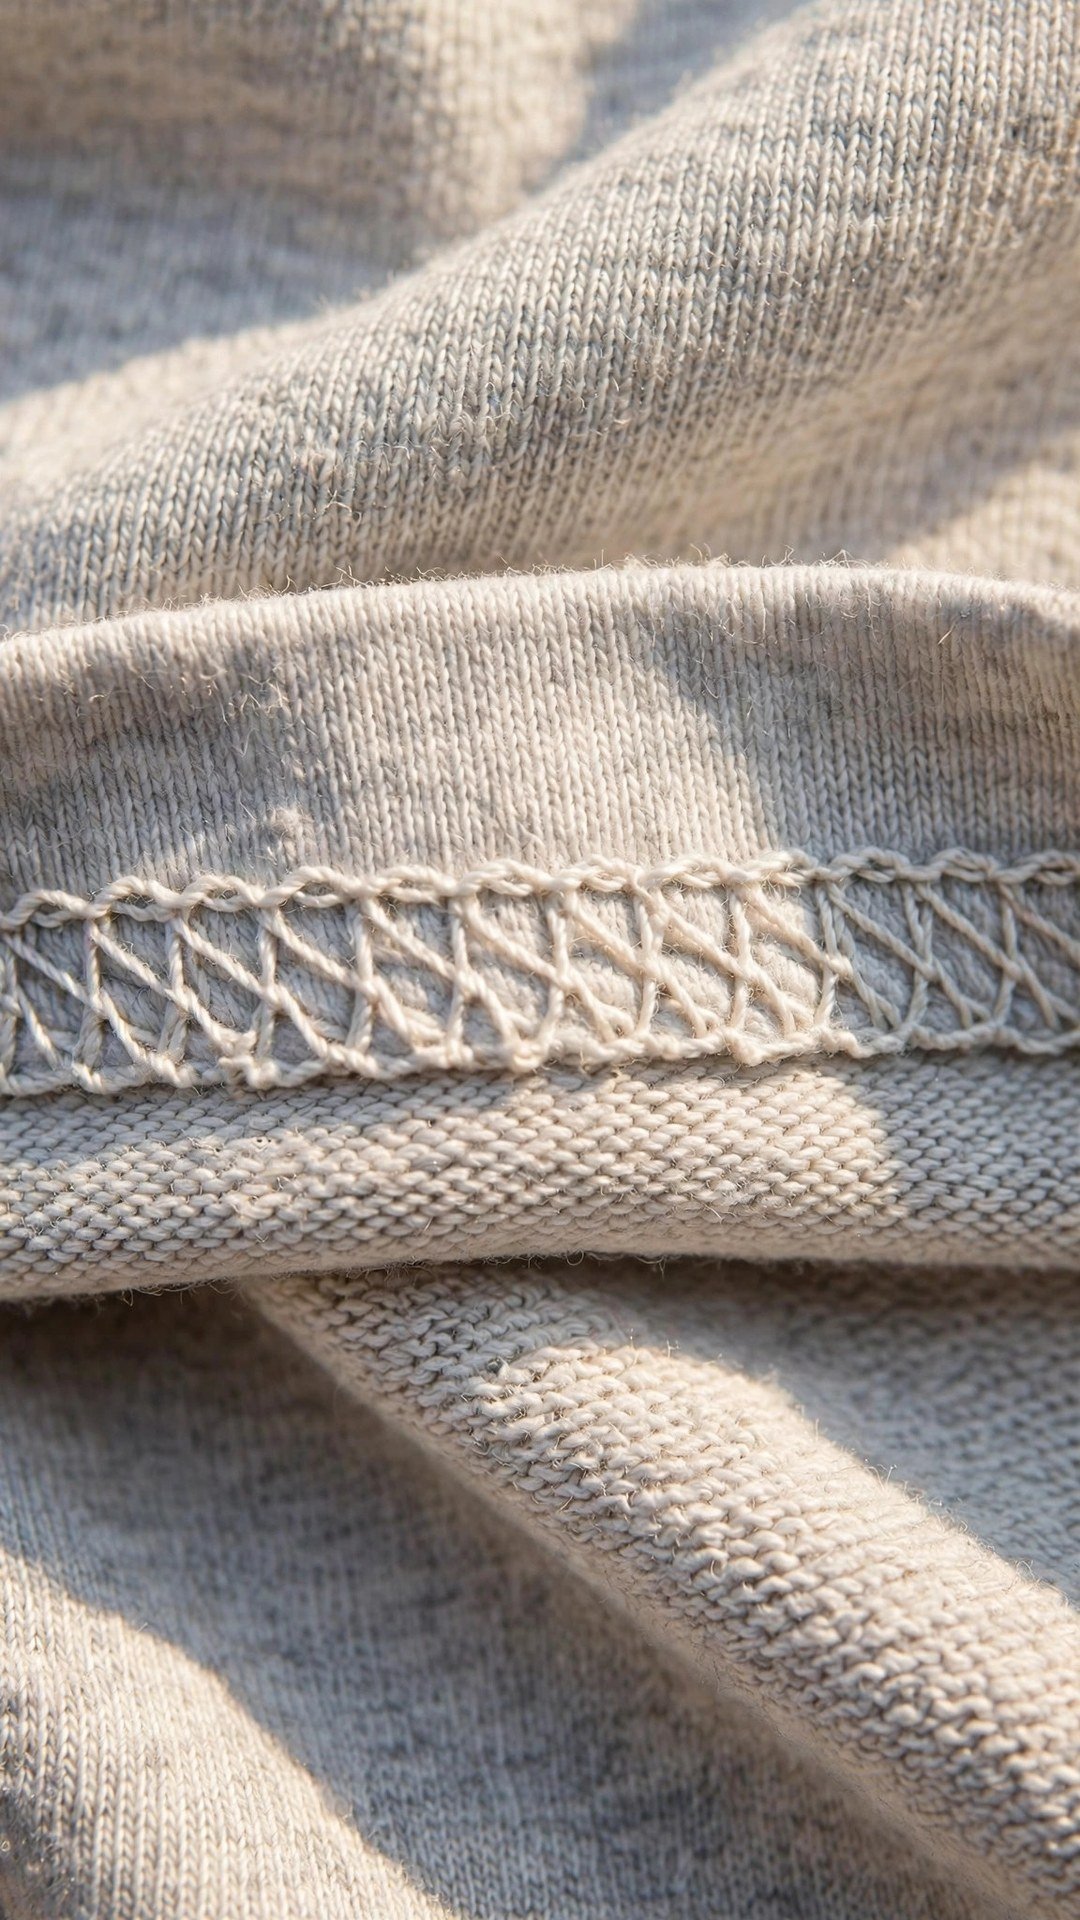
When you reach the starting point, overlap your stitching by about half an inch and backstitch to lock the threads. Turn the hem to the wrong side and check the zigzag underneath: it should look like a neat row of connected zigzags joining the two rows. Give the hem a gentle stretch, and if the stitches hold without popping, you have it right. Press the hem from the wrong side with steam, and let it cool before you move the garment, because knit hems set as they cool. The same slow, even approach helps with wavy knit hems generally, so it is worth practicing on scraps first.
Fixing Skipped Stitches, Tunneling, and Puckering
Skipped stitches are the most common twin needle complaint, and the fix is usually simple. First check that both needles are fully seated and that you are using the right needle type for your fabric, because a universal needle on jersey skips far more than a stretch needle. Next, try a slightly longer stitch length and slow down, especially over seams where the fabric is thick. If one needle skips and the other does not, that needle may be blunt or bent, so replace the whole twin needle.
Tunneling, where the fabric ridges up between the two rows, means the tension is too tight or the fabric is too fine for the spacing. Loosen the top tension, try a narrower twin needle, or add a strip of stabilizer under the hem. Puckering usually means the stitch length is too short or you are pulling the fabric as you sew, so lengthen the stitch and let the feed dogs do the work. Change one setting at a time and test on a scrap after each change, or you will never know which fix actually worked.
Frequently Asked Questions
Can I use a twin needle on any sewing machine?
Most modern machines accept a twin needle, but check your manual first. You need a machine that can zigzag, because the bobbin thread zigzags underneath, and a needle plate wide enough for your chosen spacing. A few straight stitch only machines cannot use one.
Why does my twin needle skip stitches?
The usual causes are the wrong needle type for the fabric, a blunt or bent needle, or sewing too fast over thick seams. Switch to a stretch or ballpoint twin needle for knits, replace the needle, slow down, and lengthen the stitch slightly.
What stitch length should I use with a twin needle?
Start at 3 mm to 3.5 mm for a knit hem. That length gives the hem stretch and a relaxed look. For decorative topstitching on woven fabric, a length around 2.5 mm to 3 mm looks neater.
Do I need two spools of the same thread?
Yes, use two spools of the same thread type and weight. The colours should match, or at least coordinate, because both rows show on the right side. Two different weights can cause uneven tension and one row looking tighter than the other.
Can I use a twin needle on woven fabric?
Yes, and it is lovely for decorative topstitching, pintucks, and hems on stable woven fabric. Use a universal twin needle, a normal stitch length, and press well. The stretch benefit matters less on wovens, but the two parallel rows look very smart.
Once you have sewn a twin needle hem that stretches and lies flat, you will wonder why you waited so long to try one. Keep a 4 mm stretch twin needle and a 2.5 mm universal twin needle in your notions box, test every new fabric on a scrap first, and enjoy hems that finally look like the ones you admire in shops. For your next knit project, my guide to sewing a knit t-shirt puts the same hem on a full garment.

Written by June Carter
I am June, a sewing enthusiast who loves turning simple fabric into things people actually use. I test every technique and product I write about at my own machine before it lands here.