
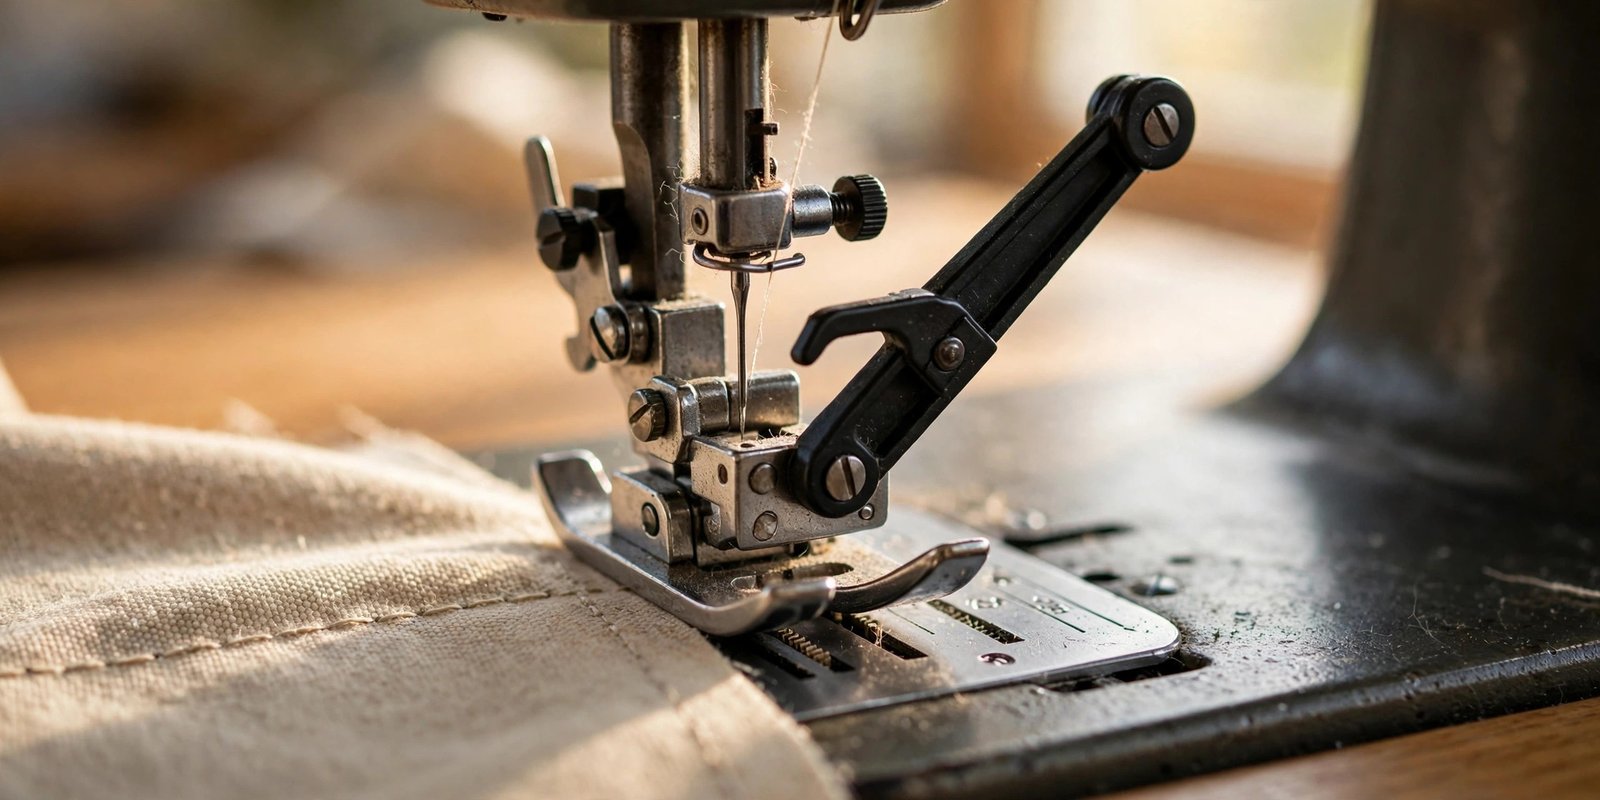
If your quilt layers shift, your knits stretch out of shape, or your thick seams come out puckered, learning how to use a walking foot will fix all three problems at once. It is the single most useful presser foot most sewists own and never use, usually because it looks intimidating sitting in the accessory box. It is not. Give me ten minutes and you will wonder why you waited.
I sewed for years before I tried mine. My quilts had gentle waves instead of straight lines, and I assumed that was just how quilting looked. The first time I quilted with a walking foot, the lines came out so straight I laughed out loud. This guide covers what the foot does, how to attach it, and exactly when to reach for it.
What a Walking Foot Actually Does
So what is a walking foot? It is a presser foot, also called an even feed foot, with its own set of feed dogs on top. Your machine’s built-in feed dogs move the bottom layer of fabric, while the walking foot’s upper feed dogs move the top layer at the same pace. Both layers travel together, so nothing shifts, stretches, or puckers.
A regular presser foot just presses down while the bottom feed dogs do all the moving, which is fine for two layers of quilting cotton but a disaster for anything thick, stretchy, or slippery. The walking foot is bigger and clunkier than a standard foot, and it makes a satisfying mechanical chug as it sews. That noise means it is working. My opinion: if you quilt, sew bags, or work with knits, this foot earns its drawer space many times over.
Attach the Walking Foot to Your Machine
Attaching a walking foot takes about two minutes once you have done it once. Raise the needle to its highest position, lift the presser foot, and remove your regular foot and its holder, leaving just the presser bar. Slide the walking foot onto the presser bar so the forked arm sits over the needle clamp screw, then tighten the thumb screw to secure it. Lower the needle by hand-turning the wheel once to confirm nothing hits.
Walking foot installation varies slightly by brand, so check your manual for whether your machine is low-shank, high-shank, or slant-shank, and buy the matching foot. Most walking feet also come with a quilting guide bar that slides into a hole in the back of the foot: set it to your desired spacing and it rides along your previous stitching line to keep rows perfectly parallel. Keep the manual nearby the first time; after that, your hands will remember.

How to Use a Walking Foot for Quilting
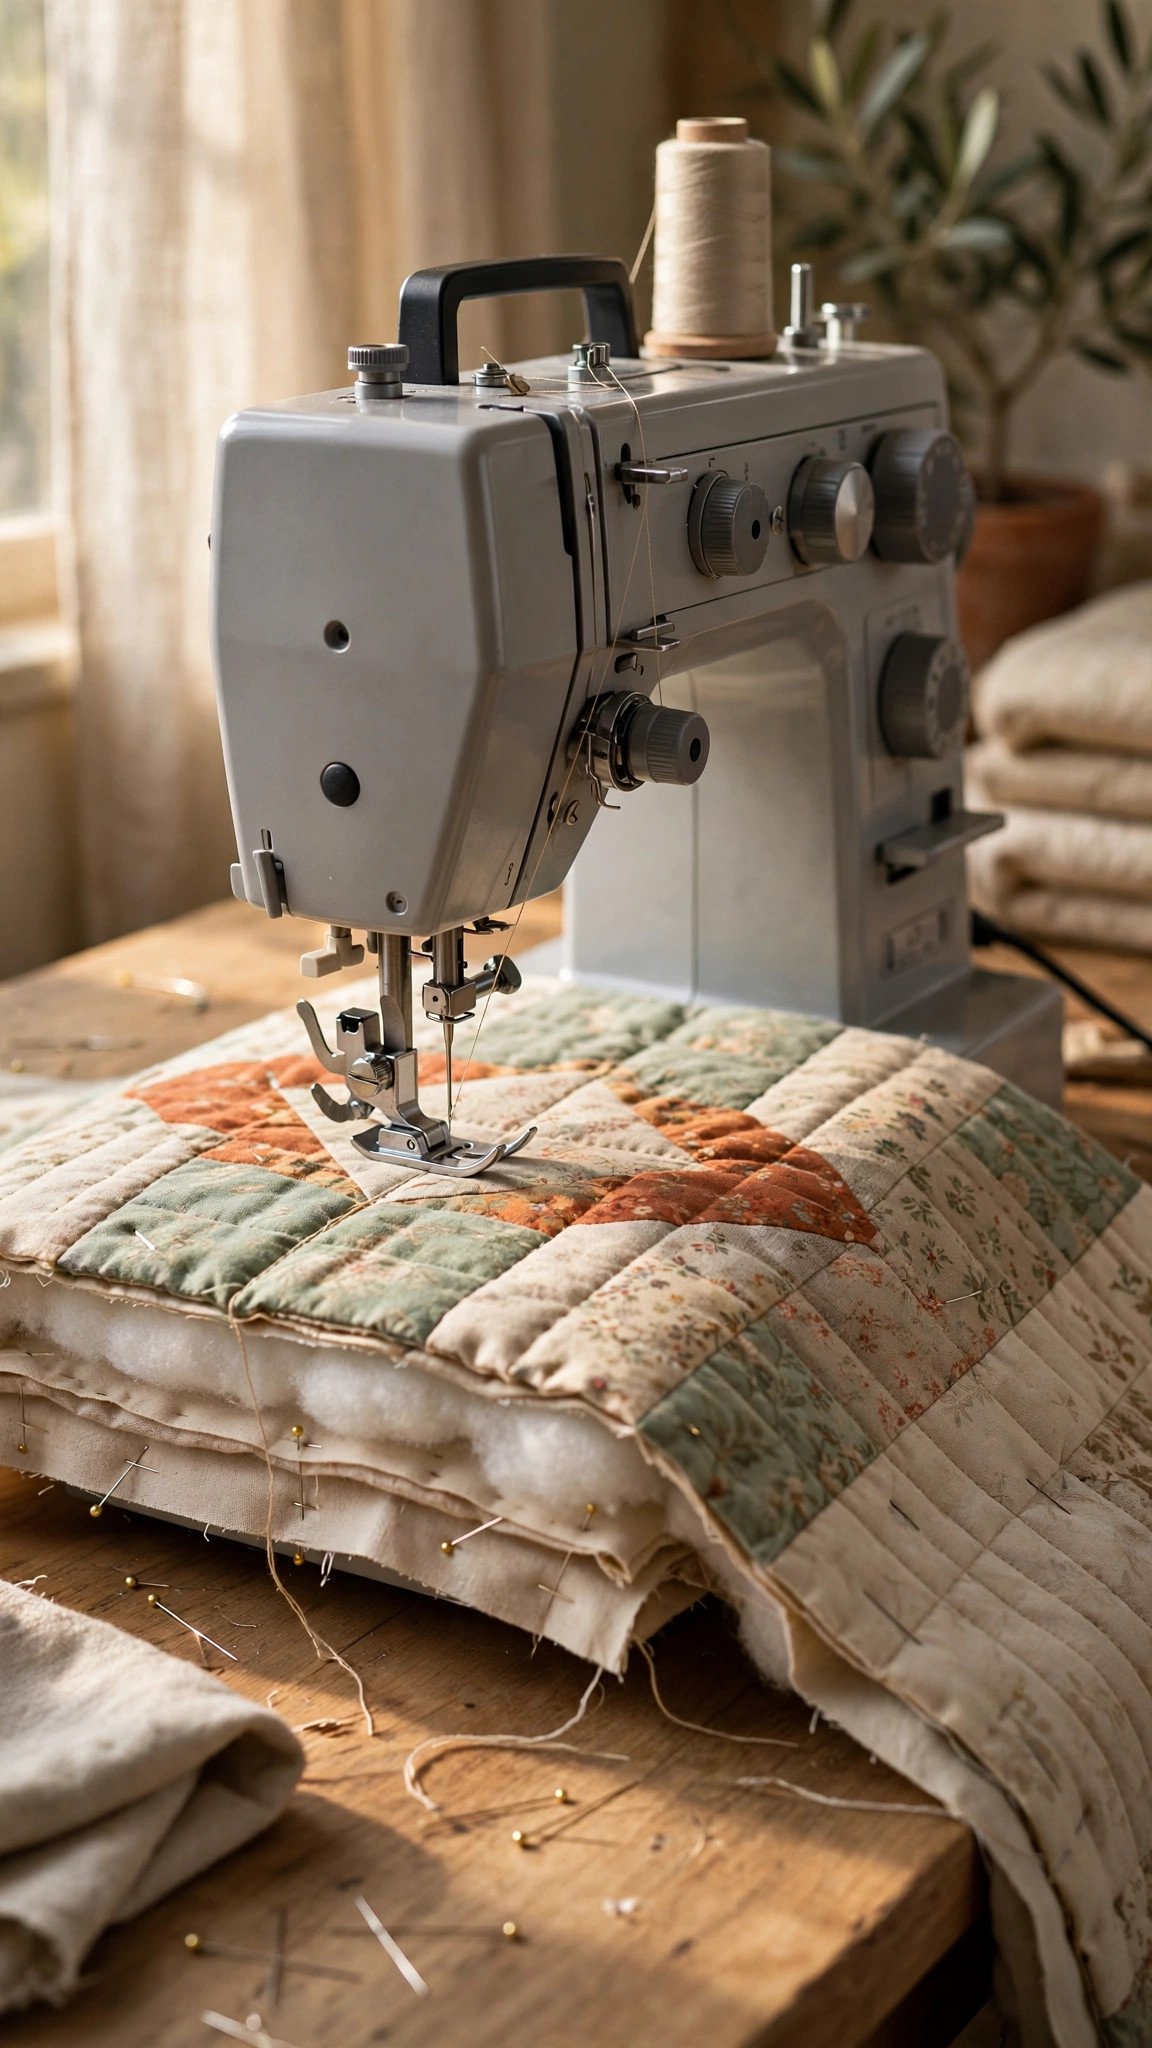
The walking foot for quilting is non-negotiable in my book. Whether you are piecing a quilt top or quilting the full sandwich of top, batting, and backing, the even feeding keeps every layer exactly where you put it. Baste or pin your sandwich well, then stitch in the ditch, along marked lines, or in straight-line grids, letting the foot do the feeding while you gently guide.
Slow down to a medium pace and do not push or pull the fabric; the foot is doing the work, and fighting it causes the very shifting you bought it to prevent. Use the guide bar for evenly spaced lines, measuring from the needle to the bar with a ruler when you set it. And here is the rule that trips up beginners: a walking foot is for straight-line sewing only. Do not try to free-motion quilt with it, and do not sew backward for more than a stitch or two, because the mechanism only feeds forward properly.
Tame Knits, Vinyl, and Slippery Fabrics
A walking foot for knits prevents the stretching and wavy seams that make jersey so frustrating under a regular foot. The top feed dogs grip the knit instead of letting it elongate, so your seams stay the length you cut them. If sewing slippery fabrics like satin, chiffon, or vinyl makes you want to cry, the walking foot is your rescue: it stops the layers from sliding past each other and eliminates most puckering.
For vinyl and leather-like fabrics, pair the walking foot with a longer stitch length and consider a Teflon-style sole if your foot did not include one. For knits, a ballpoint or stretch needle plus the walking foot gives you seams that survive wearing and washing. Knowing when to use a walking foot is half the skill: any time the fabric fights back, reach for it.
Power Through Thick Layers
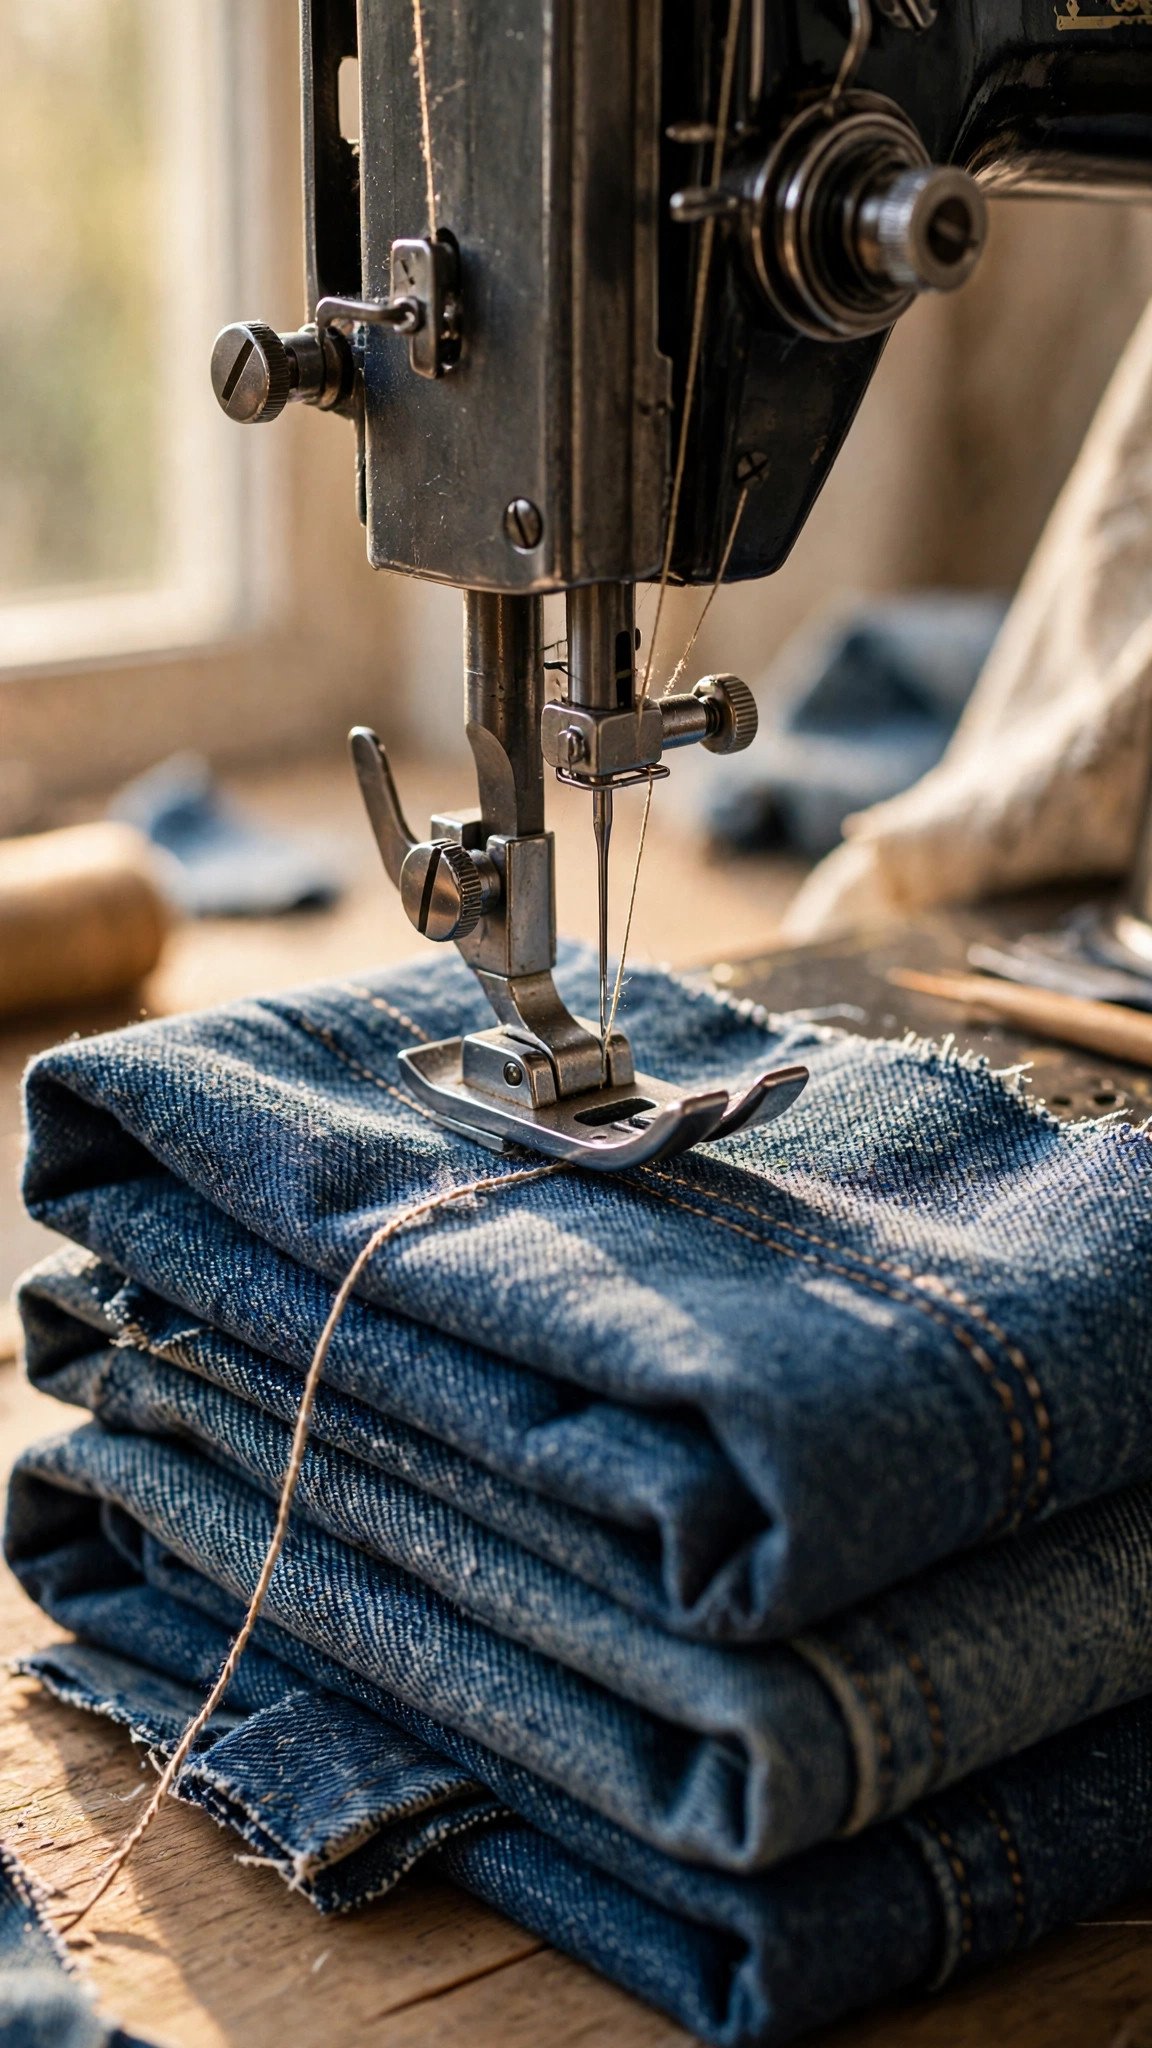
A walking foot lets you sew through thick layers that would stall a regular foot: denim hems, bag straps, quilt bindings, and canvas totes. It feeds multiple layers evenly instead of letting the top layer lag behind, which is what causes those infuriating uneven seam ends. Lengthen your stitch to 3 or 3.5 mm for thick sandwiches, and let the machine work at its own pace.
If the machine still struggles or skips stitches over the thickest spots, stop and troubleshoot rather than forcing it: check the needle size, rethread, and read my guide to fixing skipped stitches before you blame the foot. A walking foot is powerful, but it cannot compensate for a dull needle or a machine overdue for maintaining your sewing machine.
Settings and Tips That Make It Work
Set stitch length and tension on a scrap sandwich before you touch your project. Increase the stitch length slightly, to around 3 mm, because the foot feeds more aggressively than a standard foot and tiny stitches can pucker. Test on a scrap sandwich first, every time, since every fabric and batting combination behaves differently.
Here are my best walking foot tips from years of use. First, reduce your presser foot pressure slightly if your machine allows it; heavy pressure plus aggressive feeding can stretch knits. Second, the most common walking foot mistakes are all about speed: sew at a steady medium pace, never yank the fabric, and stop with the needle down when you need to reposition. Third, when adjusting stitch length and width, remember the walking foot handles straight stitches best; decorative stitches work, but keep them simple and test first.
FAQ
Do I need a walking foot?
If you quilt, sew bags, work with knits, or sew through thick layers, yes, absolutely. For simple garment sewing in quilting cotton, your regular foot is fine, and you can wait.
Walking foot or regular foot: which should I use?
Choose a walking foot or regular foot based on the fabric, not the project name. Shifty, stretchy, slippery, or thick means walking foot. Stable, single-layer cotton means regular foot.
Can I backstitch with a walking foot?
A stitch or two to lock a seam is fine, but do not sew long distances in reverse. The feeding mechanism is designed for forward motion, and extended reverse sewing can jam or produce uneven stitches.
Why is my walking foot so loud?
The chugging sound is normal: it is the upper feed dogs moving in sync with the machine. If it starts clunking harshly or the motion feels rough, remove it, check the installation, and confirm the fork is seated correctly over the needle clamp.

Written by June Carter
I am June, a sewing enthusiast who loves turning simple fabric into things people actually use. I test every technique and product I write about at my own machine before it lands here.