
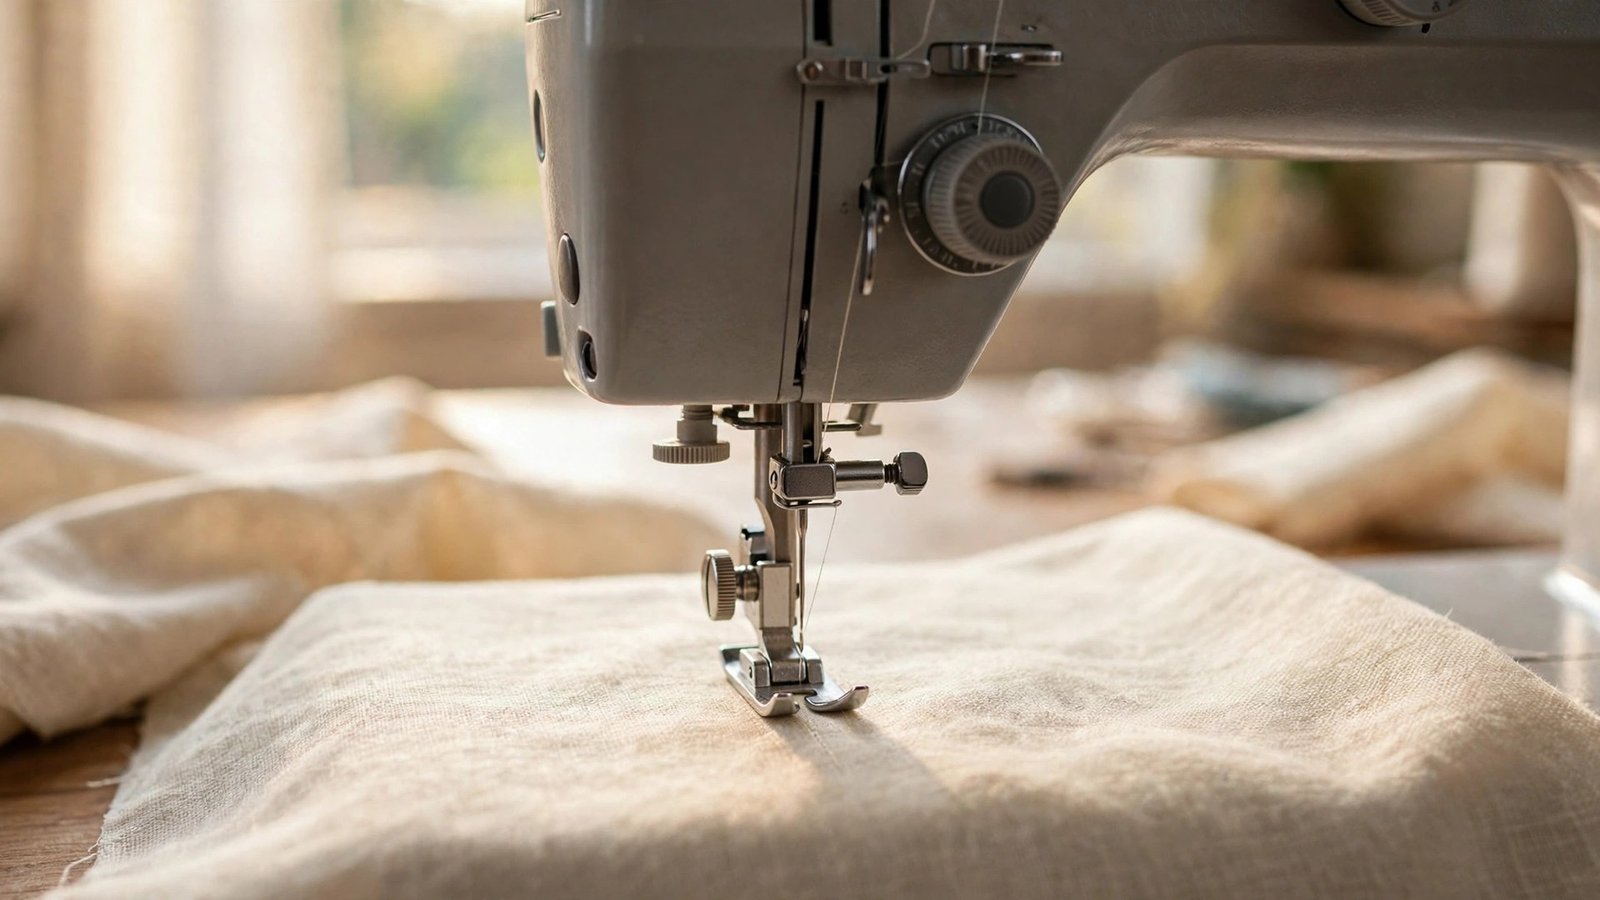
Knowing how to adjust presser foot pressure is one of those machine skills that quietly fixes a whole list of sewing problems. Puckered seams, stretched knits, fabric that will not feed, layers that shift: many of these come back to pressure that is too high or too low for the fabric in front of you. A small turn of a dial can change everything.
I used to leave my pressure dial alone for years, assuming it was a factory setting I should not touch. That was a mistake. The dial is there to be used, and learning it made my sewing calmer and my seams neater. Thick denim needs more pressure to feed evenly. Fine silk needs less, so the foot does not mark or push the fabric. Once you learn the feel, you will reach for the dial without thinking.
In this guide I will show you where the pressure control lives on most machines, what too much and too little pressure look like, and how to test a setting on a scrap before you sew the real seam. My guide to how to adjust stitch length and width pairs well with this one, because stitch and pressure work together.
What Presser Foot Pressure Does
The presser foot holds fabric against the feed dogs, and the feed dogs move the fabric forward as you sew. Pressure is how firmly the foot presses down. With the right pressure, the fabric feeds smoothly and evenly, the stitches form neatly, and the layers stay together without shifting.
Too much pressure squeezes the fabric hard against the feed dogs. On delicate fabric that causes puckering and stretching, and on knits it can stretch the seam out of shape as you sew. Too little pressure lets the fabric slip and wander, so the feed dogs cannot grip it, stitches skip, and layers drift apart. The right pressure is the lightest setting that still feeds the fabric evenly.
Think of pressure as a handshake with the fabric: firm enough to guide it, gentle enough not to crush it. Every fabric asks for a slightly different handshake, and that is why the dial exists. Once you test a setting on a scrap, you will know it by feel as well as by sight.
Where to Find the Pressure Control
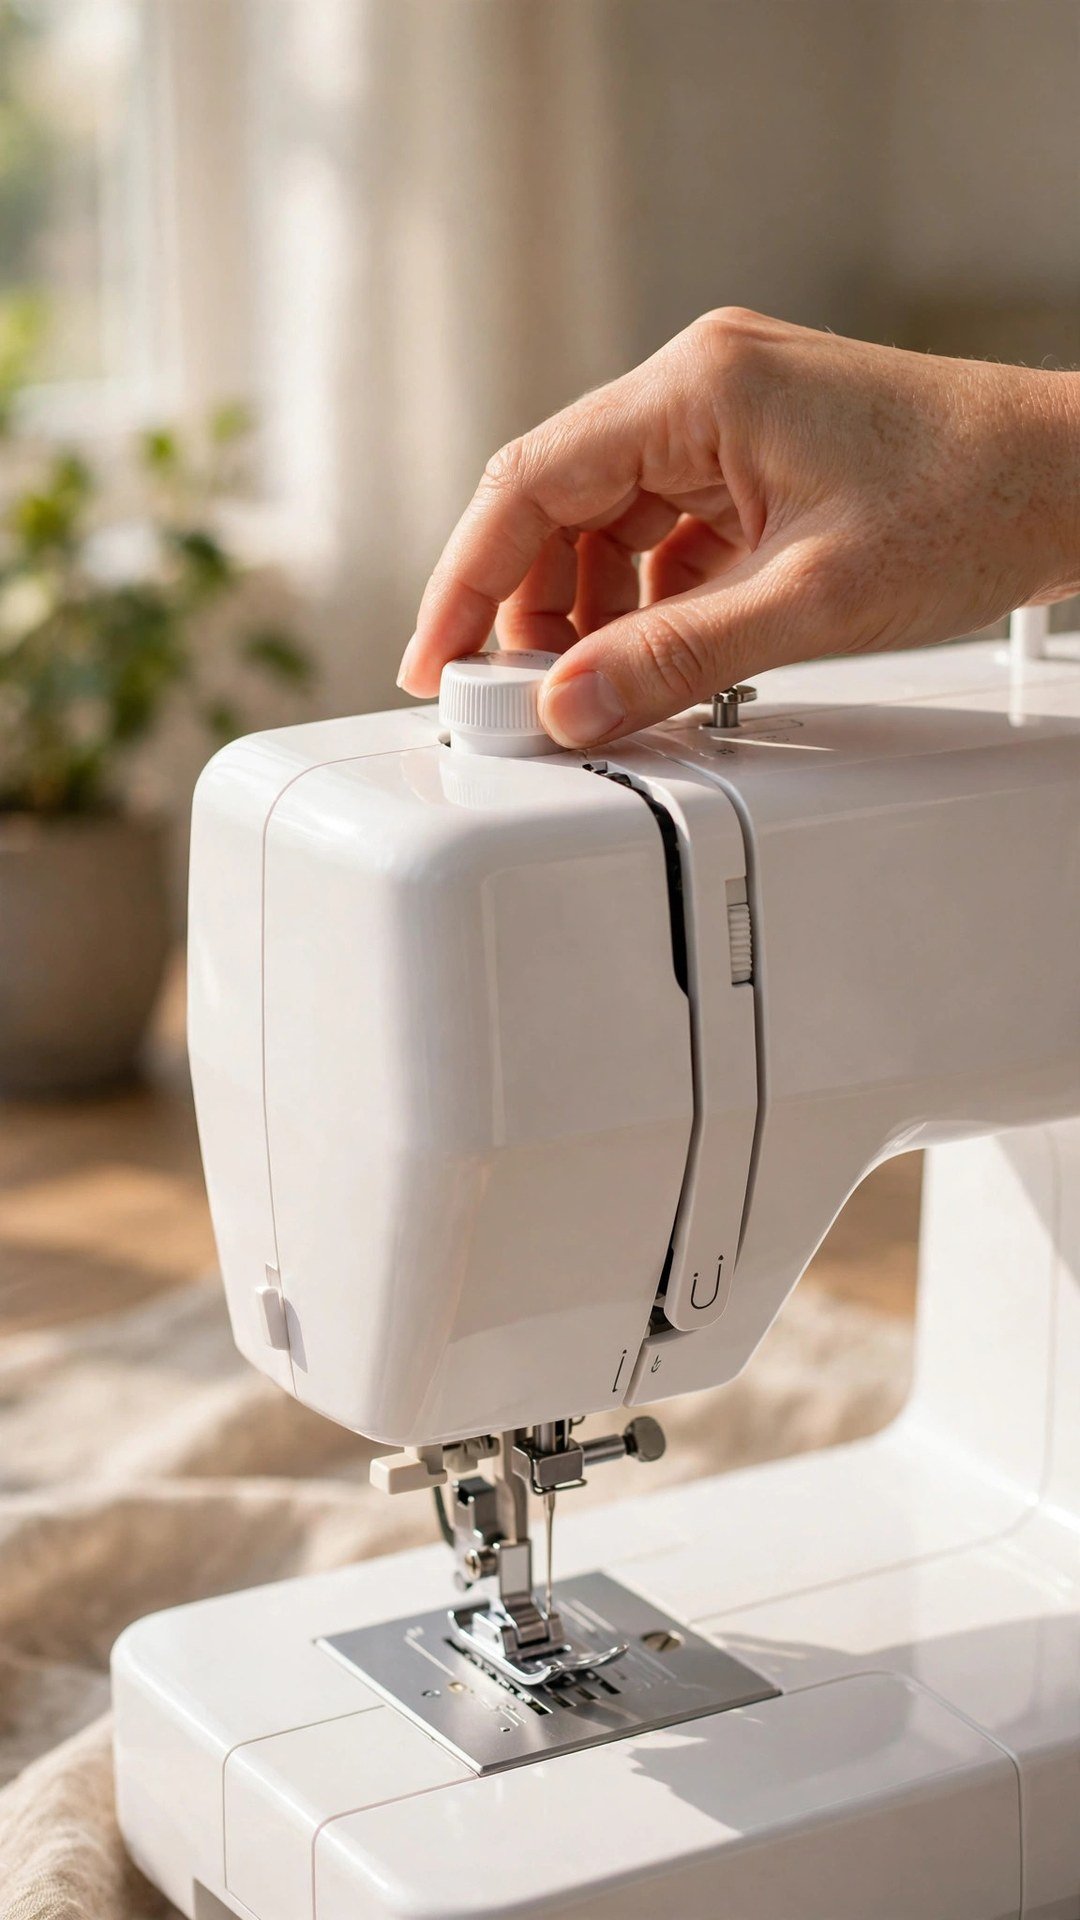
On many machines the pressure control is a dial or a screw on the top of the machine, above the needle bar. On some machines it is a numbered dial near the tension dial, and on others it is a screw you turn with a screwdriver. Check your manual for the exact location, because it varies by brand and by age.
Some modern machines adjust pressure automatically, and some have no manual control at all. If your machine has no dial, you can still change the effective pressure by changing the foot: a walking foot, a Teflon foot, or a roller foot each change how the fabric feeds. If your machine does have a dial, learn where it is before you need it in the middle of a project.
Make a note of your normal setting, the one that works for medium cotton. I keep a small mark on my dial for that setting, so I can always return to it after adjusting for a special fabric. That baseline makes experimenting much less scary, because you can always go home again.
Signs Your Pressure Is Too High or Too Low
Pressure that is too high shows up as puckering along the seam, fabric that stretches as it feeds, and a presser foot mark pressed into delicate cloth. On knits, the seam may look wavy after sewing, and the fabric may grow longer as you sew. If you see those signs, lower the pressure a notch and test again.
Pressure that is too low shows up as skipped stitches, uneven stitch length, and layers that shift so the top layer ends up longer than the bottom. The fabric may feel loose under the foot, and the feed dogs may not move it forward steadily. If you see those signs, raise the pressure a notch and test again.
Change the pressure one step at a time, and test on a scrap of the same fabric with the same layers. A big jump can overshoot the right setting and confuse you. Small steps, with a test seam after each one, will find the sweet spot quickly. Keep the test scraps so you can compare them side by side.
How to Adjust Presser Foot Pressure Step by Step
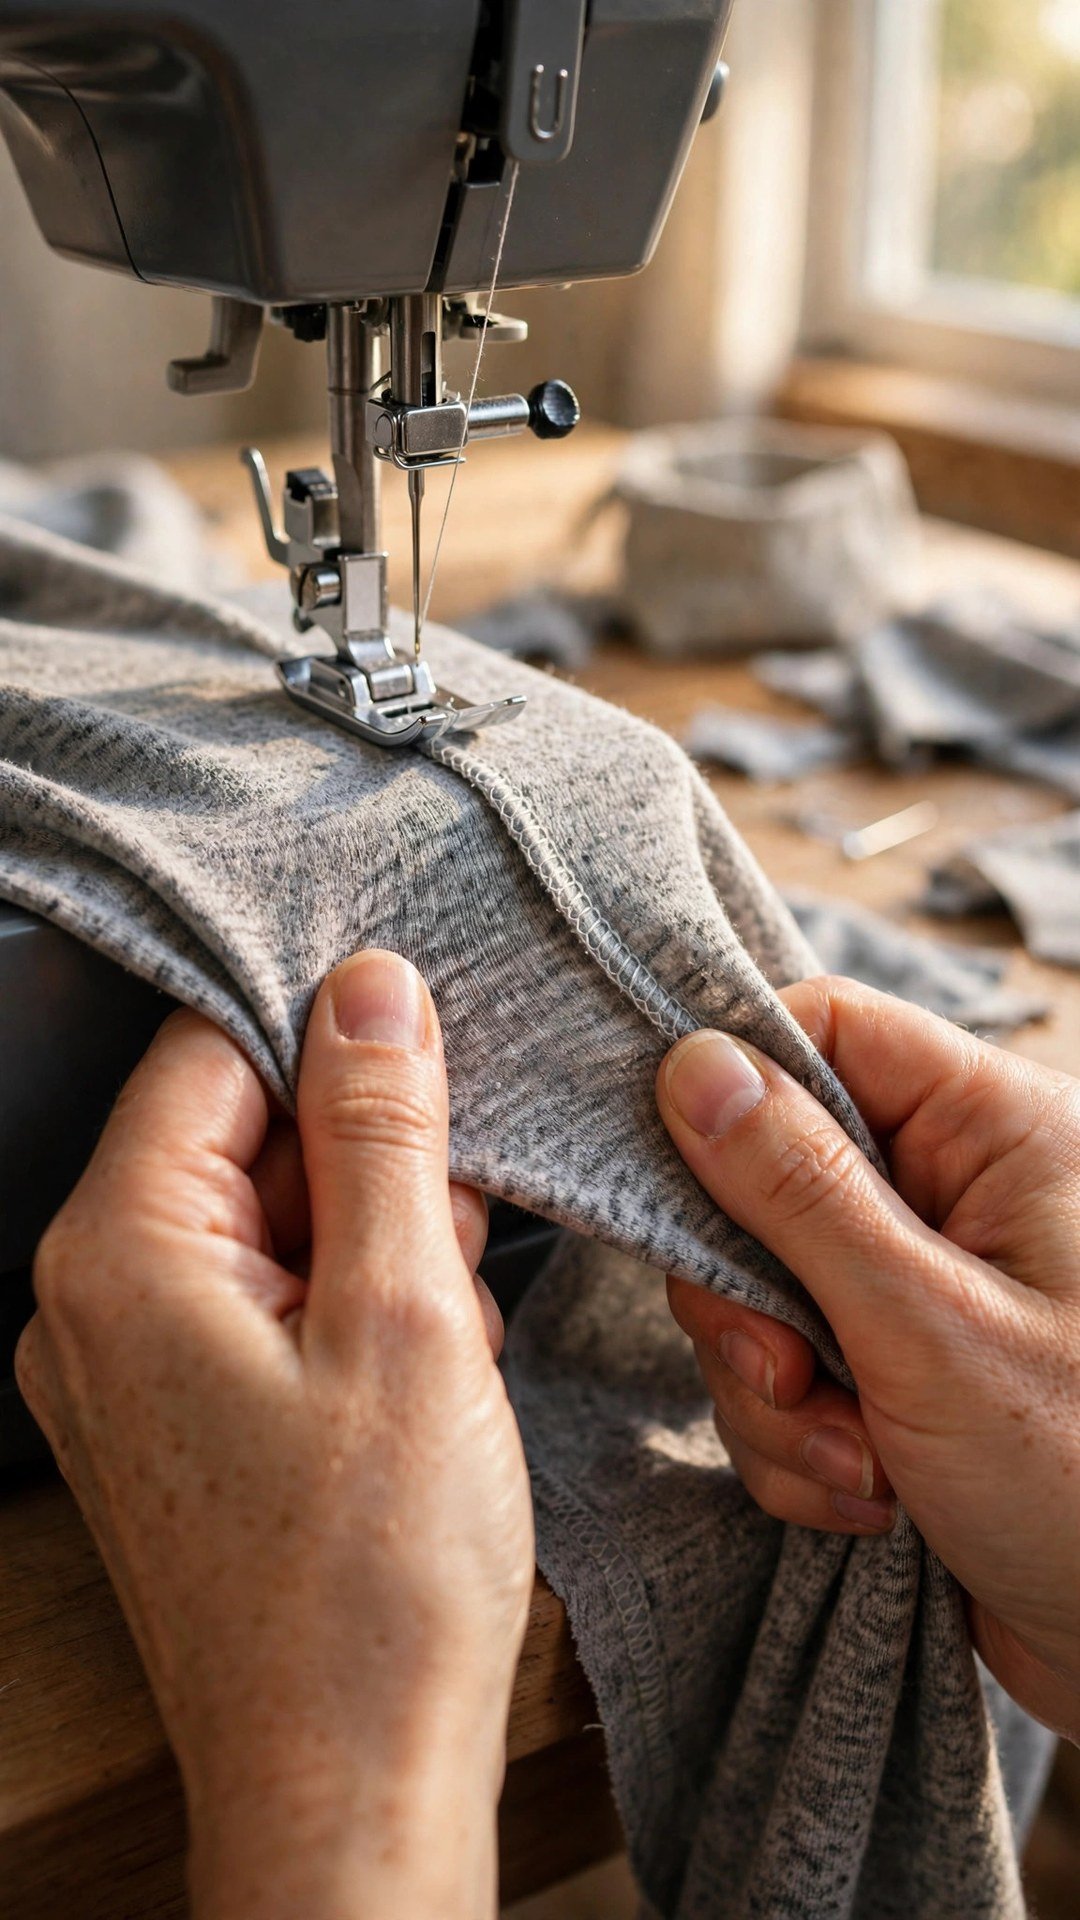
Start by sewing a test seam on a scrap of your project fabric, at your normal pressure setting. Look at the seam from the front and the back. Is it flat? Are the stitches even? Do the layers line up at the end? That test seam is your starting point, and it tells you which direction to move.
Turn the dial one notch in the direction your test suggests, then sew another test seam on a fresh scrap. Compare the two seams. Keep adjusting one notch at a time until the seam lies flat, the stitches are even, and the fabric feeds without stretching or slipping. Write the setting down if you will sew the same fabric again.
For very thick layers, raise the pressure so the foot can hold the layers together, and sew slowly. For very fine or slippery fabric, lower the pressure and consider a different foot. My guide to how to use a walking foot is useful for thick or slippery layers, because the walking foot feeds the top layer along with the bottom one.
Pressure Settings for Common Fabrics
For medium cotton, linen, and quilting cotton, your normal baseline pressure usually works well. These fabrics feed evenly and do not need special treatment. Start at the baseline, test, and adjust only if the seam tells you to.
For knits and stretch fabrics, lower the pressure a little so the foot does not stretch the fabric as it feeds. A lower setting, plus a ballpoint needle and a stretch stitch, keeps knit seams flat and flexible. For thick denim, canvas, and multiple layers, raise the pressure so the foot grips the layers firmly, and sew slowly with a longer stitch.
For silk, chiffon, and other fine fabrics, lower the pressure and use a light touch. These fabrics mark easily and pucker under a heavy foot. A Teflon foot or a tissue paper layer under the seam can help too. The rule is simple: the lighter and stretchier the fabric, the lighter the pressure; the thicker and firmer the fabric, the firmer the pressure.
Frequently Asked Questions
Where is the presser foot pressure dial on my machine?
On most machines it is a dial or screw on the top of the machine, above the needle bar. Some machines place it near the tension dial. Check your manual, because the location varies by brand and model.
What happens if presser foot pressure is too high?
The fabric puckers, stretches, or shows a foot mark, especially on knits and fine fabrics. Lower the pressure one notch at a time and test on a scrap until the seam lies flat.
What happens if presser foot pressure is too low?
The fabric slips, stitches skip, stitch length turns uneven, and layers shift. Raise the pressure one notch at a time and test again until the fabric feeds steadily.
Do all sewing machines have adjustable presser foot pressure?
No. Some modern machines adjust it automatically, and some have no manual control. If yours has no dial, change the foot instead: a walking foot, Teflon foot, or roller foot changes how fabric feeds.
Should I change pressure for thick layers?
Yes. Raise the pressure for thick layers like denim and canvas so the foot holds them together, and sew slowly. For fine or stretchy fabric, lower the pressure instead.
One Dial, Smoother Seams
Presser foot pressure is a small adjustment with a big effect. Learn where your dial is, test on a scrap, change it one notch at a time, and match the pressure to the fabric. Your seams will lie flatter, your knits will stop stretching, and your machine will feel like it is working with you instead of against you.

Written by June Carter
I am June, a sewing enthusiast who loves turning simple fabric into things people actually use. I test every technique and product I write about at my own machine before it lands here.