
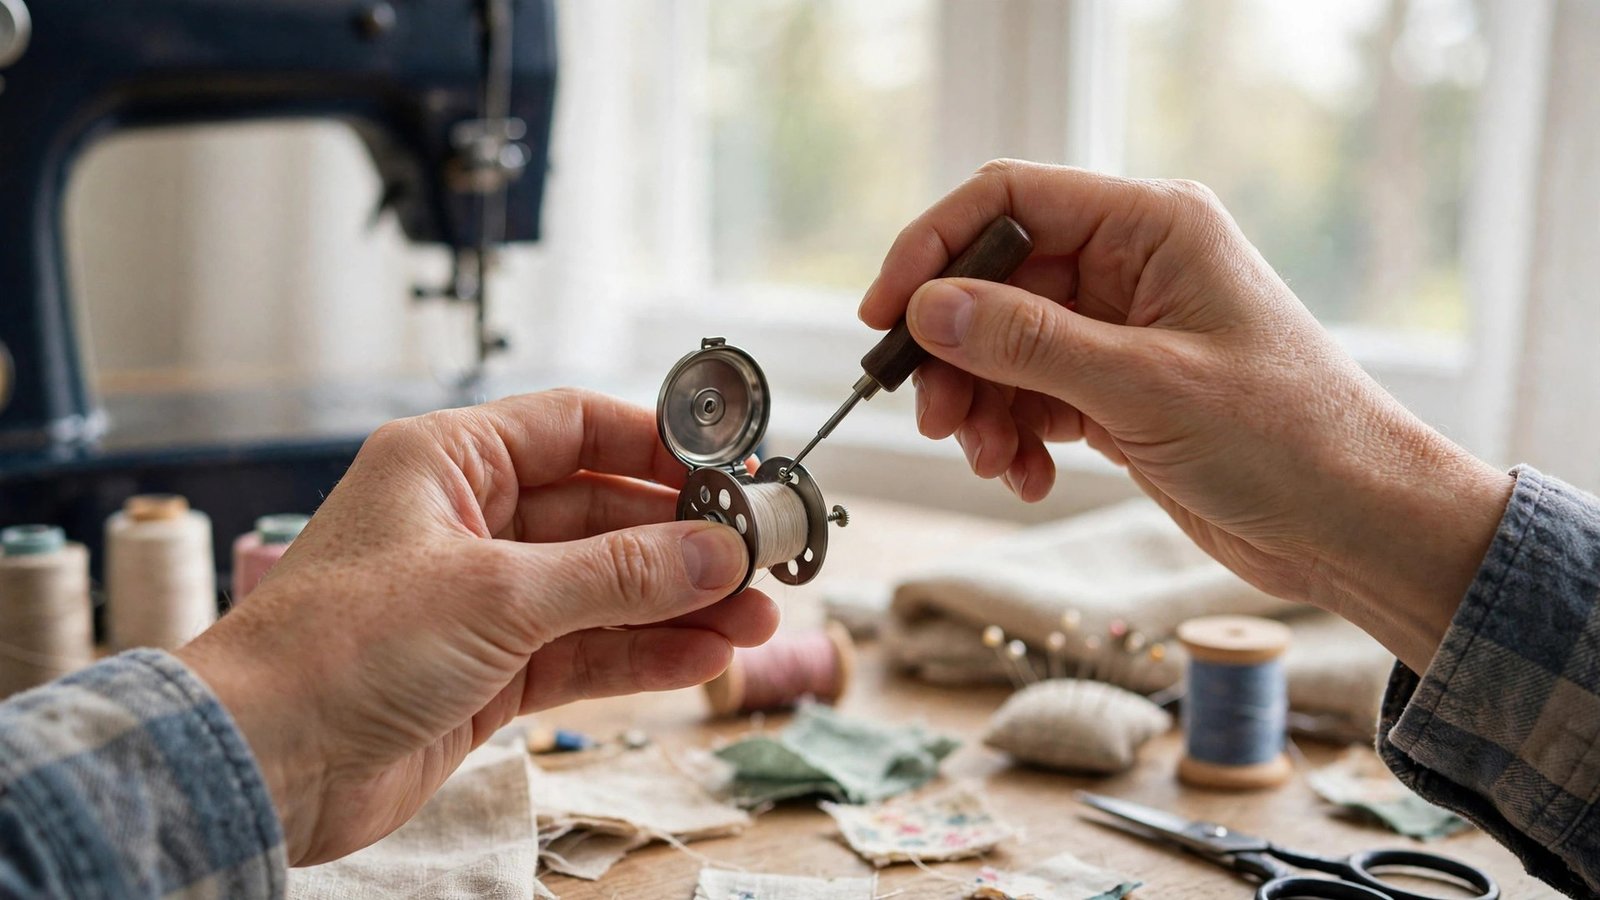
If you are learning how to adjust bobbin tension on a sewing machine, you are tackling a topic that sounds scary and is actually quite simple. Bobbin tension is the small amount of resistance the bobbin thread meets as it leaves the bobbin case. When it is right, the top and bobbin threads meet in the middle of the fabric, and your stitches look even on both sides.
I avoided touching my bobbin tension for years, because I had heard horror stories about ruining a machine. Then a teacher showed me the tiny screw, the small turns, and the simple test, and I realised it was just another adjustment, like stitch length. In this guide I will show you when to adjust it, how to test it, and how to put it back if you go too far.
How to Adjust Bobbin Tension on a Sewing Machine Safely
First, check the simple things before you touch the bobbin. Rethread the top thread, check that the bobbin is wound evenly and inserted correctly, and test on a scrap. Most tension problems are top tension problems, not bobbin tension, so rule those out first. If the stitches still loop on the underside or the bobbin thread shows on top, then the bobbin may need a small adjustment.
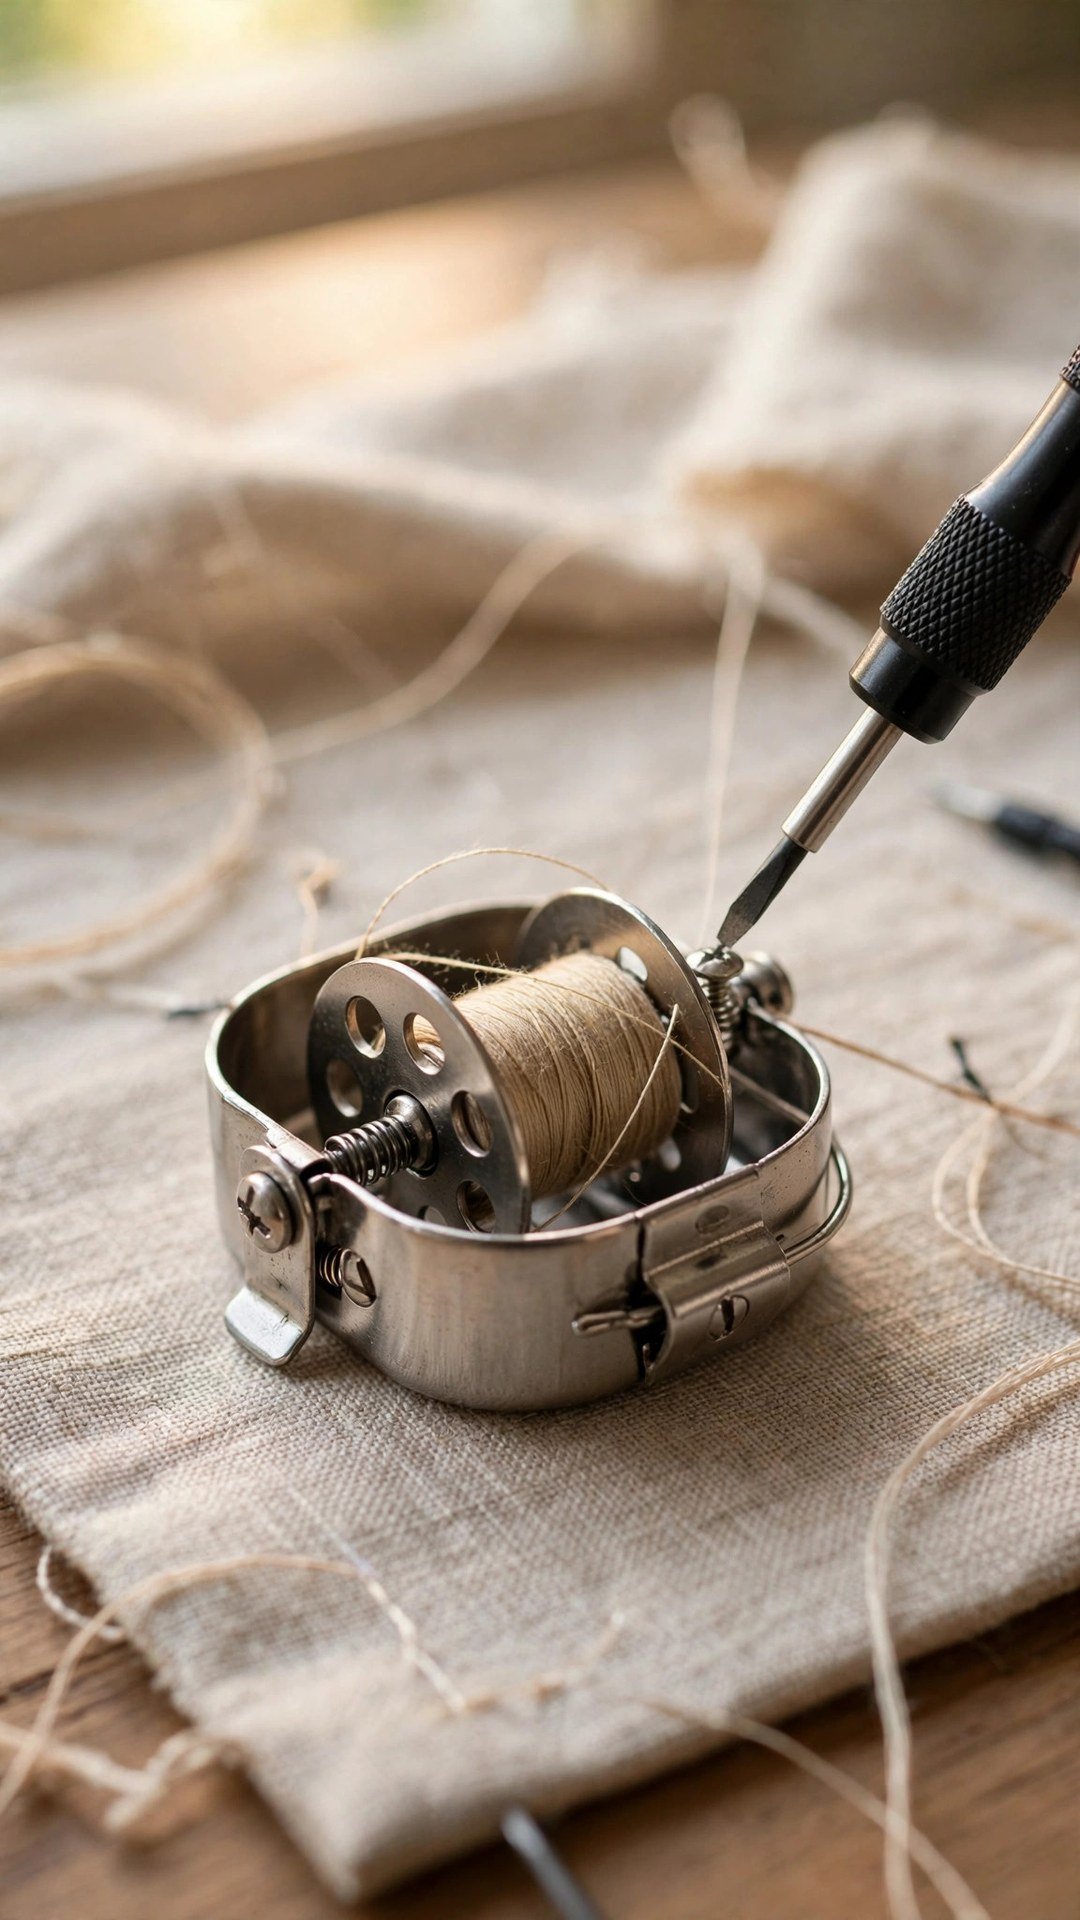
Remove the bobbin case from the machine and find the small screw on the side. It is usually a flat head screw, and it controls a small spring that holds the thread. Turn it in very small amounts, no more than a quarter turn at a time. Turning clockwise tightens the tension, and turning anticlockwise loosens it. Make one small change, put the case back, and test again on a scrap before you change anything else.
The Drop Test for Bobbin Tension
The drop test is a quick way to check bobbin tension before you sew. Hold the bobbin case by the thread tail, with the bobbin inside, and let it hang in the air. Give it a gentle shake. The case should drop a short distance, about an inch, then stop. If it does not drop at all, the tension is too tight. If it drops freely and keeps unspooling, the tension is too loose.
Use the drop test as a guide, not a rule, because different threads and fabrics behave differently. A heavier thread will drop more easily, and a fine thread will drop less. The real test is always a sewn sample on your actual fabric. Sew a straight line on a scrap, look at both sides, and adjust in quarter turns until the stitches look balanced and even.
If the drop test and the sewn sample disagree, trust the sewn sample every time. The drop test tells you roughly where the tension sits, but the fabric, the thread, and the layers you are actually sewing change how the tension behaves in real use. Sew a longer sample, about six inches, and check the stitches at the start, middle, and end, because tension can drift if the bobbin is wound unevenly or the thread catches. A steady, even line across the whole sample is the sign you are ready to sew the garment.
What Balanced Stitches Should Look Like
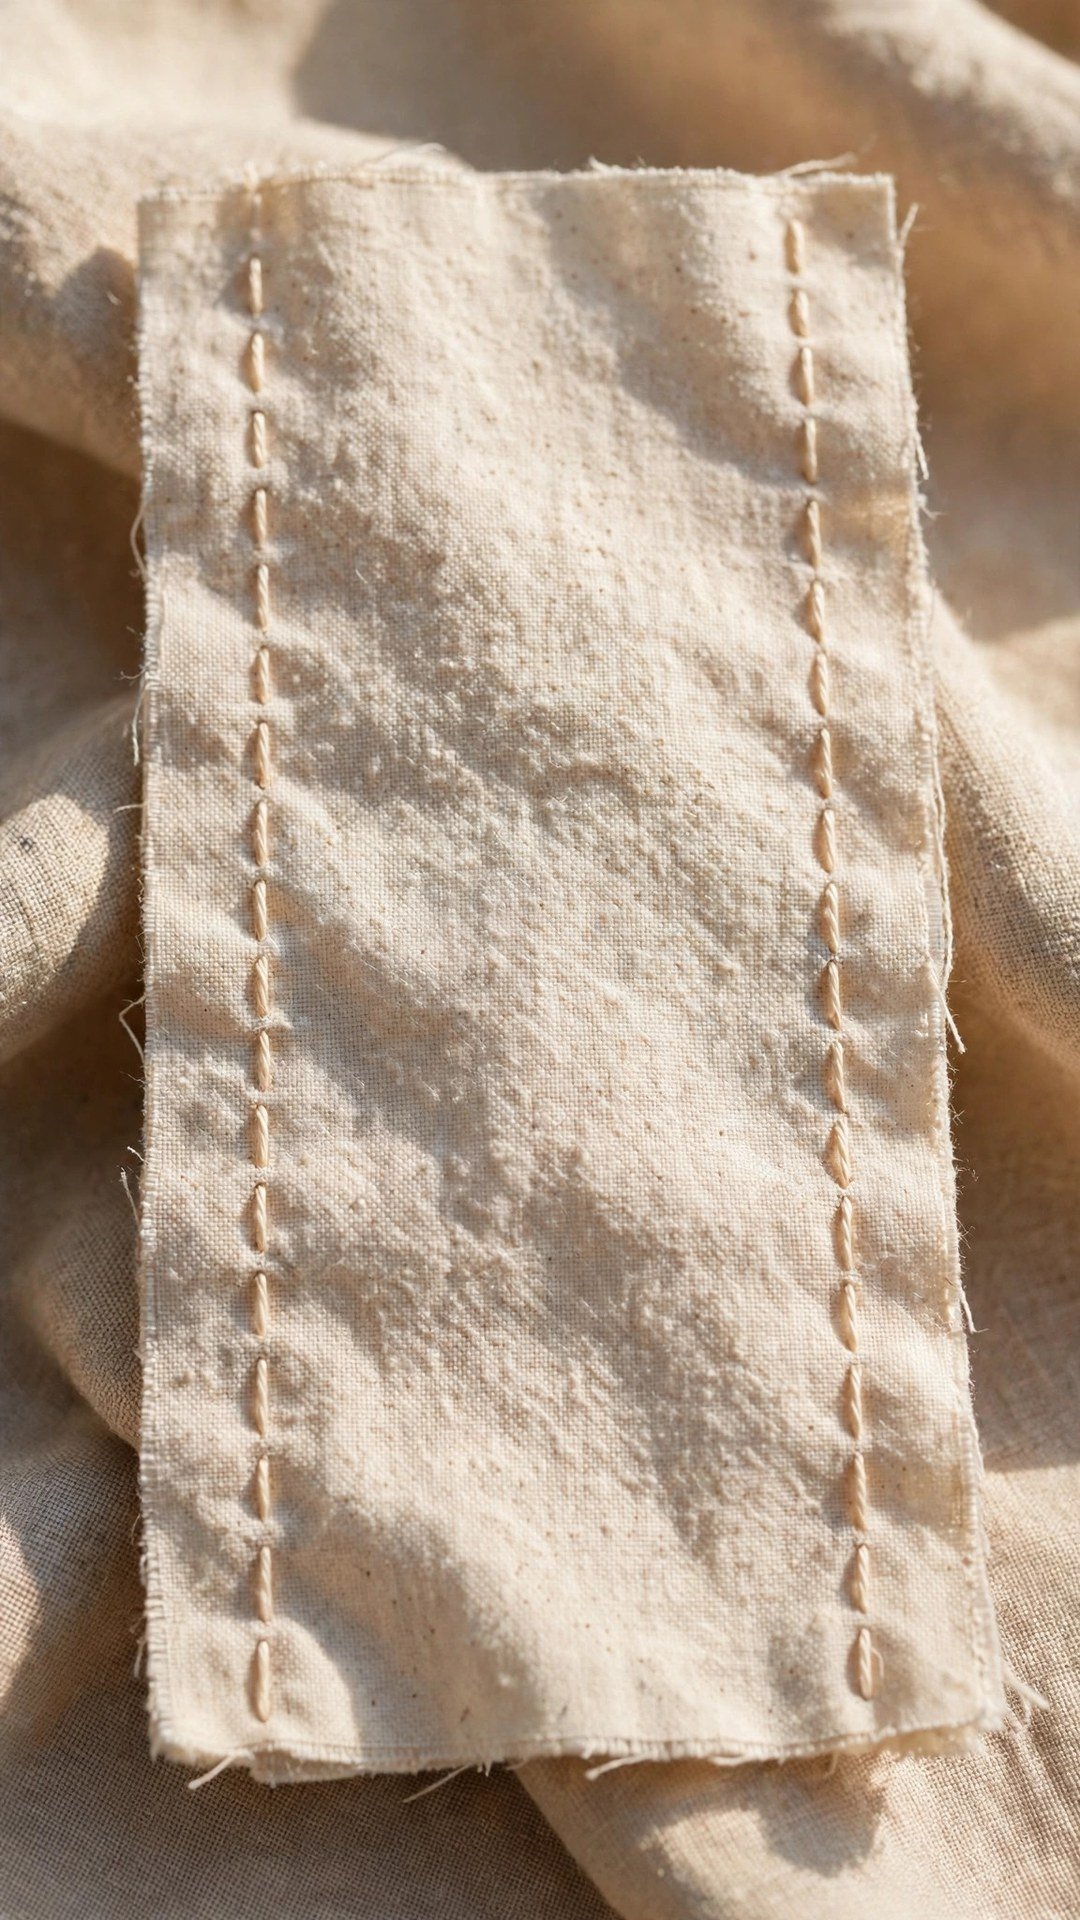
Balanced stitches look the same on both sides of the fabric. On the top, you should see neat, even stitches with no bobbin thread showing through. On the underside, you should see neat stitches with no loops of top thread. The two threads should meet in the middle of the fabric layers, hidden from view, like a handshake inside the cloth.
If you see loops on the underside, the top tension is usually too loose, or the bobbin tension is too tight. If you see bobbin thread on the top, the bobbin tension is usually too loose, or the top tension is too tight. Change one thing at a time, test, and write down what you changed. My guide to how to diagnose thread nests will help if loops turn into a tangled nest under the fabric.
Common Bobbin Tension Problems and Fixes
One common problem is a bobbin case full of lint. Lint under the tension spring stops the spring from holding the thread evenly, and the tension feels loose no matter how much you tighten the screw. Clean the bobbin case with a small brush, and check for a tiny piece of thread caught under the spring. That alone fixes many supposed tension problems.
Another problem is a damaged bobbin case or a bent spring, which can happen if the case is dropped. If the screw turns but the tension does not change, or the spring feels loose, the case may need replacing. That is a simple part to replace, and it is cheaper than a machine repair. If you are also getting thread breaks, read my guide to how to fix repeated thread breaks, and check your needle and threading too.

When to Leave Bobbin Tension Alone
Most of the time, you should leave bobbin tension alone. The factory setting is correct for most fabrics and most threads, and most sewing problems come from the top thread, the needle, or the bobbin winding. Adjust the bobbin only when you have ruled out those causes, and only when you are using a thread that is much heavier or lighter than normal, such as a thick topstitching thread in the bobbin.
If you do adjust it, mark the starting position first. Put a tiny dot of nail polish or a small piece of tape on the screw, so you can return to the original setting if you need to. Make small changes, test on a scrap, and stop as soon as the stitches look balanced. If you feel lost, return the screw to its marked position and start again with the top tension. My guide to how to wind and insert a bobbin covers the winding and insertion steps that affect tension too.
Frequently Asked Questions
Should I adjust bobbin tension often?
No. Leave the factory setting alone for most sewing, and adjust it only when you have ruled out top tension, threading, and bobbin winding, or when you are using a very heavy or very fine thread in the bobbin.
Which way do I turn the bobbin screw?
Turn it clockwise to tighten the tension and anticlockwise to loosen it. Turn in very small amounts, no more than a quarter turn at a time, and test on a scrap after each change.
What is the bobbin drop test?
Hold the bobbin case by the thread tail and give it a gentle shake. It should drop about an inch, then stop. If it does not drop, the tension is too tight, and if it drops freely, it is too loose.
Why are my stitches looping underneath?
Loops underneath usually mean the top tension is too loose, the machine is not threaded correctly, or lint is caught under the bobbin spring. Clean the bobbin case, rethread, and test before you adjust the bobbin screw.
Small Turns, Careful Tests, Balanced Stitches
Adjusting bobbin tension is not a mystery, it is a small screw, a quarter turn, and a test on a scrap. Check the simple causes first, mark your starting point, and change one thing at a time. Your stitches will thank you with neat, even lines on both sides of the fabric.

Written by June Carter
I am June, a sewing enthusiast who loves turning simple fabric into things people actually use. I test every technique and product I write about at my own machine before it lands here.