

If you need to know how to stop thread from shredding in the needle, you are dealing with one of the most frustrating sewing problems there is. The thread frays, splits, and breaks, sometimes after only a few stitches, and the machine seems fine in every other way. I have been there, and I know how tempting it is to blame the thread and throw it away, when the real cause is usually a small, fixable detail in the needle, the threading, or the tension.
Thread shredding is almost always a friction problem. Something is rubbing the thread, catching it, or pulling it too hard, and the thread gives up at the weakest point, which is usually the needle eye. The fix is to find the friction, remove it, and give the thread a smooth path from the spool to the fabric. That sounds simple, and it is, once you know where to look.
This guide walks through the most common causes in order, from the needle to the thread to the threading to the tension, and shows you how to test each fix on a scrap before you sew on your garment. Work through them one at a time, and your thread will stop shredding and start sewing smoothly again.
Start with the Needle: Size, Type, and Condition
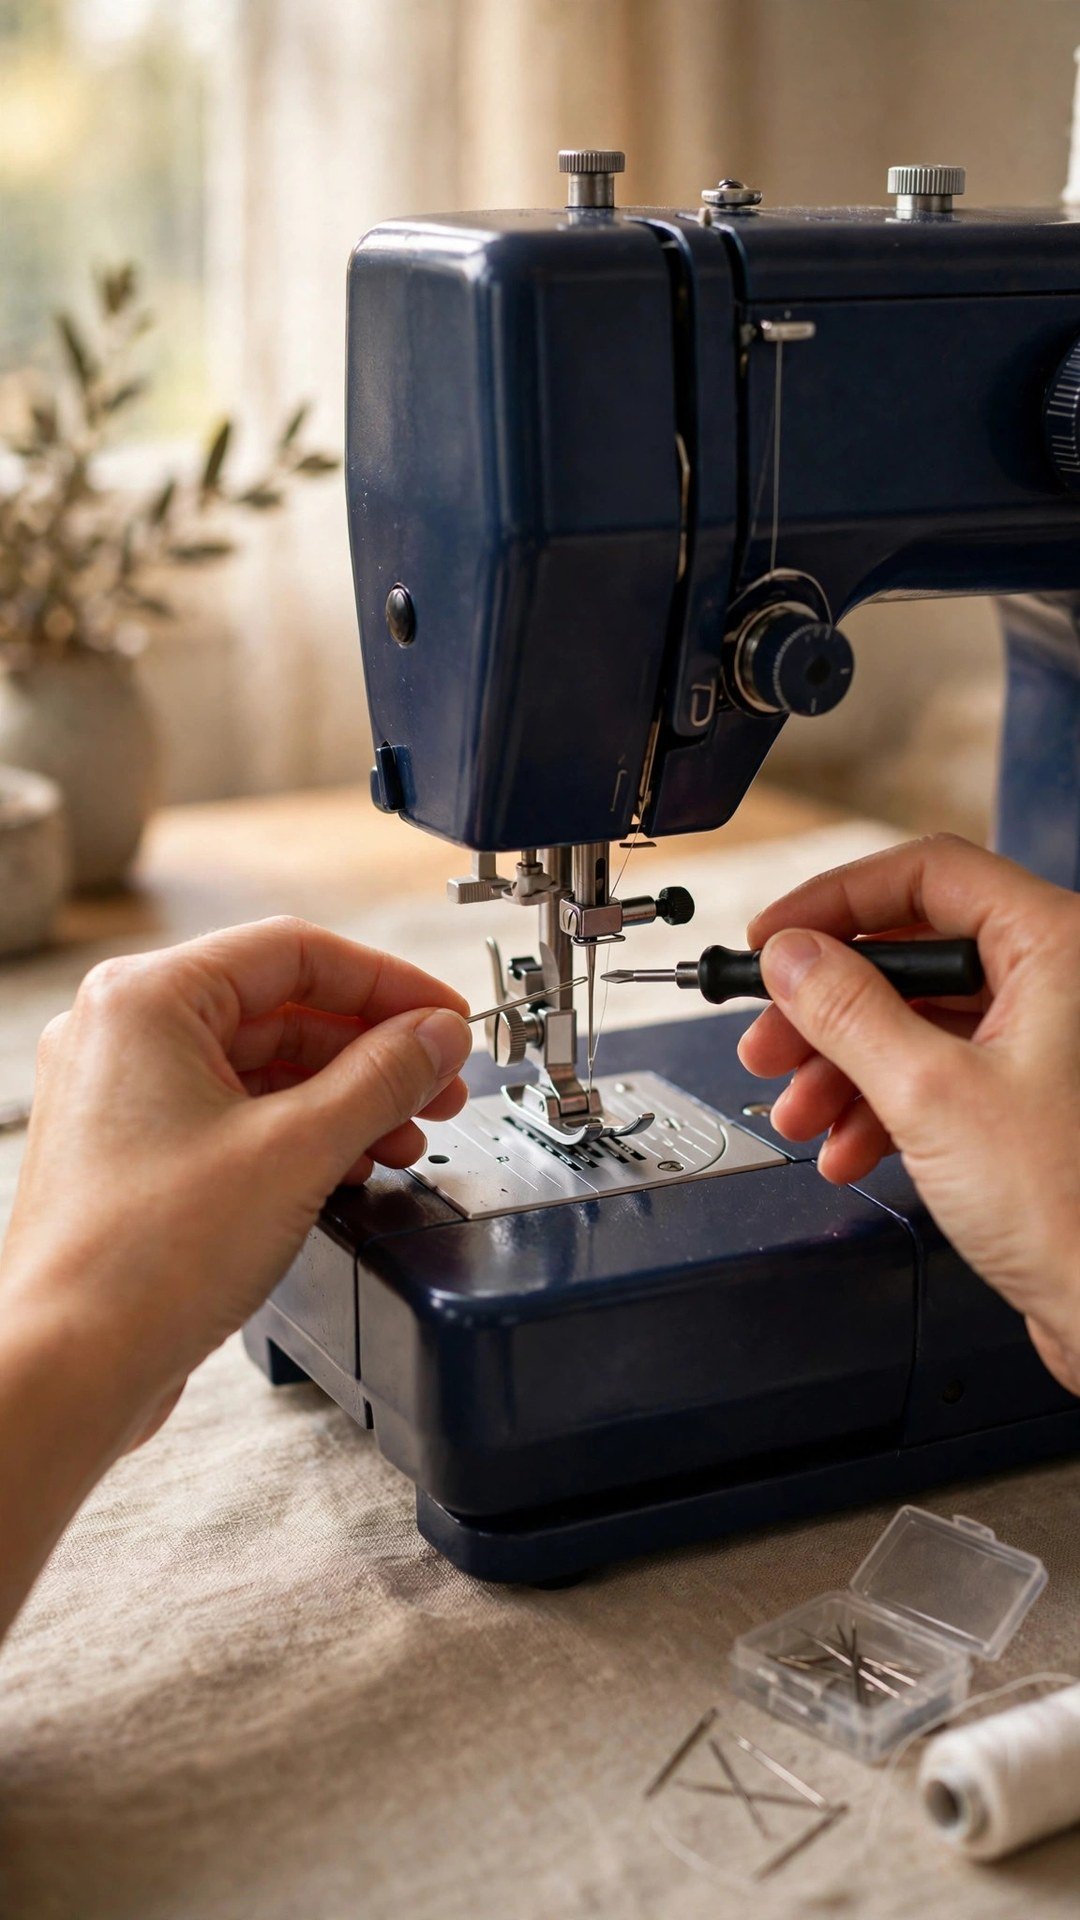
The needle is the first place to look, because a wrong or worn needle shreds thread faster than anything else. A needle eye that is too small for your thread squeezes the thread with every stitch, fraying it until it breaks. As a rule, the thread should pass easily through the needle eye, with a little room to spare. If you have to force it, the needle is too small, so go up a size. My guide to choosing a sewing machine needle covers the sizes and types in detail.
A blunt, bent, or burred needle also shreds thread, because a rough spot in the eye or on the shaft catches the thread as it passes. Change the needle first, before you change anything else, and use a fresh needle of the right type for your fabric: a universal needle for wovens, a ballpoint or stretch needle for knits, and a topstitch needle, which has a larger eye, for thick thread or decorative stitching. A new needle is the cheapest fix in sewing, and it solves more problems than any other single change.
Check Your Thread Quality and Type
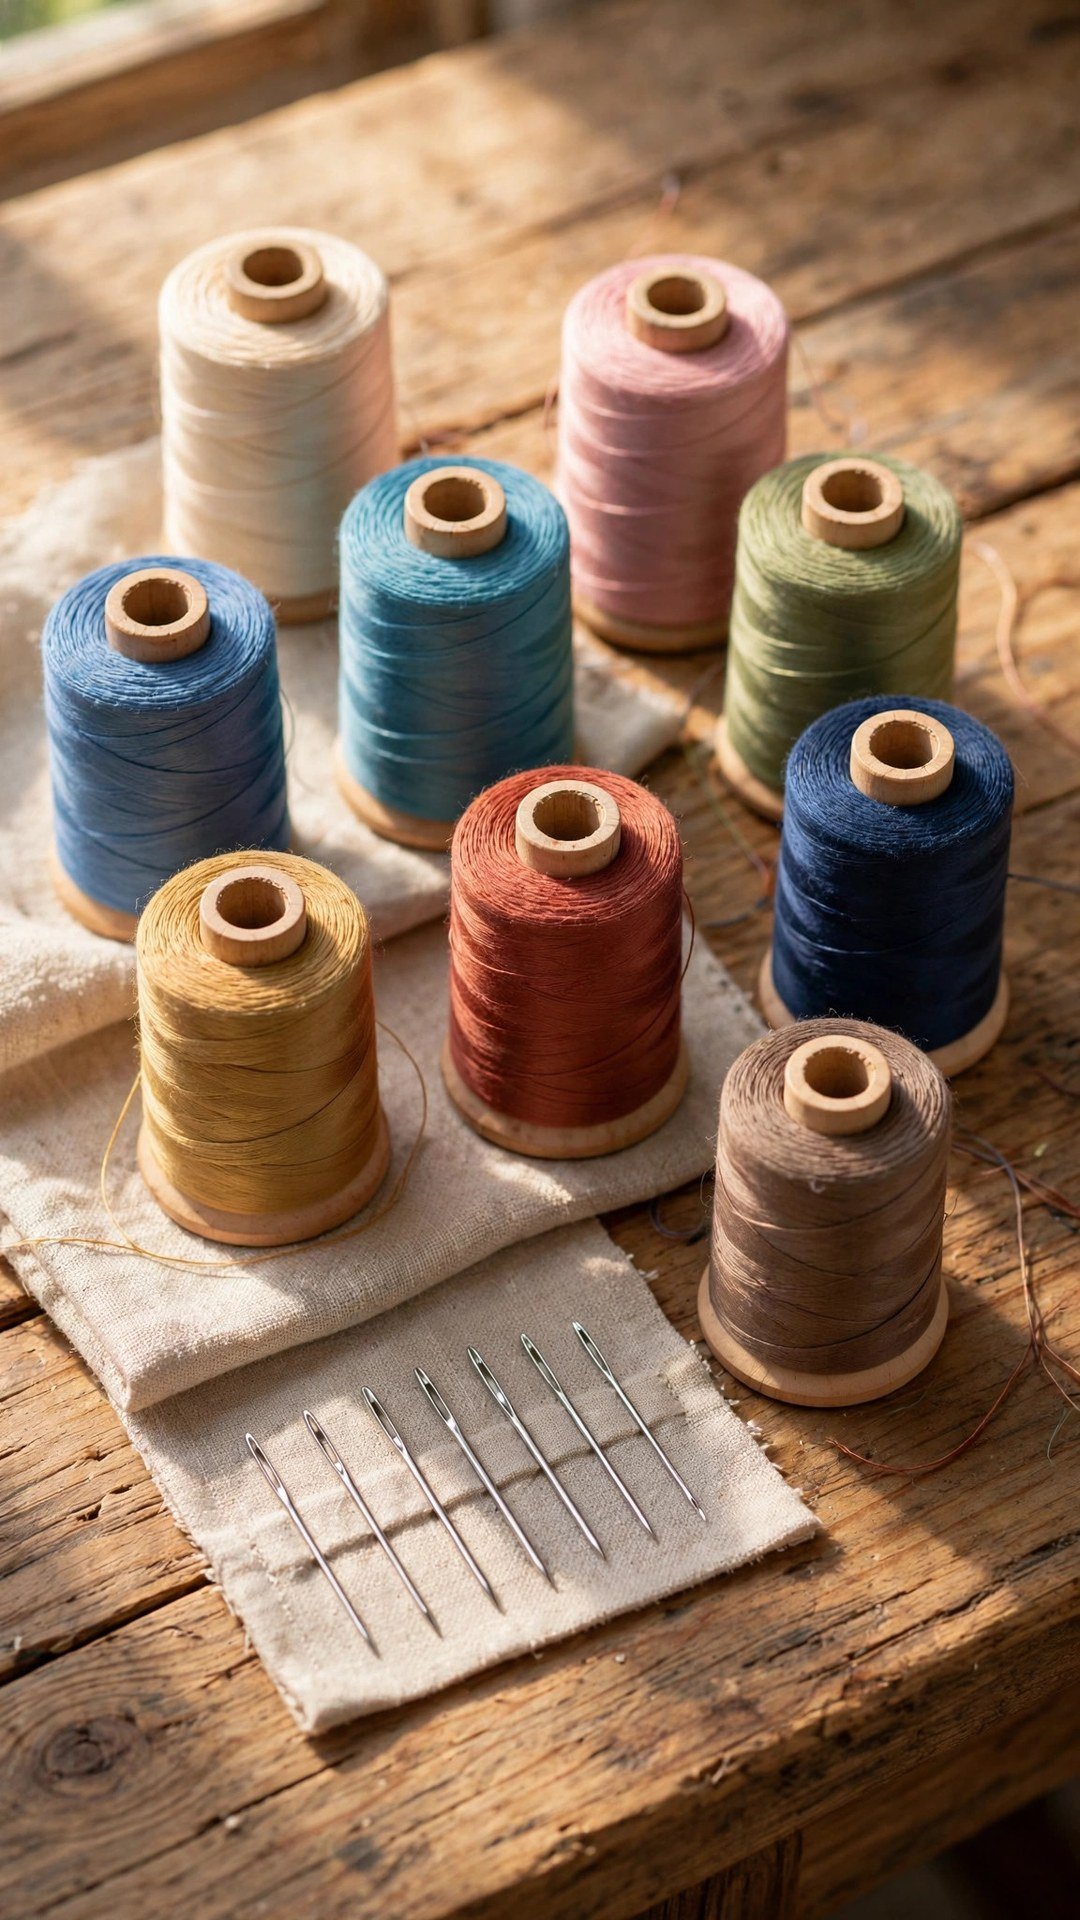
Not all thread is equal, and old or poor quality thread shreds no matter how good your machine is. Thread that has been sitting in sunlight, in a damp room, or on a spool for many years becomes brittle and weak, and it will fray at the needle even when everything else is right. Test a length of thread by pulling it firmly between your hands: good thread is strong and smooth, while old thread snaps easily or feels rough.
Use a good quality thread that matches your fabric, and avoid very cheap thread for important projects, because the savings are not worth the frustration. Match the thread weight to the needle size, and do not use a heavy topstitch thread with a fine needle, or a fine thread with a heavy needle, because the mismatch creates friction. My guide to the best thread for sewing machines compares the types, and a fresh spool of good thread is often the whole fix.
Rethread Carefully and Check the Tension
Incorrect threading is a common cause of shredding, and it is easy to miss. Rethread the machine from scratch, with the presser foot up so the tension discs open, and follow the thread path exactly, including the take up lever and every guide. A thread that has slipped out of the take up lever or a guide will pull at an angle through the needle eye, shredding it within a few stitches. Make sure the thread is seated properly between the tension discs, not riding on top of them.
Check the tension next, because tension that is too tight pulls the thread hard through the needle eye and frays it. Set the tension back to the normal range, usually around 4, and test on a scrap. If the stitches look balanced, the tension is fine. If the top thread is shredding and the stitches look tight, loosen the top tension slightly and test again. My guide to fixing repeated thread breaks covers the full checklist, and it is worth reading if breaks continue after rethreading.
Clean the Machine and Check the Thread Path
Lint and dust in the thread path create friction that shreds thread, and they build up faster than you think. Remove the needle plate and the bobbin case, and clean out the lint with a small brush, paying attention to the tension discs, the thread guides, and the bobbin area. Never blow into the machine with your mouth, because moisture causes rust, and use a brush or a vacuum tool made for sewing machines instead.
Check the thread path for rough spots: a nick in a thread guide, a rough edge on the needle plate, or a burr on the bobbin case can all catch the thread. Run your finger gently over each guide, and if you feel a rough spot, polish it with a very fine abrasive or ask a technician to look at it. Also check that the spool is unwinding smoothly and not catching on the spool pin, and that the thread is not tangling around the pin. A smooth path is a happy thread. For routine care, my guide to cleaning sewing machine lint shows the safe way to clean your machine.
Match the Needle to the Fabric and Test
A needle that is right for one fabric can shred thread on another, so match the needle to the fabric you are actually sewing. A universal needle on a knit can cause skipped stitches and shredding, while a ballpoint needle on a tightly woven cotton can push the fibres aside and create friction. A denim needle on a fine lawn will leave holes and shred the thread, while a fine needle on denim will bend and break. Choose the needle for the fabric in front of you, not the needle that happened to be in the machine.
After each fix, test on a scrap of the same fabric, sewing a straight line at normal speed and checking the thread for fraying. Change one thing at a time, a new needle, then a new thread, then rethreading, then tension, so you know which fix worked. If the thread still shreds after all of these steps, the problem may be in the timing or the hook, and that is a job for a sewing machine technician. Do not keep forcing the machine, because a timing problem will only get worse.

Frequently Asked Questions
Why does my thread shred at the needle?
The usual causes are a needle eye that is too small, a blunt or burred needle, poor quality or old thread, incorrect threading, or tension that is too tight. Change the needle first, then check the thread and the threading.
What needle size should I use?
Choose a needle whose eye lets the thread pass through easily, with a little room to spare. For general sewing, a size 80/12 universal needle with a good quality all purpose thread is a good starting point.
Can old thread cause shredding?
Yes. Old thread becomes brittle and weak, especially if it has been stored in sunlight or damp. Test it by pulling firmly: if it snaps easily or feels rough, replace it with a fresh spool.
Does tension cause thread shredding?
Yes, tension that is too tight pulls the thread hard through the needle eye and frays it. Reset the tension to the normal range and test on a scrap, loosening it slightly if the thread still frays.
When should I take my machine for service?
If a new needle, fresh thread, careful rethreading, and correct tension do not fix the shredding, the timing or the hook may need attention. Take the machine to a technician rather than forcing it, because timing problems get worse with use.
Thread shredding is annoying, but it is almost always fixable with a new needle, a fresh spool of good thread, careful rethreading, and a quick clean. Work through the causes one at a time, test on a scrap after each change, and your machine will be sewing smoothly again before long. Keep a few fresh needles and a spool of good thread by your machine, and you will be ready the next time the thread starts to fray. If breaks continue, my guide to fixing repeated thread breaks has the full troubleshooting checklist.

Written by June Carter
I am June, a sewing enthusiast who loves turning simple fabric into things people actually use. I test every technique and product I write about at my own machine before it lands here.