
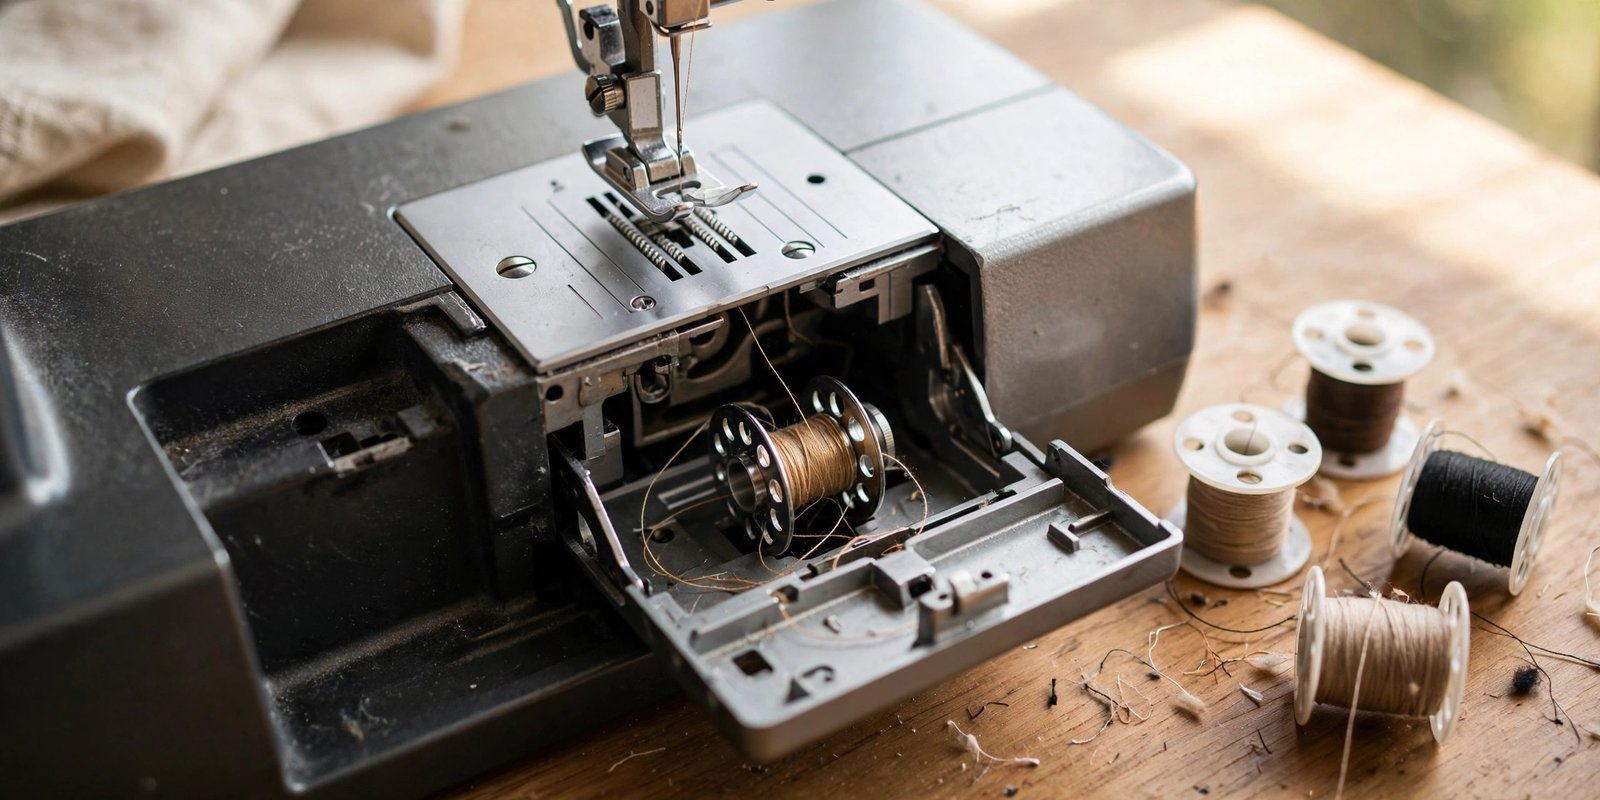
If you are learning how to wind and insert a bobbin, congratulations: you are about to conquer the number one fear of every beginning sewist. I remember staring at my first machine’s bobbin area like it was a puzzle box, convinced I would break something expensive. Here is the truth I wish someone had told me on day one: winding and inserting a bobbin is a five-minute skill, it is almost impossible to damage anything while learning it, and once your hands know the sequence you will do it without thinking, the way you tie your shoes.
Every stitch your machine makes is a partnership between two threads: the top thread from the spool and the bobbin thread from below. If the bobbin is wound badly or seated wrong, your stitches will tell on you immediately with loops, jams, and nesting thread. In this guide I will explain what a bobbin actually does, how to tell which bobbin system your machine uses, the exact winding and insertion sequence, how to bring up the bobbin thread, and the mistakes that cause nearly all beginner bobbin drama.
What a Bobbin Actually Does
A bobbin is a small spool that holds the lower thread of your sewing machine. While the needle carries the top thread down through the fabric, a mechanism below the needle plate loops the bobbin thread around it, and the two threads lock together inside the fabric layers to form each stitch. That locking action is the whole magic of machine sewing, and the bobbin is half of it.
This is why bobbin problems look so dramatic. When the top thread has an issue, you usually get a skipped stitch or two. When the bobbin is the problem, you get a bird’s nest of thread under the fabric, jamming, or the machine simply refusing to form stitches at all. The good news is that almost every one of these disasters traces back to something simple: the bobbin was wound unevenly, it was inserted facing the wrong way, or the thread was not seated in the tension path. All fixable in under a minute once you know what to look for.
Drop-In vs Front-Loading: Know Your System
Before you touch anything, identify your machine’s bobbin system, because the insertion steps differ. A drop-in bobbin, also written as drop in bobbin and called top-loading, sits in a little well under a clear sliding cover right under the needle plate. You can see the bobbin through the cover while you sew, which makes it wonderfully beginner-friendly. Most modern machines use this system.
A front-loading machine uses a removable front loading bobbin case. You open a door at the front of the machine’s lower arm (or sometimes on the side), take the case out, place the bobbin inside it, and click the whole case back into the machine. It sounds fiddlier, and it is slightly, but it also gives you access to a bobbin tension screw for specialty threads, which drop-in systems do not offer.
Check your manual for which system you have and, critically, which bobbin type it takes. Bobbins are not universal: a Class 15 bobbin will not behave in a machine designed for Class 66, and using the wrong one causes exactly the kind of mysterious misbehavior that makes beginners cry. Use the bobbins that came with your machine or buy the exact type your manual specifies. This is not the place to improvise.
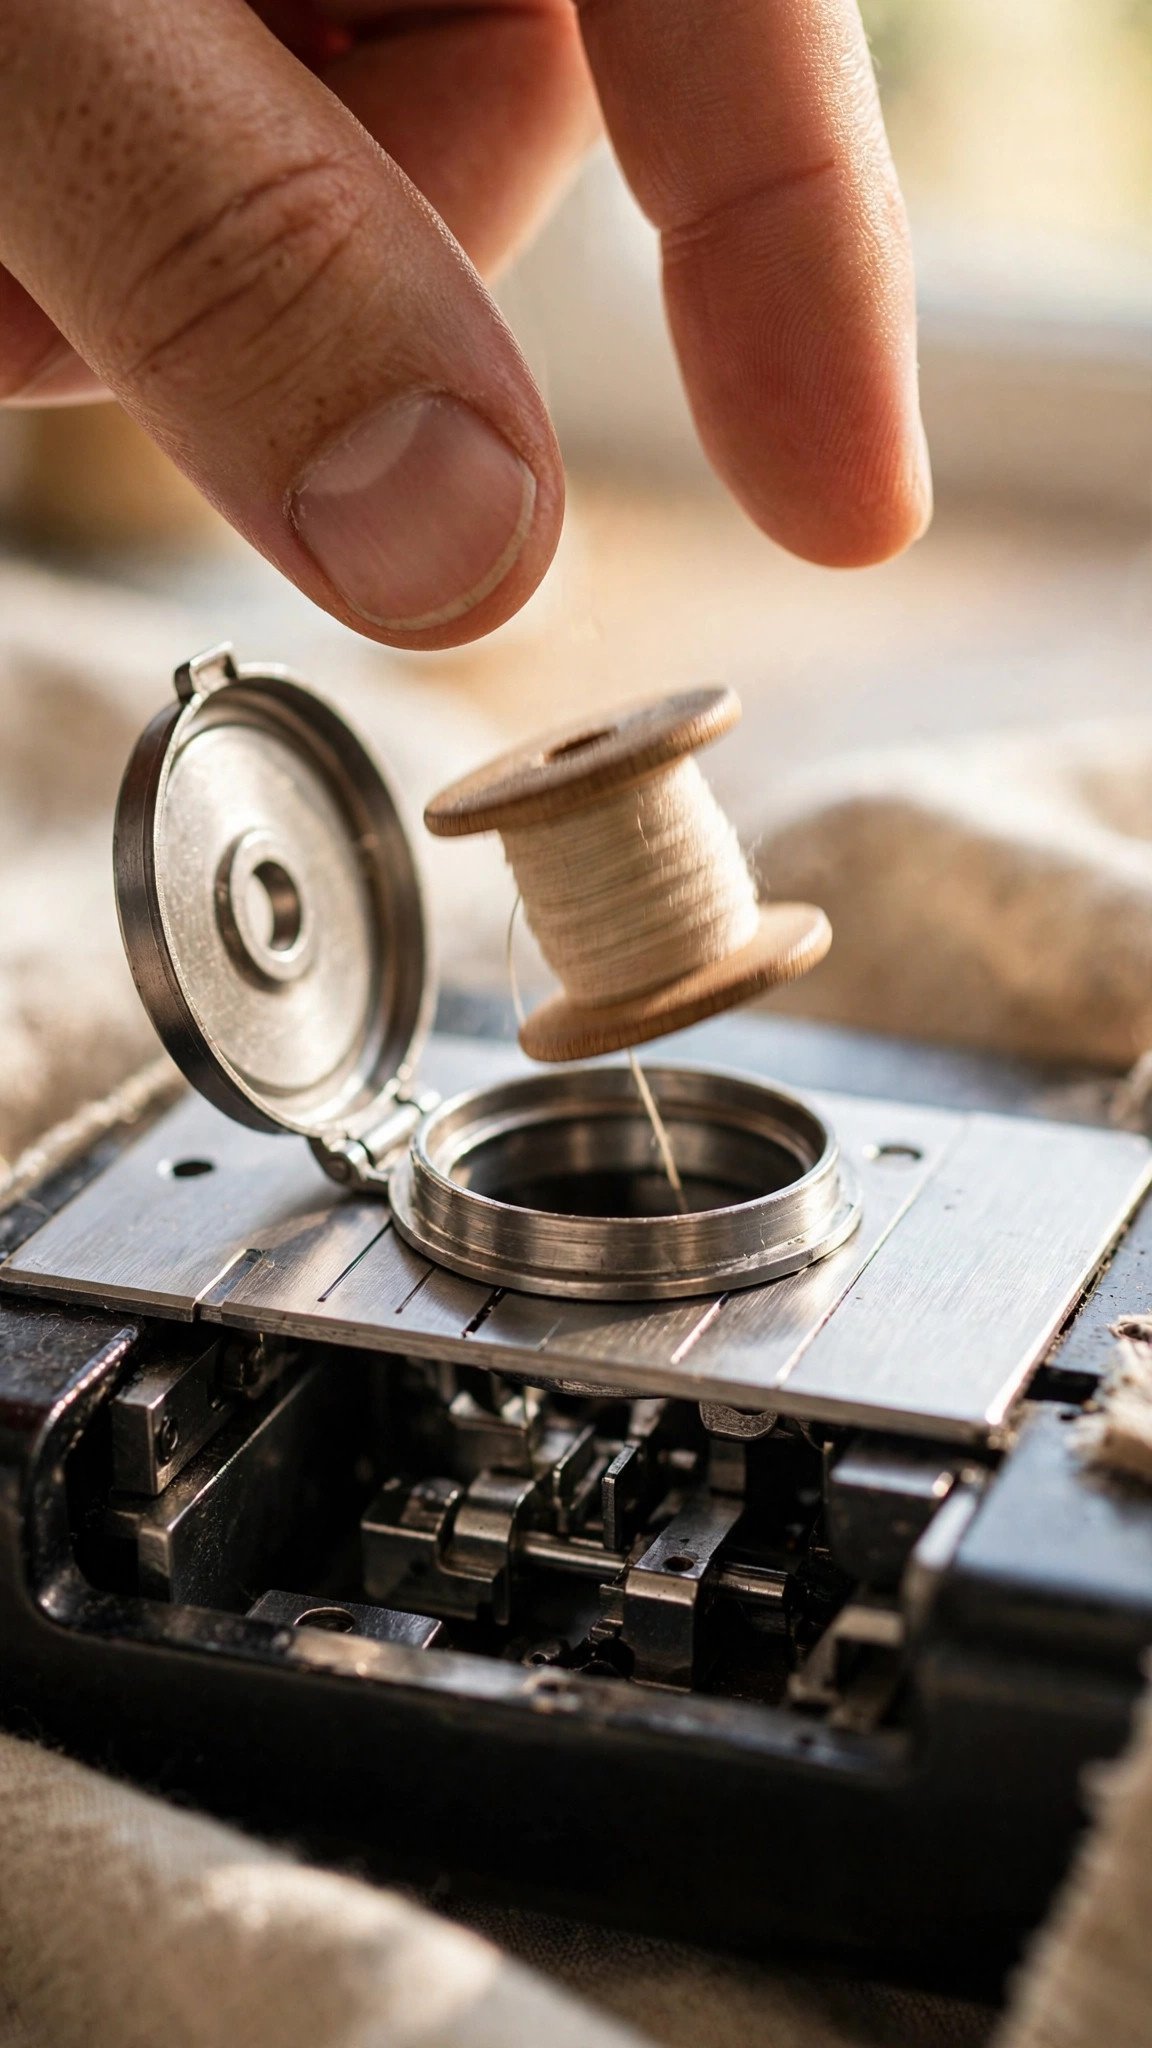
How to Wind and Insert a Bobbin, Step by Step
Here is the complete sequence for how to wind and insert a bobbin. If you only need the first half, the steps for how to wind a bobbin on its own are steps 1 through 3 below. I will describe the drop-in version first and note the front-loading differences where they matter.
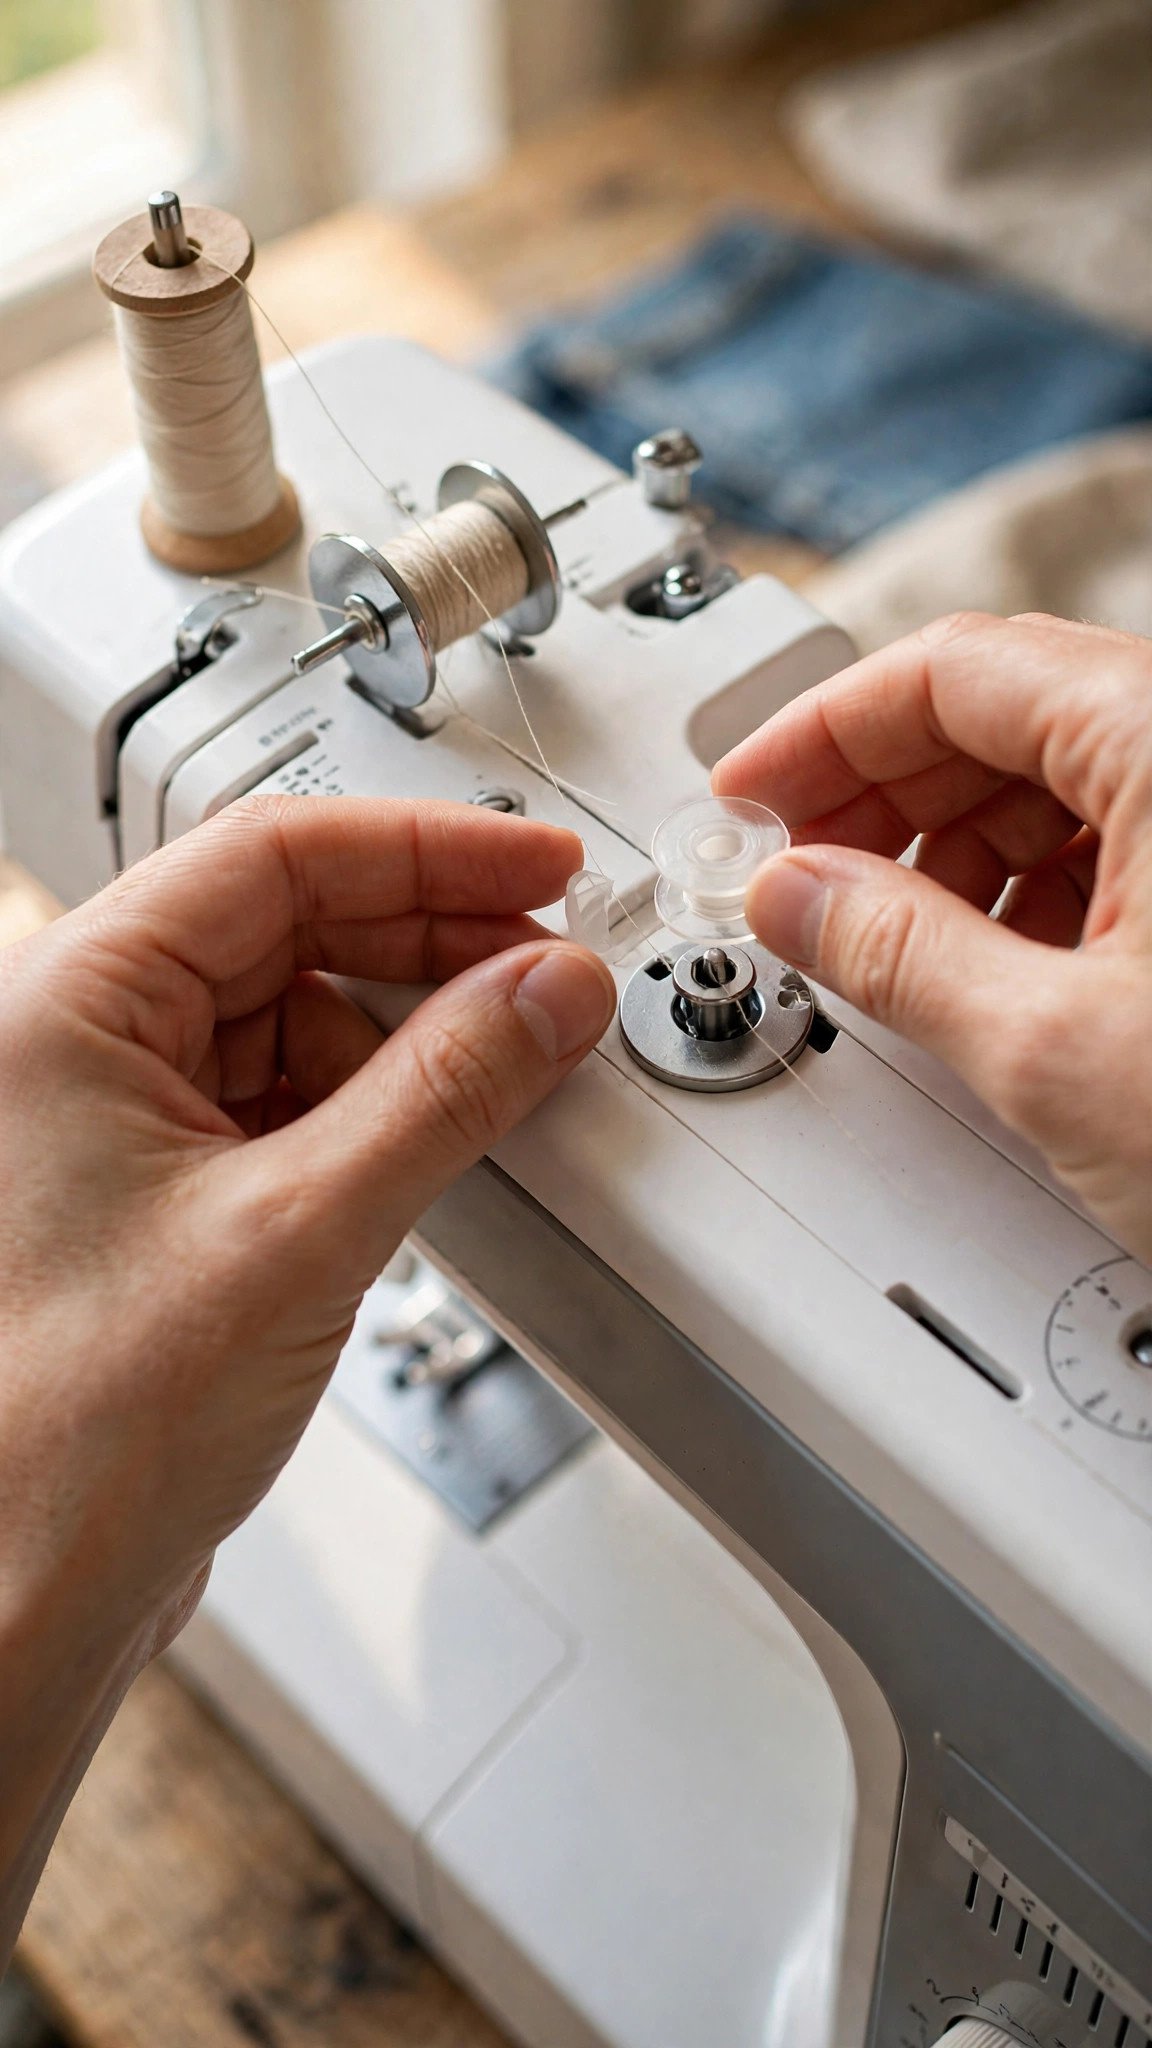
Step 1: Set up the thread path. Place your thread spool on the spool pin with the appropriate spool cap. Pull the thread through the machine’s upper thread guide, then around the small bobbin winding tension disc (your machine has a diagram for this, usually printed right on the machine). This little disc is what keeps the thread taut while winding, and skipping it is the top cause of lumpy, uneven bobbins.
Step 2: Prepare the bobbin. Take an empty bobbin of the correct type and thread the thread end through one of the small holes in the bobbin from the inside out. Alternatively, wrap the thread a few times around the bobbin’s center post. Place the bobbin on the bobbin winder spindle on top of the machine and slide the spindle to the engaged position, usually to the right. This disengages the needle so the machine winds without stitching.
Step 3: Wind it. Hold the thread tail gently and press the foot pedal slowly. After a few wraps, stop and trim the tail close to the bobbin so it does not get wound into the thread mass. Continue winding at a moderate speed until the bobbin is full; most machines stop automatically. Do not overfill: a bobbin wound to bursting will not sit properly in its case. Slide the spindle back, cut the thread, and remove your beautifully wound bobbin.
Step 4: Insert the bobbin. Top loading bobbin insertion is the simpler of the two systems. For a drop-in system, open the bobbin cover and drop the bobbin in so the thread unwinds counterclockwise (think of the letter P, not the number 6). Guide the thread through the slot and under the tension spring, then pull it toward the back. For a front-loading system, drop the bobbin into the removable case with the thread unwinding in the direction your manual shows, pull the thread through the case’s tension slit, and click the case firmly back into the machine until you hear or feel it seat.
Bringing Up the Bobbin Thread
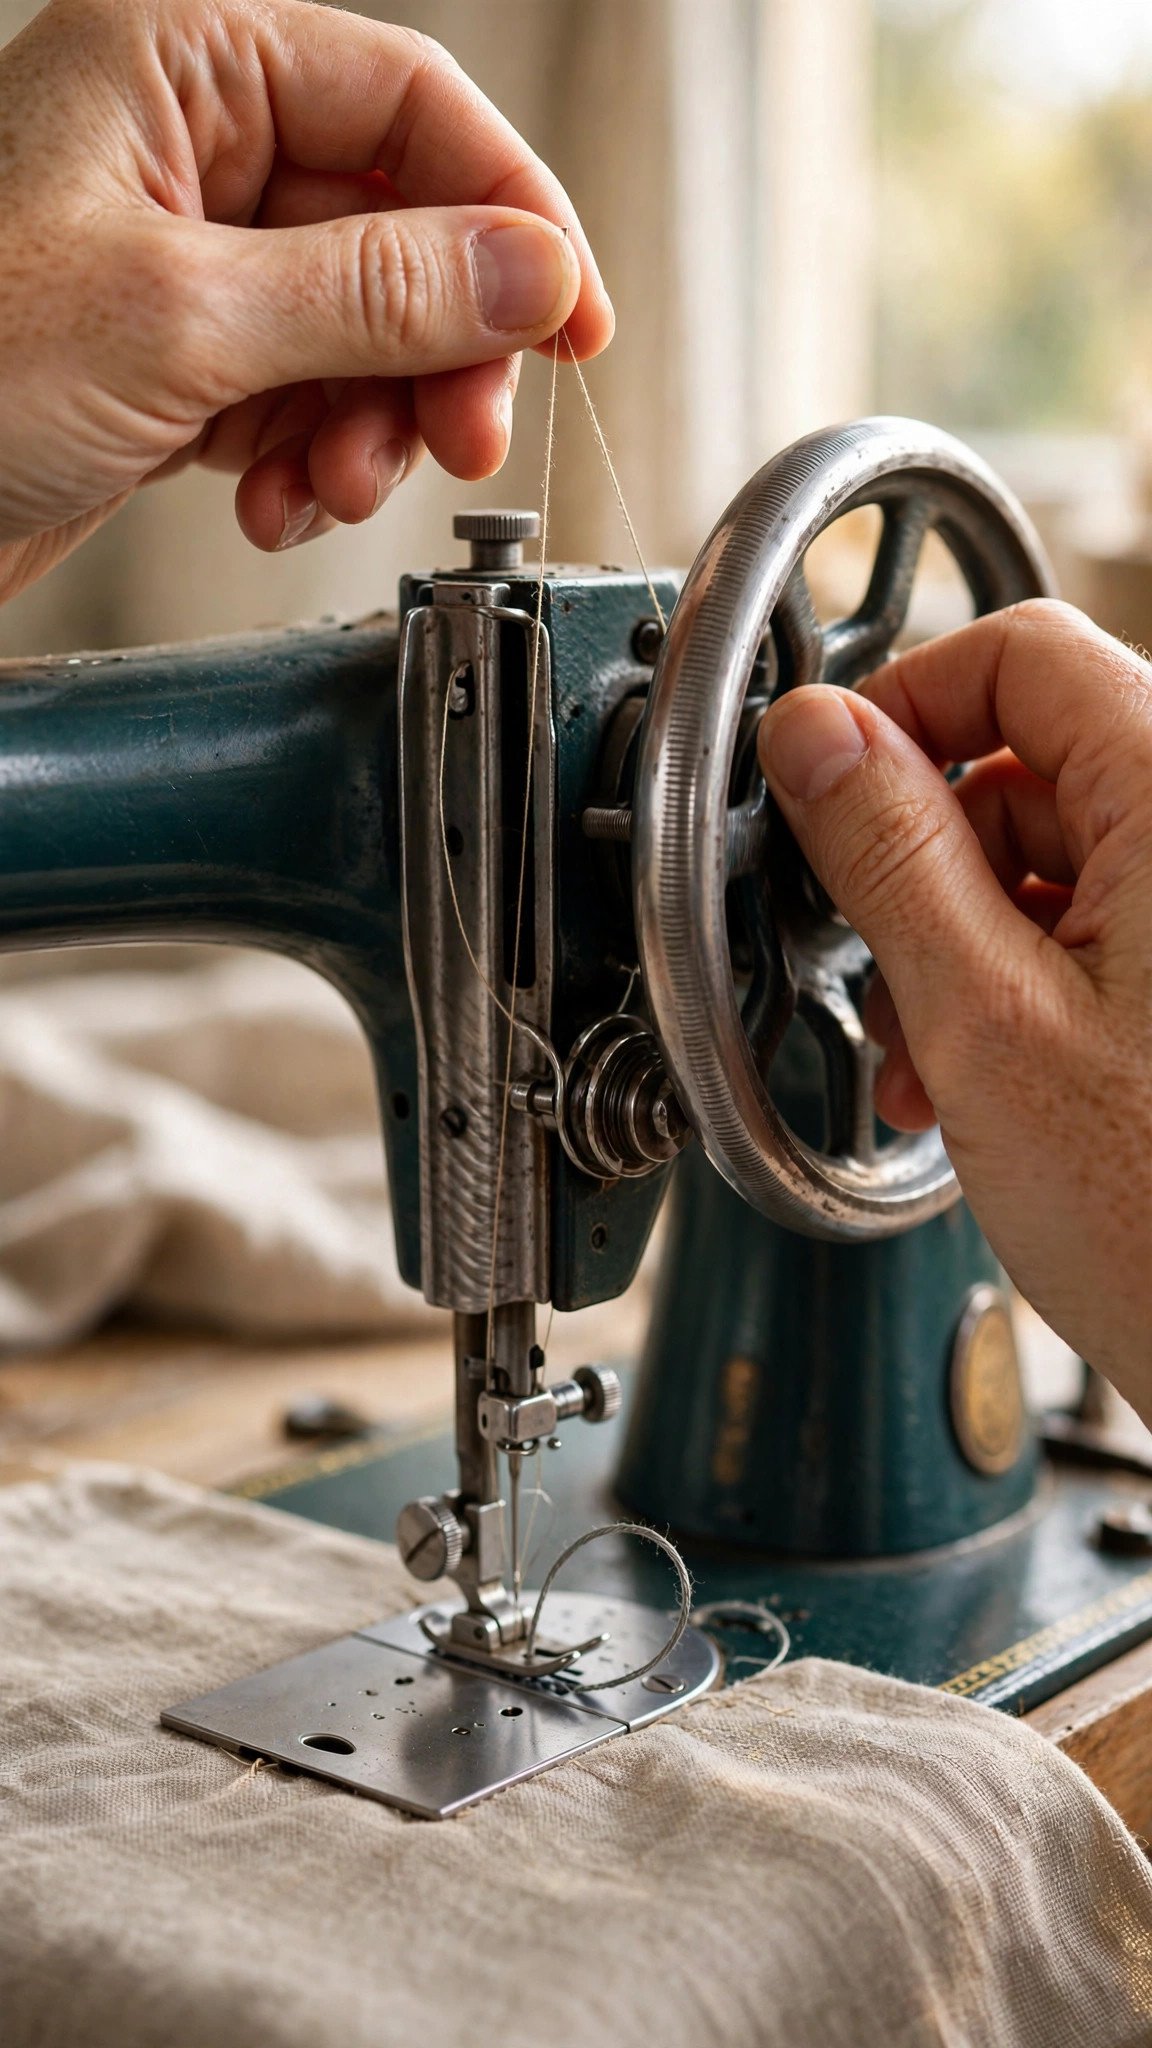
This is the step that confuses everyone exactly once, and then never again. With the bobbin seated, you need to bring up bobbin thread through the needle plate: pull a loop of it up so both threads are on top, ready to sew. First, make sure your machine is threaded on top as well; if you need a refresher, my guide to how to thread a sewing machine walks through the full path.
Hold the top thread tail loosely in your left hand. With your right hand, turn the handwheel toward you for one full rotation. The needle will dip below the plate and come back up, catching the bobbin thread on its way. You will see a small loop of bobbin thread appear at the needle hole. Tuck a fingernail or tweezers under the loop and pull up the bobbin thread, then lay both threads toward the back of the machine under the presser foot. That is it. If no loop appears, turn the wheel another half rotation; the most common reason it fails is stopping the wheel too early.
Two habits will save you endless rethreading: always turn the handwheel toward you, never away, and always bring both threads to the back before you start sewing. Threads left dangling toward you get sucked into the first stitches and start the dreaded nest.
Bobbin Mistakes That Cause 90 Percent of Beginner Problems
Let me give you the greatest-hits list of bobbin errors, because you will recognize yourself in at least two of them. Mistake one: winding the bobbin with the thread bypassing the tension disc, which produces a soft, spongy wind that feeds unevenly and snarls. Always route through the disc. Mistake two: inserting the bobbin so it unwinds in the wrong direction. Bobbin thread direction matters: the wrong way round defeats the tension spring and your stitches will loop underneath no matter what you do.
Mistake three: using the wrong bobbin type for the machine. I know I said this already, but it bears repeating because it causes the weirdest symptoms, including bobbins that jump, rattle, or pop out of the case mid-seam. Mistake four: thread tails. Trim them. Long tails at the start of a seam get pulled into the bobbin area and start jams. Mistake five: never cleaning under the bobbin. Lint packs into the bobbin area with every project, and a lint-packed raceway causes tension problems that look exactly like a bad bobbin. Make cleaning lint out of the bobbin area a regular habit and half your mysterious stitch problems will never happen.
And the classic: bobbin thread bunching underneath in a tangled nest at the start of every seam. Nine times out of ten this is the top thread, not the bobbin: the presser foot was down during threading, so the thread never seated in the tension discs. Rethread the top with the foot up and the nest usually vanishes like it was never there.
When to Rewind: Bobbin Habits of Happy Sewists
A few parting habits from someone who winds bobbins constantly. Wind two or three bobbins at the start of a project in your main thread color, so you are not stopping mid-seam to wind. When you change thread colors, wind a matching bobbin too; the bobbin thread shows on the underside, and on lightweight fabrics it peeks through. For choosing the best thread for your sewing machine, match fiber and weight between top and bobbin for the most even stitches.
Keep wound bobbins in a bobbin box, not rolling loose in a drawer where they unwind and tangle. And when a bobbin runs out mid-project, do not try to squeeze the last yard out of it: a nearly empty bobbin feeds inconsistently and the stitch quality drops. Rewind with a fresh one and save the stub for hand basting. Your seams will thank you.
FAQ
Can I use any bobbin in my sewing machine?
No. Bobbins come in different classes and sizes, and your machine is designed for one specific type. Using the wrong bobbin causes tension problems, jamming, and rattling. Check your manual for the correct class and buy that exact type.
Why does my bobbin thread keep bunching underneath the fabric?
This is usually a top-threading problem rather than a bobbin problem. Rethread the upper thread with the presser foot raised so it seats properly in the tension discs. Also check that the bobbin is unwinding in the correct direction and that the thread is caught under the tension spring.
How full should I wind a bobbin?
Wind it evenly until it is full but not bulging. Most machines stop automatically at the right point. An overfilled bobbin will not sit flat in its case and feeds unevenly, while a loosely wound bobbin snarls. Steady moderate speed and the tension disc give the most even wind.
Do I need to bring up the bobbin thread every time I start sewing?
You need both threads on top and toward the back before you begin. If you have just inserted a fresh bobbin, bring the loop up with the handwheel method. If you are continuing a project and both thread tails are already at the back, you can simply start sewing.

Written by June Carter
I am June, a sewing enthusiast who loves turning simple fabric into things people actually use. I test every technique and product I write about at my own machine before it lands here.