
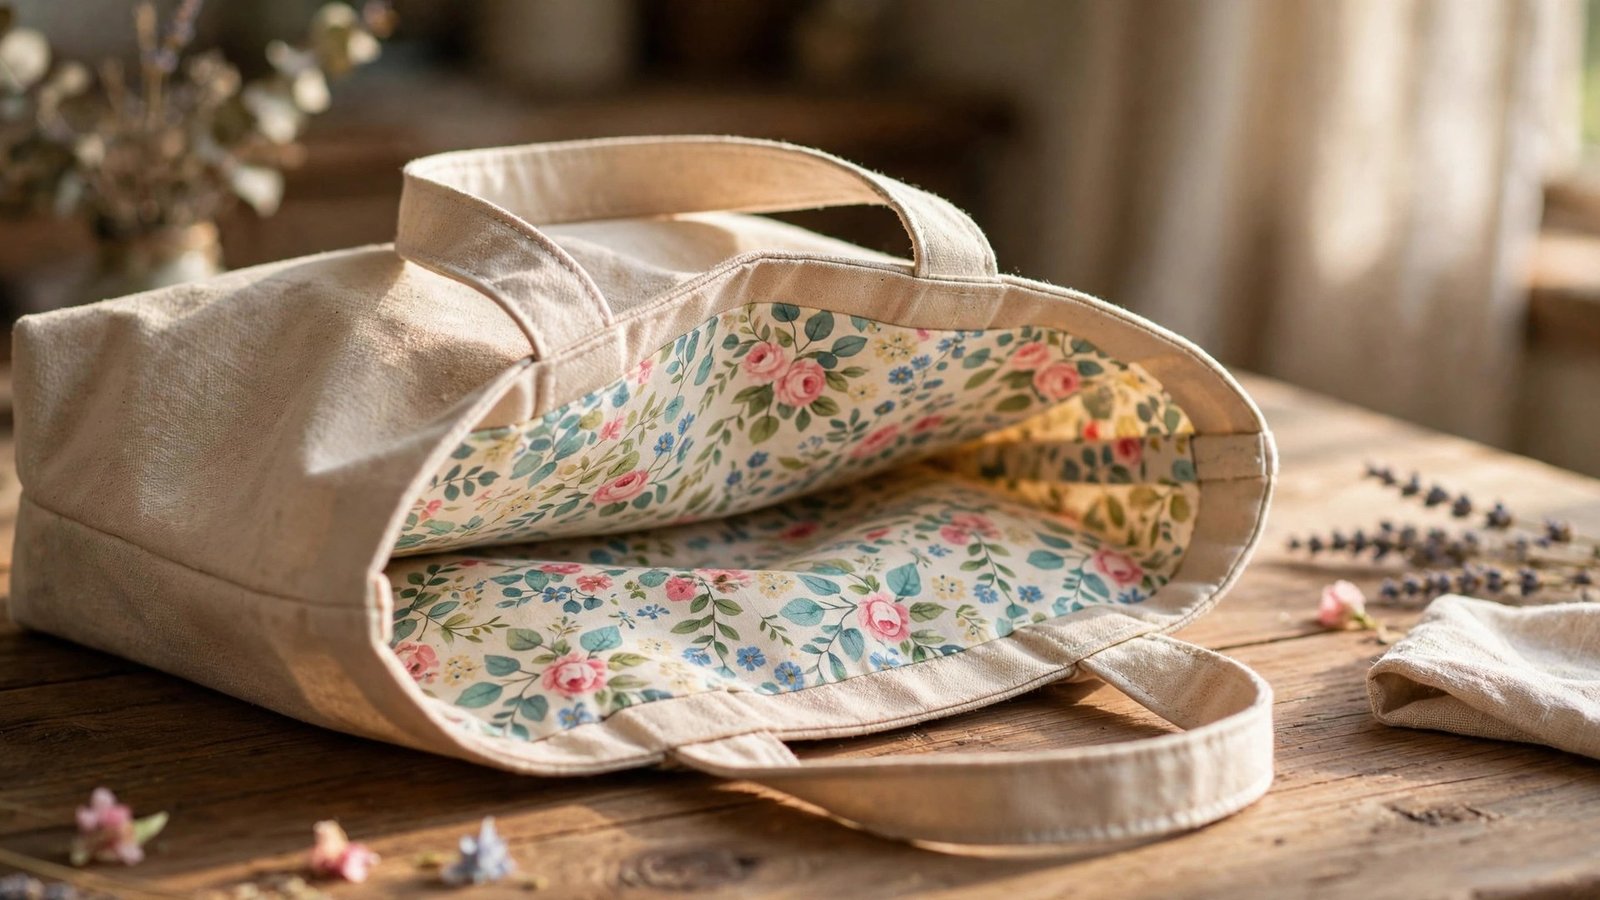
If you want to learn how to line a bag without a pattern, you are in luck, because lining a bag is one of those jobs that sounds technical and turns out to be wonderfully simple. You do not need a lining pattern at all. You use the bag itself as the pattern, measuring the finished bag, cutting lining pieces to match, and sewing them into a lining bag that slips inside. I have lined dozens of bags this way, from totes I sewed myself to a favourite shop bought bag that had a torn lining, and the method never changes.
A lining does three things for a bag: it hides the raw seams inside, it stops small things disappearing into the corners, and it gives the bag a finished, professional feel. It also protects the outer fabric from wear, which matters for a bag you carry every day. In this guide I will show you how to measure the bag, cut the lining, sew it into a bag shape, and join it to the outer bag so the lining stays put and looks neat.
Choose a lining fabric that suits the bag. A medium weight cotton lining works for most bags, a wipe clean lining is better for a lunch bag or a baby bag, and a pretty print makes opening the bag a small pleasure. Avoid very slippery linings for your first attempt, because they are harder to handle, and avoid linings that are much heavier than the outer fabric, because the bag will feel stiff. My guide to how to choose lining fabric will help you pick the right weight and weave.
How to Line a Bag Without a Pattern: Measuring the Bag
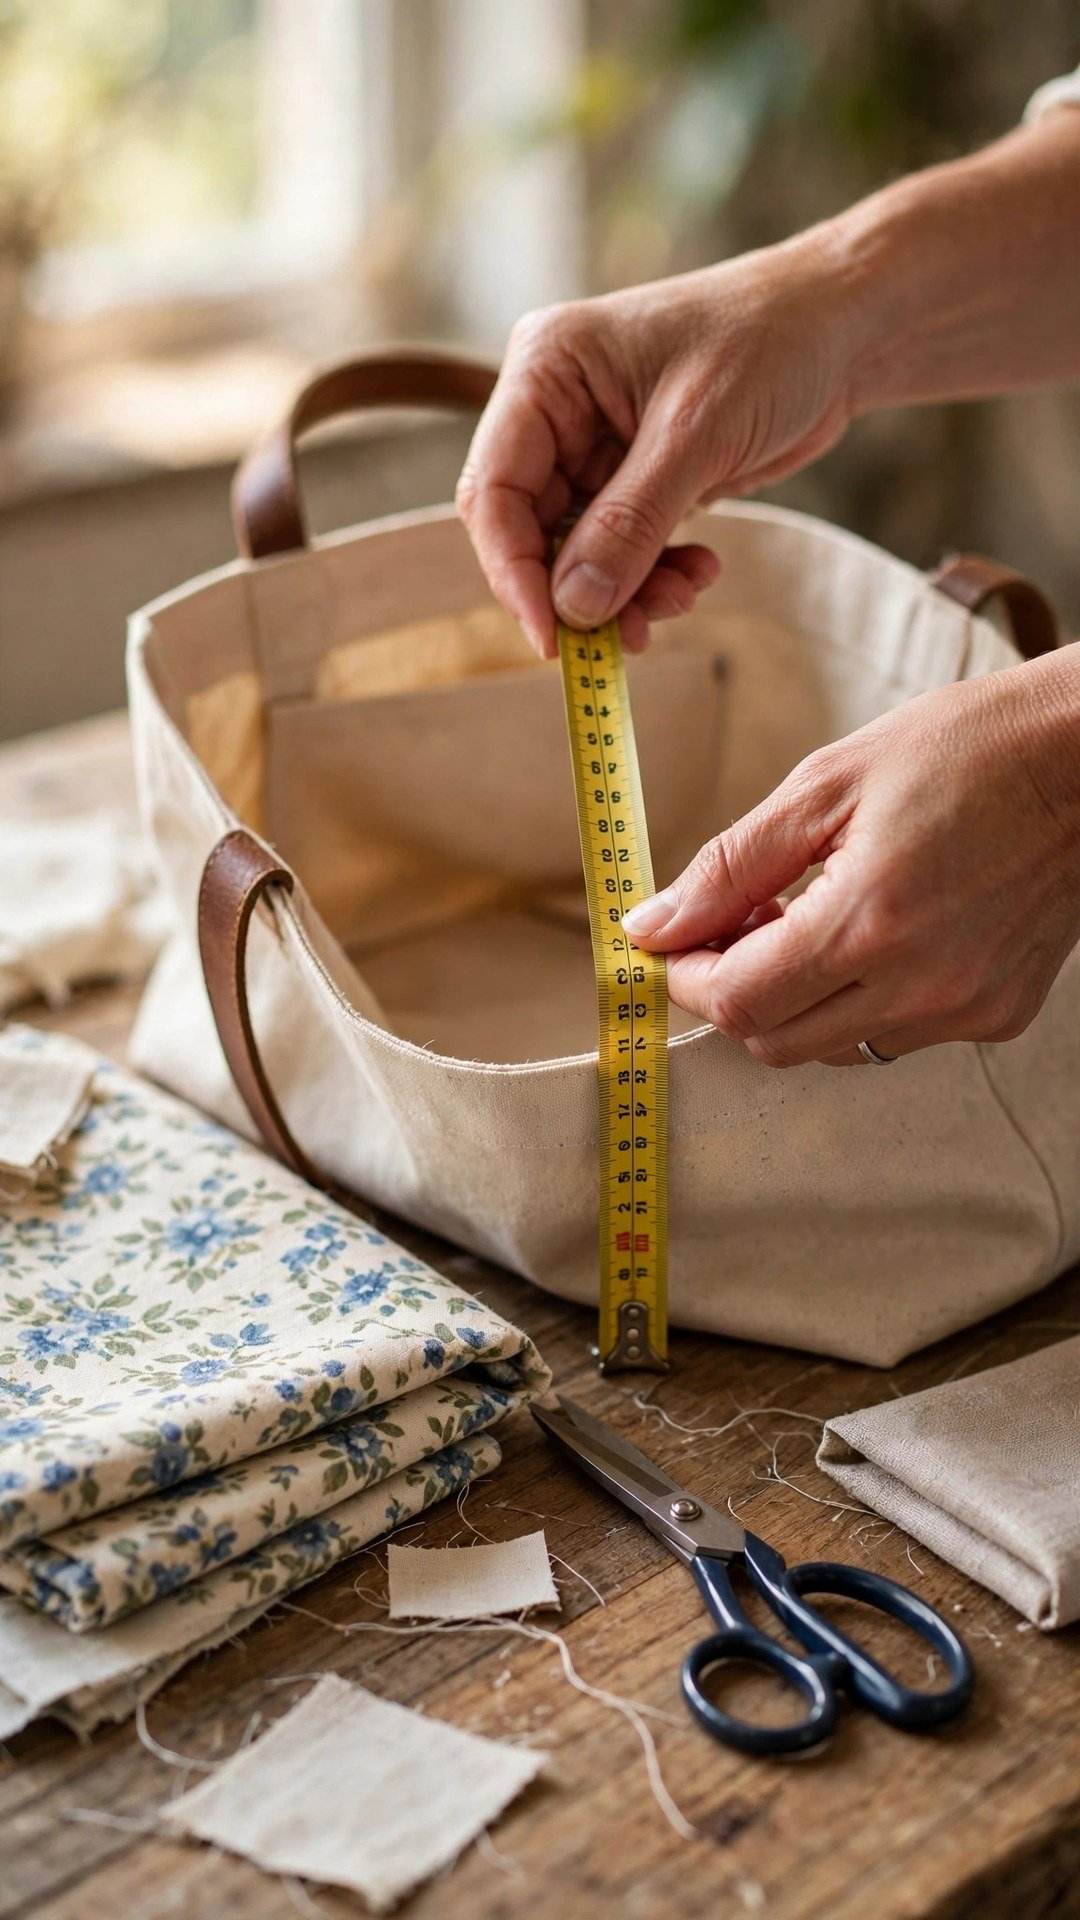
Start by measuring the finished bag, not the pattern it was made from, because the finished bag is the truth. Measure the width across the front, the height from the top edge to the bottom, and the depth of the base, which is the distance from the front to the back at the bottom. Write all three numbers down. Then add a seam allowance to each measurement: add one inch to the width and the height for the side and bottom seams, and add half an inch to the depth if the base is boxed. These additions give you lining pieces that are slightly larger than the bag, so the lining sits inside without pulling.
If the bag has a flat base, cut two lining rectangles using the width plus one inch by the height plus one inch. If the bag has a boxed base, you will box the lining corners to match, so cut the same rectangles and box them later. If the bag is shaped, like a bucket bag or a rounded tote, trace the shape of the bag onto paper first, then add the seam allowance around the tracing. Tracing the bag itself is the easiest way to get a lining that matches a curved shape, and it works for any bag, no matter how unusual. The same measuring approach is used in how to sew a lined tote bag, where the lining is cut to match the finished tote.
Cutting and Sewing the Lining Bag
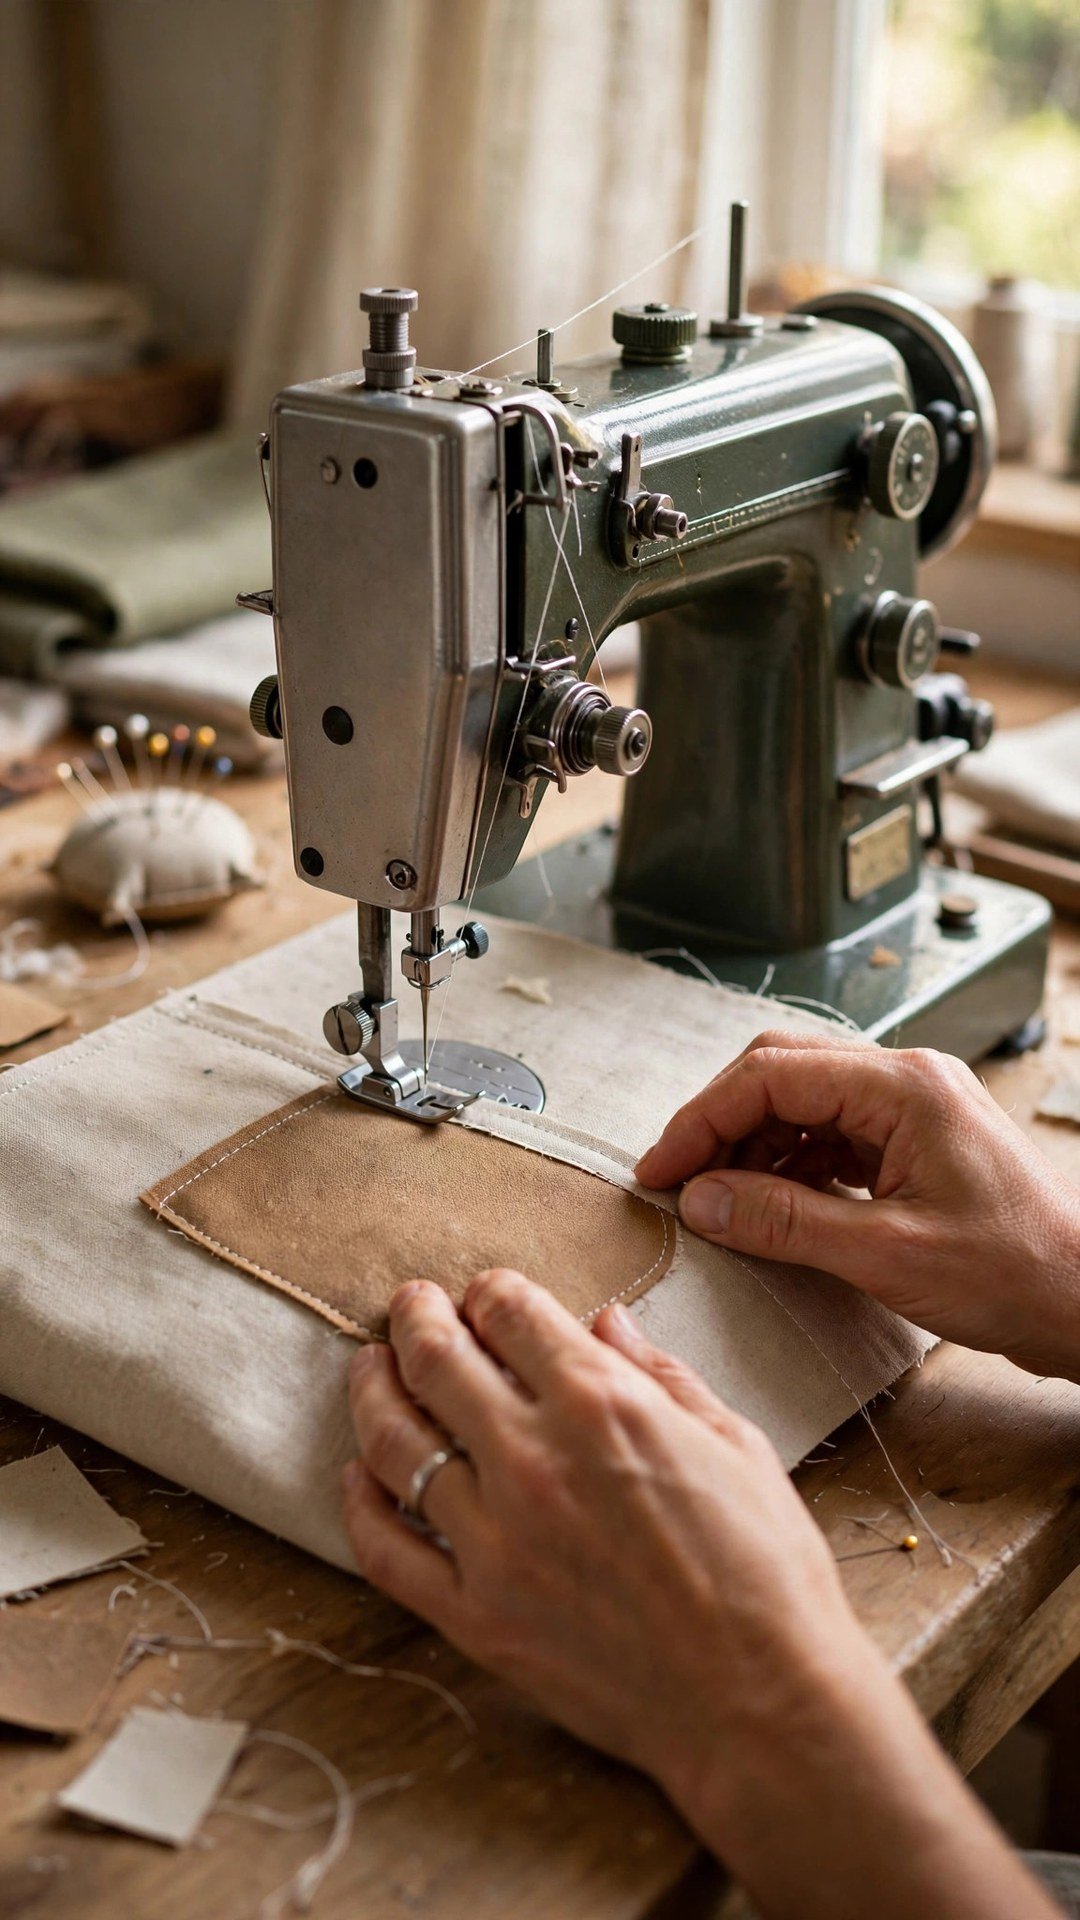
Cut two lining rectangles from your measurements, and cut a pocket piece if you want an inside pocket, which I recommend. An inside pocket is the most useful part of a lining, and it is easy: cut a rectangle about seven inches wide by eight inches tall, hem the top edge, and sew it to the right side of one lining panel before you join the panels. Place it so the top of the pocket sits about two inches below the top edge of the lining, and stitch the sides and bottom, leaving the top open.
Now sew the lining panels together. Place them right sides together, pin around the sides and the bottom, and sew with a half inch seam allowance, leaving a three inch gap in the bottom of the lining for turning. That gap is how you will pull the bag right side out later, so mark it clearly with pins and backstitch at both ends so it does not unravel. Press the seams, and if the outer bag has a boxed base, box the lining corners to match, using the same depth measurement you took from the bag. The lining bag should now be the same shape as the outer bag, just slightly larger, and it should slip inside easily.
Joining the Lining to the Bag
Now join the two bags. Turn the outer bag right side out if it is not already, and turn the lining bag wrong side out, so the right side of the lining faces the right side of the outer bag. Slip the lining inside the outer bag, lining up the top edges and matching the side seams. Pin around the top edge, working slowly and easing the lining in so it sits flat without puckers. If the lining is slightly larger than the bag, which it should be, ease the extra fullness evenly around the top rather than letting it bunch in one place.
Sew around the top edge with a half inch seam allowance, stitching through the outer bag and the lining together. Then reach through the gap in the lining and pull the whole bag right side out, so the lining ends up inside the outer bag where it belongs. Stitch the lining gap closed, push the lining down inside, and press the top edge well, with the lining sitting just inside the outer so no lining peeks out. Topstitch around the top edge if you like, which holds the lining in place and gives a crisp finish. For a bag with a zipper pocket inside, how to add a zipper pocket to a bag shows how to add that pocket to the lining before you join it.
Fixing a Lining That Does Not Fit
Sometimes the lining comes out too big or too small, and that is not a disaster. If the lining is too big and billows out of the top, take a deeper seam at the top edge, stitching a little further in, and press it flat. If it is too small and pulls the outer bag in, unpick the top seam, let the lining out at the side seams by stitching a narrower seam allowance, and try again. A lining that is a little too big is always better than one that is too small, because extra fullness can be eased in, while a tight lining will always pull.
If the lining twists inside the bag, the side seams are probably not matched. Turn the bag inside out, check that the lining side seams sit exactly on the outer side seams, and re-pin them together before you sew the top. And if the lining peeks out over the top edge, press it firmly to the inside and topstitch close to the edge, which will hold it down. A well fitted lining should be invisible from the outside, sitting just inside the top edge, and it should feel like part of the bag rather than an afterthought. The same principles apply to smaller lined pieces, like the wallet in how to sew a simple wallet, where the lining is cut to match the finished wallet shape.
Frequently Asked Questions
Do I need a pattern to line a bag?
No. Measure the finished bag, add seam allowances, and cut lining pieces to match. The bag itself is the pattern, and tracing it gives you a lining that fits, whatever the shape.
How much bigger should the lining be than the bag?
Add about one inch to the width and height for seam allowances, so the lining is slightly larger than the outer bag. A lining that is a little too big can be eased in, while a tight lining will pull the bag out of shape.
Can I add a pocket to the lining?
Yes, and you should. Sew a pocket to one lining panel before you join the panels together. A simple patch pocket is easy, and a zipper pocket is a nice upgrade once you are comfortable.
What is the best fabric for a bag lining?
Medium weight cotton is the easiest choice for most bags. Choose a wipe clean lining for a lunch bag or a baby bag, and a pretty print for a bag you will open often. Avoid very slippery fabrics for your first lining.
How do I stop the lining from showing at the top?
Press the lining to the inside after joining, and topstitch around the top edge to hold it down. Cutting the lining a fraction shorter than the outer bag also helps, so it sits just below the top edge.
Line It, Use It, Love It
Lining a bag without a pattern is a measuring job, not a pattern job, and it is one of the most satisfying upgrades you can give a bag. Measure the bag, cut the lining a little larger, sew it into a bag shape, and join it at the top. The result is a bag that looks finished inside and out, and that is a bag you will reach for every day.

Written by June Carter
I am June, a sewing enthusiast who loves turning simple fabric into things people actually use. I test every technique and product I write about at my own machine before it lands here.