
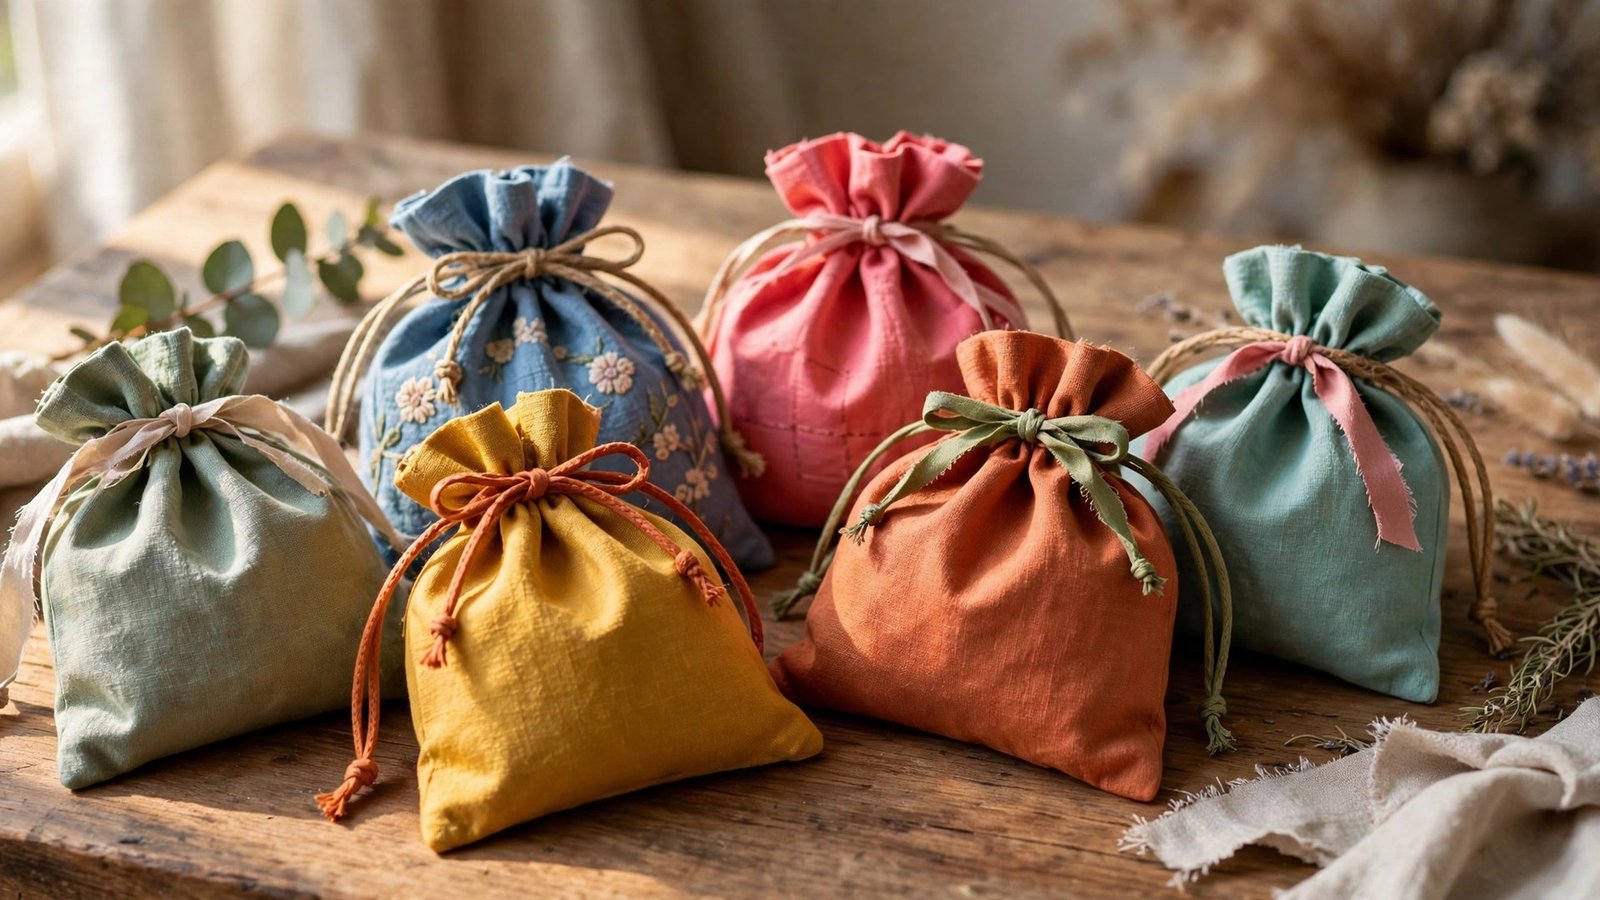
If you want to learn how to sew a drawstring gift bag, you are about to make one of the most useful and most gifted things in sewing. A drawstring bag replaces wrapping paper, it can be used again and again, and it turns an ordinary present into something that feels thoughtful before it is even opened. I make these bags in batches, in festive prints and plain cottons, and I always have a few ready for birthdays and holidays.
The method is simple enough for a complete beginner, and the whole bag takes less than an hour from cutting to tying the bow. You sew a simple rectangle into a bag, make a casing at the top, thread a cord or ribbon through it, and pull it closed. In this guide I will show you the fabric choices, the measurements, the casing method that keeps the cord from twisting, and the finishing touches that make the bag look like a gift in itself.
Choose Fabric and Size Your Bag
Almost any stable cotton works beautifully for a drawstring gift bag, and quilting cotton is my first choice because it comes in endless prints, presses crisply, and sews easily. Linen gives a softer, more rustic look, and canvas makes a sturdier bag for heavier gifts. Avoid very slippery fabrics for your first bag, and save sheer or stretchy fabrics until you are comfortable with the method, because they make the casing fiddly.
Size the bag to the gift, not the other way around. A small bag for jewellery or a candle might be six inches wide by eight inches tall, a medium bag for a book or a bottle might be ten inches wide by twelve inches tall, and a large bag for a soft toy or a bundle of treats might be fourteen inches wide by sixteen inches tall. Add a seam allowance of half an inch on the sides and bottom, and three inches at the top for the casing and hem, and write your measurements down before you cut.
Cut, Sew, and Finish the Bag Body
Cut one rectangle of fabric for the bag body, or two rectangles if you want a lined bag, and press the fabric before you cut so your measurements are true. Fold the rectangle in half with right sides together, so the fold becomes the bottom of the bag, or sew the bottom seam as well if you cut two pieces. Pin the side edges, and sew them with a half inch seam allowance, backstitching at the start and end. If you want a flat bottom, box the corners as my guide to how to box bag corners explains, but a flat bag is perfectly fine for most gifts.
Finish the raw edges so they do not fray, using a zigzag stitch, pinking shears, or a French seam if you want a really neat inside. Turn the bag right side out, press the side seams flat, and check that the top edge is straight and even. This is a good moment to admire your work, because the bag already looks like a bag, and the casing is the only step left before it is useful.
How to Sew a Drawstring Gift Bag Casing
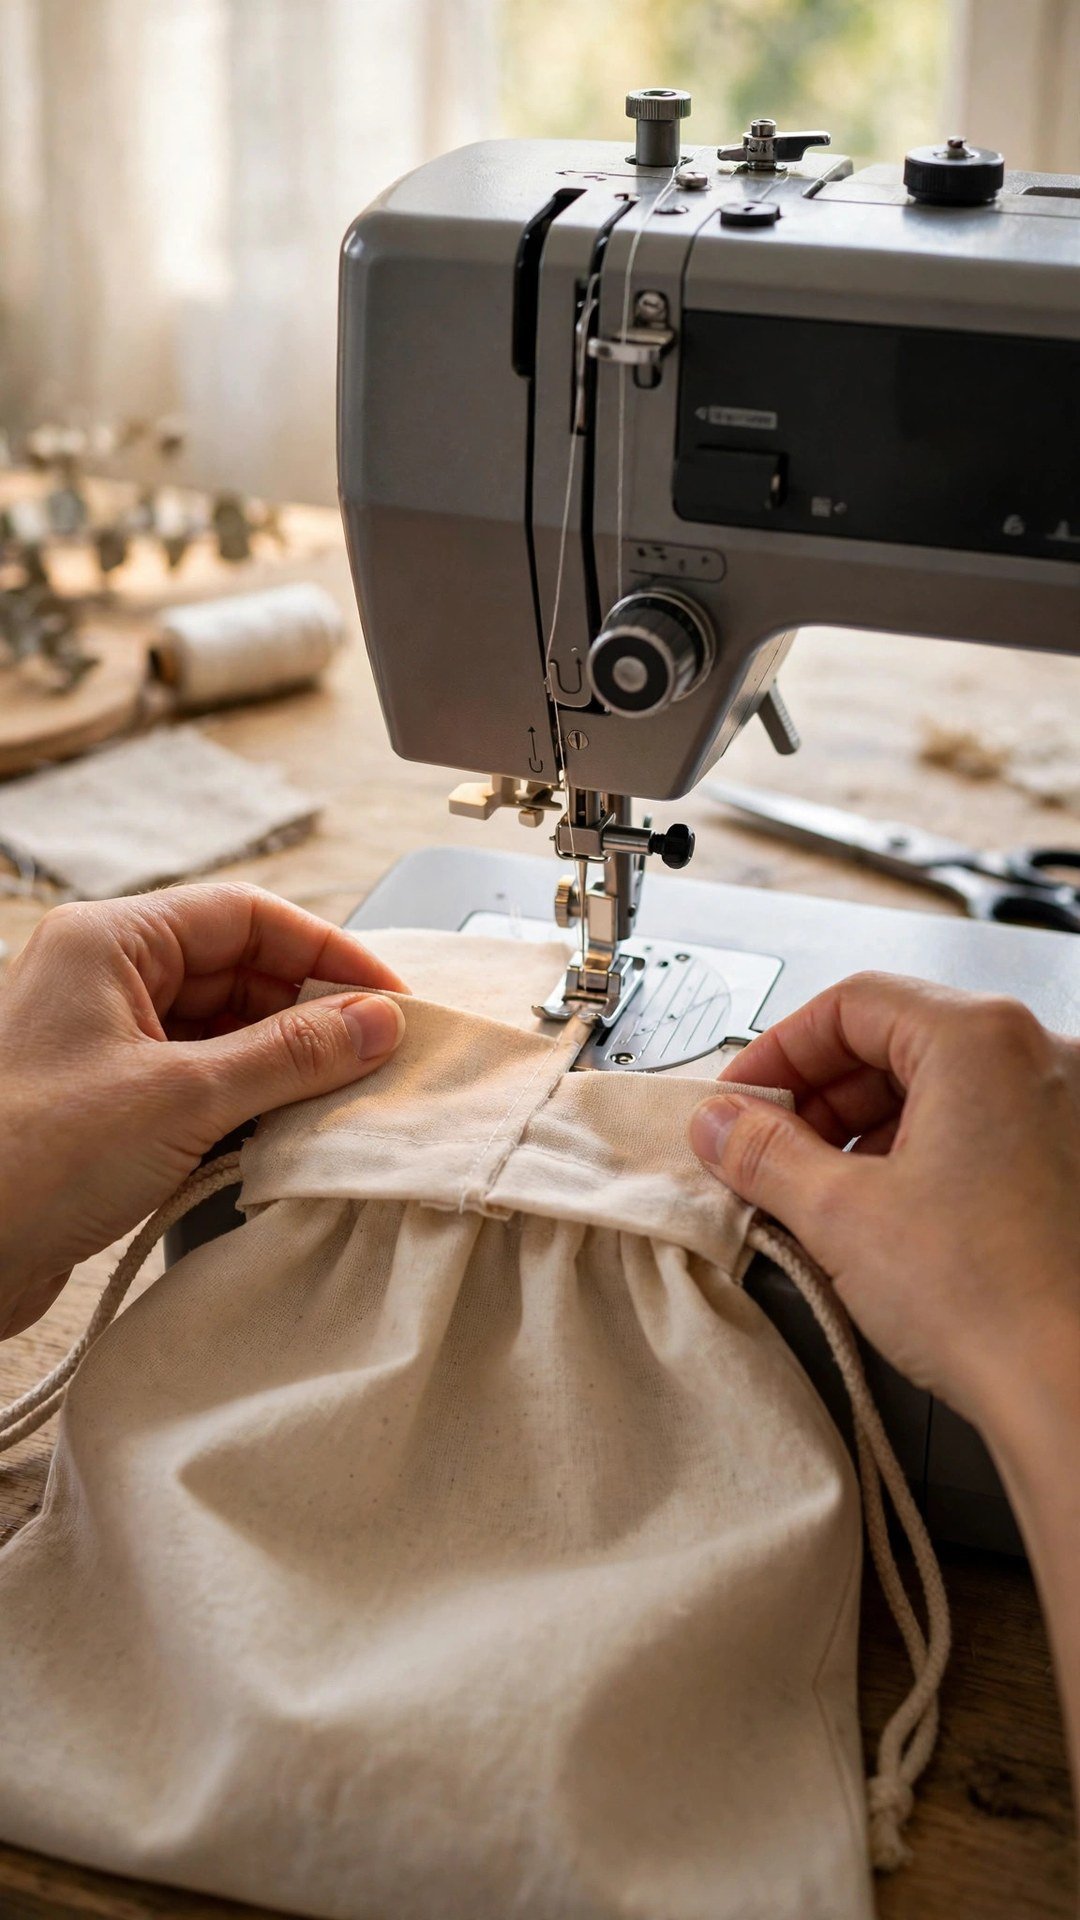
The casing is the channel at the top of the bag that the cord runs through, and it is what makes the bag close. Fold the top edge of the bag down by half an inch to the wrong side, press it, then fold it down again by one and a half inches and press again. This double fold hides the raw edge and forms the casing. Stitch close to the lower folded edge, all the way around the bag, leaving a small gap of about an inch where the cord will go in and come out.
For a two cord bag, stitch a second line through the middle of the casing, dividing it into two channels, and leave a gap in each channel on opposite sides of the bag. This gives you two cords that pull from opposite sides, and the bag closes more evenly. For a single cord bag, one channel is enough, and the cord will gather the top neatly when you pull it. Keep your stitching straight and even, because the casing is visible at the top of the finished bag.
Press the casing after stitching, and check that the gap is open and clear. If the stitching has closed the gap by accident, unpick a few stitches and restitch carefully. The casing should be smooth and flat, with no twists or puckers, because a neat casing is what makes the finished bag look professional. If you are new to casings, my guide to how to sew a drawstring backpack uses the same method on a larger scale.

Thread the Cord and Finish the Bag
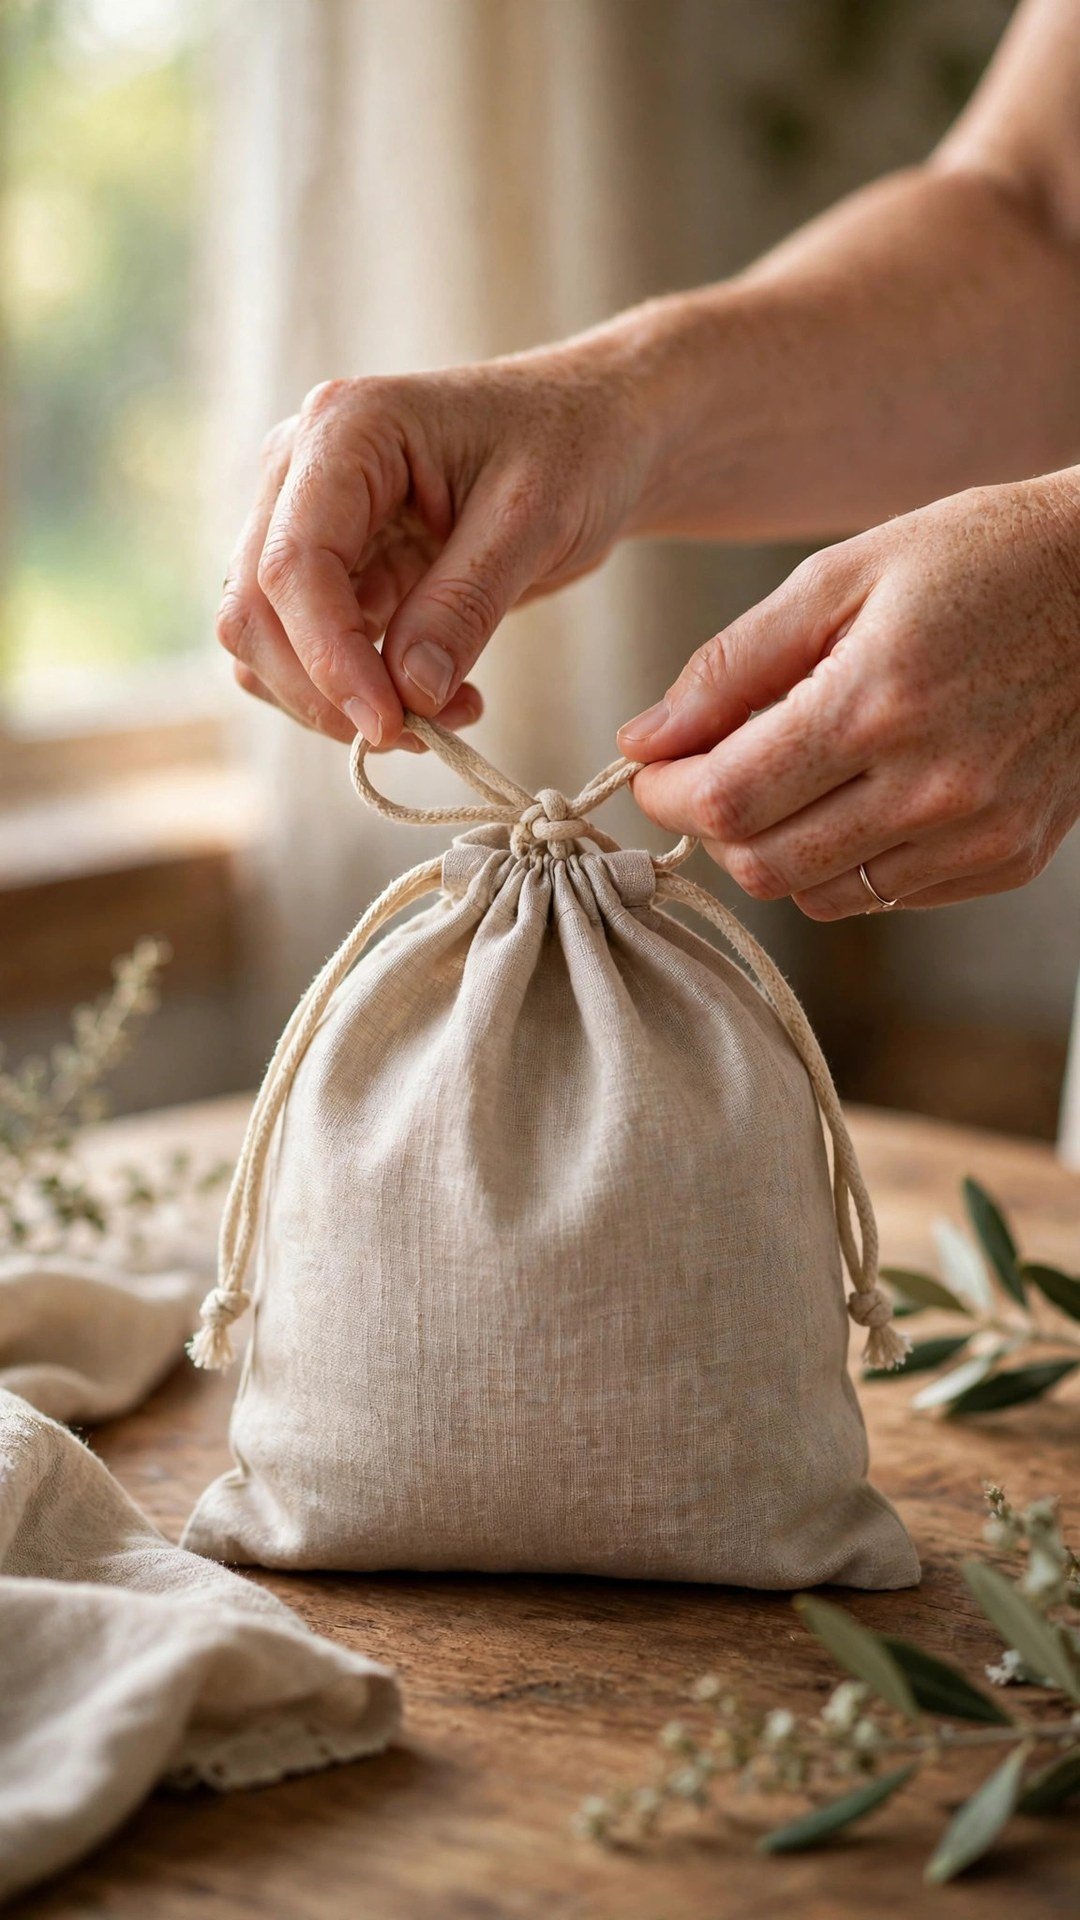
Cut your cord or ribbon to about twice the width of the bag plus a generous amount for tying, and attach a large safety pin to one end. Feed the pin through the gap in the casing, working it all the way around the bag and out through the same gap, taking care not to twist the cord as you go. Pull both ends even, and tie a small knot in each end so the cord cannot slip back into the casing. For ribbon, seal the cut ends with a tiny bit of fray check, or fold and stitch them, so they do not unravel.
For a two cord bag, thread one cord through the top channel and the other through the bottom channel, starting from opposite sides, so you have two cords on each side of the bag. Pull each pair together to close the bag, and tie them in a bow. Test the closure by pulling the cords gently and checking that the bag gathers evenly all the way around, with no bunched fabric on one side and a gap on the other.
Make a Batch and Vary the Details
Once you know the method, making a batch of bags is the most satisfying way to use up fabric scraps and prepare for the gift giving season. Cut several bags in different sizes and prints, sew them in an assembly line, and store them flat until you need them. I keep a small stack in a drawer, ready to grab for birthdays, holidays, and last minute gifts, and they have saved me more times than I can count.
Vary the details to suit the occasion. Use festive prints for holidays, soft florals for birthdays, and plain linen with a ribbon for a wedding gift. Try different cords, ribbons, and twine, and add a fabric label or a small embroidered initial for a personal touch. A bag made from a fabric the recipient loves is a gift in itself, and it shows a level of care that wrapping paper never will.
If you enjoy making bags, my guide to how to sew a lined tote bag is a natural next project, using the same basic skills on a larger scale. Start with one drawstring bag tonight, enjoy how quickly it comes together, and then make a few more while the method is fresh in your hands. Your future self, reaching for a ready made bag on a busy morning, will be very grateful.
Frequently Asked Questions
What fabric is best for a drawstring gift bag?
Quilting cotton is best for beginners, because it presses crisply, sews easily, and comes in endless prints. Linen gives a softer look, and canvas makes a sturdier bag for heavier gifts.
How big should a drawstring gift bag be?
Size it to the gift, adding half an inch seam allowance on the sides and bottom, and three inches at the top for the casing. A medium bag for a book is about ten inches wide by twelve inches tall.
How do I stop the cord from twisting in the casing?
Feed the cord through with a safety pin, keeping it flat as you go, and pull both ends even before you knot them. A casing stitched straight and pressed flat also helps the cord run smoothly.
Can I make a drawstring bag without a sewing machine?
Yes, the whole bag can be sewn by hand with a running stitch and a backstitch at the seams. It takes longer, but the method is the same, and the result is just as lovely.
How long should the drawstring cord be?
Cut the cord to about twice the width of the bag plus enough extra to tie a bow comfortably. It is better to cut it too long and trim it later than too short.
Sew One Tonight, Gift It Tomorrow
A drawstring gift bag is a small project with a large return, because it replaces wrapping paper, it can be reused for years, and it makes every gift feel more thoughtful. Cut a rectangle, sew the sides, make the casing, thread the cord, and you have a beautiful bag in under an hour. Make one tonight, fill it tomorrow, and enjoy the look on the face of the person who opens it. That is the joy of sewing, in a single small bag.

Written by June Carter
I am June, a sewing enthusiast who loves turning simple fabric into things people actually use. I test every technique and product I write about at my own machine before it lands here.