
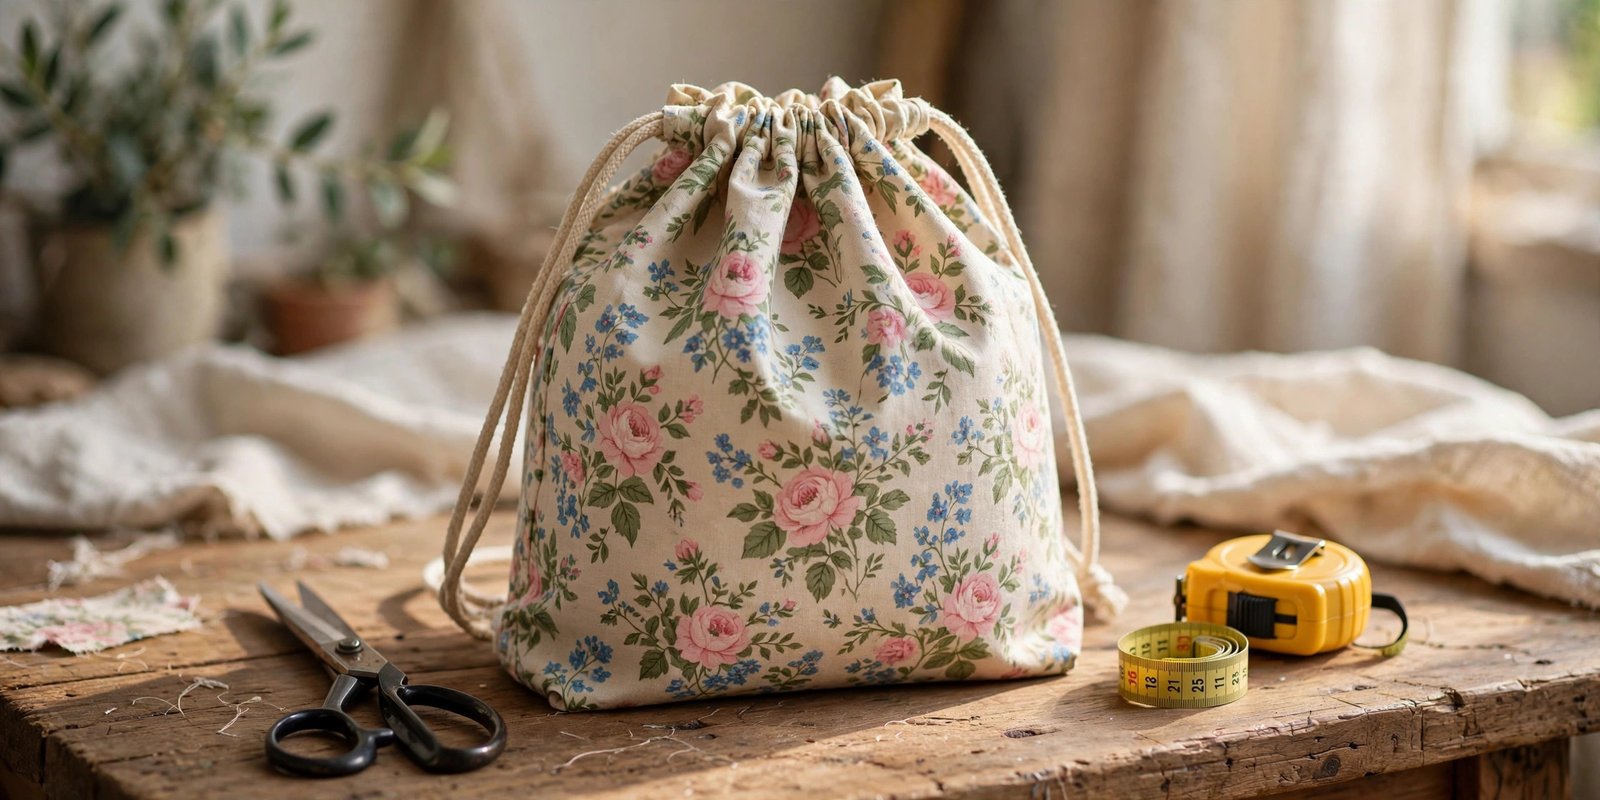
Learning how to sew a drawstring backpack was the first project that made me feel like a real sewist. Not a pillowcase, not a simple tote, but a proper little backpack with a lining, a stitched casing, and cords that cinch shut with one pull. I made my first one from a cheerful floral cotton, and years later it still carries my library books without a single popped seam.
A drawstring backpack is honestly the perfect second or third project for a beginner. You cut simple rectangles, you sew straight lines, and the finished bag looks far more impressive than the effort it took. There are no zippers to install, no hardware to buy, and no fiddly pattern pieces to trace. Just fabric, cord, and a few straight seams on your machine.
In this tutorial I will walk you through every step, from gathering your drawstring backpack supplies to threading the final cord. Grab your machine and let us make something you will actually reach for every week.
What You Will Need for a Drawstring Backpack
The materials needed for one backpack, roughly the size of a school gym bag, fit on a very short shopping list. You will need half a yard of exterior fabric, half a yard of lining fabric, about four yards of cotton cord, paracord, or sturdy ribbon, all-purpose thread to match, and your standard sewing tools: scissors or a rotary cutter, a ruler, pins or sewing clips, a safety pin, and an iron.
That is the whole list, and I mean it. If you have ever finished a project and thought, that was easier than I expected, this is one of those. The exterior fabric does the heavy lifting here, so choose something with a bit of body, like a medium-weight cotton canvas or a home decor weight cotton. The lining fabric can be a lighter quilting cotton in a fun print, because you get a little flash of it every time you open the bag.
Choosing Fabric for a Backpack That Lasts
My strong opinion: the fabric decides whether your backpack becomes a daily favorite or a sad lump in the closet. A crisp canvas holds its shape and stands up to books, gym shoes, and whatever else gets tossed inside. A flimsy quilting cotton works too, especially for a kids bag, but it will feel softer and slouchier. If you are still building your fabric instincts, my guide to the best fabrics for beginner sewing projects will help you pick with confidence.
Whatever you choose, prewash and press it before you cut. Cotton shrinks, and there is nothing sadder than a backpack that fits perfectly until its first wash. I always toss new yardage in the wash the day I bring it home, and I explained my whole routine in how to prewash cotton and linen. It takes ten minutes of actual effort and saves every project after it.
Cutting Your Pieces
Good cutting measurements make everything that follows easier, so take your time here. From your exterior fabric, cut two rectangles measuring 17 inches wide by 15 inches tall. Cut two identical rectangles from your lining fabric. Then cut two casing strips from the exterior fabric, each 3 inches tall by 14 inches wide, and two small loop squares, each 3 inches by 3 inches. When you cut fabric pieces this simple, accuracy matters more than speed, because every seam lines up against these edges.
Lay your pieces out and label them if it helps. I use little sticky notes: front, back, lining front, lining back, casings, loops. It looks fussy, but when you are mid-project with the iron hot and the machine threaded, you will thank yourself.

How to Sew a Drawstring Backpack: The Main Seams
Now the satisfying part: sewing the bag itself. Start with the two exterior rectangles, right sides together. Sew the two sides and the bottom with a half inch seam allowance, leaving the top completely open. Press the seams open or to one side with your iron, because flat seams now mean a crisp bag later.
Before you sew the sides, tuck in the cord loops. Fold each 3 inch square in half, then fold the raw edges to the center and press again so you have a sturdy little tab about three quarters of an inch wide. Topstitch along both long edges. Pin one tab to the right side of each exterior piece, about two and a half inches up from the bottom edge, with the raw ends of the tab pointing toward the bottom. When you sew the sides closed, these tabs get caught in the seam, and they become the anchors your cords thread through later.
Repeat the side and bottom seams for the two lining pieces, but leave a four inch gap in the bottom of the lining for turning. If your straight seams still wander a little, that is completely normal at this stage, and my tutorial on how to sew a straight stitch has the guide tricks that fixed mine.
Sewing the Drawstring Casing
The drawstring casing is the channel the cords slide through, and it is simpler than it looks. Take one casing strip and press a quarter inch hem on each short end, then stitch. Fold the strip in half lengthwise, wrong sides together, and press. Center it along the top edge of one exterior piece, with the folded edge pointing down toward the bag and the raw edges aligned with the raw top edge of the bag.
Lay one lining rectangle over the top, right sides facing, so the casing strip is sandwiched between the exterior and the lining. Pin well, then stitch along the top edge with a half inch seam allowance. Repeat with the second exterior piece, lining piece, and casing strip. Press each seam toward the lining, then open the pieces and press the lining and exterior away from the casing. You have just built the casing channel on both sides of the bag, and it should look neat and intentional.
Next, slip the lining inside the exterior, wrong sides together, and pin so the top edges are even and the side seams match. Stitch all the way around through every layer, then press around the top of the backpack and topstitch just under the casing. This topstitching is the detail that makes the bag look store bought.
Threading the Cords and Finishing Touches
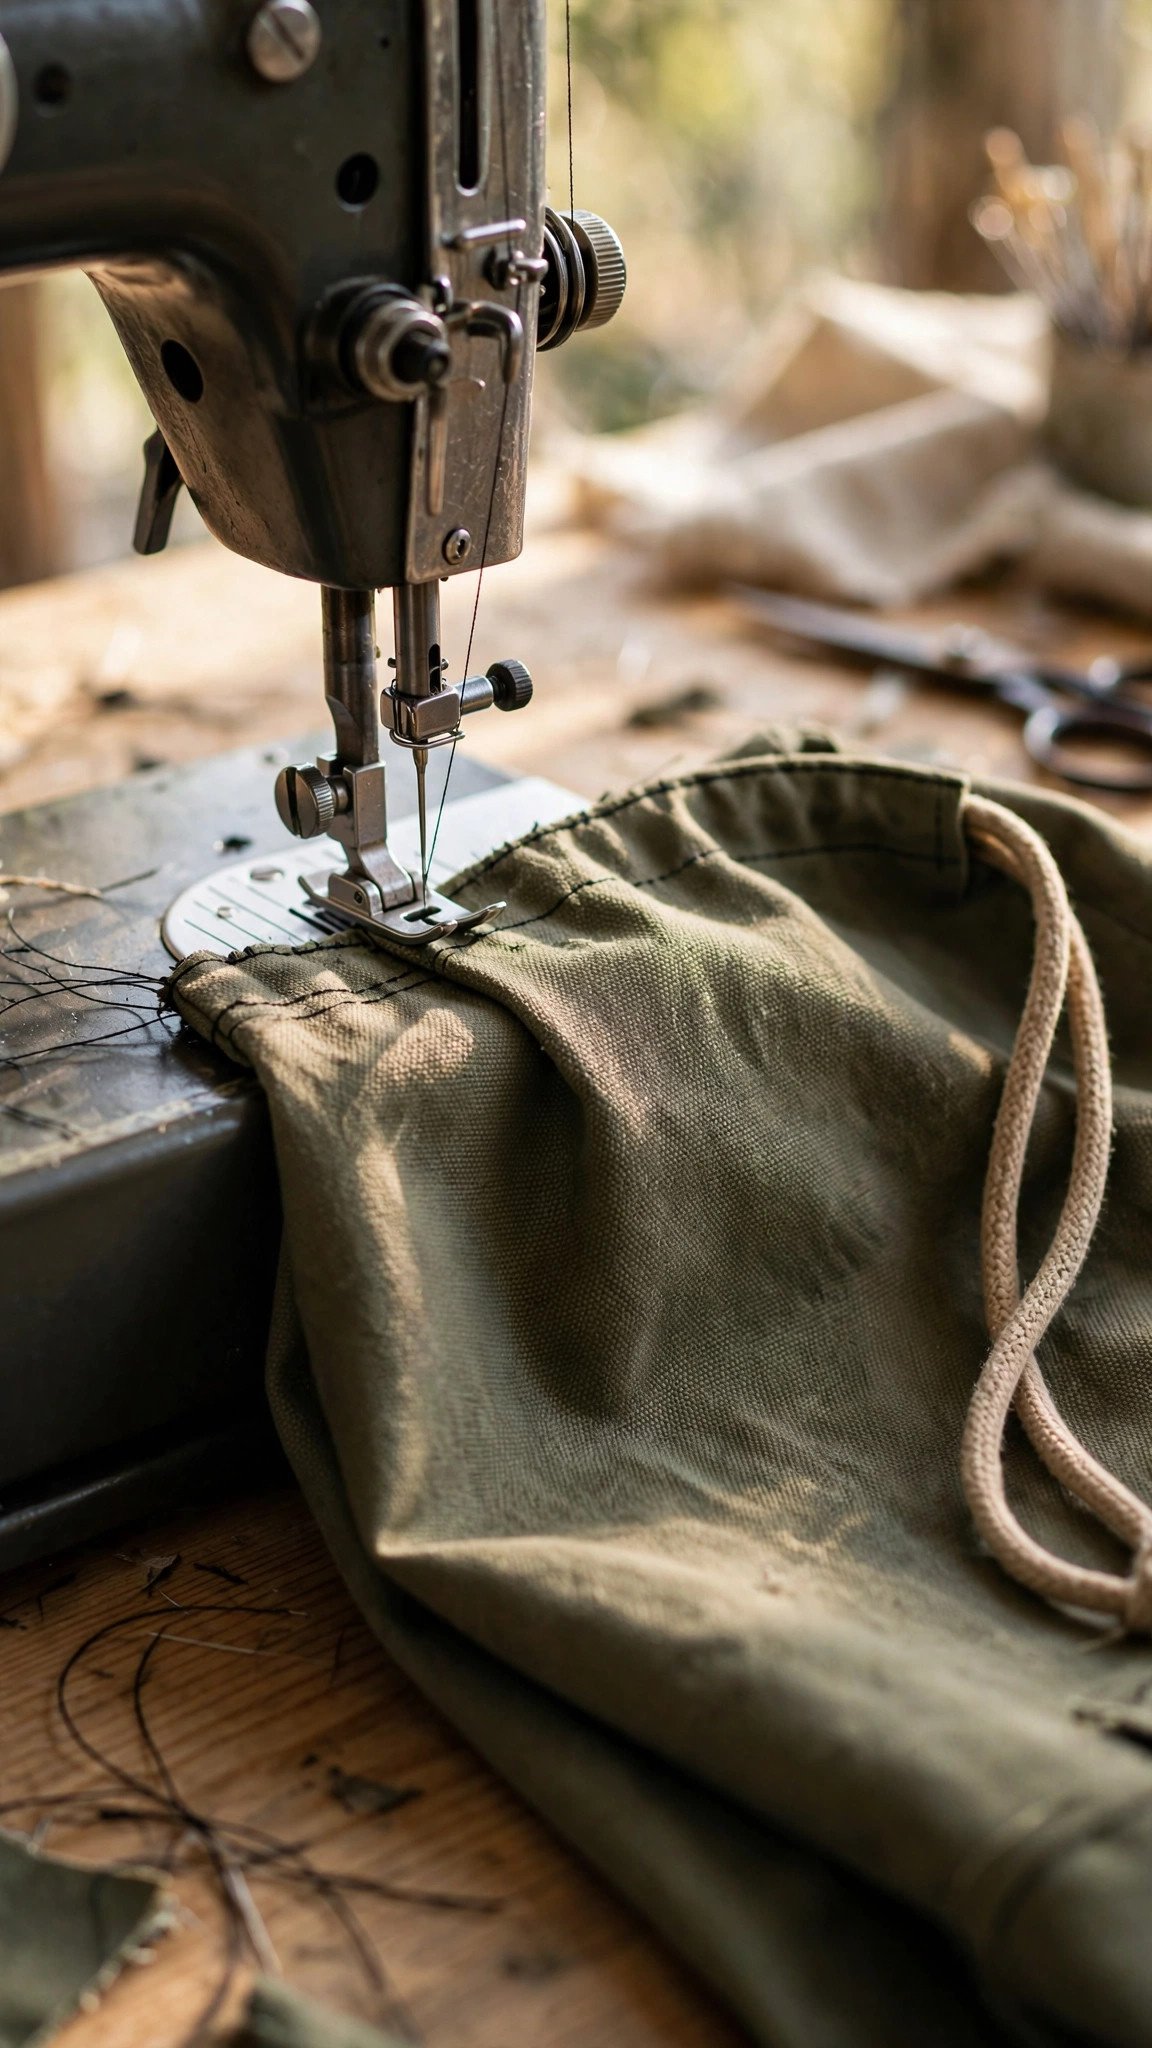
Cut two cords, each roughly 55 inches long. Attach a large safety pin to one end of the first cord and feed it through the casing on the front of the bag, all the way around until it comes out where it started. Repeat with the second cord on the back casing. Now here is the part people get backwards: feed one cord through the loop tab on the left side and the other cord through the loop tab on the right side, then knot each pair of cord ends together.
When you pull the two knotted pairs, the top of the bag gathers closed and the cords become the shoulder straps. Adjust everything until both sides hang evenly, trim the cord ends at an angle to reduce fraying, and give the whole bag a final press. If you used clips instead of pins for the thicker layers, you already know the joy of pinning and clipping fabric the smart way.
Stand back and admire your work. You just made a lined backpack with a proper casing and working drawstrings, and nobody at the park will believe it was your third project.

FAQ
How much fabric do I need for a drawstring backpack?
For the size in this tutorial, half a yard of exterior fabric and half a yard of lining fabric is plenty, plus about four yards of cord. If you want a bigger bag, add a couple of inches to the rectangles and buy a little extra cord.
Can I make a drawstring backpack without a lining?
You can, and it sews up even faster, but I recommend the lining. It hides every raw edge, gives the bag structure, and makes the inside feel finished. Once you have sewn one lined bag, you will never want to skip it.
What kind of cord works best for the drawstrings?
Cotton cord, paracord, and sturdy grosgrain ribbon all work well. Avoid thin satin ribbon for a bag that will carry weight, because it slips and wears faster. Whatever you choose, melt or knot the cut ends so they do not fray.
Is a drawstring backpack a good first sewing project?
It is a great second or third project. If you have never touched a sewing machine, sew a few practice lines first, then come back here. The only skills involved are cutting straight, sewing straight, and pressing, and all three are worth learning properly.

Written by June Carter
I am June, a sewing enthusiast who loves turning simple fabric into things people actually use. I test every technique and product I write about at my own machine before it lands here.