

If you have ever wondered how to sew a lined tote bag that actually looks store-bought, I promise you it is easier than it looks. My first lined tote had wobbly straps, a lumpy seam where the lining met the outer fabric, and a pocket that sat crooked. I still carried it everywhere because I had made it myself, but I knew I could do better. After sewing dozens of them, I have this process down to a reliable routine, and I am going to walk you through every step.
A lined tote bag is one of the best beginner sewing projects I know. You will practice straight seams, learn how to handle two layers of fabric, and end up with something genuinely useful. Grocery runs, library trips, craft supplies, travel: a good tote earns its keep. The lining is what takes it from a floppy sack to a proper bag, hiding all your seams and giving it a clean, finished interior.
Why a Lined Tote Beats an Unlined One
An unlined tote shows every seam allowance on the inside. That is fine for a quick practice piece, but the moment you toss your keys or a water bottle in there, those raw edges start to fray and catch on things. A lining hides all of that. It also lets you mix fabrics: a bold floral outside with a cheerful polka dot inside, for example. Nobody sees it but you, and that is exactly the charm.
Lining also adds body to the bag. Two layers of fabric stand up better than one, which means your tote holds its shape on the checkout counter instead of collapsing into a puddle. If you want even more structure, a layer of fusible interfacing on the outer pieces makes the whole thing feel sturdy and professional.
How to Sew a Lined Tote Bag: Materials and Fabric Choices
Before you cut anything, gather your supplies. I like to lay everything out on the table first so I am not hunting for pins mid-project. You will need outer fabric, lining fabric, thread, pins or clips, fabric scissors or a rotary cutter, a measuring tape or ruler, and an iron. For straps you can use cotton webbing, which is the fast option, or make your own straps from the outer fabric, which looks more polished.
For the outer fabric, medium-weight cotton is my top recommendation for a first bag. Canvas, denim, and quilting cotton backed with interfacing all work well. For the lining, plain quilting cotton is perfect: it is light, easy to sew, and comes in endless prints. I strongly recommend prewashing your fabrics first, especially if the outer and lining fabrics might shrink differently. Nothing ruins a bag faster than a lining that shrinks inside its shell. If you need a refresher on why this matters, my guide on how to prewash cotton and linen covers the whole process.
My standard tote size uses two outer rectangles and two lining rectangles, each about 16 inches wide by 14 inches tall, plus two straps around 24 inches long. You can scale these numbers up or down for anything from a lunch tote to a beach bag. Just keep the outer and lining pieces the same size so they nest neatly inside each other.
Cutting Your Pieces Straight and Square
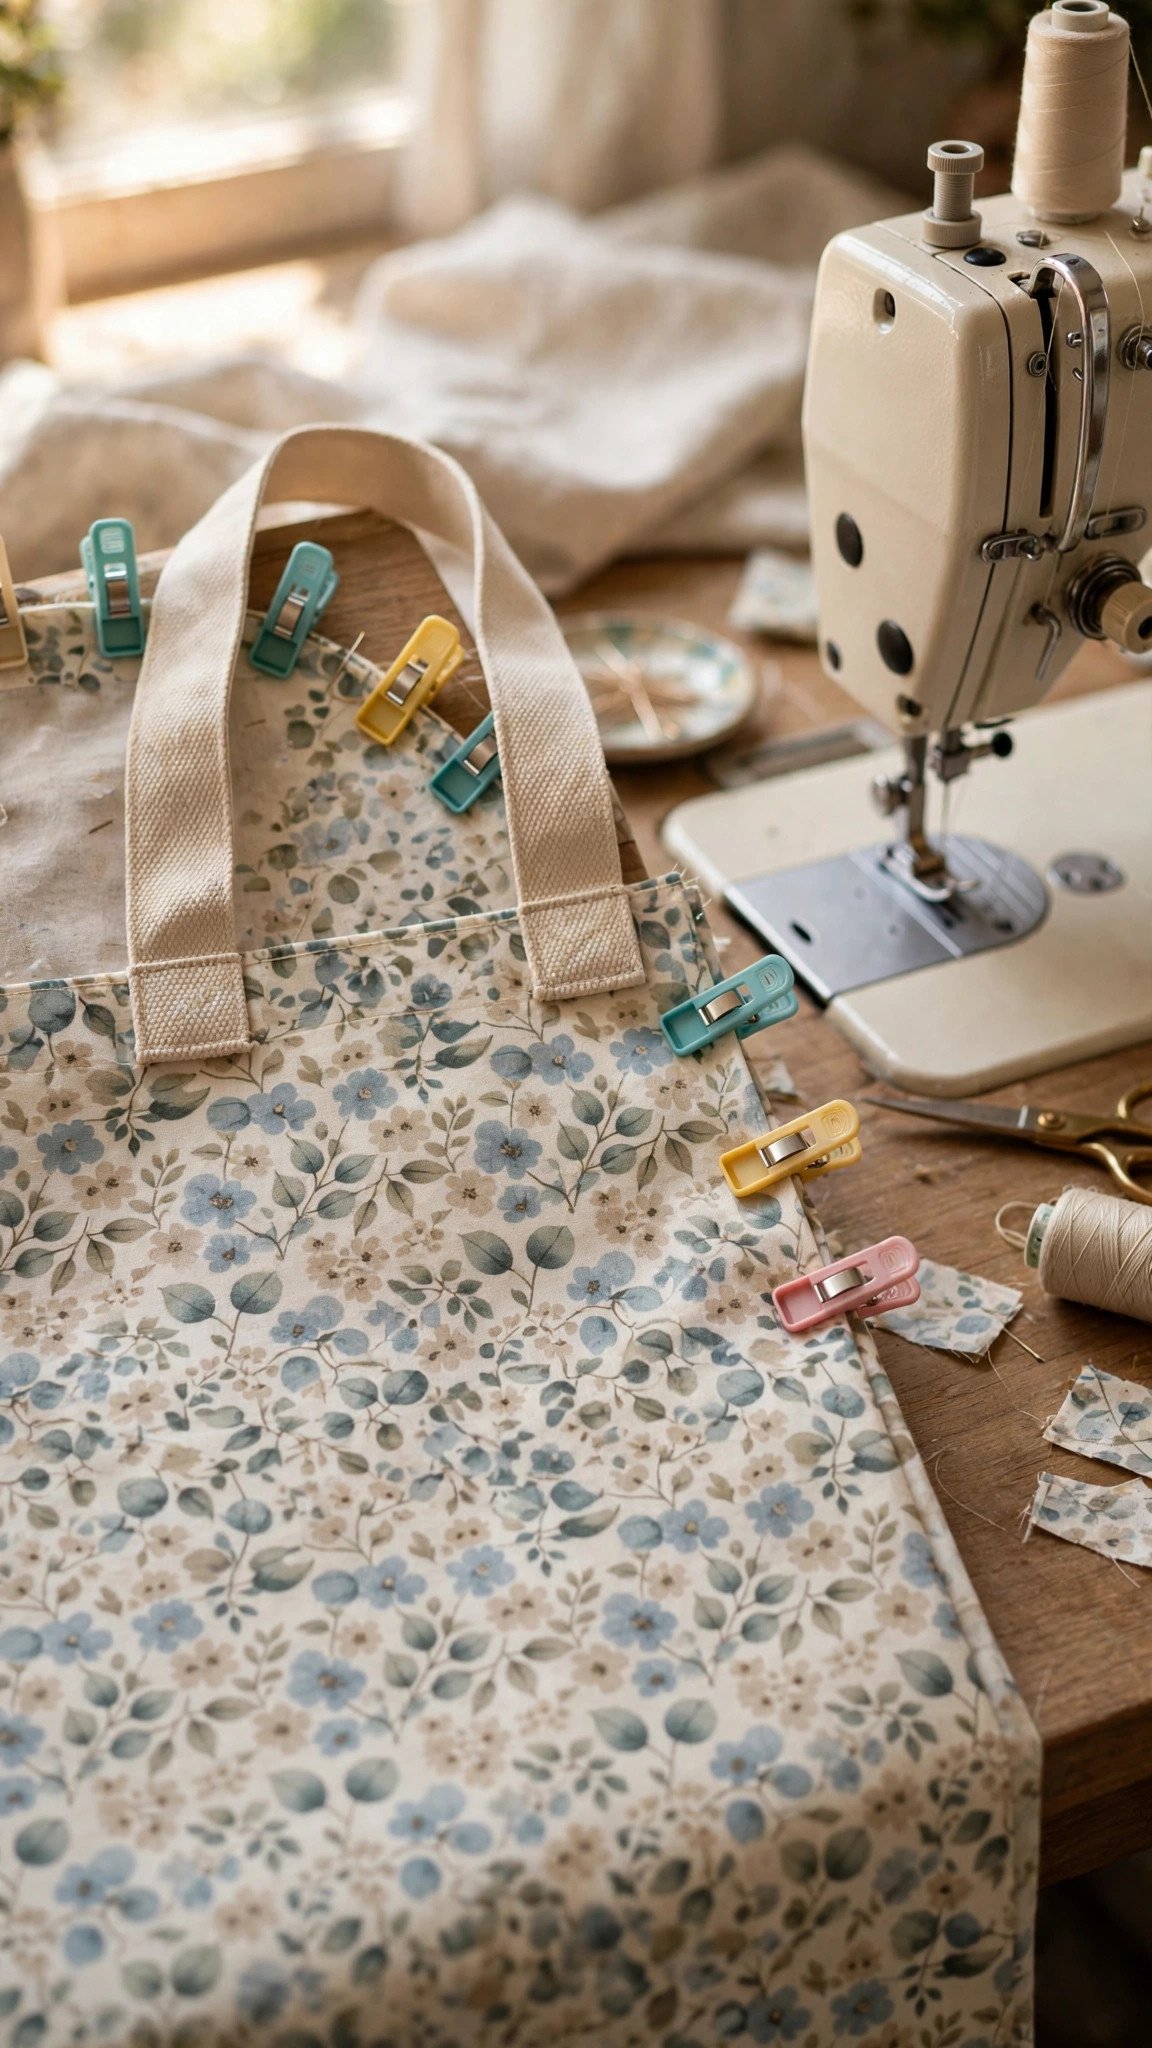
Accurate cutting makes the whole project easier, so take your time here. Fold your fabric, align your ruler, and cut with confidence. A rotary cutter on a cutting mat gives the cleanest rectangles, but sharp fabric scissors work too. Cut two outer pieces, two lining pieces, and your strap pieces. If you are making fabric straps, cut two strips about 3 inches wide by 24 inches long.
Cut on the grain of the fabric so your rectangles stay square and do not twist after washing. Crossgrain cuts can make one side of your bag stretch differently from the other, which is a subtle annoyance you will notice every time you carry it. My tutorial on how to cut fabric on grain shows exactly how to find the straight grain before you cut.
If you are using interfacing, cut two pieces the same size as your outer fabric pieces and fuse them to the wrong side of the outer pieces now, before any sewing happens. Follow the interfacing manufacturer’s pressing instructions: the right heat and a few seconds of pressure make all the difference between interfacing that bonds and interfacing that peels off later.
Sewing the Outer Bag and the Lining
Start with the outer bag. Place your two outer pieces right sides together, matching the edges, and pin or clip around the two sides and the bottom. Sew with a half inch seam allowance down one side, across the bottom, and up the other side, backstitching at the start and finish. Leave the top edge open. Press your seams open or to one side: pressing is the quiet secret behind crisp-looking bags.
Now do the exact same thing with the lining pieces, with one important difference: leave a gap of about four inches in the bottom seam. This gap is your turning hole, and you will use it later to pull the whole bag right side out. Backstitch on both sides of the gap so the opening stays put when you tug the fabric through it.
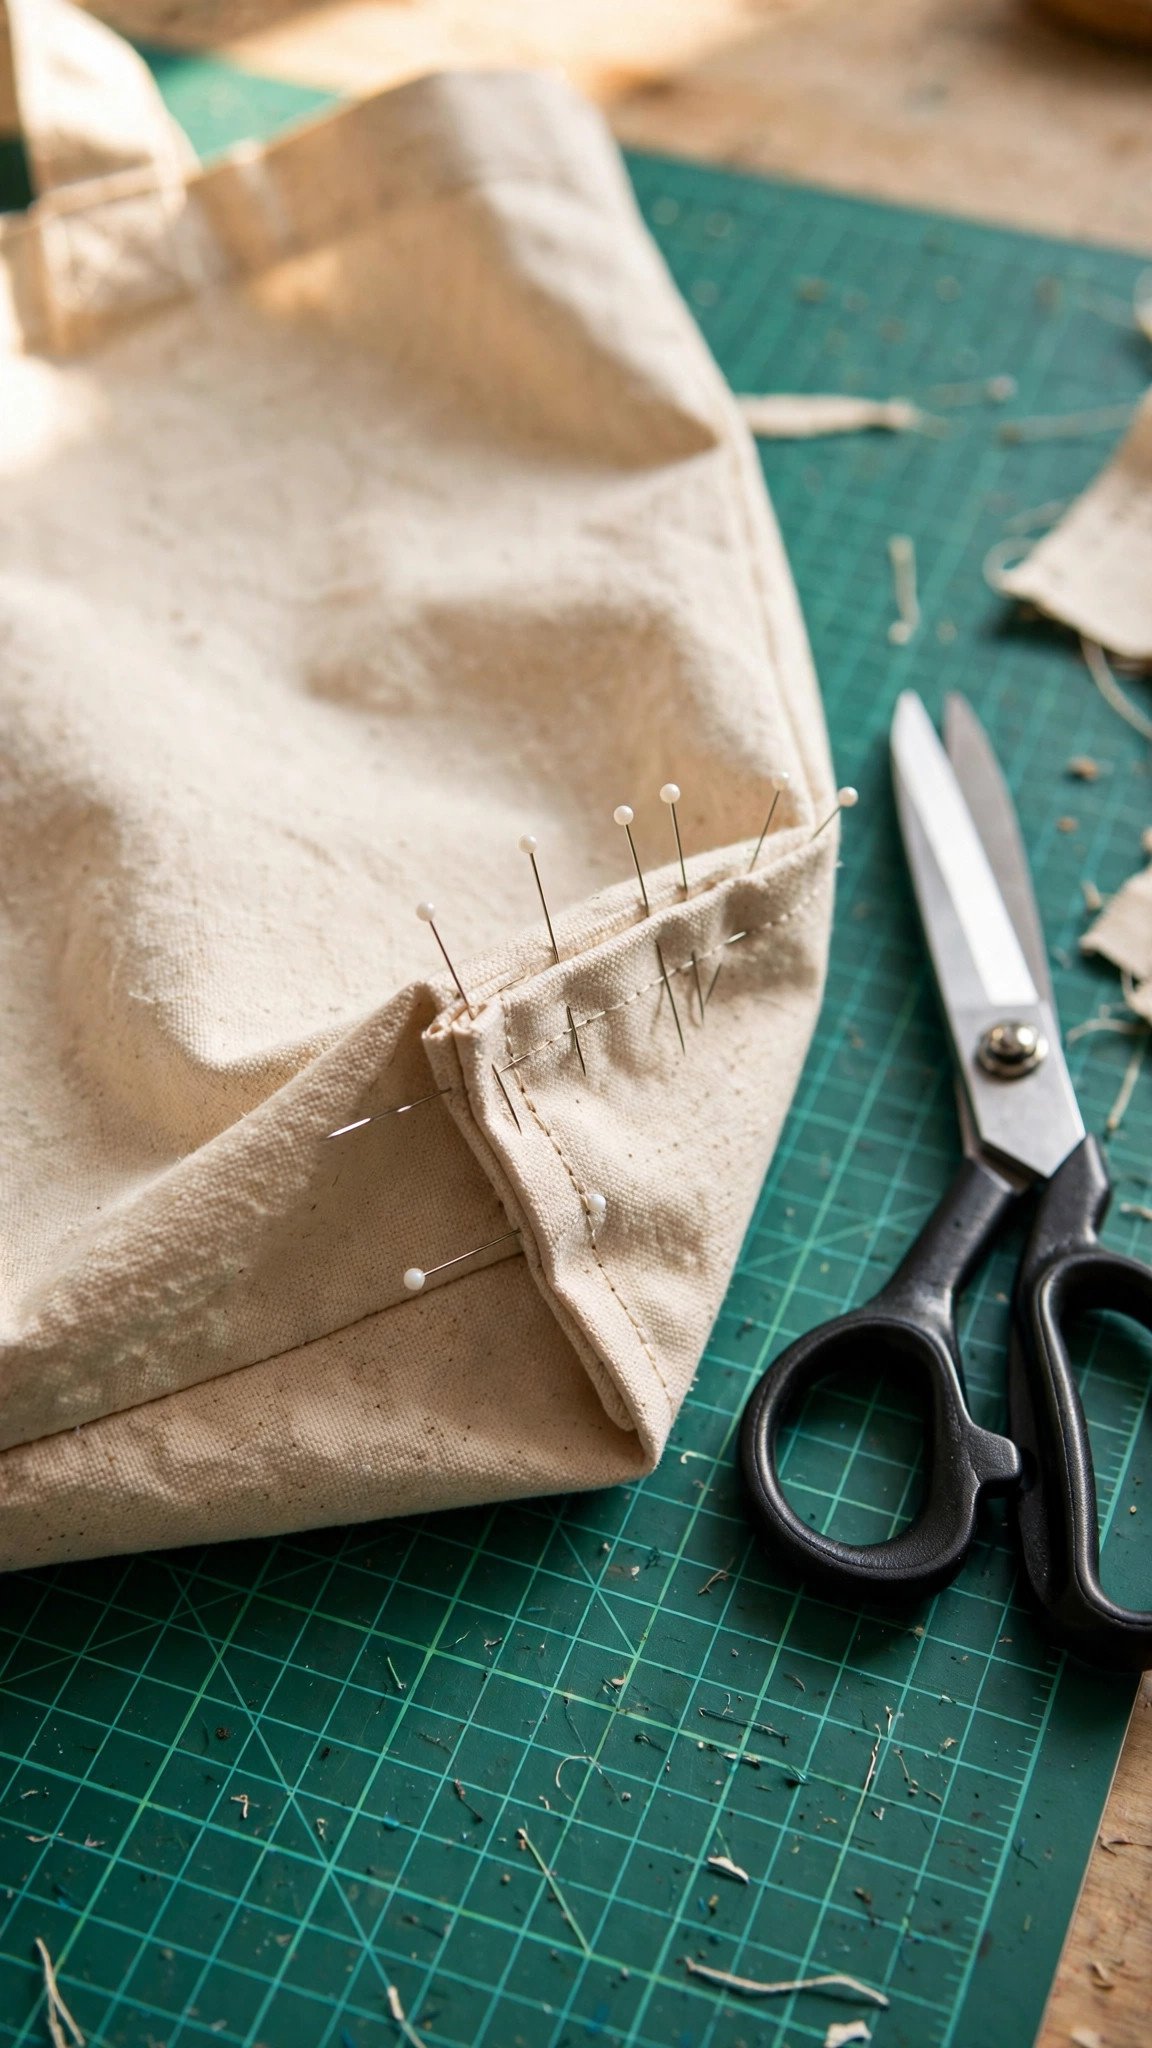
If you want a flat-bottomed bag that stands up on its own, box the corners now. For each bottom corner, flatten the corner into a triangle with the side seam and bottom seam lined up on top of each other, then sew a straight line across the triangle a couple of inches from the point. Trim the excess triangle off, leaving about a quarter inch beyond the seam. Repeat for all four corners: two on the outer bag, two on the lining. The deeper your line from the point, the wider your bag’s base will be.
Attaching the Straps
Straps go on before the bag is assembled, and this step deserves your full attention because crooked straps are the most visible mistake on a tote. If you are making fabric straps, fold each strip in half lengthwise with right sides together, sew along the long edge with a half inch seam allowance, turn the tube right side out, press it flat with the seam centered on the back, and topstitch along both long edges for strength and a finished look.
Pin each strap to the right side of the outer bag, raw edges of the strap lined up with the raw top edge of the bag. Measure in from each side seam by the same amount on both sides: I usually go about four inches in from each side seam. Make sure the straps are not twisted. This is the part where I measure twice, because a strap sewn in twisted will mock you every time you pick up the bag. Baste each strap in place with a quarter inch seam so they do not shift while you assemble the bag.
If you are using webbing straps instead, skip the sewing-tube step and pin the webbing in place the same way. Webbing is wonderfully strong and a great shortcut when you want the bag done today rather than tomorrow.
Joining the Layers and Turning the Bag
Here is the satisfying part. Turn your outer bag right side out, straps standing up. Keep the lining inside out. Slide the outer bag down inside the lining so the two bags are right sides together, with the straps sandwiched between them. Line up the side seams of the outer bag with the side seams of the lining, and pin all the way around the top edge.
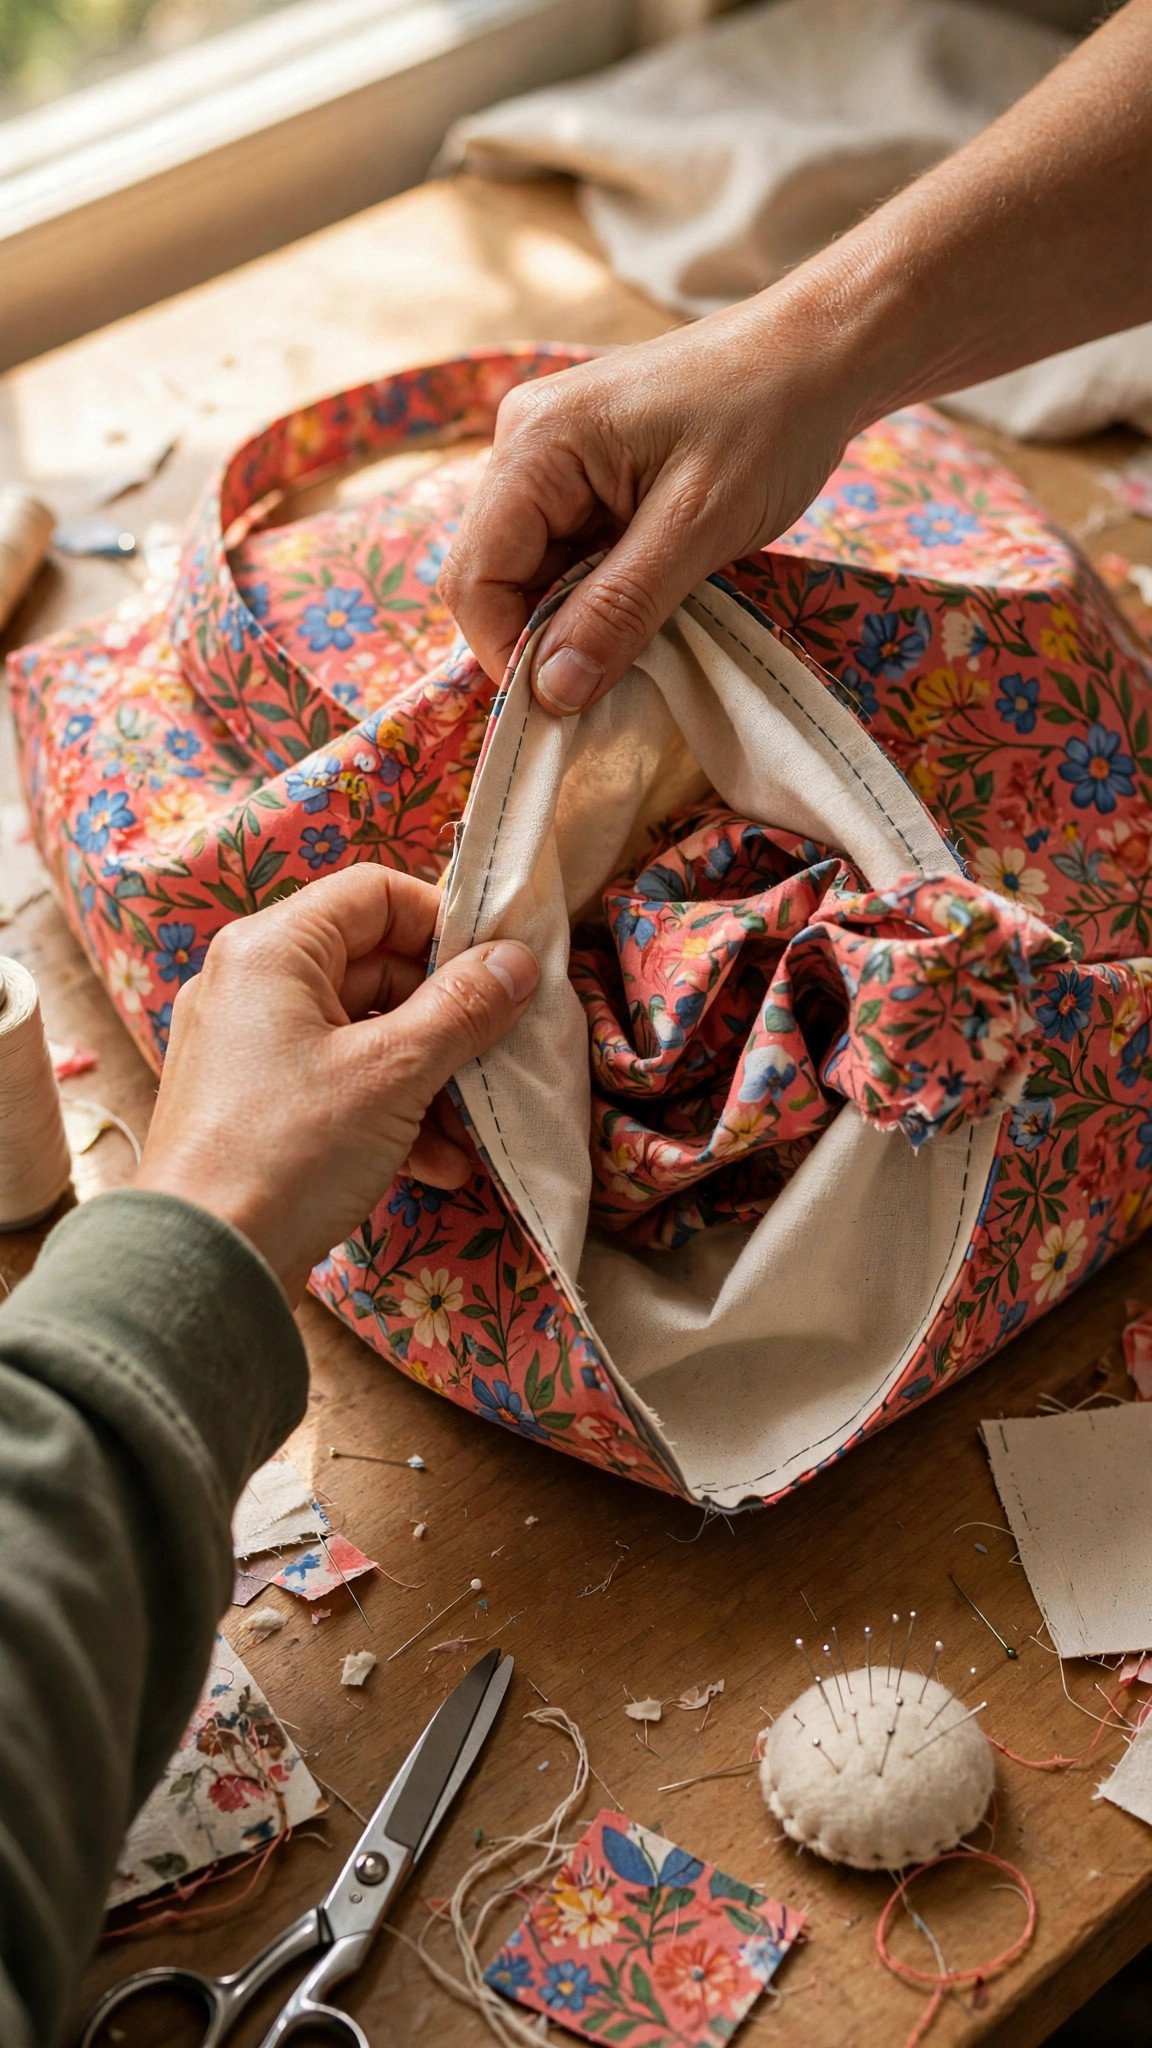
Sew around the entire top edge with a half inch seam allowance. Go slowly over the straps, since those spots are thick: you are stitching through the outer fabric, two strap layers, and the lining. Backstitch at the beginning and end. Now reach through the gap in the lining’s bottom seam and pull the whole bag through, turning everything right side out. It always feels like a magic trick the first few times.
Push the lining down inside the outer bag and smooth everything out. Roll the top edge between your fingers so the lining sits just slightly below the outer fabric’s edge, then press the top edge well. Topstitch around the top edge about a quarter inch from the edge, and again a bit lower if you like a double row. This topstitching does real work: it locks the lining in place, reinforces the straps, and gives the bag a crisp, finished edge. Finally, sew the gap in the lining closed. A quick straight stitch close to the edge works, or hand stitch it invisibly with a ladder stitch.
Finishing Touches That Make It Look Professional
The difference between a handmade bag and a handcrafted bag is in the finishing. Press the finished bag thoroughly, getting into the corners and along the top edge. Trim any stray threads. Give the straps one last check for twists. If your seams are mostly straight, the bag will look great; if a seam wobbles a little, only you will ever notice.
Want to level up your next tote? Add an interior pocket to the lining before you sew the lining pieces together: it is just a small rectangle sewn on three sides to one lining piece. Or try a magnetic snap closure, a contrasting lining fabric, or decorative topstitching thread. Once the basic construction is in your hands, totes become a canvas for experimenting. This project uses exactly the same straight-seam skills as my how to sew a straight stitch lesson, so if your seams are already decent, you are ready.
If this is one of your first projects, you picked a good one. Bags are forgiving, useful, and quick enough to finish in an afternoon. For more ideas in the same spirit, browse my roundup of easy sewing projects for beginners when this tote is done and hanging by your door.
FAQ
What is the best fabric for a lined tote bag?
Medium-weight cotton such as canvas or denim for the outside, and plain quilting cotton for the lining. This combination sews easily on a home machine and holds up well. Avoid very thick fabrics like upholstery canvas for your first bag, since thick layers at the strap joins can challenge a basic machine.
How big should I cut the pieces for a tote bag?
A versatile everyday size is 16 inches wide by 14 inches tall per panel, with straps about 24 inches long. Cut the outer and lining pieces to the same dimensions. For a smaller lunch tote, try 12 by 10 inches; for a roomy market or beach bag, go up to 18 by 16 inches.
Do I need interfacing for a lined tote bag?
It is optional but recommended. Fusible interfacing on the outer pieces gives the bag structure so it stands up on its own. Skip it for a soft, slouchy market bag, or use a heavier fusible interfacing if you want a bag with real body.
Why is there a gap left in the lining seam?
The gap, usually about four inches in the bottom seam of the lining, is the turning hole. After you sew the outer bag and lining together around the top edge, you pull the entire bag through this gap to turn it right side out. Then you stitch the gap closed, and it hides inside the finished bag.

Written by June Carter
I am June, a sewing enthusiast who loves turning simple fabric into things people actually use. I test every technique and product I write about at my own machine before it lands here.