
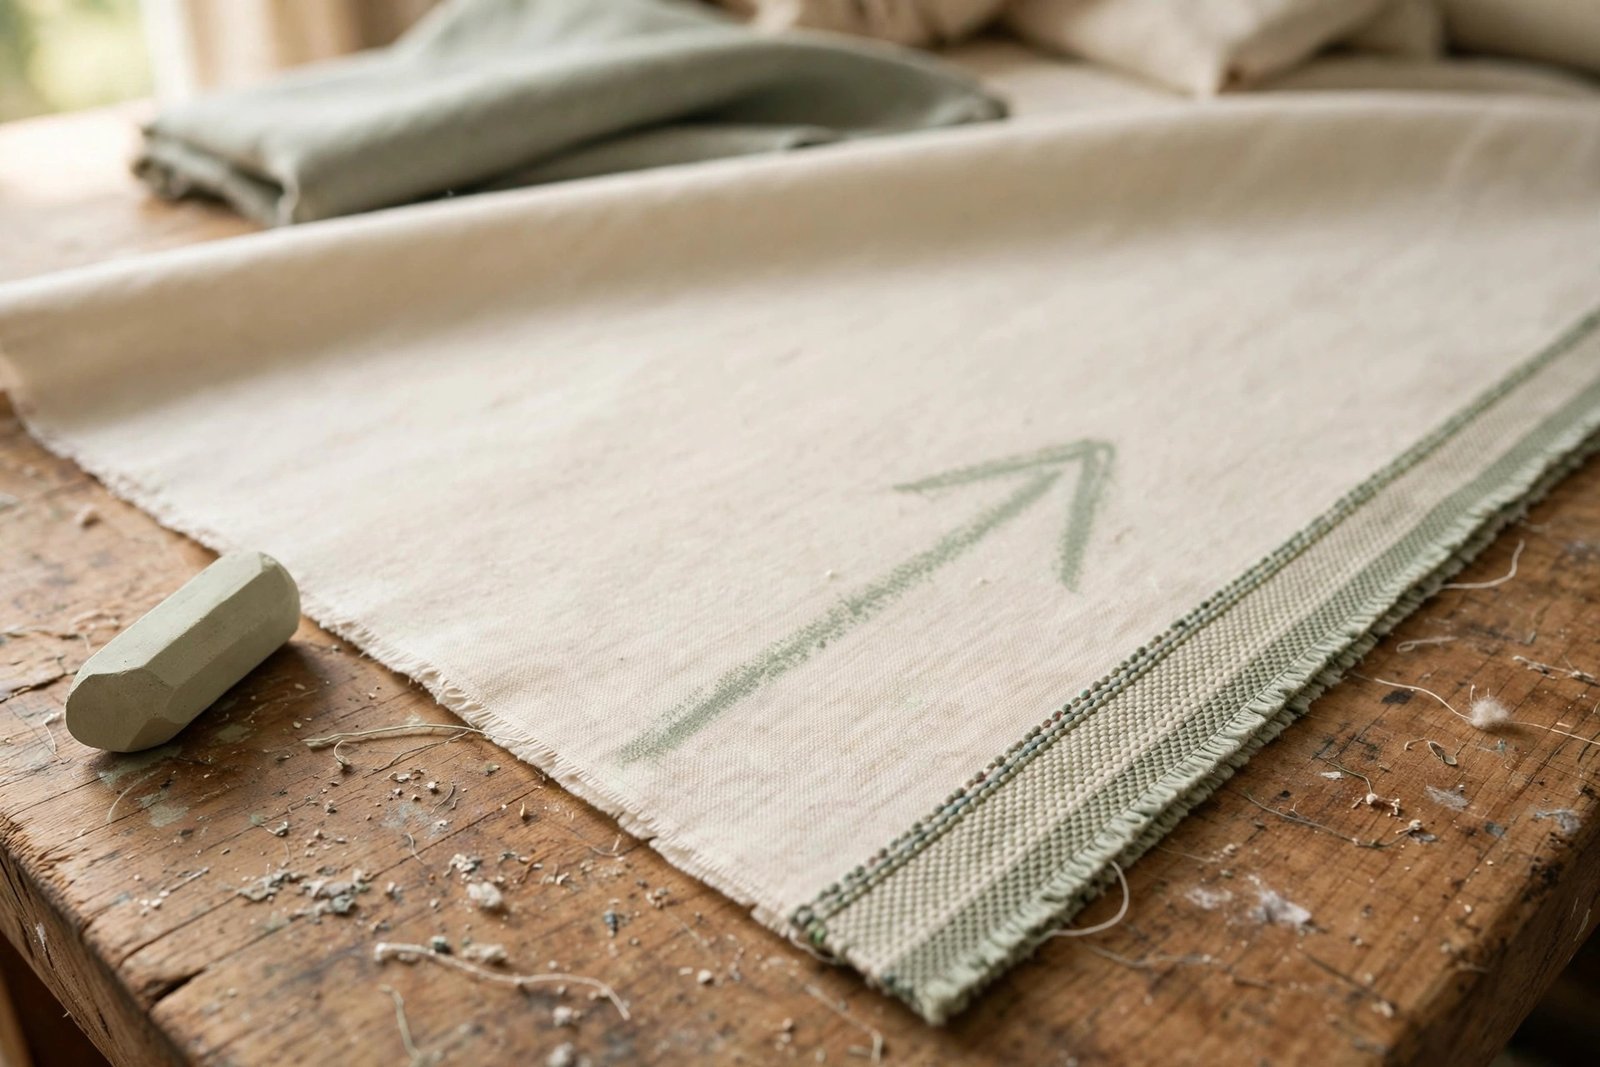
I learned about grainline the way most people do: by ignoring it. My third project was a simple A-line skirt, cut quickly because I was impatient, and it hung with a twist that no amount of pressing would fix. One side seam spiraled toward the front like a barber pole. I wore it exactly once, to take out the trash, and then I learned what a grainline was. Every twisted garment since has been someone else’s.
Cutting fabric on grain sounds fussy and technical, and I will not pretend it is thrilling. But it is the invisible difference between sewing that looks homemade in the good way and sewing that looks homemade in the why-does-that-skirt-corkscrew way. The good news: it takes five minutes to understand and about two minutes to do, once you know what you are looking at.
This guide covers what the grainline is, how to find it on your fabric, how to straighten fabric that has gone crooked, and how to cut so your pieces stay on grain from the first snip.

The three grains, in plain English
Woven fabric is a grid: lengthwise threads (the warp) crossed by crosswise threads (the weft). The direction those threads run is the grain, and there are three you need to know.
Lengthwise grain (warp). The threads running parallel to the selvedge, the finished edge of the fabric. These are the strongest threads with the least stretch, because they were held taut on the loom. Most pattern pieces are cut with their length running along the lengthwise grain, which is why garments hang the way they do.
Crosswise grain (weft). The threads running selvedge to selvedge. Slightly more give than lengthwise, slightly less stable. Sleeves and smaller pieces often use it, and it is perfectly fine as long as you are consistent.
Bias (true bias). The diagonal, exactly 45 degrees to both. This is the stretchiest direction, and it drapes beautifully, which is why bias-cut skirts and bindings exist. It is also the hardest to cut accurately, because it moves as you look at it. Beginners should know it exists and otherwise leave it alone for now.
Here is the one-sentence version to carry into the fabric store: cut with the grain and your fabric behaves; cut against it and your seams will argue with you forever.
How to find the grainline on your fabric
Start with the selvedge. Unfold your fabric and find the selvedge, the tightly woven finished edge running the length of the yardage. Not the cut edge from the store’s scissors; that edge is almost never straight. The lengthwise grain runs parallel to the selvedge. Always. That is your reference for everything.
The pulled-thread trick. This is the most reliable method on plain wovens, and it feels like a magic trick the first time. About an inch from the cut edge, pick out one crosswise thread with a pin and pull it gently. The fabric will gather along it. Snip into the fold the gathers create and tear or cut along that line. You now have a perfectly on-grain edge, because you followed an actual thread. On loosely woven fabrics you can even tear straight across, and the tear will follow the grain exactly.
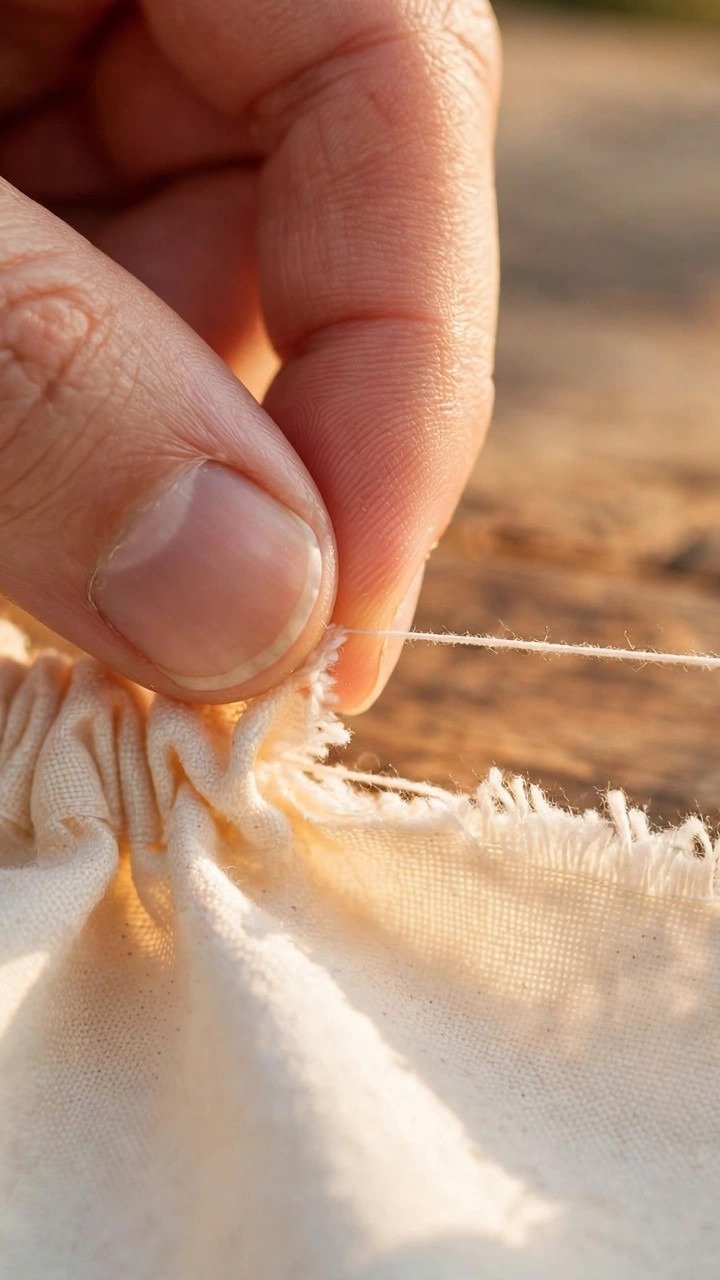
When pulling a thread does not work. Be honest about your fabric. On prints, knits, or tightly woven fabrics where no single thread will pull cleanly, fall back to the selvedge: fold the fabric so the selvedges meet exactly, smooth it flat without stretching, and trust the fold. If the fabric will not lie flat without rippling, it is off-grain (more on that below), and no amount of wishing fixes it.
Straighten the fabric before you cut
Fabric goes off-grain at the store, in the wash, and in your tote bag. Cutting crooked fabric on a crooked grain guarantees a twisted result, so straighten first.
Wash and press. Pre-washing does double duty: it shrinks the fabric now instead of after you have sewn it, and a hot iron lets you ease the grain back into place. Press, do not scrub the iron back and forth; pushing the iron around is how grain gets distorted in the first place.
The corner pull. If the fabric is mildly off-grain, fold it in half with selvedges together. If the cut ends do not line up, grasp the fabric at opposite diagonal corners and give a firm, steady pull. You will feel it shift. Press again. This is called blocking, and it works on all but the most stubbornly printed fabrics.
Know when to quit. Some printed fabrics are printed off-grain at the mill, and the print will never line up with the threads. With those, you choose: follow the threads (correct construction) or follow the print (looks right hanging). For garments, follow the threads. For a wall hanging nobody will wear, follow the print and enjoy your life.
Cutting on grain: the actual method
Fold selvedge to selvedge. Lay the fabric flat, fold it lengthwise so the selvedges meet, and smooth from the fold outward. No stretching, no tugging. The fold itself is now on the straight grain.
Line up the pattern’s grainline arrow. Every pattern piece has a long straight arrow printed on it: the grainline marking. That arrow must run parallel to the selvedge (or the fold). Measure from the arrow to the selvedge at both ends of the arrow; when the two measurements match, the piece is on grain. Pin it there. If you have not decoded pattern markings yet, my guide on how to read sewing pattern symbols covers every arrow and notch you will meet.
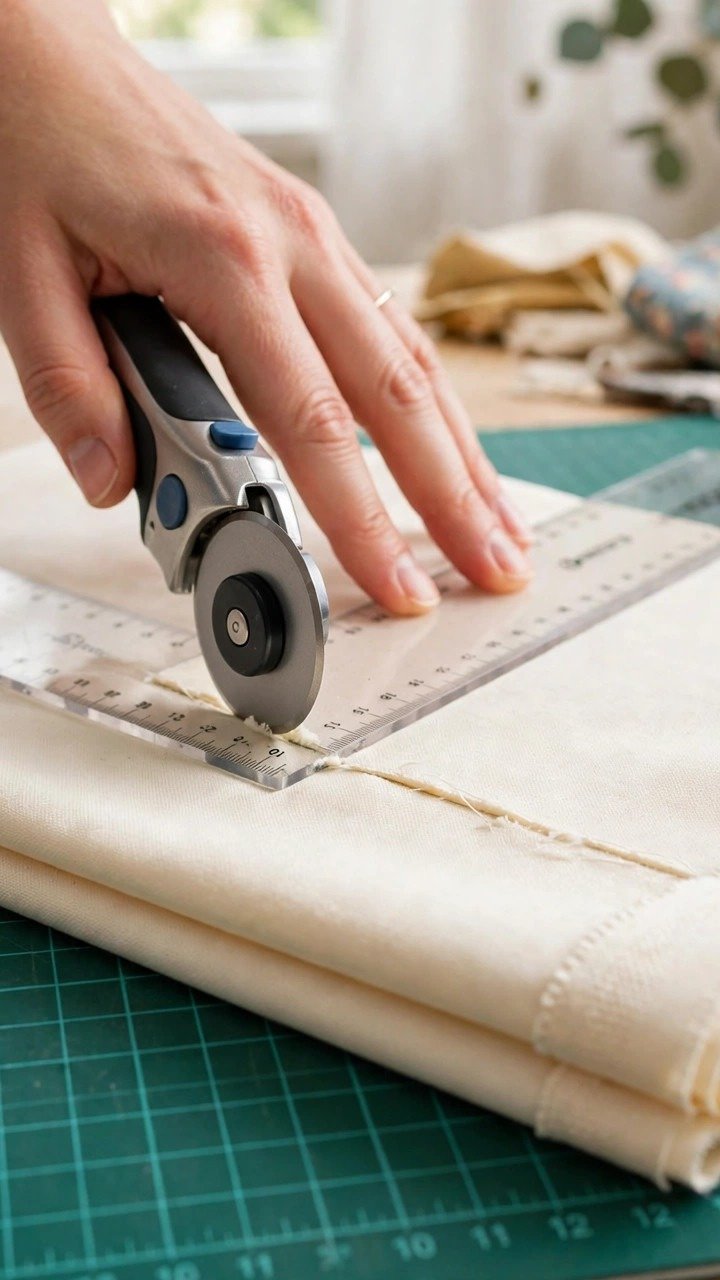
Cut, do not saw. Whether you use shears or a rotary cutter, cut in long smooth strokes with the fabric flat and undisturbed. Lifting the fabric to reposition mid-cut is how pieces drift off grain. A rotary cutter on a gridded mat is the easiest setup for beginners, because the mat’s grid lines give you a constant grain reference. If you are still choosing materials, my guide on how to choose fabric for a beginner project will keep you on stable, honest weaves while you learn.
What goes wrong off grain
Twisted seams. The classic. One seam spirals around the leg or the skirt, exactly like my barber-pole skirt. This is lengthwise grain cut crooked, and it cannot be pressed out, because the fabric itself wants to hang that way.
Sagging and stretching. Necklines and waistlines cut off grain stretch during wear and never recover. If a neckline grows two inches by lunchtime, grain is your prime suspect.
Puckered seams. When two pieces are cut on different grains and sewn together, one feeds faster than the other and the seam puckers. Matching grain on joined pieces is half of pucker prevention.
The New Mexico State University extension guide to checking your pattern for proper fit walks through grainlines on pattern pieces as part of fitting, and it is worth a read before you cut into good fabric.
FAQ
Does grain matter for simple crafts like tote bags?
Less, but it still matters. A tote cut wildly off grain will twist on its handles over time. For anything that hangs or gets used hard, take the two minutes.
My fabric store cut it crooked. Is the fabric ruined?
No. Store cuts are almost never on grain. That is what the pulled-thread trick is for: establish your own straight edge and ignore theirs.
Can I cut on the bias on purpose?
Yes, once you know what you are doing. Bias binding, bias skirts, and cowl necklines all use the bias deliberately. The rule is not never cut bias. The rule is know which grain you are cutting, and cut it on purpose.
How do I check grain on knit fabric?
Knits do not have a visible woven grid, so use the ribs or wales as your guide: the lengthwise ribs should run straight down. Fold the knit and check that the ribs stay parallel to the fold. And admit, as I do, that knits are fussier; save them for after your woven basics are solid. When you are ready for a first knit project, browse my easy sewing projects for beginners and pick one in stable cotton first.
Should I pre-wash before or after checking the grain?
Before, always. Washing is what knocks most fabric off grain in the first place, and it also gets the shrinking over with early. The order is: wash, dry, press, straighten the grain, then cut. Any other order means straightening fabric that is about to move again.
What exactly is the selvedge?
The selvedge (self-edge) is the narrow, tightly woven strip along each long edge of the fabric as it comes off the bolt. It will not fray, it feels slightly stiffer than the rest of the cloth, and it sometimes carries printed color dots or the manufacturer’s name. It is your built-in straightedge: the lengthwise grain always runs parallel to it, which is why every grain check starts there.
Two minutes now, no regrets later
Grainline is the least glamorous skill in sewing and one of the most powerful. Find the selvedge, pull a thread, line up the arrow, cut smooth. Do that every time and your garments will hang the way the pattern intended, which is the whole point. Cut straight, sew straight, and the fabric will do the rest.

Written by June Carter
I am June, a sewing enthusiast who loves turning simple fabric into things people actually use. I test every technique and product I write about at my own machine before it lands here.