
June here. The first time I unfolded a commercial sewing pattern, I just stared at its sewing pattern symbols. Tissue paper covered in arrows, triangles, dotted lines, and tiny X marks, and not a single plain-English sentence telling me what to do first. I folded it back up and sewed from a video instead. That worked exactly once, and then I made a skirt with the grainline running sideways. It twisted around my legs like a corkscrew every time I walked.
Learning to read sewing pattern symbols took me one focused evening, and it changed everything. These symbols are not decoration. They are instructions printed right on the paper: where to cut, where to fold, where to sew, and which pieces match which. This guide walks through every symbol you will meet as a beginner, what each one means, and exactly what to do when you see it.
Sewing Pattern Symbols: The 30-Second Version
In a hurry? The fast answers:
- Long double-headed arrow: the grainline. Lay it parallel to the fabric selvage. This one matters most.
- Small triangles on the edge: notches. Mark them and match them to the same notches on the joining piece.
- Dotted triangle with a circle at the tip: a dart. Fold and sew it to add shape.
- Line with bars at each end: a buttonhole. The bars show the length.
- X mark: button placement. The center of the X is the center of the button.
- Solid outer line: cut here. Dotted inner line: sew here.
Keep this list handy. Now the full walkthrough.
Three Rules Before You Unfold Anything
Rule 1: Read the instruction sheet first, not the tissue. The envelope or instruction sheet has a symbol key for that specific pattern. Symbols are mostly standard, but some designers use their own variations. Five minutes with the key saves an hour of unpicking.
Rule 2: Never cut the original tissue on your first project. Trace your size onto tracing paper instead. The original stays intact for other sizes, and tracing forces you to actually look at every symbol. If you want the full textbook version, the University of Arkansas has a free apparel production workbook page listing every standard symbol.
Rule 3: Transfer the marks to your fabric. A symbol you leave on the paper helps no one. Every notch, dot, and dart point you plan to use needs to end up on your fabric, usually with tailor’s chalk or a fabric marker, before you start sewing.
The Grainline Arrow: The Boss of the Whole Sheet
The grainline is a long straight arrow with a head at each end, printed somewhere near the middle of every major pattern piece. It tells you which direction the straight grain of the fabric must run. Lay the arrow parallel to the selvage (the finished factory edge of your fabric), and your garment will hang straight, drape the way the designer intended, and survive washing without twisting.
Ignore it and the fabric’s crosswise stretch pulls your garment sideways. That corkscrew skirt I mentioned? Grainline ignored. A top cut off-grain can also grow longer on one side after the first wash. This is the most expensive symbol to get wrong, because you only discover the mistake after the garment is finished.
What to do: Measure from one end of the arrow to the selvage, then from the other end. Both measurements must be identical. If they differ by even half an inch, nudge the piece until they match. I check twice, because fabric shifts when you look away.
Fold-line cousin: Some pieces show a long bracket or bent arrow at one edge, sometimes with the words “place on fold.” That edge goes exactly on the fabric fold, and you cut one doubled piece instead of two singles. Do not add seam allowance at the fold.
Pinning tissue flat enough to measure is fiddly, which is why I switched to pattern weights for this step. They hold the tissue still without distorting it while you measure to the selvage.
If you are still picking material for the project, read my guide on how to choose fabric for a beginner project first, because grain matters more on some fabrics than others. Stable cotton forgives a lot. Rayon forgives nothing.

Notches: The Little Triangles That Keep You Honest
Notches are the small triangles (sometimes diamonds or short slits) sticking out along the cutting edge of a pattern piece. Their job is matching: the notch on one piece lines up with the same notch on the piece it joins. Think of them as puzzle tabs.
The count matters. On most commercial patterns, a single notch marks the front of a garment and a double notch marks the back. Sleeves have notches that tell you which edge goes to the front of the armhole. Get two pieces with mismatched notches and you will sew the front to the back, which is exactly as fun to unpick as it sounds.
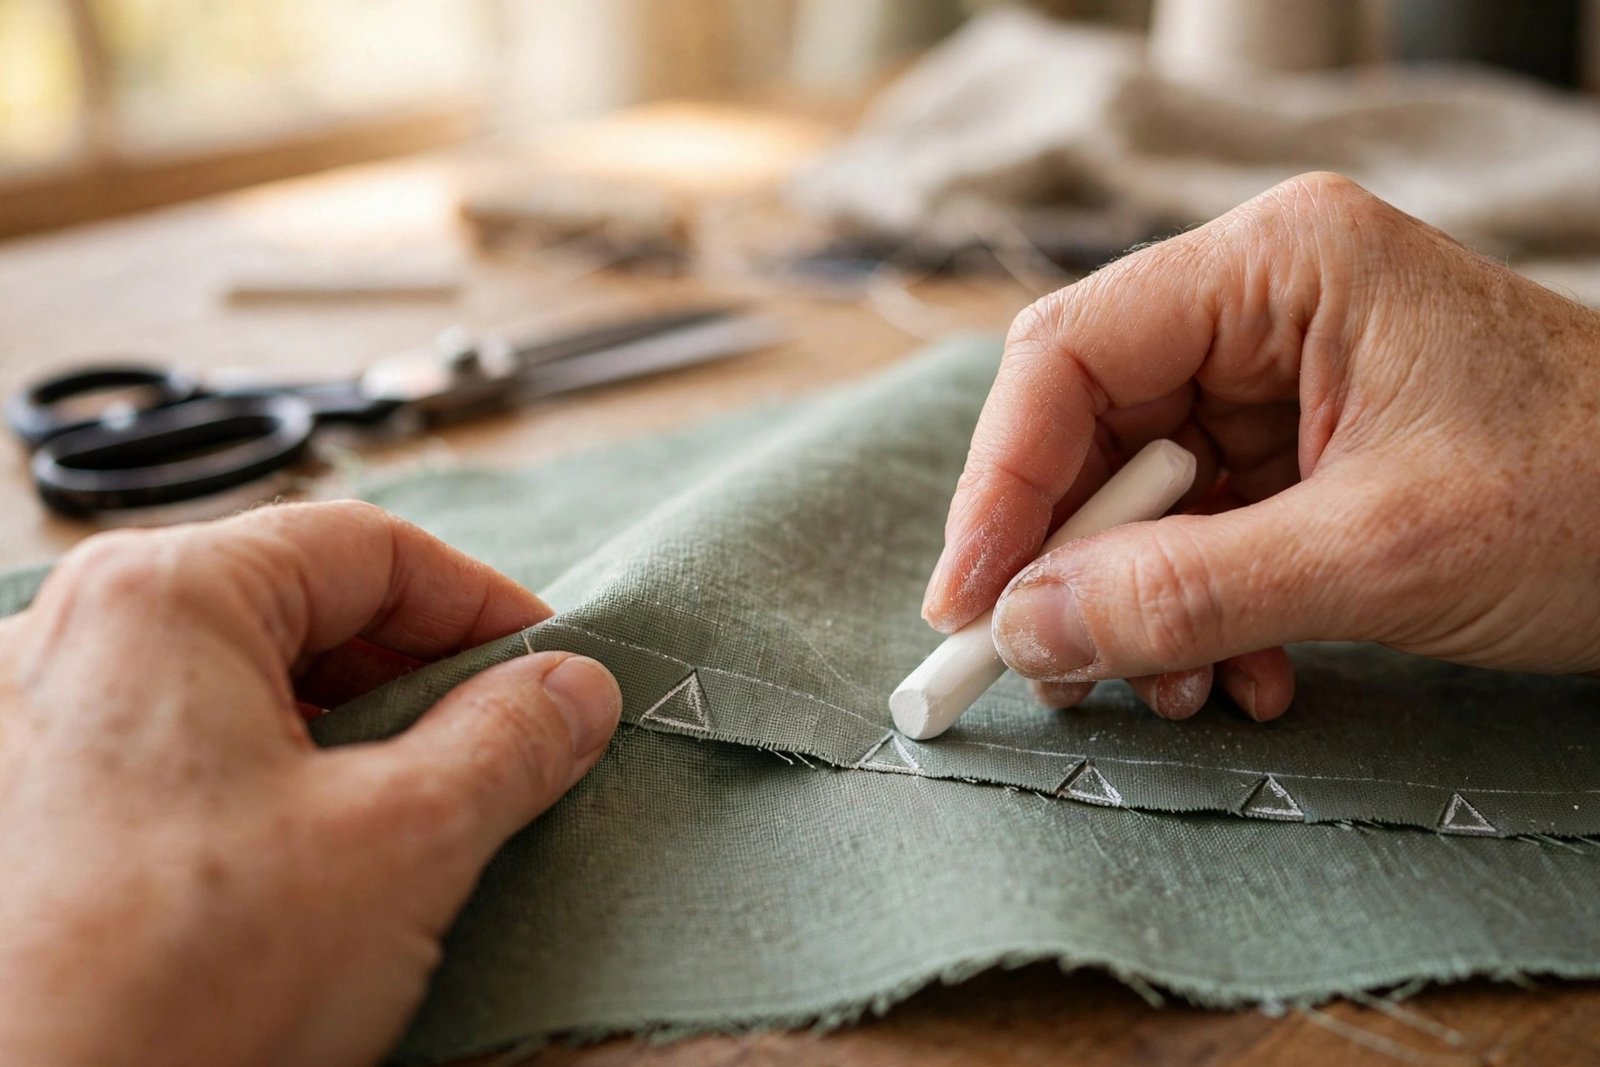
What to do: Cut AROUND the notch triangles, never into them. Cutting inward weakens the seam allowance. Then transfer each notch to your fabric with a small chalk mark or a snip no deeper than 1/4 inch into the seam allowance. I use chalk because snips are permanent.
Beginner trap: Not every triangle is a notch. Dart legs also look like triangles, but they sit inside the piece with dotted stitching lines. Notches live on the outer cutting edge. If the triangle touches the edge, it is a notch.
Darts: Folded Triangles That Add Shape
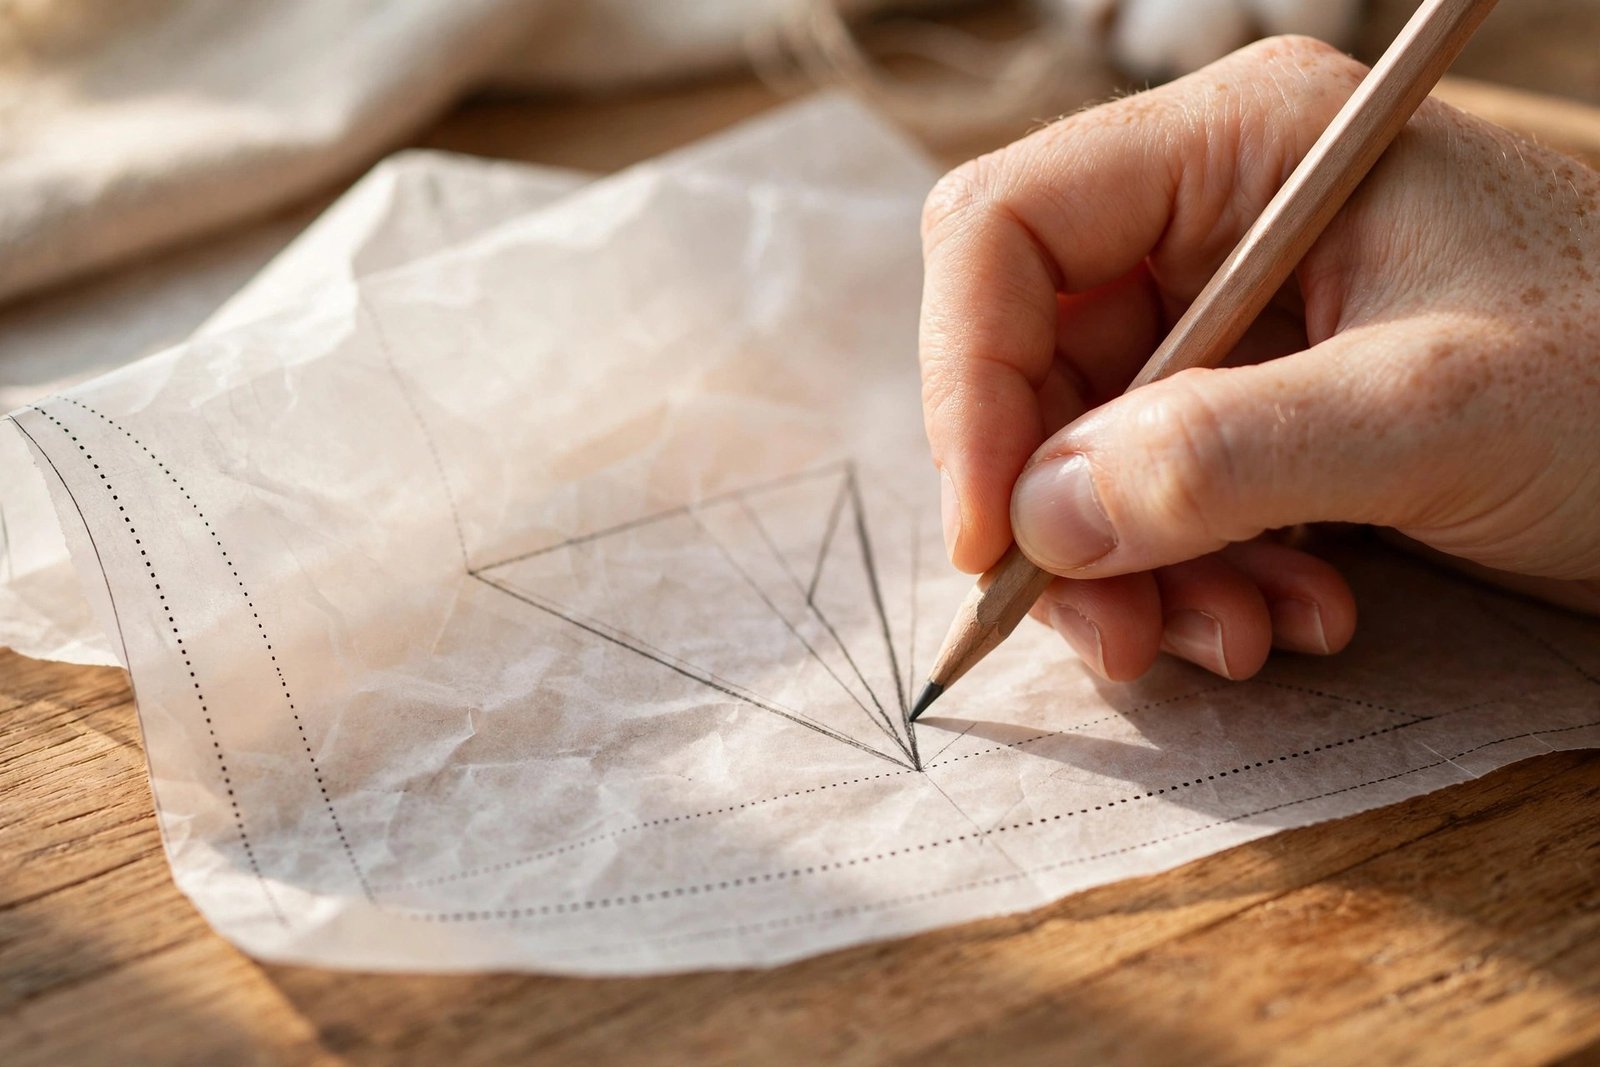
A dart is a stitched fold that turns flat fabric into a shape that fits a curved body: bust, waist, shoulder blades. On the pattern it looks like a long thin triangle of dotted lines with a small circle at the pointed end. The dotted lines are the stitching lines, and the circle is the dart point.
What to do: Transfer the whole triangle to your fabric: both dotted legs and the circle at the tip. Fold so the two legs meet, pin, then sew from the wide end toward the point. The last three or four stitches matter most. Sew right off the point, tapering to nothing, or you will get a little pucker. I backstitch at the wide end only, never at the point.
Press the dart after sewing: vertical darts toward the center, horizontal darts downward. Your iron does half the shaping work, so do not skip it.
Getting the dart point in the right place depends on your actual body, which is why taking accurate body measurements comes before cutting anything fitted. A dart that ends two inches from your bust apex will look wrong no matter how neatly you sew it.
Buttons and Buttonholes: X Marks the Spot
Two related symbols, easy to confuse, annoying to mix up.
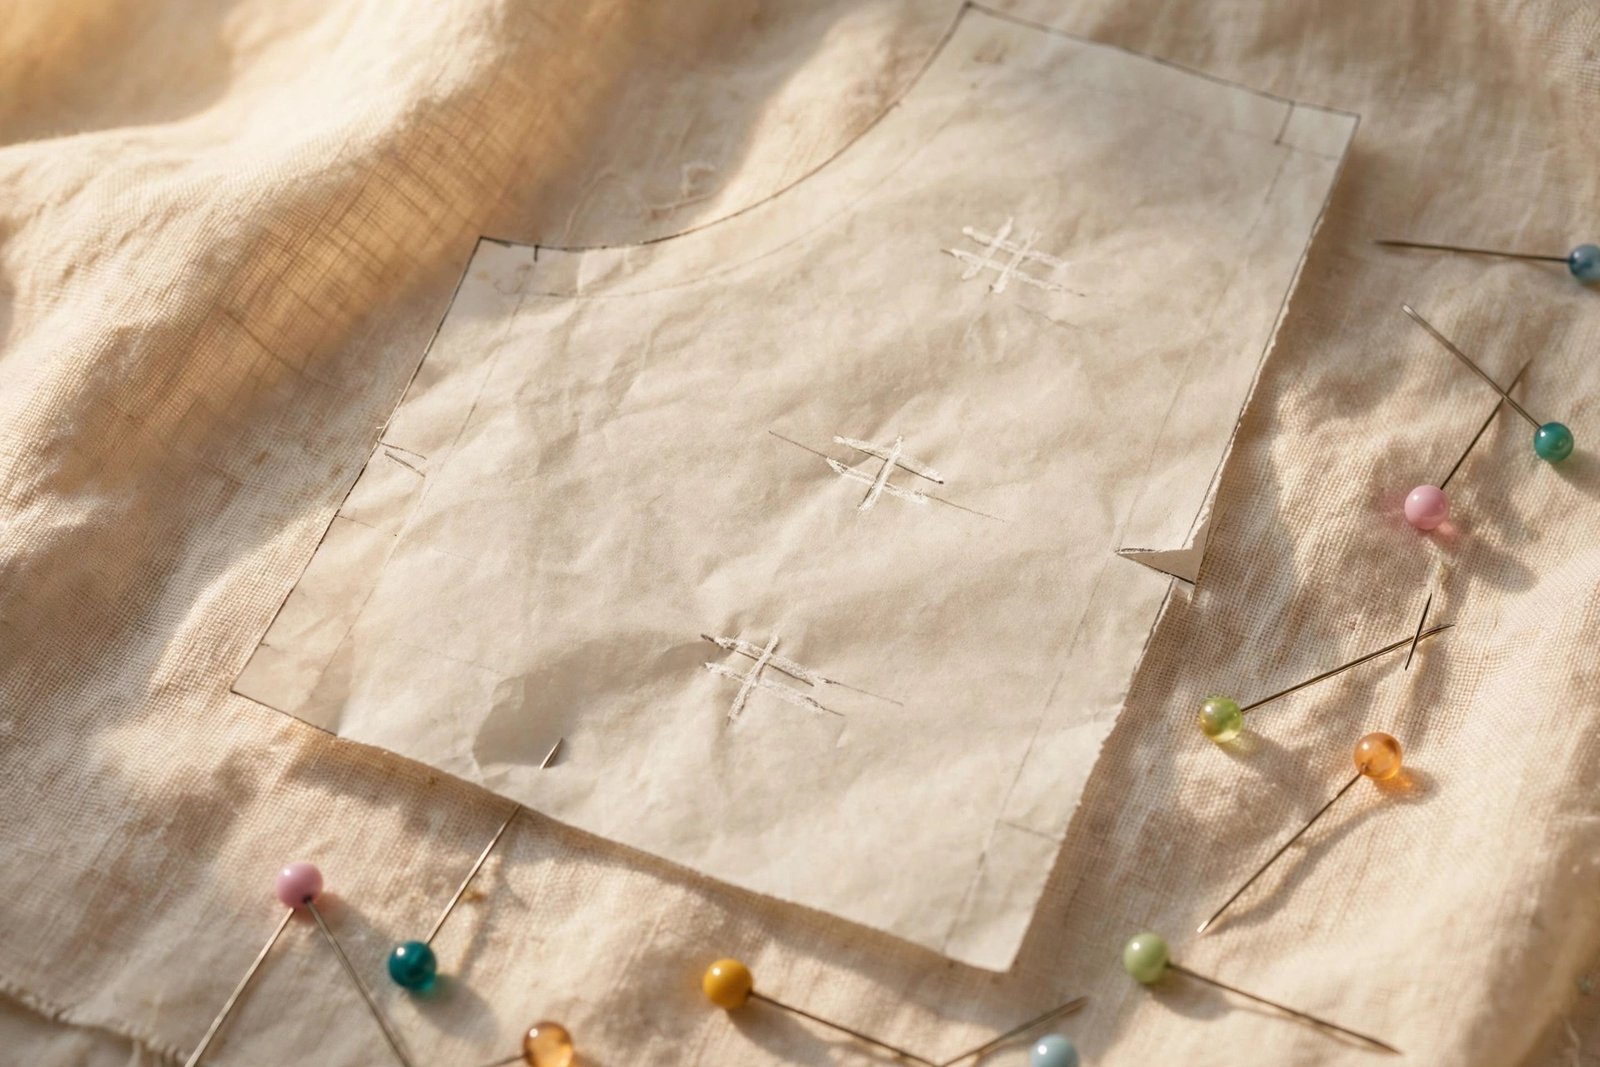
The X marks button placement. The center of the X is the exact center of the button. Transfer it to the fabric and sew the button centered on that point.
The buttonhole is a straight line with a short bar at each end, like a tiny capital I on its side. The bars show the length, which should be the button’s diameter plus about 1/8 inch. Transfer the whole thing, bars included. Guessing by eye is how you get buttonholes your buttons cannot fit through.
What to do: Mark both while the fabric piece is still flat, before any sewing. Placement shifts as seams take up fabric, so marks made after assembly sit in the wrong spot. I mark buttonholes first, sew them, cut them open, and only then mark the X positions through the finished buttonholes. That way the two always line up.
If your machine has a one-step buttonhole foot, practice on a scrap with interfacing first, using the same layers as your garment. Badly sewn buttonholes are the most visible mistake on an otherwise good shirt.
Cutting Lines, Stitching Lines, and Size Lines
Commercial patterns print multiple sizes on one sheet, which is why the edges look like a nest of lines. Each line style is a different size; the key on your instruction sheet tells you which is which. Trace only your size on every piece and ignore the rest. Tracing the wrong line on one piece gives you a garment that fits nowhere.
- Heavy solid outer line: cut here. This is the edge of your traced size.
- Dotted or dashed line inside the piece: stitch here. The gap between the cutting line and this line is your seam allowance, usually 5/8 inch on commercial patterns.
- Double parallel lines across a piece: lengthen or shorten here (covered below).
Sew exactly on the stitching line, not near it. A seam sewn 1/8 inch off on four seams eats half an inch of wearing ease, which is the difference between comfortable and unwearable. If your seams wander, my straight stitch guide covers the seam-guide tricks that fixed mine, and a good all-purpose thread makes the line easier to follow.
Dots, Squares, and the Mystery Marks
Small solid dots, open circles, and little squares inside a pattern piece are placement marks: pockets, pleats, gathers, zipper stops, collar points. A dot halfway down the center back seam usually means “stop sewing here, the zipper goes in below this point.” The square on a sleeve cap matches a square on the armhole.
What to do: Transfer every dot and square to your fabric, even if you do not yet know what it is for. You will know when the instructions say “match the dots.” I use tailor’s chalk for this, white for dark fabric and blue for light, because it brushes off cleanly.
Do not skip this step. I once skipped transferring the dots on a pair of trousers because I was in a hurry. The front pockets went in a full inch off from each other, and I noticed in the shop window reflection on the way to lunch. Transfer the dots.
Lengthen and Shorten Lines
Two parallel lines across a pattern piece, usually labeled “lengthen or shorten here,” mark the safe zone for adjusting length. It sits where adding or removing length will not distort the shaping: below the bust on a bodice, above the knee on trousers.
What to do: To shorten, fold on one line until it meets the other and tape flat. To lengthen, cut between the lines, spread to the amount you need, and tape in extra paper. Then redraw the side edges so they flow smoothly. A bump in the cutting line becomes a bump in your seam.
What Can Go Wrong: Symbol Mistakes I Have Actually Seen
The twisted garment. Grainline ignored or measured once instead of twice. Prevention only: measure both ends of the arrow to the selvage every time. There is no unpicking a bad grainline.
The inside-out sleeve. Notches unmatched, front sewn to back. Unpick the armhole seam (yes, all of it), match single notch to single notch, and resew. It takes twenty minutes and teaches you to respect triangles forever.
The puckered dart. Sewn past the point or backstitched at the tip. Unpick to the point, resew tapering off the edge, and press. If the fabric is already chewed up, a tiny dab of interfacing behind the point stabilizes it.
The buttonhole that ate the button. Bars misread, hole too short. You cannot lengthen a cut buttonhole cleanly, so practice the length on a scrap first and measure the actual button, not the size printed on the card. Buttons vary.
The mystery extra ease. Wrong size line traced on one piece. Compare every piece against your traced size before cutting fabric. If one piece is already cut wrong, recut it. Do not try to ease a size 12 front into a size 10 back.
The vanishing marks. Symbols left on the paper instead of transferred. Build the habit: cut the piece, mark the piece, then move on. If your machine misbehaves on freshly marked pieces, check how to thread a sewing machine first and how to fix skipped stitches second.
Frequently Asked Questions
Do I need to transfer every single marking to my fabric? Transfer every marking you will use: notches, darts, dots, buttonholes, pleat lines. Skip the lengthen/shorten lines and the grainline once the piece is cut.
What is the difference between a notch and a dart on the pattern? A notch sits on the outer cutting edge and helps you match pieces. A dart sits inside the piece as a dotted triangle and gets sewn to add shape. Edge means notch, interior dotted triangle means dart.
Can I just cut the pattern tissue instead of tracing it? You can, but tracing is the better habit. It preserves the other sizes, forces you to study the symbols, and survives repeated pinning better than tissue.
Why do my pattern pieces have so many overlapping lines? Those are the different sizes printed on one sheet. Follow only your size’s line style on every piece. The instruction key shows which line style belongs to which size.
What does the circle with a cross through it mean? That marks the apex of fullness, usually the bust point, sometimes the hip. It shows where the fullest part of your body should sit and helps you check fit and dart placement.
That is the whole system. Grainline, notches, darts, buttons, cutting lines, dots: six ideas, and you now know all of them. Pull out a pattern this week and identify every symbol on one piece before you cut. When you are ready to sew, start with my easy sewing projects for beginners, where the patterns are simple enough that the symbols stay friendly.

Written by June Carter
I am June, a sewing enthusiast who loves turning simple fabric into things people actually use. I test every technique and product I write about at my own machine before it lands here.