
Learning how to choose fabric for a beginner sewing project is the skill nobody teaches and everybody assumes you already have. I stood in a fabric store for forty minutes before my first project, touching every bolt like it might bite me, and walked out with a slippery polyester satin that fought me for three straight weekends. The seams puckered, the edges frayed if I looked at them wrong, and I nearly quit sewing before finishing a single tote bag. Do not be me.
The Quick Answer: Start With These, Skip Those
If you want the short version before the full explanation, here it is. Buy one of the fabrics in the first list, avoid everything in the second list, and pair your pick with one of these easy sewing projects for beginners. You will have a dramatically better first month of sewing.
Start with:
- Quilting cotton. This is the training wheel of fabric, and I mean that as high praise. It is stable, it presses into crisp folds, it does not stretch or slither under your presser foot, and it forgives beginner stitching. Prints are your friend here: a busy floral hides wobbly seams better than any solid ever will. Expect to pay roughly $6 to $12 a yard at most shops.
- Linen or a linen-cotton blend. Breathable, beautiful texture, and it presses like a dream. Yes, it wrinkles. Nobody cares about wrinkles on your first projects, and the lived-in look is half the charm.
- Chambray. It looks like lightweight denim but sews like cotton. Lovely for simple tops and shirts once you are ready.
- Lightweight non-stretch denim. Perfect for tote bags, aprons, and anything that needs to stand up to real use. Skip anything labeled “stretch denim” for now.
Walk past for now:
- Anything slippery: satin, silk, chiffon, rayon challis. These fabrics move under the needle like they are trying to escape, and they will make you question your life choices.
- Anything stretchy: jersey, spandex blends, ponte. Knits are a whole separate skill with different needles and stitches. Learn wovens first.
- Anything very heavy: upholstery canvas, 12 oz denim, thick twill. A basic home machine can technically sew them, but you will be fighting feed dogs and broken needles the whole time.
- Velvet and corduroy. They have a nap (fibers that all lean one direction), which means every piece must be cut facing the same way. That is an annoying complication you do not need yet.

How to Read a Fabric Bolt
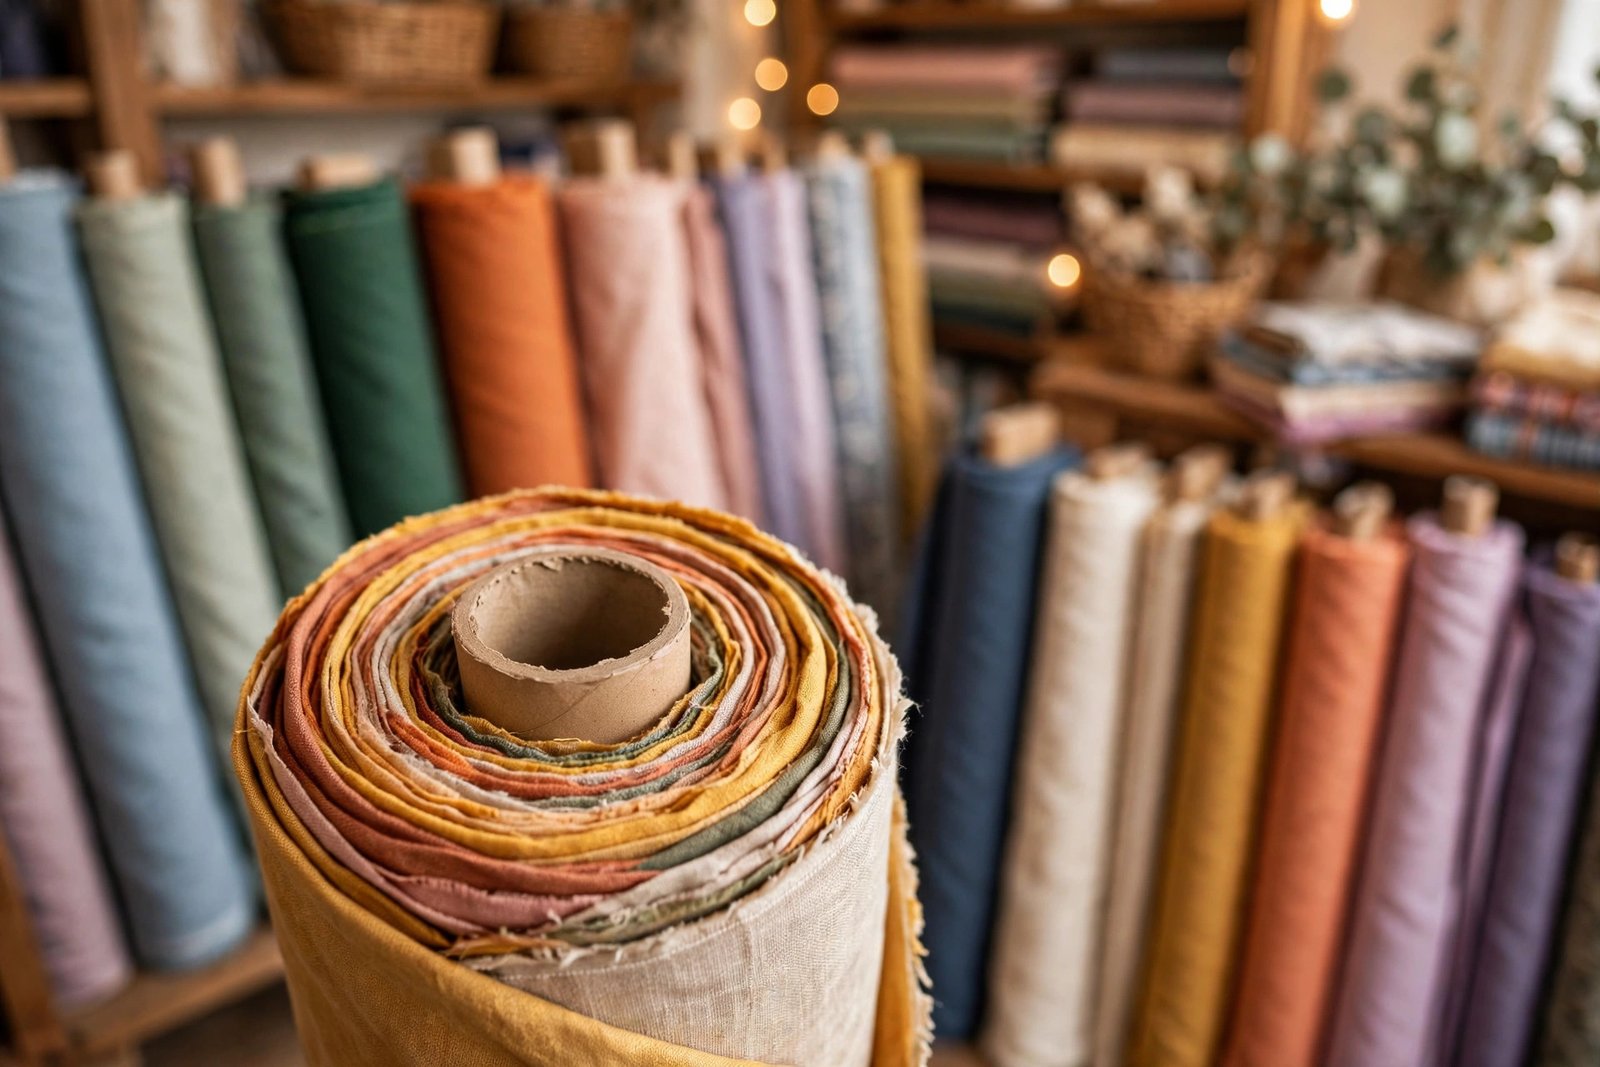
Standing in front of a wall of bolts is overwhelming until you know that almost everything you need is printed on the end of the bolt itself. Here is how to decode it.
Fiber content. The end tag tells you what the fabric is made of: 100% cotton, a cotton-polyester blend, 100% linen, and so on. For your first projects, favor natural fibers or cotton-rich blends. They press better, they behave predictably, and they are kinder to unpick when you make a mistake (you will make mistakes; seam rippers exist for a reason).
Width. Most quilting cottons are 44 to 45 inches wide; many apparel fabrics are 58 to 60 inches wide. Pattern yardage requirements assume a specific width, so always check the pattern envelope against the bolt width before you buy.
Care instructions. The bolt end usually lists washing guidance. This is your preview of whether you need to prewash (more on that below). If it says dry clean only, put the bolt back. You do not need dry clean only in your life right now.
The selvage. Run your eye along the tightly woven finished edge of the fabric. That is the selvage, and it is your built-in compass. The threads running parallel to the selvage form the lengthwise grain, the most stable direction in the fabric. You will use the selvage as your reference for every pattern layout you ever do.
The touch tests. Unroll a little and do three quick checks. The scrunch test: crush a corner in your fist, release it, and see how badly it wrinkles (linen wrinkles a lot, quilting cotton barely does). The drape test: hold it up and see whether it falls stiffly or flows. The stretch test: pull it gently widthwise, then lengthwise. If it stretches a lot widthwise, you are holding a knit, and knits are a later adventure.
Woven vs. Knit: Know Which One You Are Holding
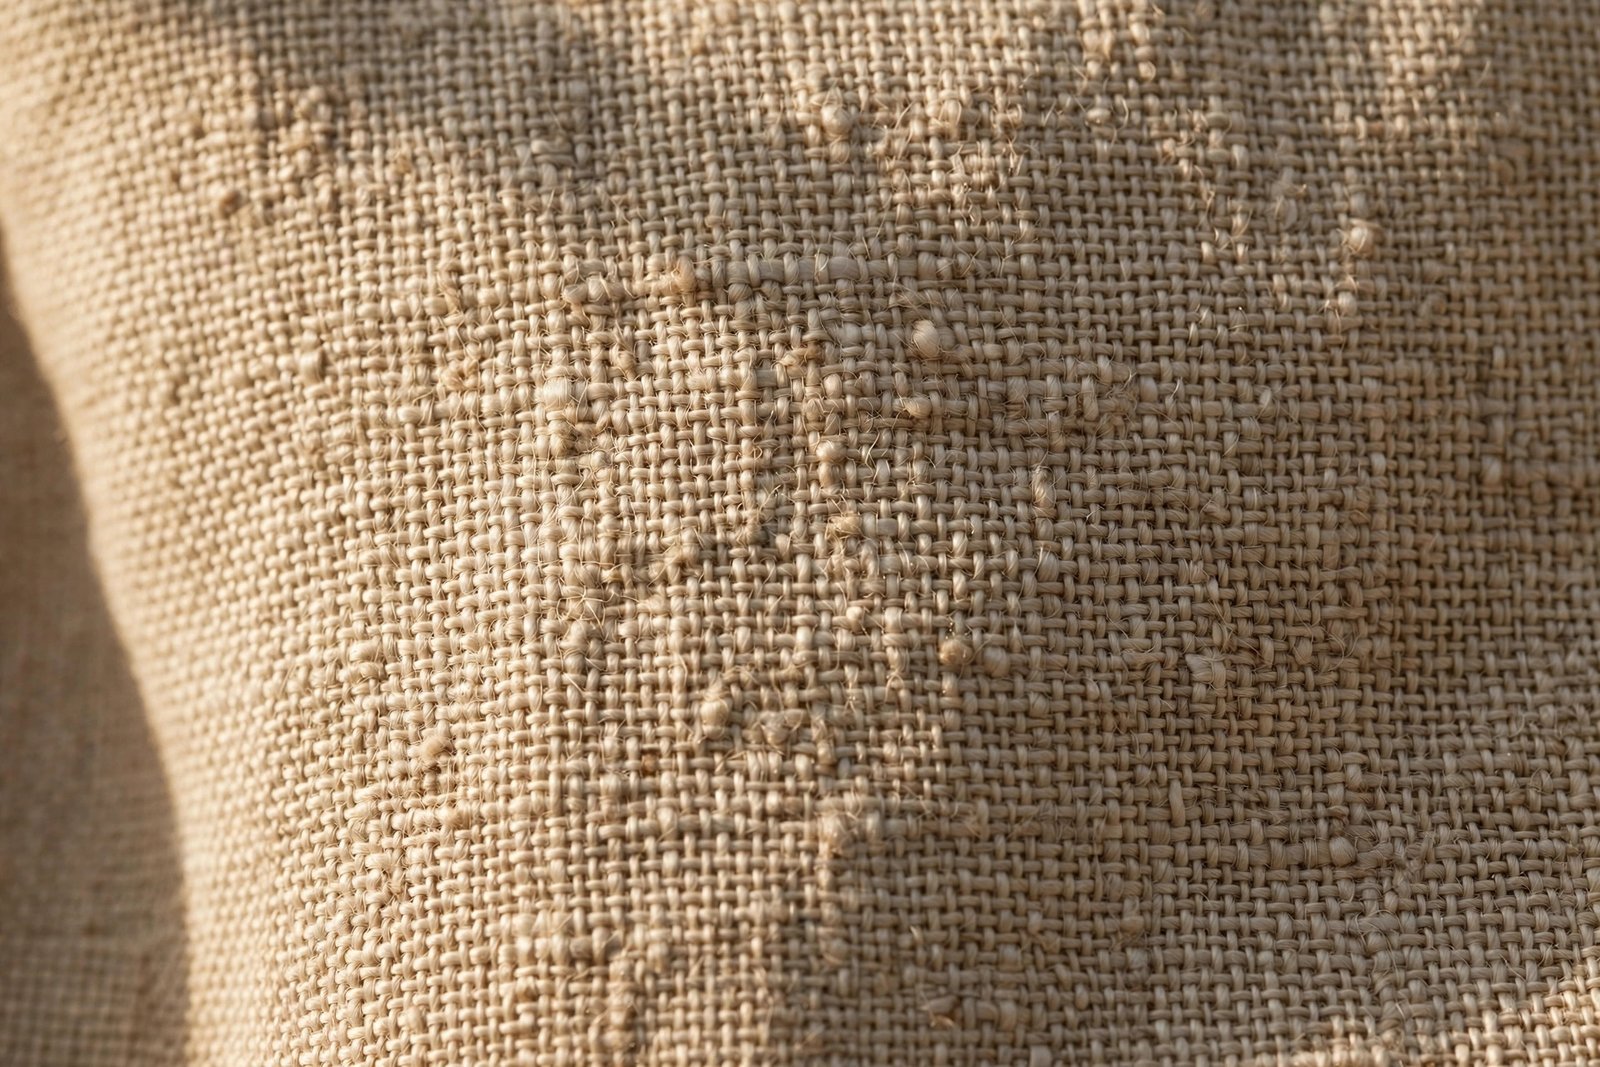
This distinction trips up more beginners than anything else in the fabric store, so let us settle it. Woven fabric is made of yarns crossing at right angles, like a basket weave. It is stable, it frays at cut edges, and it is what you want. Knit fabric is made of interlocking loops, like a sweater. It stretches, it curls at the edges, and it needs ballpoint needles and stretch stitches.
The stretch test from the last section is the fastest way to tell them apart in the store. Pull the fabric gently across its width. A woven barely gives. A knit stretches easily and springs back. When in doubt, ask the shop staff. They answer this question ten times a day.
My strong opinion: sew your first five or six projects in wovens only. Knits punish beginners with wavy seams and skipped stitches, and there is no reason to invite that frustration early.
Grainline Basics: The One Concept That Saves Projects
If you learn exactly one technical thing from this article, make it grainline. It sounds fussy and it is the difference between a tote bag that hangs straight and one that twists like a corkscrew after the first wash.
Woven fabric has three grain directions:
- Lengthwise grain (warp): threads running parallel to the selvage. The strongest, most stable direction. Most pattern pieces are cut with their length following this grain.
- Crosswise grain (weft): threads running selvage to selvage. Slightly more give than lengthwise, but still stable enough for most seams.
- Bias: the 45-degree diagonal between the two. Maximum stretch, beautiful drape, and completely unruly to sew. Cutting a piece even slightly off-grain toward the bias is how garments end up torqued and hems end up hanging crooked.
Your pattern pieces carry this information as long arrows printed on the tissue. Those arrows must run parallel to the selvage (for lengthwise grain) when you lay out your pieces. Measure from each end of the arrow to the selvage; the two distances should match. If you have never decoded those markings before, read my guide on how to read sewing pattern symbols before you cut anything.
For a deeper explanation with diagrams, Threads magazine has an excellent piece called Go with the Grain that walks through finding and using grain in woven fabrics. It is worth ten minutes of your time.
Should You Prewash? My Rule Is Simple
Yes. Wash and dry your fabric exactly the way you plan to wash and dry the finished item, before you cut a single piece.
Here is why I am so firm about this: cotton typically shrinks 3 to 5 percent on the first wash, and linen can shrink up to 5 percent too. On two yards of fabric, that is three to four inches gone. If you sew first and wash later, your seams pucker, your hems draw up, and your finished measurements quietly lie to you. I learned this by making a pillowcase that fit the pillow beautifully right up until laundry day, when it shrank into something better suited to a throw cushion.
The only exceptions: precut quilting pieces you plan to never wash, and fabrics marked dry clean only, which you should not be buying yet anyway. Everything else goes through the machine first.
One more thing people skip: press your fabric after prewashing. Cutting wrinkled fabric is like measuring with a stretchy ruler. A quick press gives you flat, true yardage to work with, and your cutting accuracy will improve immediately.

How to Choose Fabric for a Beginner Sewing Project: My 5-Minute Decision Framework
Here is the actual process I use in the store, distilled from years of good buys and regrettable ones. Run through it in order and you will walk out with the right fabric.
1. What are you making? A tote bag wants something with body: quilting cotton, lightweight denim, or canvas-weight cotton. A simple top or pajama pants wants something softer with a little drape: quilting cotton still works, or try chambray or linen. Match the fabric’s personality to the project’s job.
2. Woven or knit? Woven. Every time, for now. Do the stretch test if you are unsure.
3. Light, medium, or heavy? The sweet spot for beginners is medium weight, which is exactly where quilting cotton lives. Lightweight fabrics (voile, lawn) are fiddly to feed evenly; heavy fabrics fight your machine. When a fabric feels substantial but still folds easily in your hand, you are in the right zone.
4. Check the fiber content. Read the bolt end. Favor 100% cotton, linen, or cotton-rich blends. They press crisply, they unpick cleanly, and they behave the same way on Tuesday as they did on Monday. Mystery blends with no label are a gamble; sometimes you win, often you press a permanent shine into something you cannot identify.
5. Do the hand test, check the width, and buy a little extra. Scrunch it, drape it, stretch it. Confirm the width matches what your pattern expects. Then buy about 10 percent more than the pattern asks for, or an extra half yard on small projects. Miscuts happen, shrinkage happens, and running back to the store mid-project because you are six inches short is a special kind of misery. That spare fabric becomes your test scrap: run a few lines of straight stitch on it to dial in your tension before touching your real pieces.
One garment-specific note: if you are sewing clothes, take your accurate body measurements before you shop, and bring them with you. Yardage charts assume standard sizes, and knowing your numbers keeps you from guessing at the cutting counter.
What Can Go Wrong (and How to Fix It)
Even with the right fabric, beginners hit the same handful of problems. Here are the ones I see most, with fixes.
Puckered seams. The fabric ripples along the stitching line. Usual suspects: a lightweight fabric sewn with too-long stitches, or pulling the fabric as it fed. Shorten your stitch length slightly, let the feed dogs do the work, and press the seam afterward. Pressing fixes a surprising amount of beginner puckering.
Skipped stitches. The needle misses the fabric intermittently, leaving gaps. Nine times out of ten this is a needle problem: wrong needle type or a dull needle. Match an 80/12 universal needle to quilting cotton and linen, and swap needles every project or two. If new needles do not solve it, walk through my guide on how to fix skipped stitches.
Seams that twist after washing. You skipped the prewash, or a piece was cut off-grain. There is no real fix after the fact, which is exactly why the prewash-and-grainline steps above exist. Consider this section your cautionary tale.
Fraying edges everywhere. Woven fabrics fray; that is their nature. Finish your seam allowances with a zigzag stitch, pinking shears, or bias tape. Linen frays enthusiastically, so plan edge finishes into every linen project from the start.
Running out of fabric mid-project. The pattern said two yards, you bought two yards, and somehow you are short. Cutting errors or shrinkage ate the difference. This is why step five of the framework says buy extra. Your future self says thank you.
Frequently Asked Questions
How much fabric should I buy for my first project? Check the back of your pattern envelope for the yardage chart, match it to the width of the fabric you are buying, and add about 10 percent. For simple no-pattern projects like tote bags or pillowcases, one to two yards of 44-inch quilting cotton covers most designs.
Can I just use old bedsheets to practice? Absolutely, and I wish more beginners did. A worn cotton sheet is essentially free quilting-weight cotton, perfect for practice pieces, muslins, and tote bags. Just prewash it like anything else.
What is the difference between quilting cotton and apparel cotton? Quilting cotton is a medium-weight plain weave, usually 44 inches wide, sold for patchwork. Apparel cottons (poplin, lawn, voile) come in more weights and often wider widths. For first projects they are interchangeable as long as you stay in the medium weight range.
Should my thread match my fabric? Match the thread color to your fabric, and match the thread type to the job. All-purpose polyester thread handles quilting cotton and linen beautifully. If you want the full breakdown, read my guide on the best thread for sewing machines.
Which needle goes with beginner fabrics? An 80/12 universal needle covers quilting cotton, linen, chambray, and lightweight denim. It is the needle that should live in your machine by default. Move to a 90/14 jeans needle only when you graduate to genuinely heavy fabrics.
Your Next Steps
You now know more about choosing fabric than most people who have been sewing for a year. Grab a couple of yards of quilting cotton in a print you love (solids show every wobble; prints are camouflage), prewash it, press it, and cut into your first real project. If your machine is still new to you, start with how to thread a sewing machine so the mechanical side feels boring and easy before the creative side begins.
Two specific products I recommend without hesitation: for solids, Robert Kaufman Kona cotton is the gold standard of quilting cottons, around $9 to $10 a yard from sellers like PinkHippoQuilts on Etsy. And if linen is calling your name, buy it prewashed and stonewashed, like this European flax linen from MagicLinen on Etsy, so the shrinkage question is already answered before the fabric reaches your door.

Written by June Carter
I am June, a sewing enthusiast who loves turning simple fabric into things people actually use. I test every technique and product I write about at my own machine before it lands here.