
Most lists of easy sewing projects for beginners hand you twelve names and wish you luck. This one is different. I have ordered these from genuinely-easiest to first-real-garment, and for each project I will tell you exactly what fabric to buy, which skill it drills into your hands, and the one mistake that trips up beginners every time.
If your machine is still in the box, read my sewing machine threading walkthrough first. Everything below assumes you can wind a bobbin and sew forward. If fabric shopping makes you nervous, my guide on how to choose fabric for a beginner project will save you from buying the wrong thing.
Before you cut anything: the short supply list
You do not need a craft store haul. For all twelve projects you need: fabric scissors, all-purpose polyester thread, pins or clips, an iron, and cotton fabric. That is the whole list.
Buy one real pair of fabric scissors and guard them with your life. I have used the same Fiskars 8-inch orange-handled scissors for years. They cost around nine dollars, cut cleanly all the way to the tip, and the bent handle keeps fabric flat on the table while you cut. Never let anyone cut paper with them. I am serious about this.
Thread is not where you save money. Cheap thread sheds lint into your tension discs and snaps at the worst possible moment. A Gutermann Sew-All starter set gives you ten basic colors and behaves in almost every machine. I explain why thread quality matters so much in my best thread for sewing machines guide.
For fabric, a fat quarter bundle is the cheapest way to get pretty 100% cotton in usable pieces. Four fat quarters, roughly 18 by 22 inches each, will cover the napkins, a drawstring bag, and a pile of scrunchies, with leftovers. This autumn floral set is under six dollars and the rust, sage, and mustard prints hide wobbly stitching beautifully.

12 Easy Sewing Projects for Beginners, Ordered Easiest First
1. Cloth Napkins
Cut quilting cotton into 18-inch squares, hem all four sides, done. This is the project I hand every brand-new sewist because every seam is a straight line, and nobody at your dinner table will notice a wobble. Use quilting cotton, not linen, for your first set. Cotton presses crisply and forgives a lot. You will finish four napkins in about an hour and practice sewing a straight stitch forty times without realizing it.

2. Envelope Pillowcase
Two rectangles, three seams, and an overlapping back panel so there is no zipper to fight. The beginner mistake here is cutting the back panels too short, which leaves a gap that shows the pillow. Make each back panel at least 12 inches wide for a standard pillow and overlap them generously. Press every seam before you sew it and your pillowcase will look store-bought.

3. Simple Unlined Tote Bag
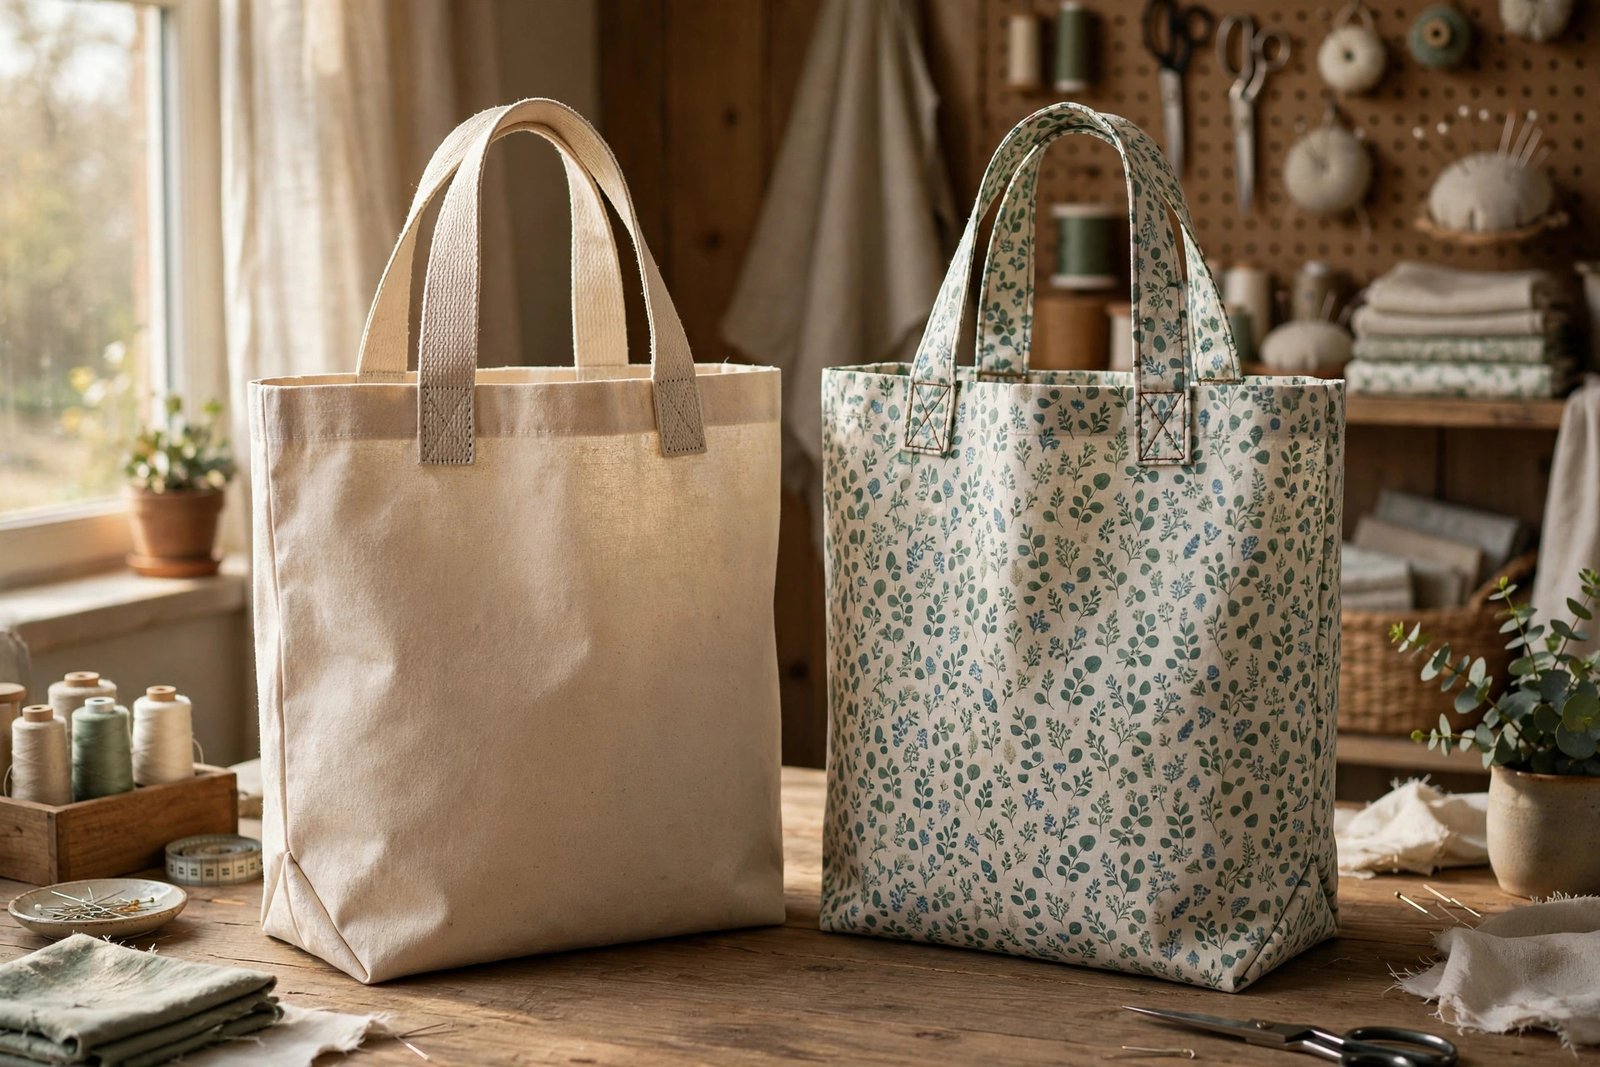
Two rectangles of canvas, two handles, four straight seams. This is the project that teaches you seam allowances actually matter, because a tote sewn at 3/8 inch instead of 5/8 inch comes out noticeably narrower. Use cotton canvas or duck cloth, not quilting cotton, or your bag will sag like a sad sock. When you sew over the thick handle attachments, go slow. If the machine starts skipping stitches on the layers, my skipped stitches troubleshooting guide fixes it in five minutes.

4. Drawstring Bag
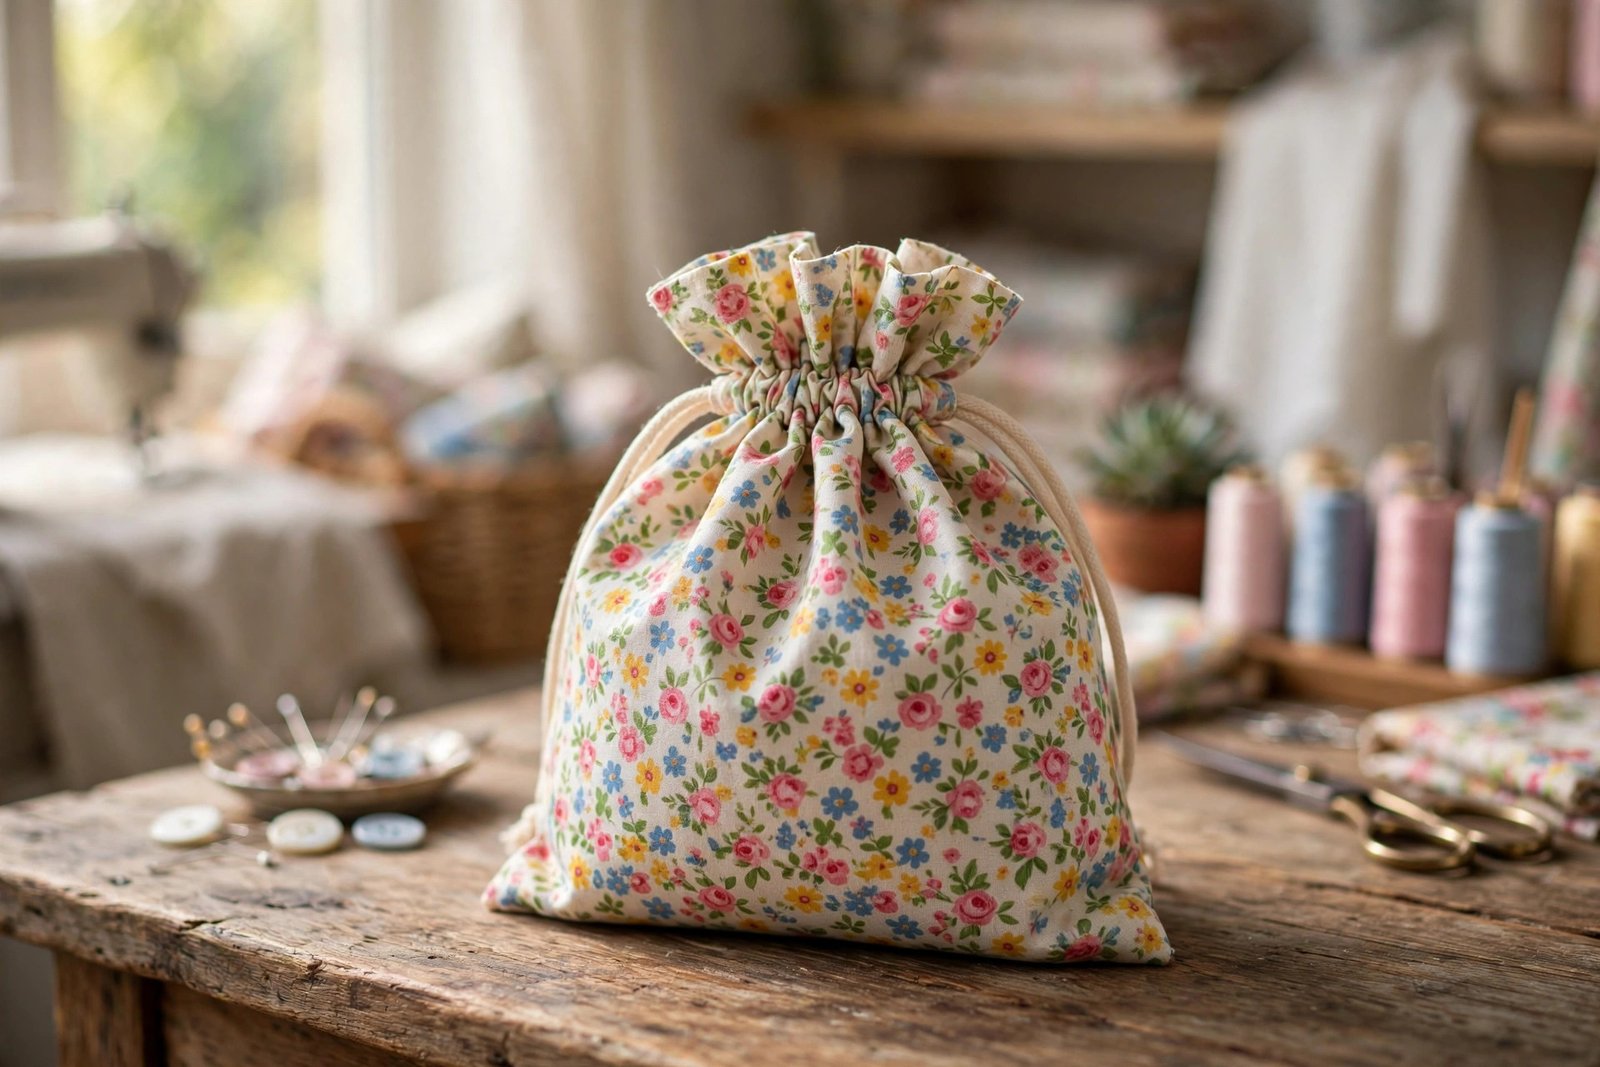
One rectangle folded in half, two side seams, a casing at the top, and a cord threaded through. It takes about 30 minutes and teaches you the casing technique you will reuse on pajama pants and skirts later. Cut the cord twice as long as you think you need. Every beginner cuts it too short and then has to pick out the casing stitching. Ask me how I know.
5. Scrunchies
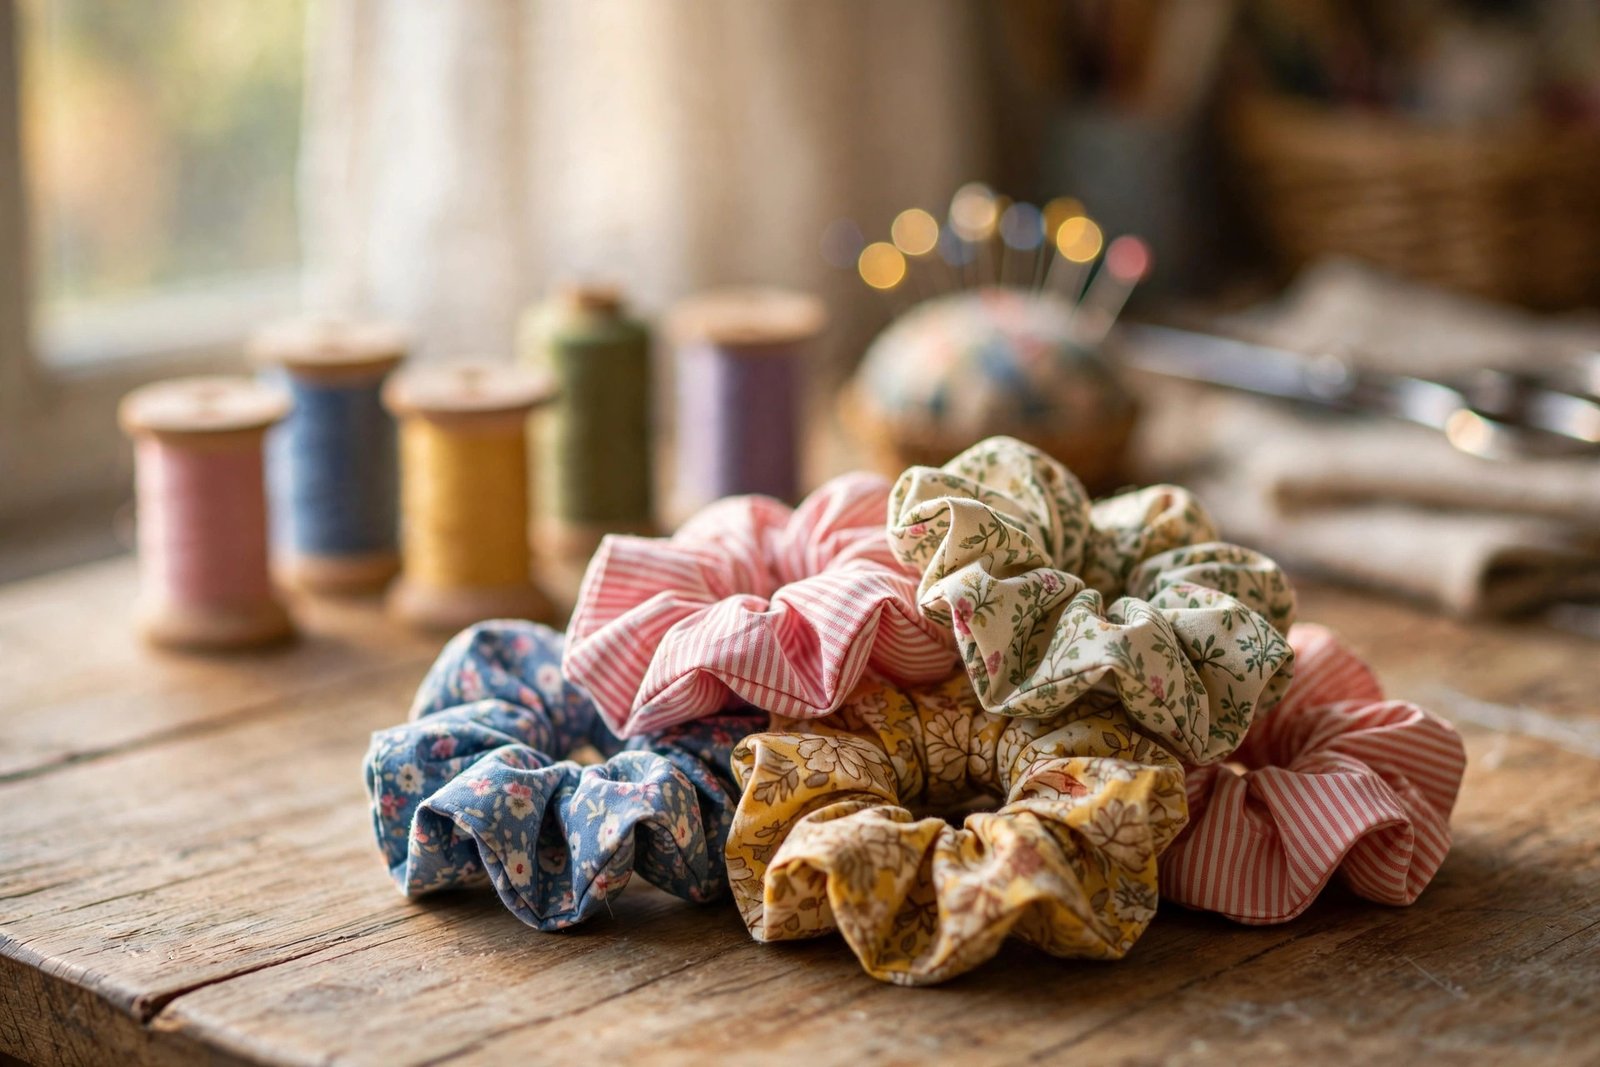
A 3-by-22-inch strip of cotton, a 9-inch piece of 1/4-inch elastic, and one long seam. Scrunchies are the perfect scrap project because they take fifteen minutes and use up the awkward leftover strips from bigger projects. Sew the long seam with right sides together, turn the tube, thread the elastic through with a safety pin, and close the ends. Make five in an evening and give them away. People lose their minds over handmade scrunchies.
6. Fabric Storage Basket
Same box-corner technique as a lined tote, but small and stiffened with medium-weight fusible interfacing. This project teaches you two new skills: fusing interfacing (iron it, do not slide the iron) and boxing corners by sewing across the corner triangle. Cut your corner squares at 3 inches for a basket that holds thread spools and notions. Any bigger and the basket flops over unless you add a second layer of interfacing.

7. Simple Waist Apron
One big rectangle, a waistband, two long ties, and an optional divided pocket. The apron is secretly a hemming masterclass: you will hem three sides and attach a waistband, which is the same waistband technique used on skirts. Cut the ties 40 inches long each. Short ties are the number one apron regret and there is no fix except starting over.

8. Envelope Pillow Cover
Like the pillowcase but decorative, usually 18 inches square with a flange or piping if you are feeling brave. This is where you learn that cutting exactly square matters. A pillow cover cut even half an inch off-square will twist on the pillow forever. Square up your fabric with a ruler before cutting, and pin the envelope overlap well so it does not shift while you sew.

9. Elastic-Waist Pajama Shorts
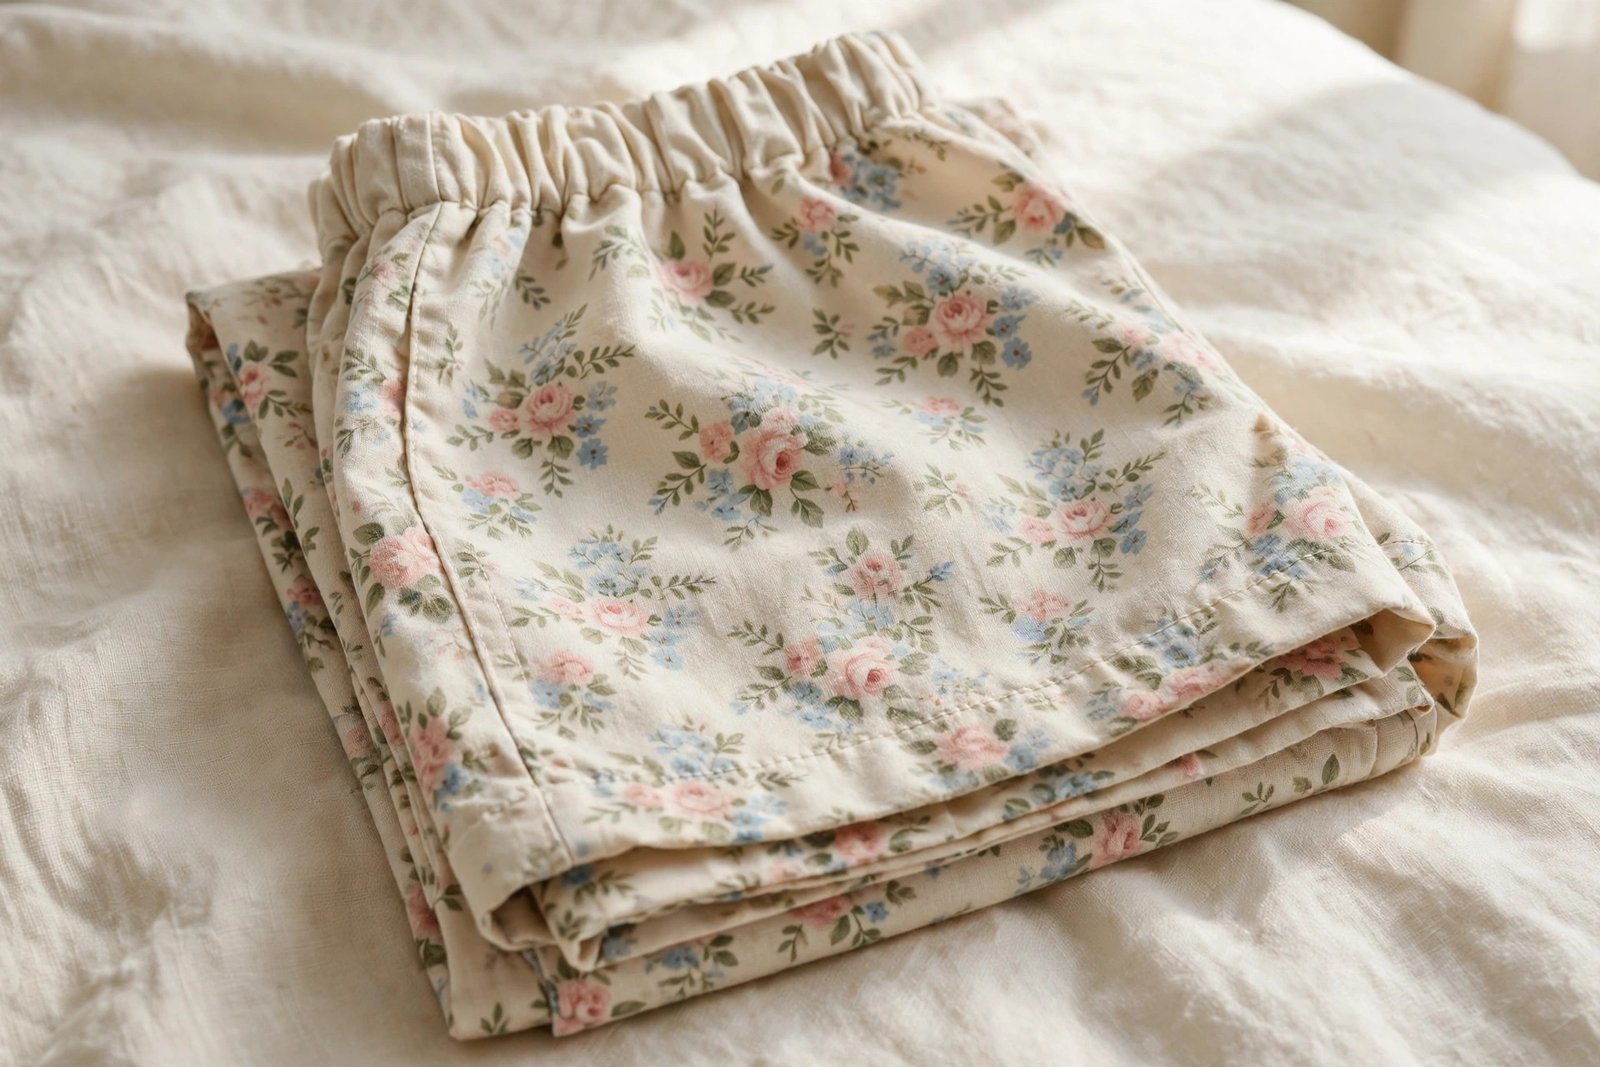
Your first real garment, and easier than it looks. It is just four seams and an elastic casing, exactly like the drawstring bag but bigger. This is the project where you meet a commercial pattern for the first time, so read my guide to sewing pattern symbols before you cut. Take your hip measurement accurately and cut the size that matches it, not the size you buy in stores. Pattern sizing is its own universe.
10. Elastic-Waist A-Line Skirt
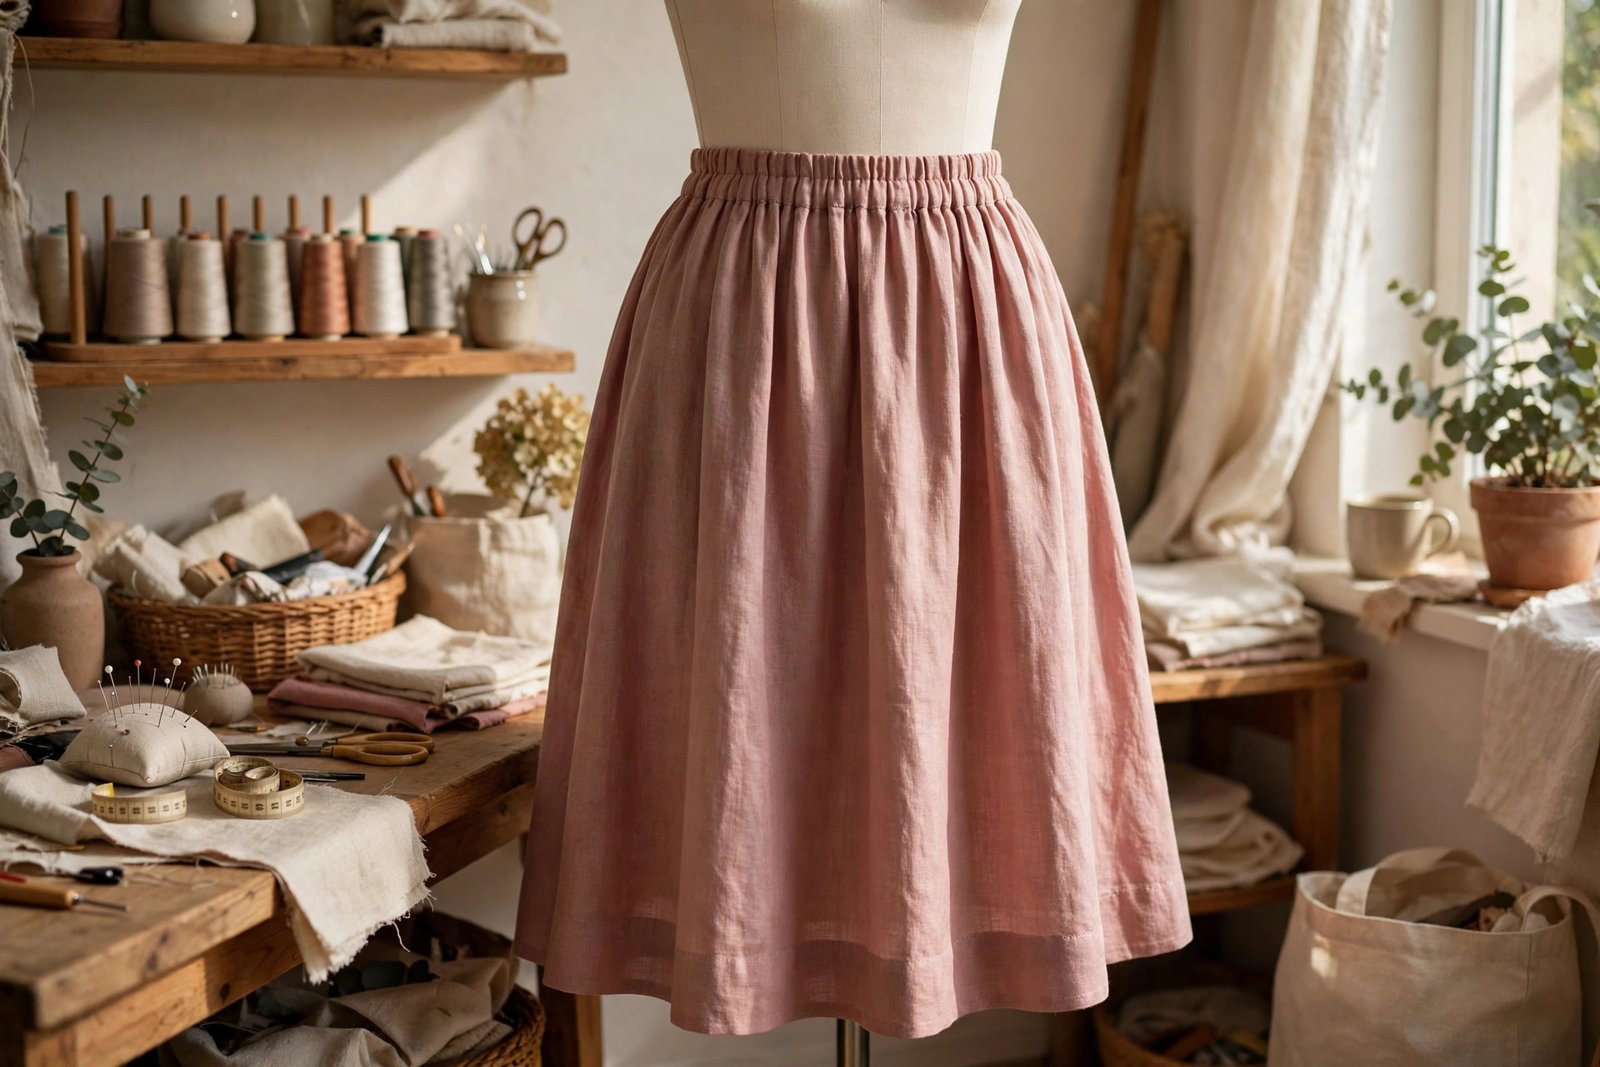
Two pattern pieces, side seams, a waistband casing, and a hem. That is the entire skirt. Choose a quilting cotton or lightweight linen and it will hang nicely without any fitting voodoo. The skill this one teaches is hemming a curve: clip into the hem allowance every inch around the curve so it lies flat instead of puckering. Press the hem twice before stitching and you will get a clean edge that looks professionally finished.
11. Reusable Grocery Bags
A tote bag leveled up: boxed bottom corners for depth, reinforced handles sewn in an X-box pattern, and French seams inside so no raw edges show. Make the handles from cotton webbing rather than self-fabric. Webbing does not stretch, does not twist, and survives a gallon of milk. These take about 45 minutes each once you have made one, and they replace every plastic bag in your car.
12. Patchwork Placemats
Four squares of contrasting cotton sewn into a block, layered with batting, quilted with straight lines, and bound with bias tape. This is your gentle introduction to quilting: piecing, layering, quilting, binding, all on a project small enough to finish in an afternoon. Chain-piece the squares (feed one after another without cutting the thread) and you will have four placemat tops in twenty minutes. Do not skip the binding. Raw edges on a placemat will fray in the wash within a month.
What to sew after these 12
Finish all twelve and you can thread a machine, cut accurately, sew straight and curved seams, insert elastic, fuse interfacing, box corners, hem everything, and read a basic pattern. That is a genuinely solid foundation.
When you are ready for real garment construction, the Teach Yourself to Sew video series from Threads magazine is the best free beginner course I have found. Their editors walk through equipment, fabric, seams, and a first jacket with the kind of precision you only get from people who have taught this for decades.
Pin this list and work through it in order. Do not skip to the pajama shorts because they look fun. The napkins are boring on purpose. They are building the hands you need for everything after them.

Written by June Carter
I am June, a sewing enthusiast who loves turning simple fabric into things people actually use. I test every technique and product I write about at my own machine before it lands here.
