
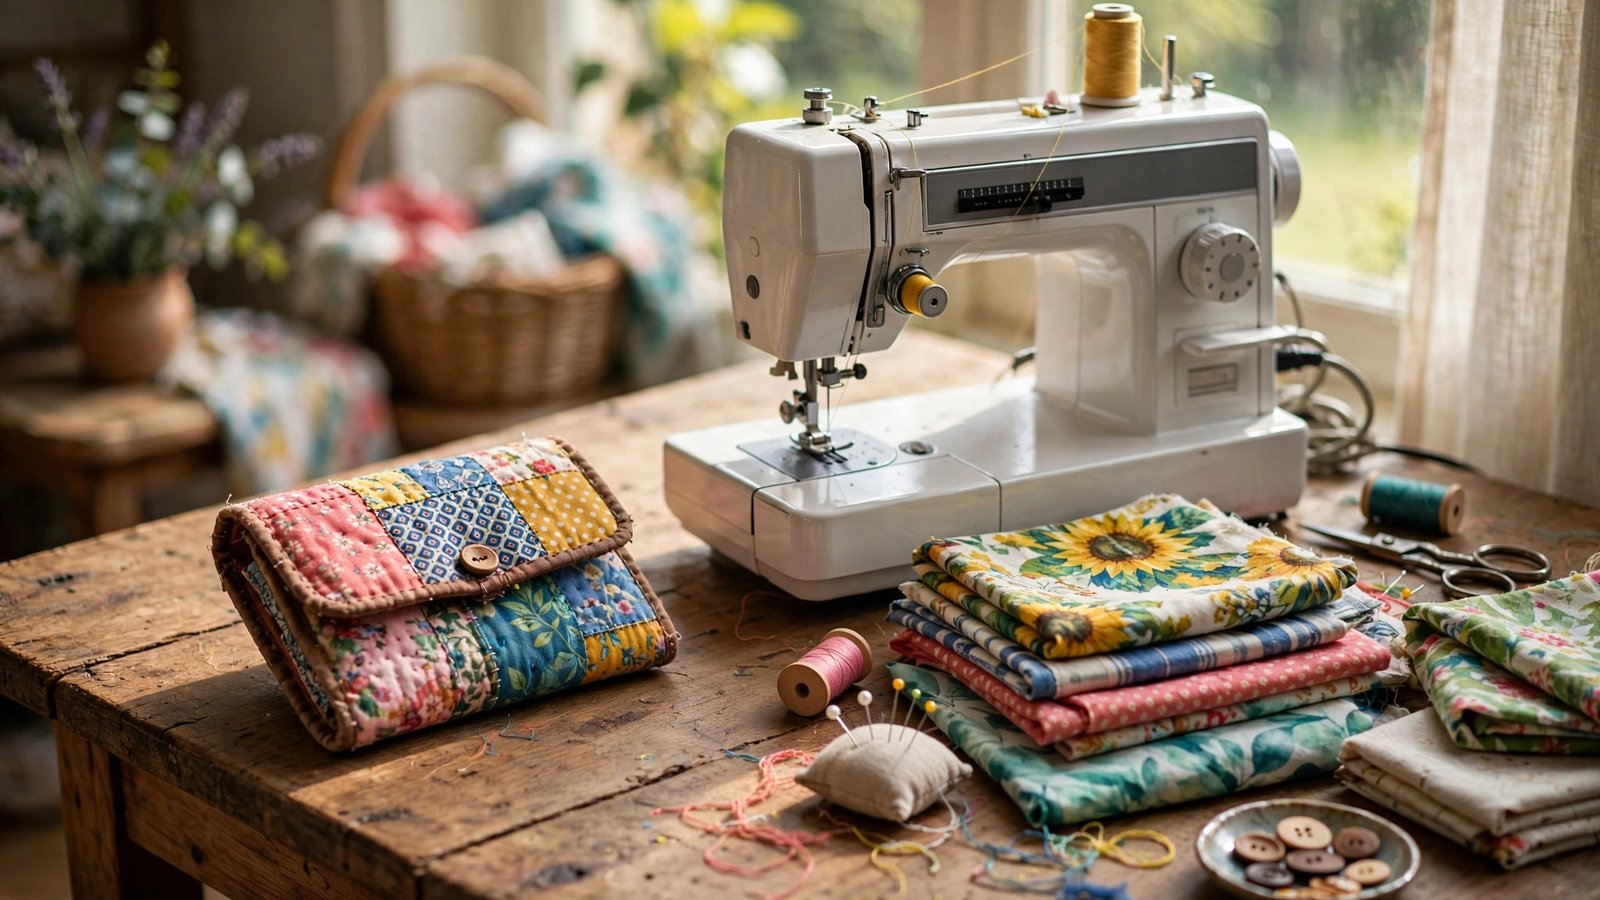
If you want a project that teaches real skills without eating your whole weekend, learning how to sew a simple wallet is one of the smartest places to start. A wallet is small enough to finish in one afternoon, and every single step teaches you something you will use again: cutting neat pieces, sewing pockets, turning corners, and topstitching like you mean it.
I still remember my first fabric wallet. It was charmingly crooked, and one of the card pockets gripped my library card like it never wanted to let go. But I carried it for years, and the lessons from that little project show up in nearly everything I sew now. This tutorial is the version I wish someone had handed me back then: simple, honest, and very forgiving.
Gather Your Fabric Wallet Materials
The fabric wallet materials list is short, which is exactly why this project is such a perfect beginner win. If you are collecting easy sewing projects for beginners, this one earns a permanent spot on your list. You will need two coordinating quilting cottons, one for the outer and one for the lining, plus medium-weight fusible interfacing, matching all-purpose thread, scissors or a rotary cutter, pins or clips, and an iron. For a closure, grab either a sew-on snap or a small piece of hook-and-loop tape.
My opinion, and I will not budge on this: quilting cotton is the best fabric for a wallet when you are learning. It presses crisply, it does not slip under the needle, and it comes in prints that make a small project feel special. Save the slippery satins and stretchy knits for later. A fat quarter bundle gives you enough fabric to make several wallets, which is handy because once you make one, someone will ask for one too. If you are still building your stash, my guide to the best fabric for a beginner sewing project will point you in the right direction.
Cut the Wallet Pattern Pieces
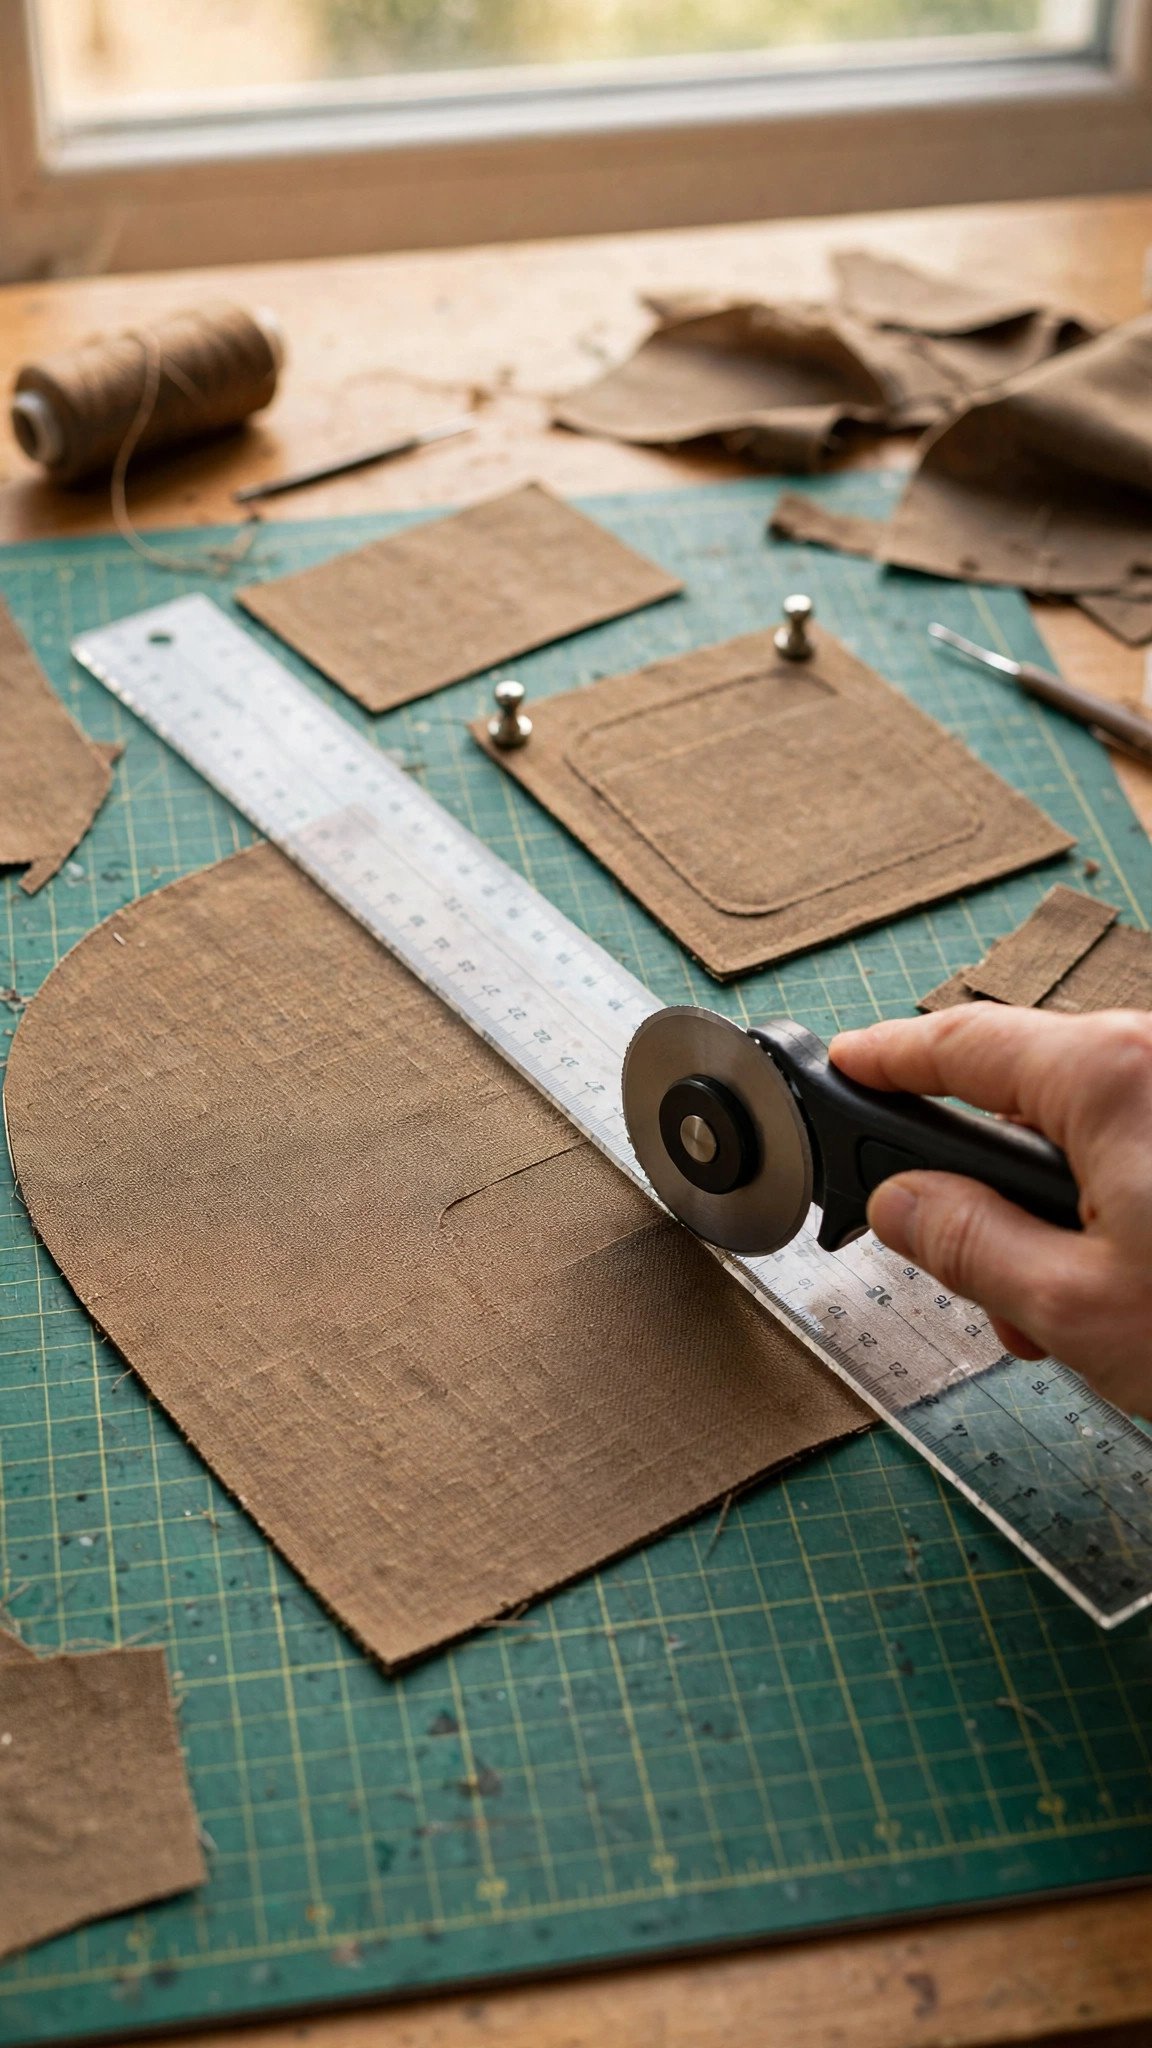
Now you will cut wallet fabric pieces in just a few rectangles, no printed pattern required. For a bifold-style wallet that holds cards and folded cash, cut one outer piece 9 inches wide by 7 inches tall, one lining piece the same size, and one interfacing piece the same size. Then cut your card pockets: I like three pockets, each cut 4 inches wide by 4 inches tall, which finish at a comfortable card height once the top edge is hemmed.
Cut carefully here, because straight pieces are the whole secret of a wallet that looks store-bought. Use a ruler and rotary cutter on a mat if you have one, and remember the basics of cutting fabric on grain so your wallet does not twist after the first wash. Label your pieces with a fabric marker or a pin note: outer, lining, interfacing, pockets. It takes ten seconds and saves you from sewing the wrong piece to the wrong place.
Sew the Card Pockets
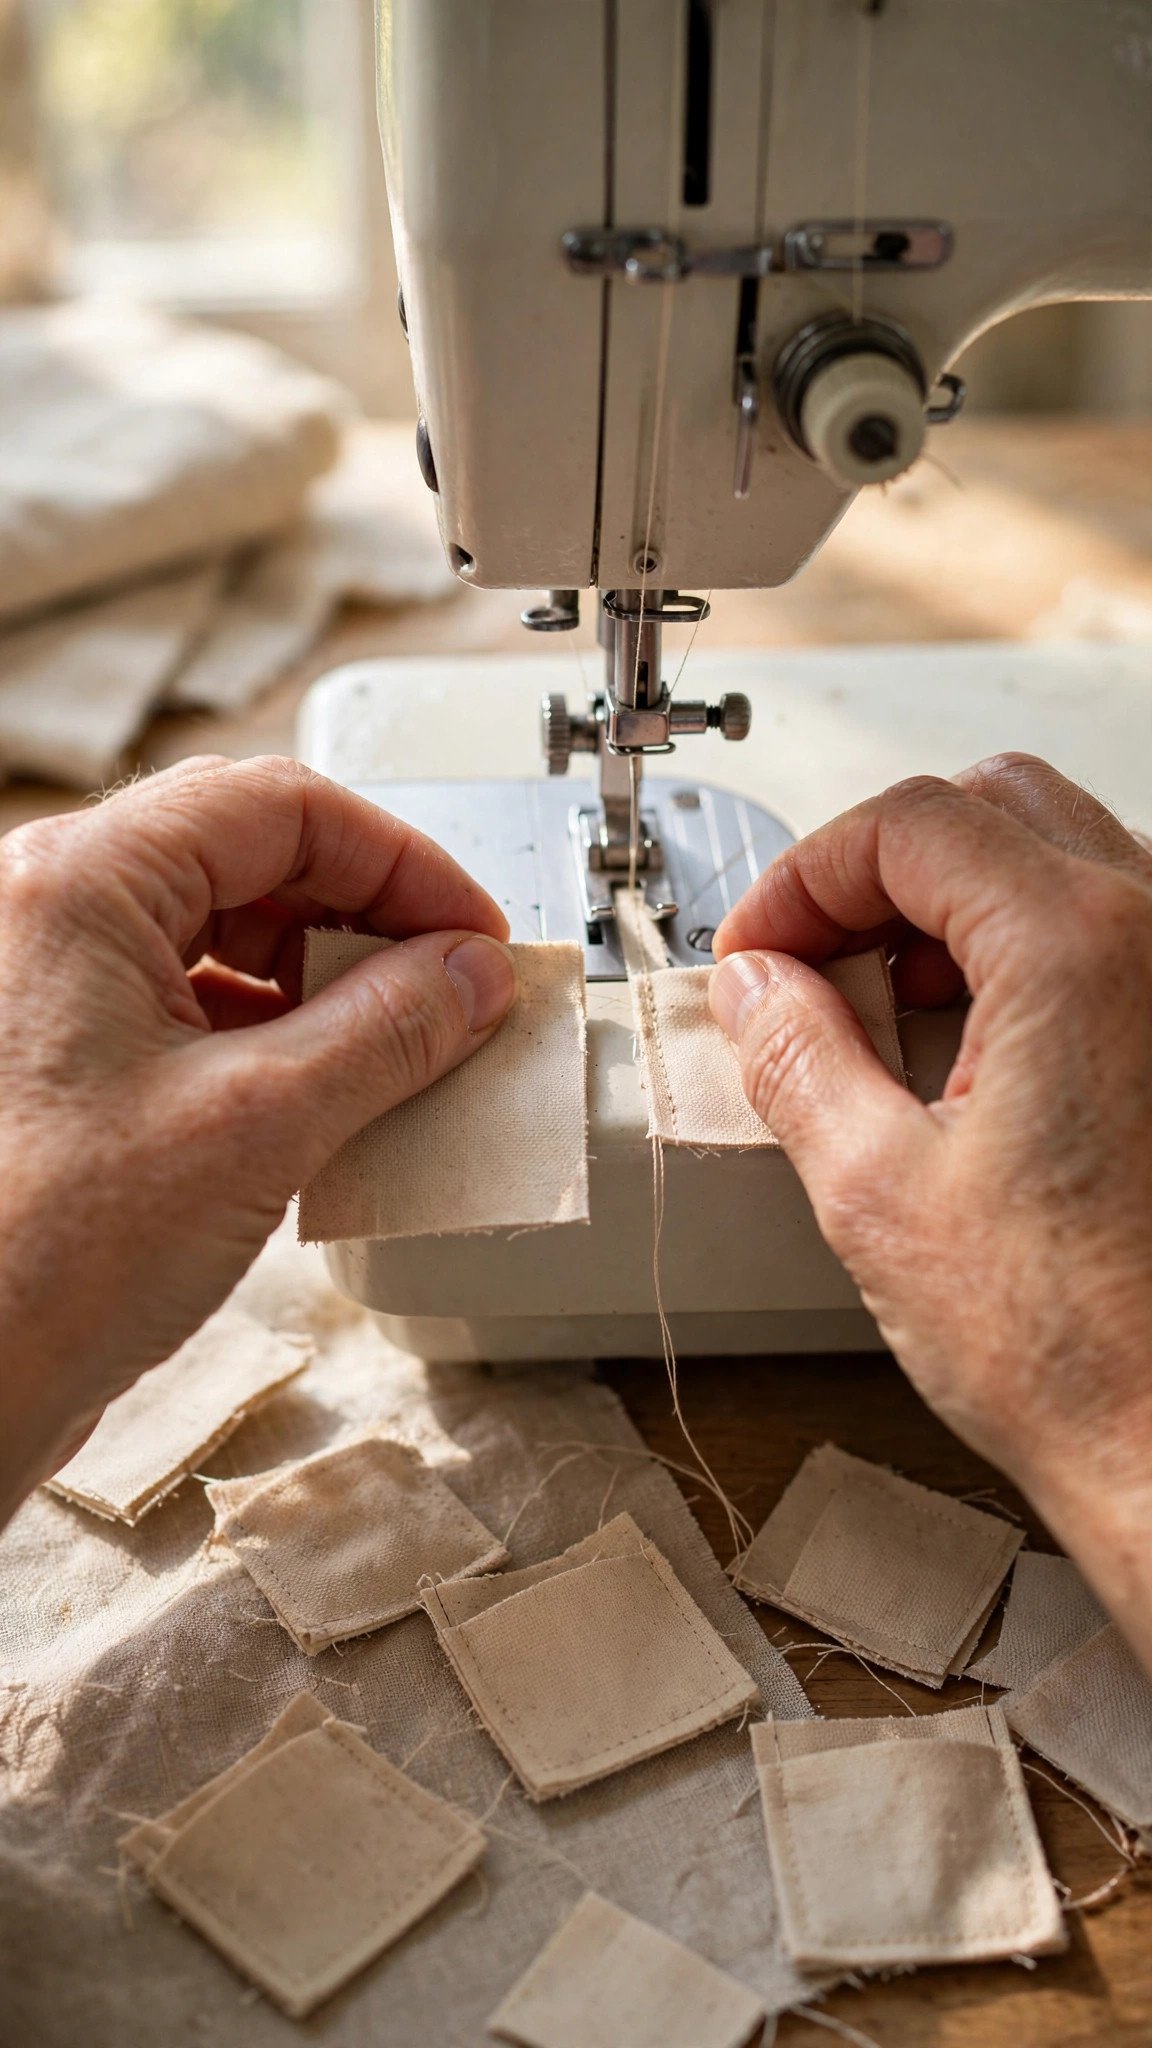
Take each pocket rectangle and fold the top edge down by half an inch toward the wrong side. Press it well with the iron, then stitch close to the fold to create a clean finished edge. This hemmed edge is the top of each card slot, and a crisp press now means a crisp pocket later.
This is where you sew card pockets that actually fit real cards. Lay your lining piece right side up and stack the pockets on top, starting with the bottom pocket and overlapping each one upward like shingles. Align the side and bottom raw edges of each pocket with the lining. Pin or clip everything in place, then baste along both sides and the bottom with a scant quarter-inch seam to hold the stack together. I use a simple card slot wallet design with three slots, and I always test with a real card before moving on. Slide a card into each pocket: it should go in with a gentle push and stay put when you tip the lining sideways. If a pocket is too tight, shift it down a quarter inch and baste again. If you can sew a straight stitch, you can sew these pockets, because that is genuinely all it takes.
Add Interfacing for a Wallet That Holds Its Shape
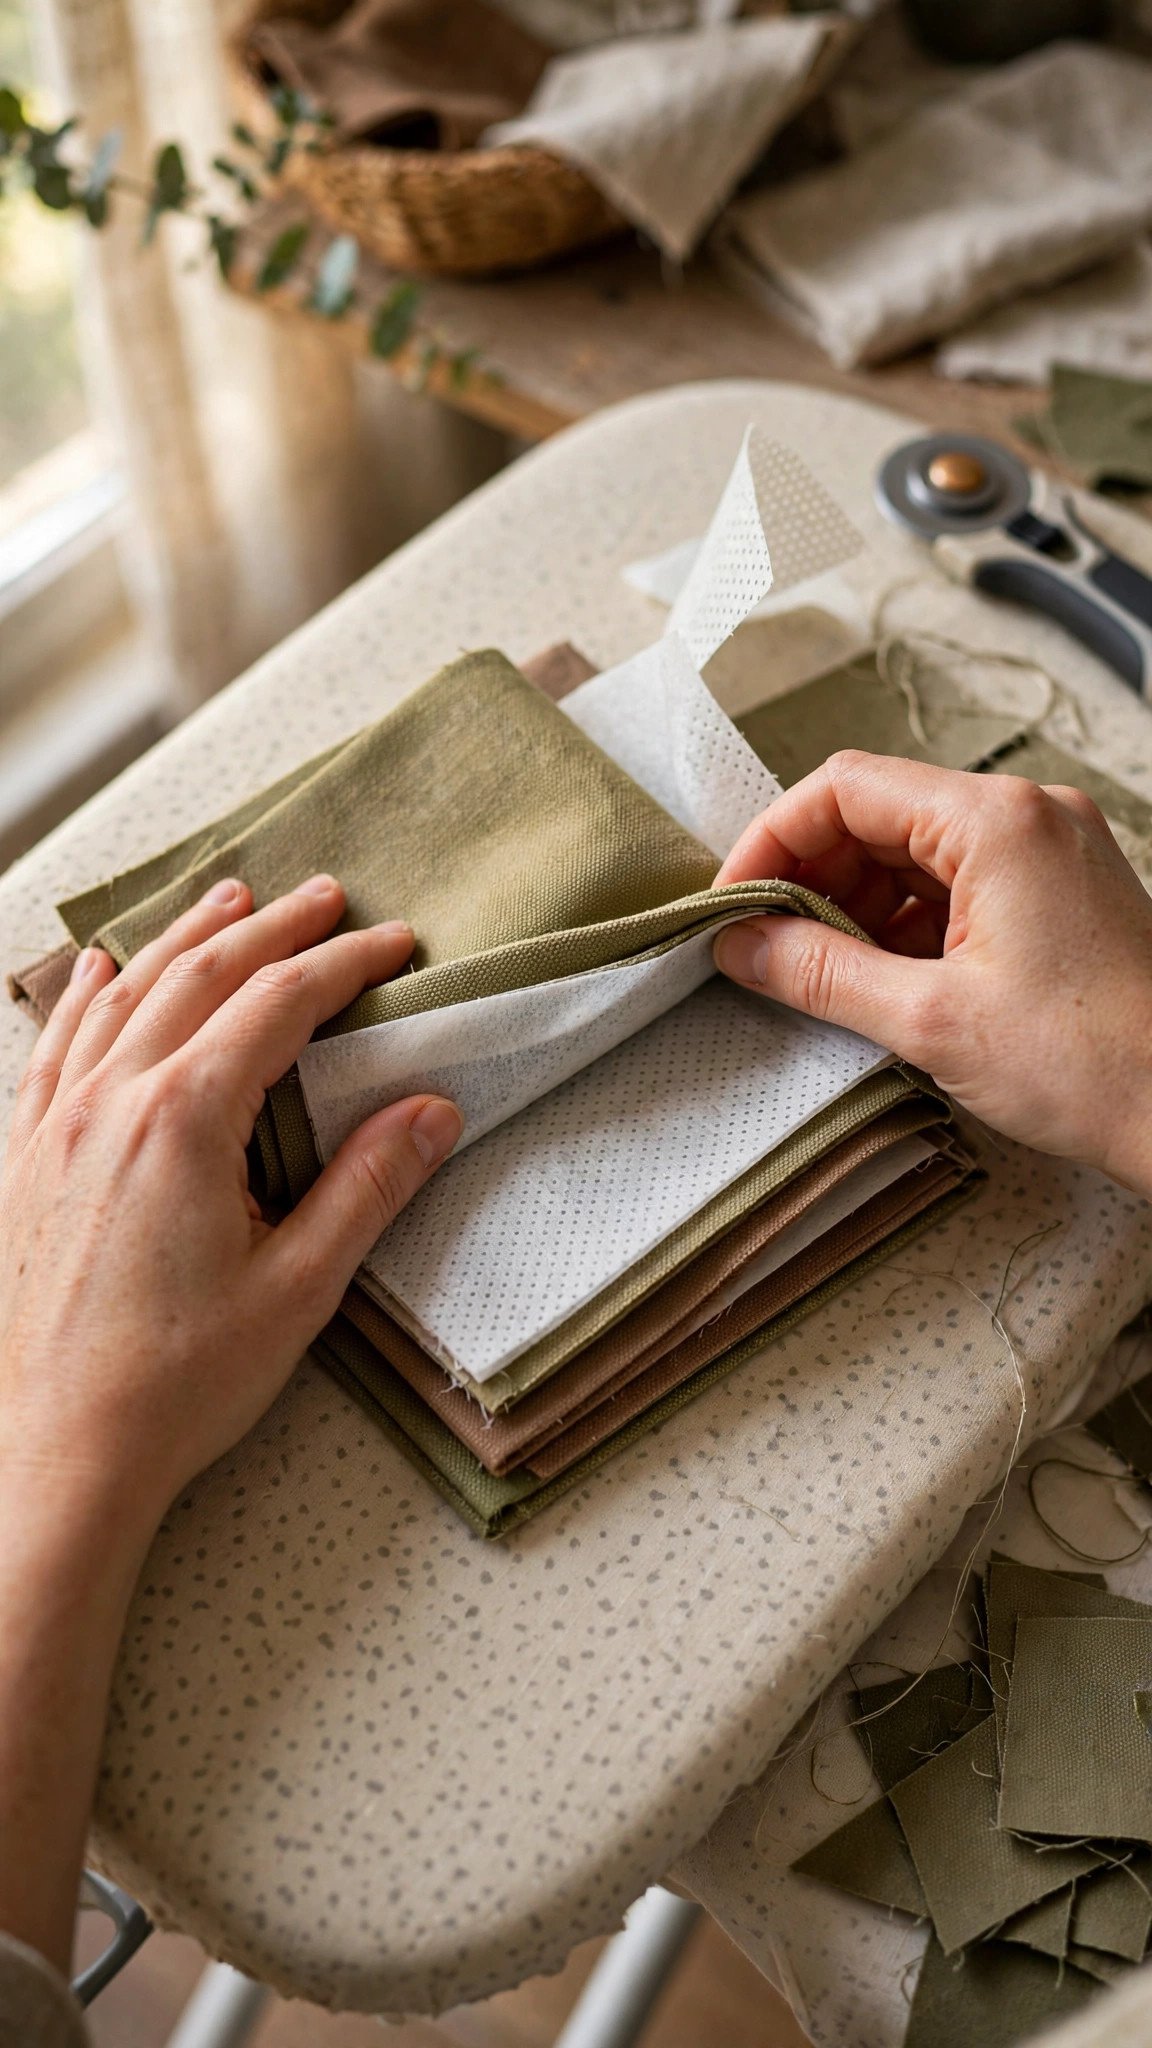
Fuse the interfacing to the wrong side of your outer fabric piece, following the manufacturer’s pressing instructions. Medium-weight fusible interfacing for wallet bodies is my pick: it gives body without turning the wallet into cardboard. Press from the center outward so you do not trap air bubbles, and let the piece cool flat before you move it.
Do not skip this step. A wallet without interfacing feels flimsy the day you finish it and gets worse from there. Think of it this way: the wallet structure interfacing adds is what keeps the finished piece from going limp after a month in your bag. If your fabric is very lightweight, you can fuse a second layer to the lining too. If your fabric is already heavy, like canvas, you can use a lighter interfacing or skip it on the lining only, never on both.
How to Sew a Simple Wallet: Assemble and Finish
Place the interfaced outer piece and the pocket-lined lining piece right sides together, with all the pocket layers sandwiched inside. Pin or clip all the way around, leaving a three-inch opening along one short side for turning. Sew around the perimeter with a half-inch seam allowance, backstitching at the start and finish and pivoting carefully at the corners.
Trim the seam allowance at the corners to reduce bulk, being careful not to clip your stitching. When you assemble a fabric wallet this way, the lining hides every raw edge, which is why this construction feels so satisfying. Reach through the opening and turn the wallet right side out. Use a blunt tool like a chopstick or a point turner to push the corners out fully, then press the whole wallet flat, tucking the seam allowance of the opening neatly inside.
Now topstitch the wallet edges all the way around, about an eighth of an inch from the edge. This single row of stitching does three jobs at once: it closes the turning opening, it flattens the edge, and it gives the wallet that crisp, finished look. Slow down at the corners and keep your stitching line even. A steady, even topstitch is the difference between handmade and homemade, and this is the step where you earn it.
Choose a Closure: Snaps or Velcro
A wallet does not strictly need a closure, but one keeps everything secure in a busy bag. A snap closure for wallet flaps is the classic choice: sew one half of the snap to the underside of the flap area and the matching half to the wallet body, checking the placement with the wallet folded closed before you stitch. Take the time to mark both positions with a fabric pen so the snap halves actually meet.
If snaps make you nervous, a velcro wallet closure is the friendlier option. Sew the soft loop side to the body and the rough hook side to the flap, stitching a neat square with an X through it on each piece. It holds firmly and there is no hardware to set. A third option I love for a softer look: sew a small elastic hair loop to one edge and a button to the other. Whichever you choose, attach closures before the final topstitching pass when possible, so the stitching locks everything down.
FAQ
What is the best fabric for a simple wallet?
Quilting cotton is my top recommendation for your first wallet. It is stable, easy to press, and forgiving under the needle. Once you are comfortable, try canvas, denim, or cork fabric for a sturdier everyday wallet.
How do I keep my card pockets from being too tight?
Test with a real card before you baste the pocket stack permanently. Cards need a little breathing room, and fabric relaxes slightly with use. If in doubt, cut your pockets a quarter inch wider than you think you need.
Can I sew a wallet by hand?
You can, using a backstitch for the seams, though it will take considerably longer. The machine version is genuinely a one-afternoon project, which is part of its charm.
Does a fabric wallet make a good handmade gift?
Absolutely. A handmade wallet gift is personal, practical, and quick enough to make in batches for the holidays. Make one for yourself first to work out the fit, then cut pieces for a whole stack at once.

Written by June Carter
I am June, a sewing enthusiast who loves turning simple fabric into things people actually use. I test every technique and product I write about at my own machine before it lands here.