
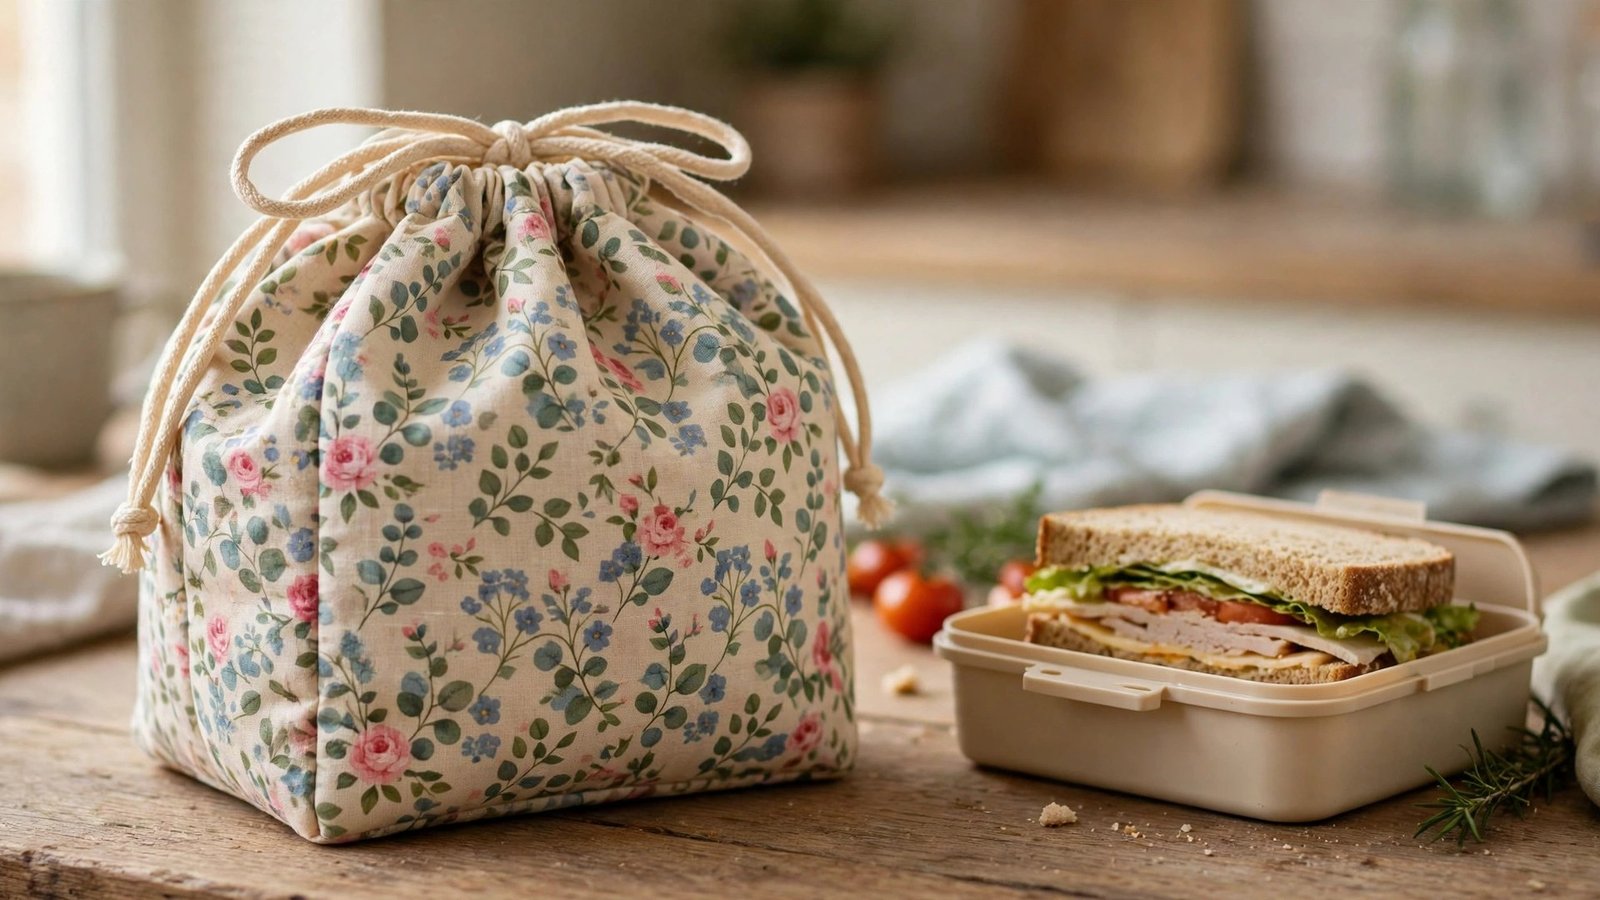
If you want to learn how to sew a lunch bag with insulation, you are about to make one of the most satisfying bags in all of sewing. A homemade lunch bag is useful every single day, it is kinder to the planet than single use packaging, and it is a wonderful way to use a favourite fabric. Add a layer of insulation inside, and it actually keeps food cool until lunchtime, which is the whole point. My first insulated lunch bag was made for a school run, and it came home empty every day, which felt like a small victory.
The method is simpler than it sounds. You sew an outer bag, a lining bag, and a layer of insulating batting between them, then join them at the top with a drawstring or a zipper closure. The insulation I use is a fusible thermal batting made for lunch bags and oven mitts, with a shiny side that reflects heat. It is sold as a single layer, it cuts like ordinary batting, and it sews without any special foot. In this guide I will show you the simple boxy version with a drawstring top, which is the easiest closure for a first lunch bag.
Choose a fabric that can be wiped clean for the outside, like a coated cotton or a sturdy canvas, and a food safe lining for the inside, like a ripstop nylon or a laminated cotton. Avoid fabrics that will stain easily, because lunch bags live a hard life. And press everything as you go, because a bag that is pressed at each step looks neat and holds its shape far better than one that is not.
What You Need and How to Size a Lunch Bag
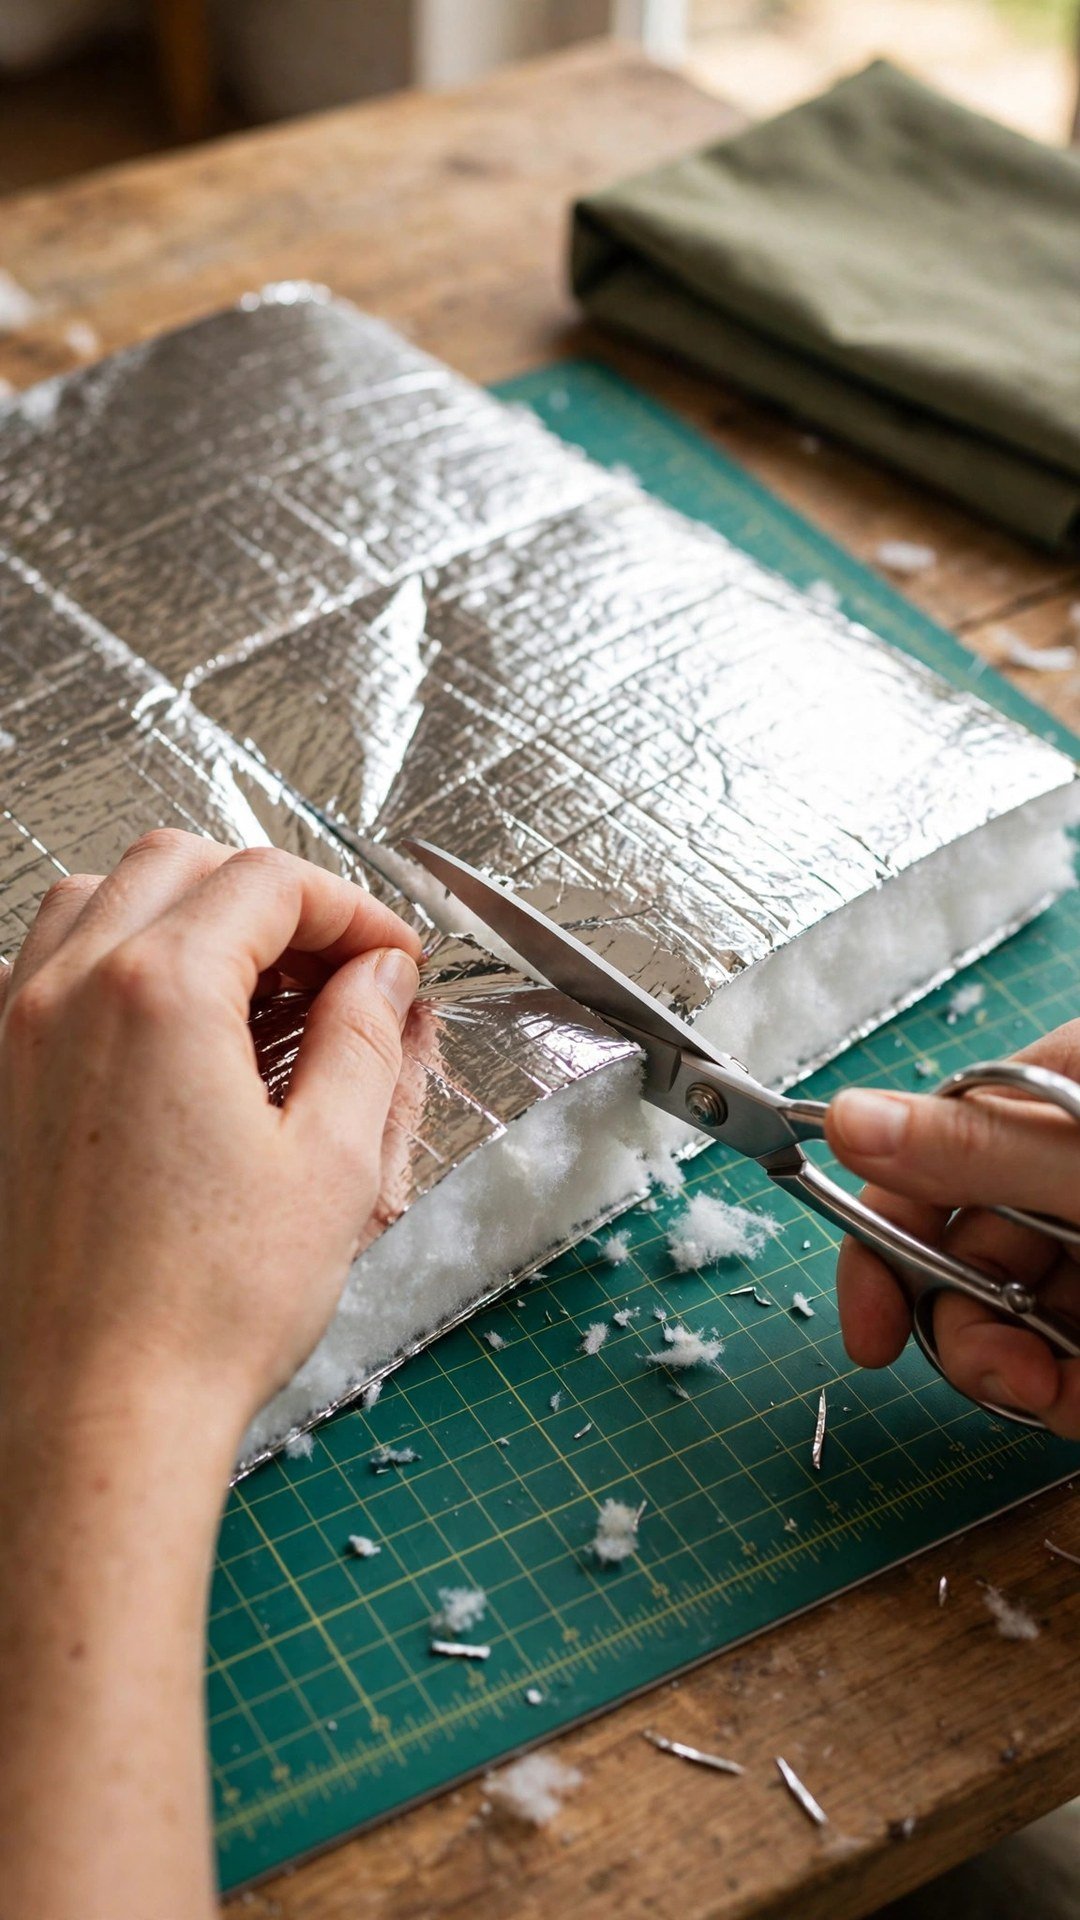
For one lunch bag you need outer fabric, lining fabric, insulated batting, cord or ribbon for the drawstring, thread, and a sewing machine. A good starter size is twelve inches wide by ten inches tall, with a four inch deep boxed base, which fits a sandwich box, a piece of fruit, and a small drink. Cut two rectangles of each layer at that size, and cut the batting slightly smaller, about a quarter inch in from each edge, so it does not add bulk to the seams.
The insulation layer is the star of this project, so buy the right kind. Look for a thermal batting designed for lunch bags, often labelled as insulated batting, with a reflective metallic side and a soft batting side. Fuse or baste it to the wrong side of the outer fabric before you sew, with the shiny side facing the lining, so it reflects heat away from the food. If you are choosing lining fabric and want help, my guide to how to choose lining fabric covers wipe clean options that work well for food bags.
How to Sew a Lunch Bag with Insulation Step by Step
Start by preparing the outer panels. Fuse the insulating batting to the wrong side of each outer rectangle, following the pressing instructions on the batting packet, and press from the fabric side rather than directly on the shiny surface. Then sew the two outer panels together along the sides and the bottom, right sides together, with a half inch seam allowance, leaving the top open. Press the seams open or to one side, and box the two bottom corners to make a flat base. To box a corner, pinch it flat so the side seam meets the bottom seam, measure two inches across, draw a line, and sew across it. My guide to how to box bag corners shows this step with clear photos.
Now sew the lining in the same way, but without the batting, and leave a three inch gap in the bottom of the lining for turning. Press the lining seams, box the lining corners to match the outer bag, and set it aside. Then make the drawstring casing: fold the top edge of the outer bag down by half an inch and press, fold it down again by one and a quarter inches and press, and stitch close to the lower fold to form a casing, leaving a small opening at one side seam for the cord. Repeat the casing fold on the lining, but stitch it all the way around with no opening, since the cord will run through the outer casing only.
Joining the Layers and Adding the Drawstring
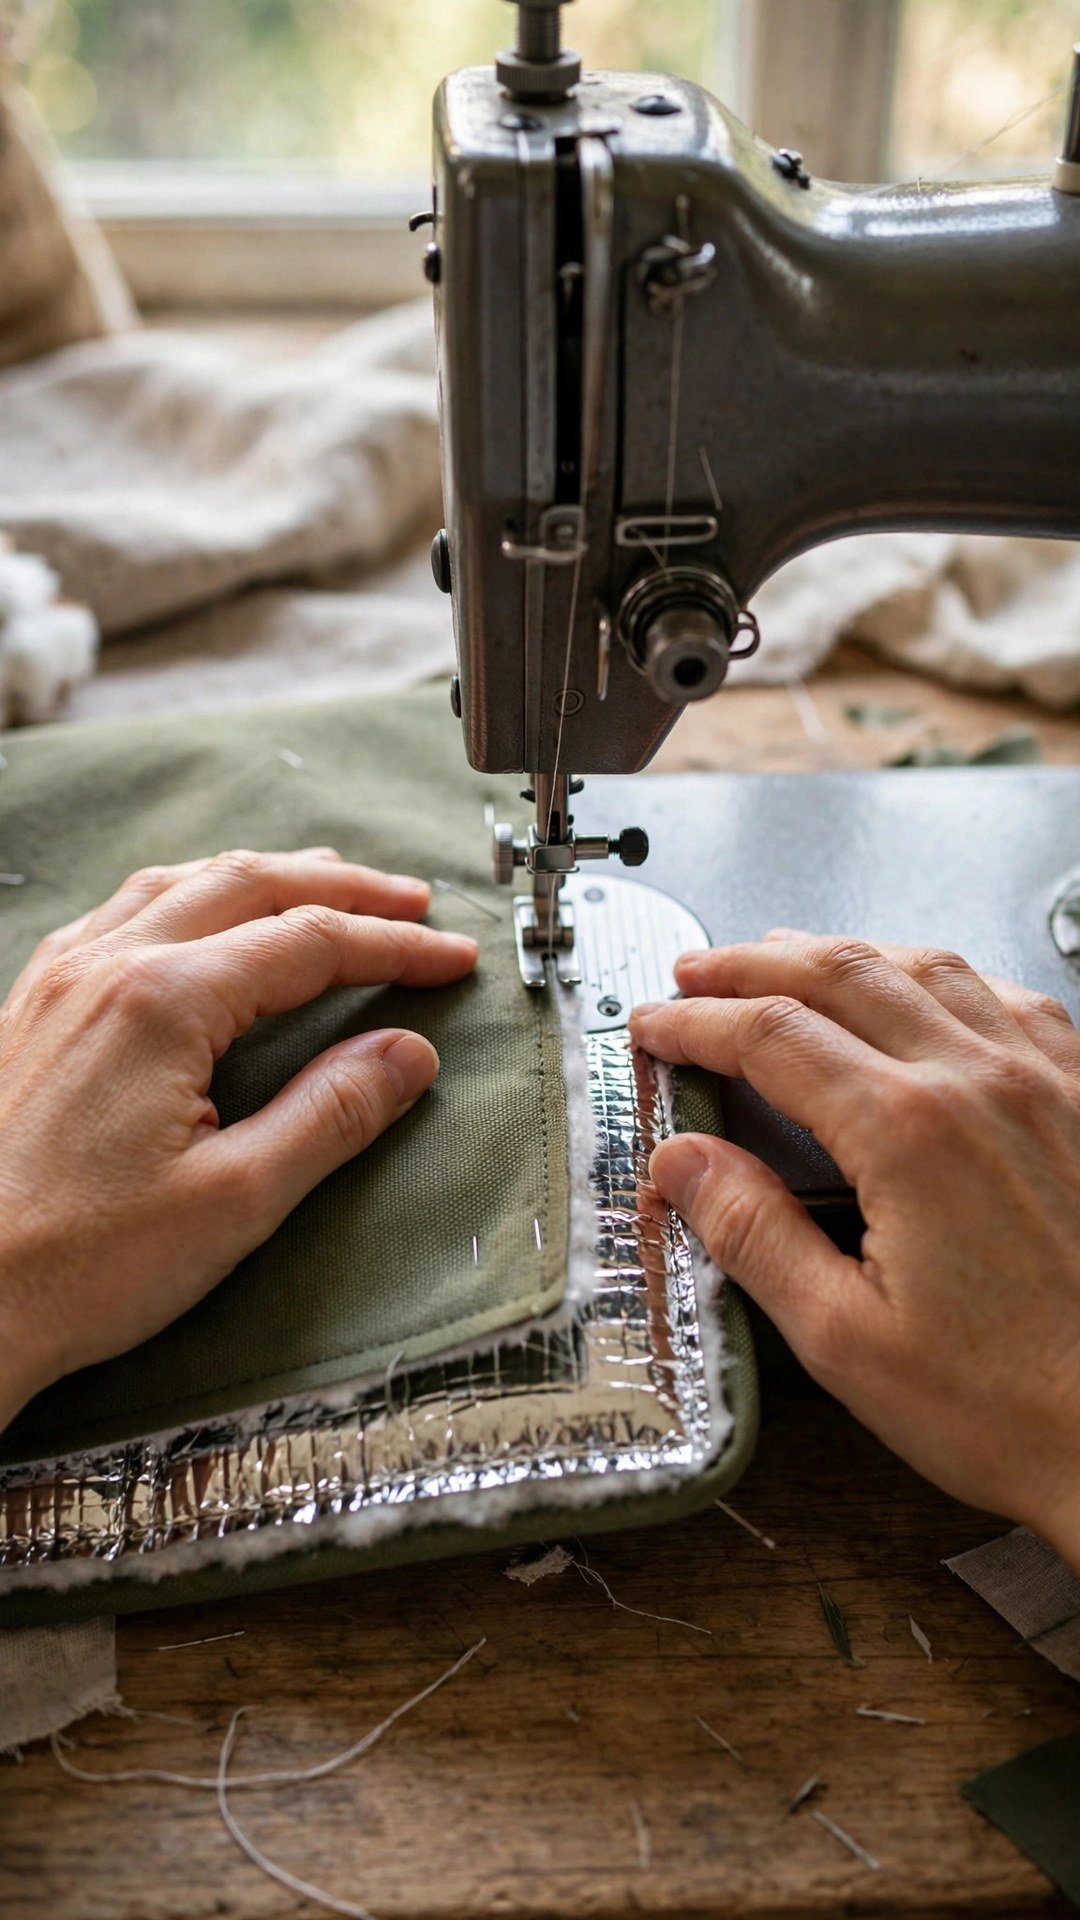
Now join the two bags. Turn the outer bag right side out and slip it inside the lining bag, so the right sides of the outer and the lining face each other and the top edges line up. Pin around the top edge, matching the side seams, and sew around the top with a half inch seam allowance, stitching through the outer, the lining, and the batting at the casing fold. This seam holds all three layers together and forms the finished top edge of the bag.
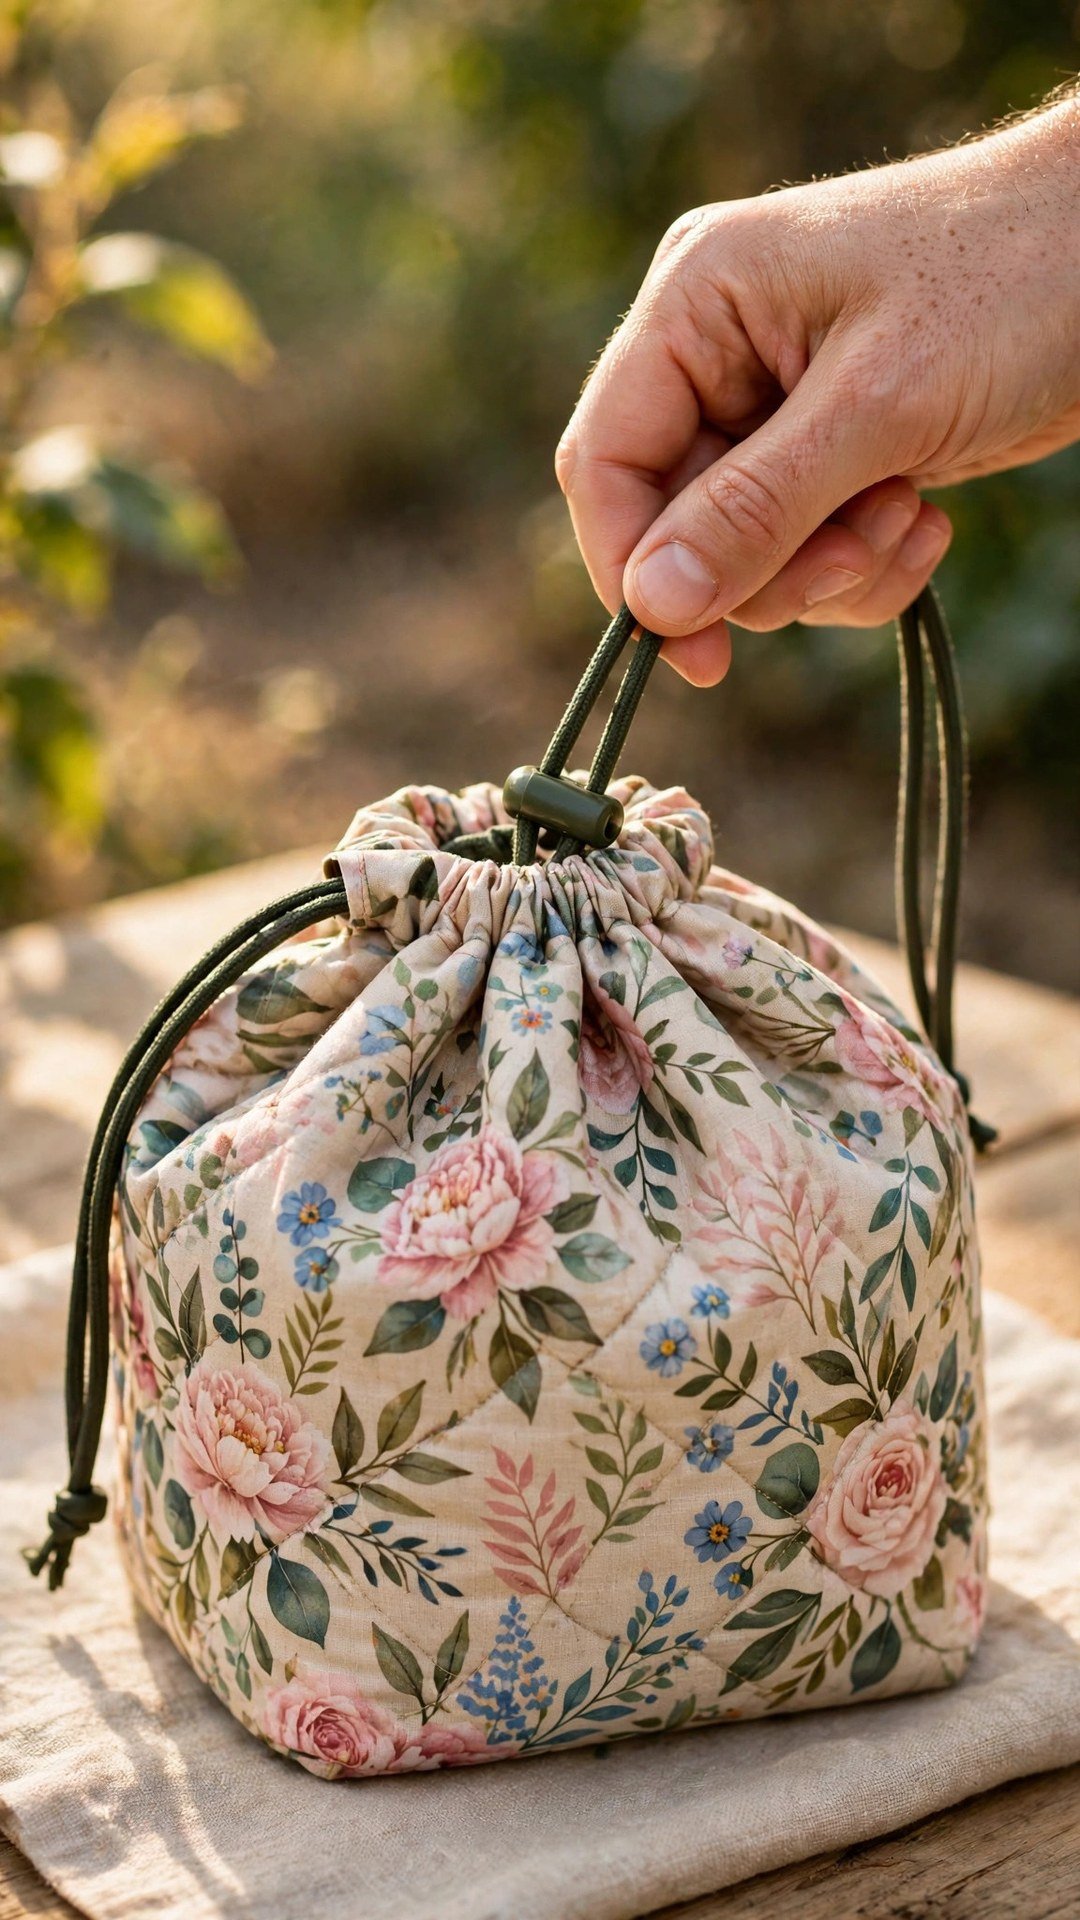
Reach through the gap in the lining and pull the whole bag right side out, then stitch the lining gap closed and push the lining down inside the outer bag. Press the top edge well, with the lining sitting just inside the outer so no lining peeks out. Thread your cord through the casing using a safety pin on one end, working it all the way around and out through the opening, then knot the ends or add cord stops. Pull the drawstring closed and your lunch bag is ready. The same lining and turning method is used in a bigger bag, so if you enjoyed this, try how to sew a lined tote bag next.
Tips for Keeping Food Cool and the Bag Clean
The insulation helps, but a few habits make it work much harder. Freeze a small reusable ice pack and tuck it in beside the food, and pack the bag in the morning rather than the night before, so the insulation starts cold. A snug fit helps too, because air gaps let warm air in, so choose a bag size that fits your usual containers without a lot of empty space. And always close the drawstring fully, because an open top is an open invitation for warm air.
Cleaning matters just as much as sewing. Wipe the lining out after every use with a damp cloth, and let the bag air dry fully before you fold it away, because a damp lining left closed will smell within a day. Most insulated lunch bags can be hand washed, but check your batting and fabric first, and never put the bag in a hot dryer, which can melt the reflective layer. A lunch bag that is wiped daily and washed weekly will last for years, and it will carry a lot of good lunches in that time. For a smaller food bag with a similar closure, how to sew a drawstring backpack uses the same casing trick on a different shape.
Frequently Asked Questions
What insulation should I use for a lunch bag?
Use a thermal batting made for lunch bags, with a reflective metallic side and a soft batting side. It is designed to reflect heat, it cuts and sews like ordinary batting, and it is the standard choice for homemade insulated bags.
Can I put a lunch bag in the washing machine?
It depends on your fabric and batting, so check the labels first. Many lunch bags can be hand washed, but machine washing and hot drying can damage the reflective layer. Wiping the lining daily is the safest routine.
Do I need a zipper for a lunch bag?
No. A drawstring closure is simpler, it is easy to open and close with one hand, and it works well for a lunch bag. A zipper gives a flatter top and a neater look, but it is a harder first project.
What is the best fabric for a lunch bag?
Choose a sturdy outer fabric that can be wiped clean, like canvas or coated cotton, and a wipe clean lining like ripstop nylon. Avoid pale fabrics that will show stains, and avoid fabrics that cannot be washed.
How do I stop the insulation from bunching in the seams?
Cut the batting slightly smaller than the fabric panels, and trim it out of the seam allowances after sewing. Fusing it to the outer fabric before you sew also holds it in place and stops it shifting.
Pack It, Close It, Enjoy Lunch
An insulated lunch bag is a small project with a daily reward. Cut the layers, fuse the batting, box the base, join the lining, and thread the cord. Then pack a lunch you are proud of, pull the drawstring closed, and enjoy knowing you made the bag that carries it.

Written by June Carter
I am June, a sewing enthusiast who loves turning simple fabric into things people actually use. I test every technique and product I write about at my own machine before it lands here.