
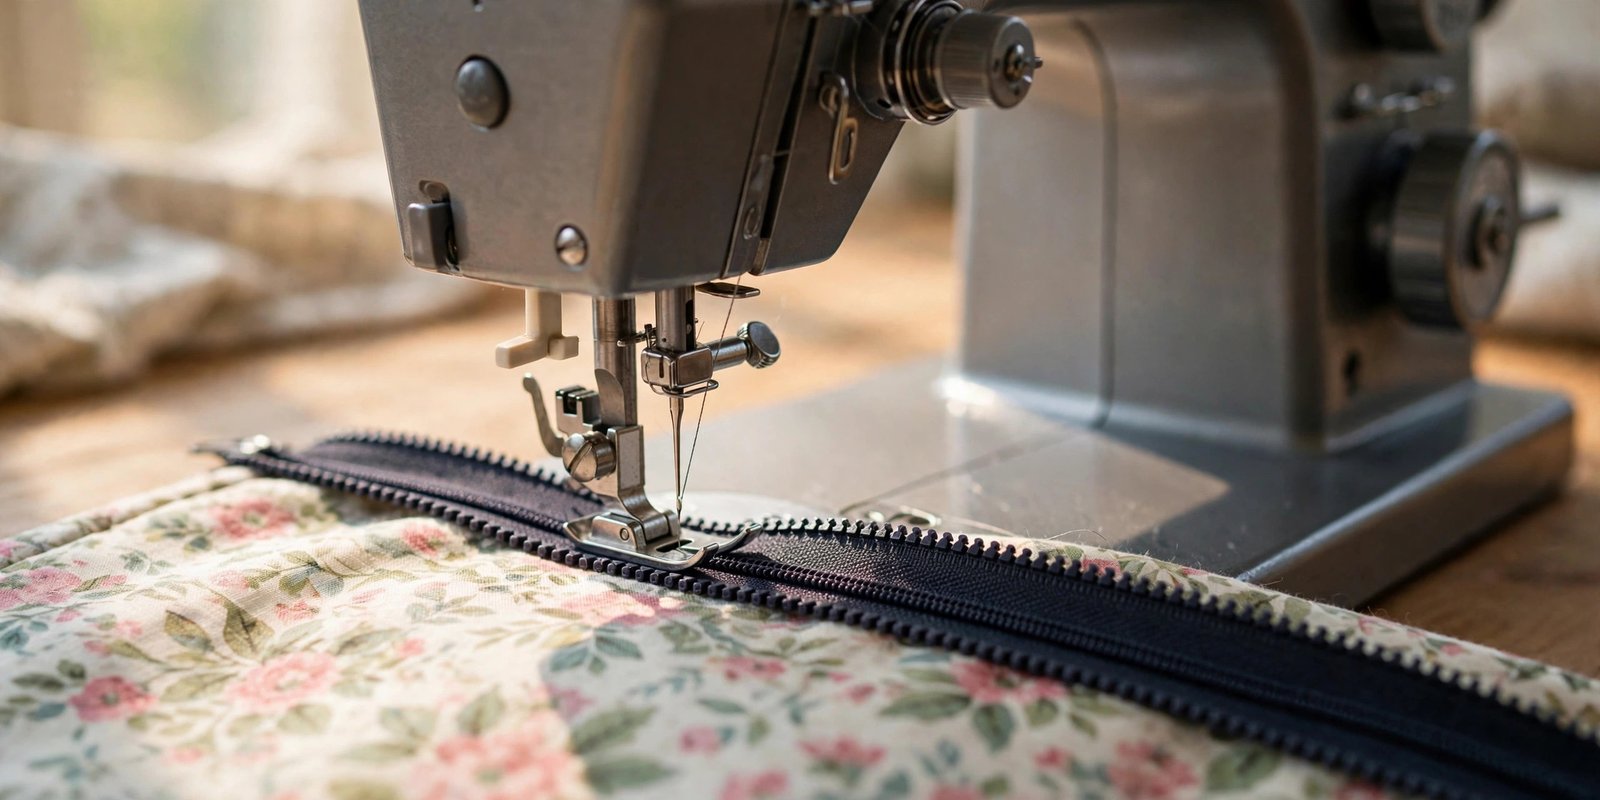
If you have been wondering how to add a zipper pocket to a bag so it looks neat and professional instead of puckered and homemade, you are in the right place. I will be honest: my first zipper pocket was a disaster. The zipper waved like a flag, the corners gaped open, and the whole pocket pulled the lining sideways. But here is the thing I wish someone had told me sooner. A zipper pocket is not an advanced skill. It is just a marked rectangle, a zipper, and a patient order of operations. Once you see the method, you will wonder why you avoided it for so long.
A zipper pocket is the single upgrade that turns a cute tote into a bag you trust with your keys, your phone, and your sanity. Slip pockets are fine for lip balm, but anything that actually matters deserves a zipper. This tutorial walks you through the rectangle window method, the same approach professional bag makers use. You need no special tools beyond a zipper foot, and the result is a pocket that lies flat and zips smoothly every time.
Why a Zipper Pocket Changes the Whole Bag
I am firmly in the zipper pocket camp, and I will defend it at the sewing table. An unlined tote with one big open compartment is a black hole. Everything sinks to the bottom, keys scratch your phone, and you end up dumping the whole bag onto a cafe table just to find your card. One zipper pocket fixes all of that. It gives small valuables a home, it keeps them from migrating, and it makes the inside of your bag look as considered as the outside.
There is also a confidence factor that nobody talks about. Sewing a zipper pocket feels like a rite of passage. The first time you flip a bag lining over and see that crisp little zipped window sitting perfectly flat, you will feel like a different sewist. That is not an exaggeration. It is the moment bags stop feeling like a craft project and start feeling like a skill you actually own. If you can sew a straight stitch with reasonable control, you already have every skill this pocket requires.
What You Need Before You Start
Gather everything before you sit down, because stopping mid-project to hunt for a zipper foot is how mistakes happen. You need two rectangles of pocket fabric, usually a quilting cotton or any stable woven, cut to your planned pocket size plus seam allowances on all sides. You need a zipper a few inches shorter than your pocket width. You will also want a zipper foot, a fabric marker, a clear ruler, small sharp scissors, and an iron. A strip of double-sided basting tape or a dab of washable fabric glue is my secret weapon for holding the zipper exactly where I want it while I stitch.
If your lining fabric is thin or drapey, press a little woven interfacing on the wrong side behind the pocket area first. It keeps the window crisp and stops the lining from stretching while you stitch the rectangle. And if you are still building your kit, my roundup of the basic tools every sewist needs covers the marking and cutting tools I reach for on every single bag project.
How to Add a Zipper Pocket to a Bag: The Rectangle Window Method
This is the heart of the whole technique, so take your time here and the rest feels easy. Lay your bag lining piece right side up. Decide where the pocket should sit, usually centered and a couple of inches down from the top edge. Place one pocket rectangle right side down on the lining at that spot, and pin it so nothing shifts while you work.
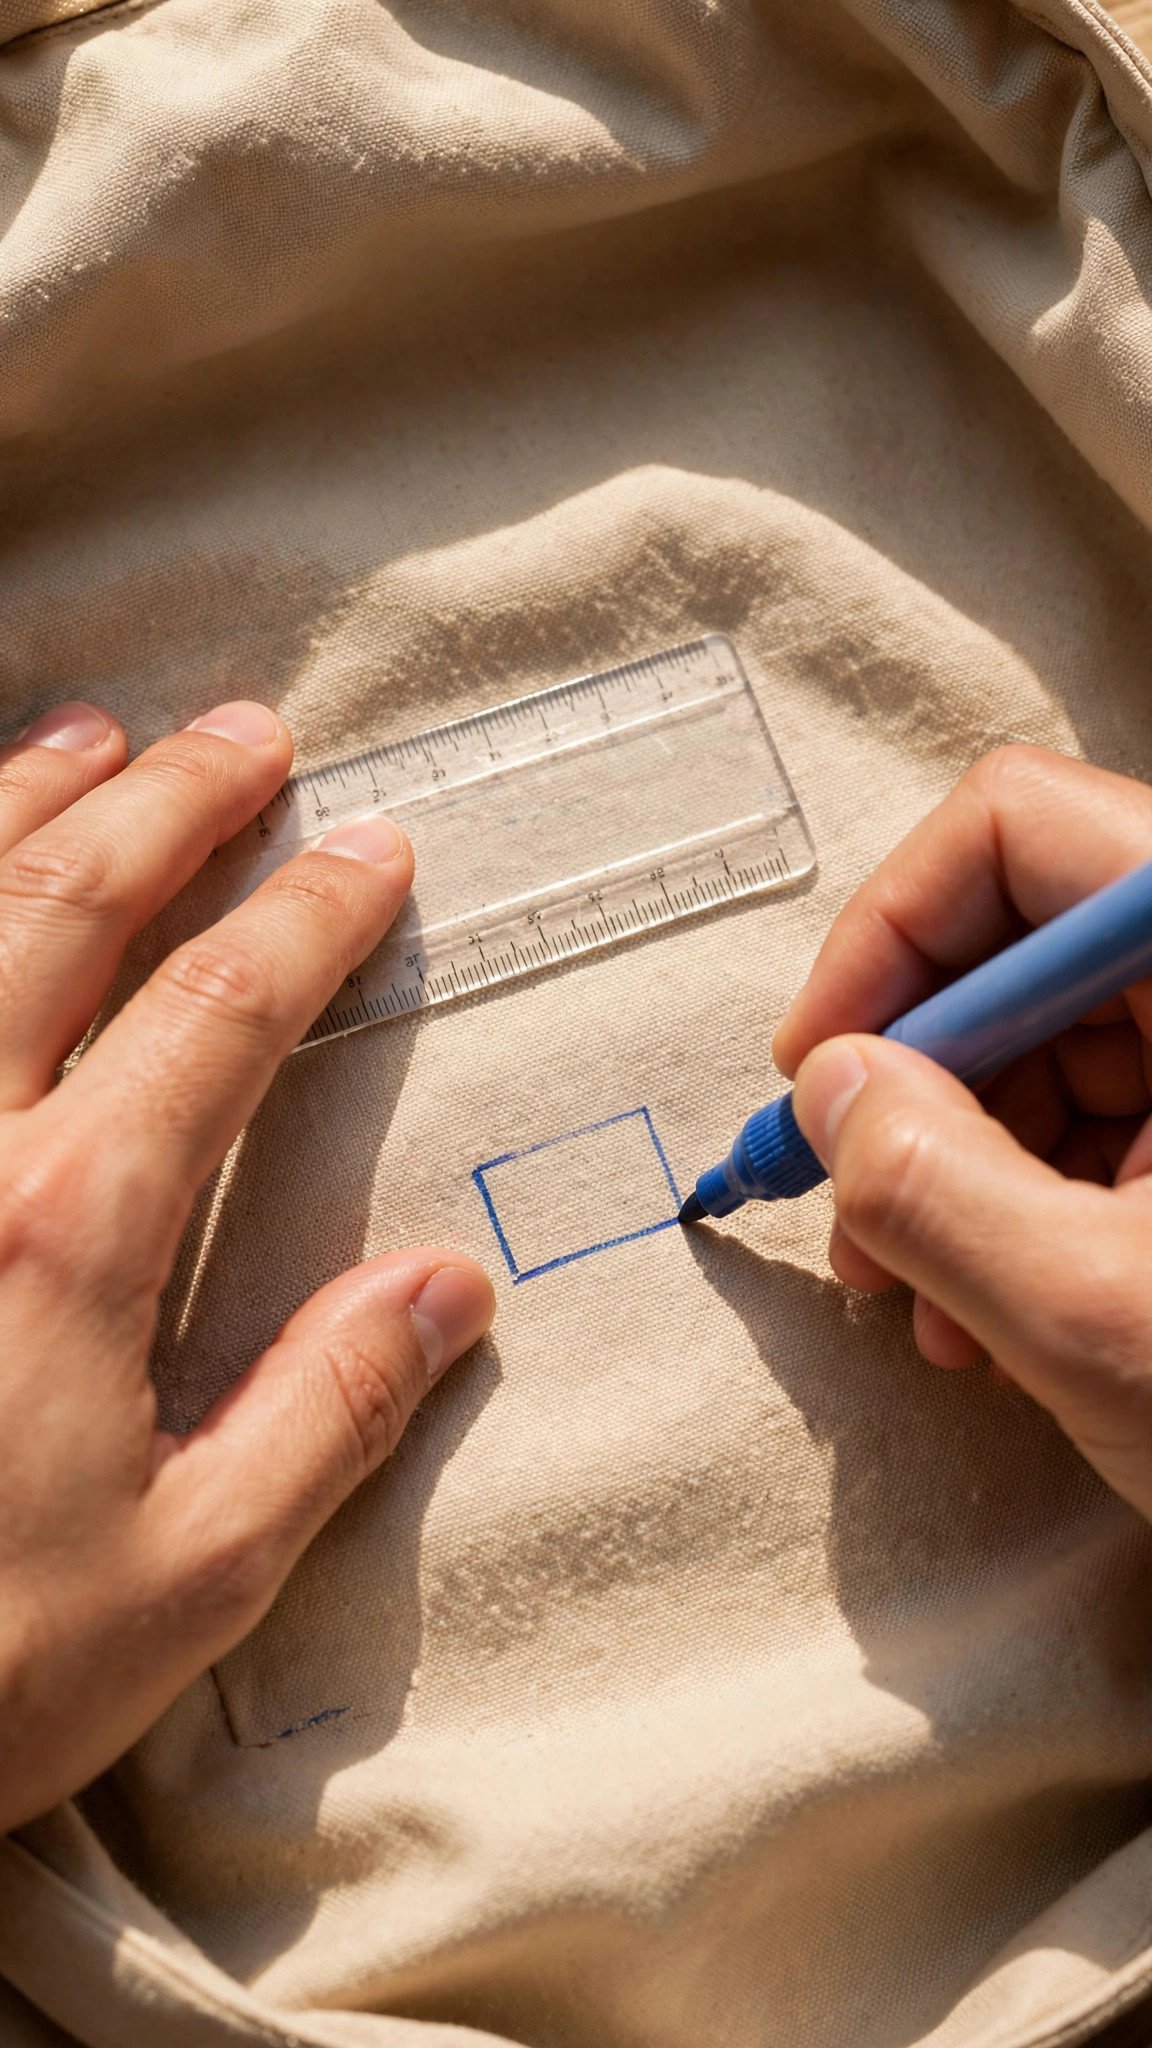
On the pocket rectangle, draw your window: a rectangle about half an inch tall and as long as your zipper teeth, centered horizontally on the pocket piece. I measure from the center outward so it lands evenly. Now stitch directly on the drawn lines, right through both layers. Go slowly, pivot neatly at the corners, and backstitch at the start and finish. Those corner stitches carry the stress every time the pocket is used, so make them strong and do not skimp on them.
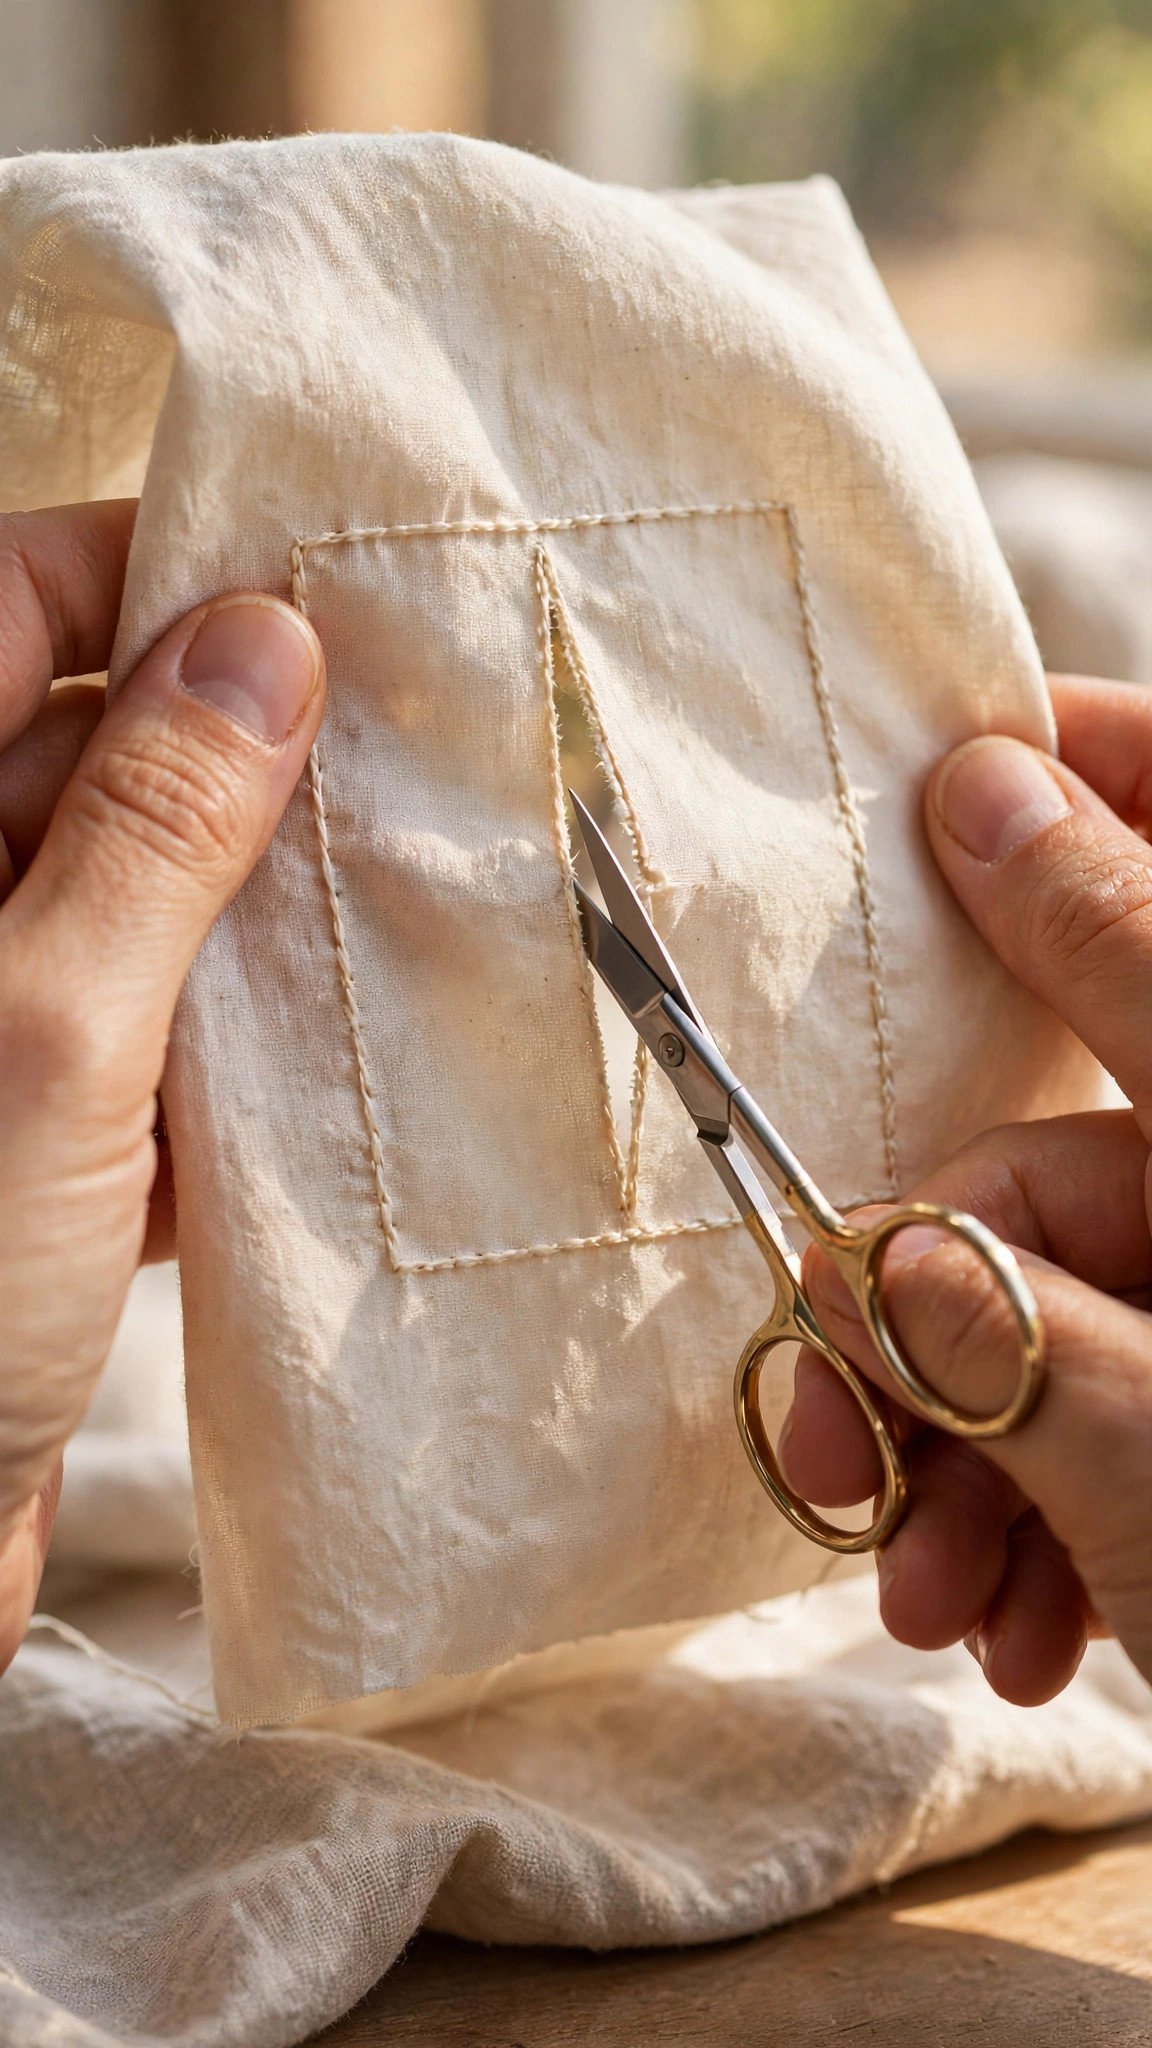
Next comes the slightly scary part, and I promise it is easier than it looks. Cut a slit down the center of the rectangle, stopping well short of each end, then clip diagonally into each corner almost to the stitching, without cutting through it. You are forming little triangles, like opening an envelope. Push the pocket fabric through the slit to the wrong side of the lining and press the window flat from the right side. It should look like a crisp little frame. Steam helps, and the back of a spoon works well for pressing the folded edges sharp if you do not own a tailor’s clapper.
Setting the Zipper So It Lies Flat
Flip the lining to the wrong side. Lay your zipper face down behind the window so the teeth show through the opening and the slider sits where you can reach it. This is where the basting tape earns its place: a strip on each zipper tape holds everything still far better than pins, which can distort the window as you sew. Center the zipper carefully, because a zipper that sits off-center will never look right no matter how neatly you stitch around it.
Switch to your zipper foot and topstitch around the window, about an eighth of an inch from the pressed edge. Sew slowly and steadily. When you approach the slider, stop with the needle down, lift the presser foot, and slide the pull out of the way before continuing. Choosing the right thread matters here too: a good all-purpose polyester in a matching color keeps the topstitching nearly invisible against the lining. Backstitch at the beginning and end, then check from the right side that the stitching is even all the way around the frame.
Sewing the Pocket Bag Closed
You are nearly done. Lay the second pocket rectangle right sides together over the first one on the wrong side of the lining, matching all the edges. Pin around all four sides, then stitch with a quarter inch seam allowance, backstitching where you start and stop. Trim the corners slightly to reduce bulk, and finish the raw edges with a zigzag stitch or pinking shears if your fabric frays easily.
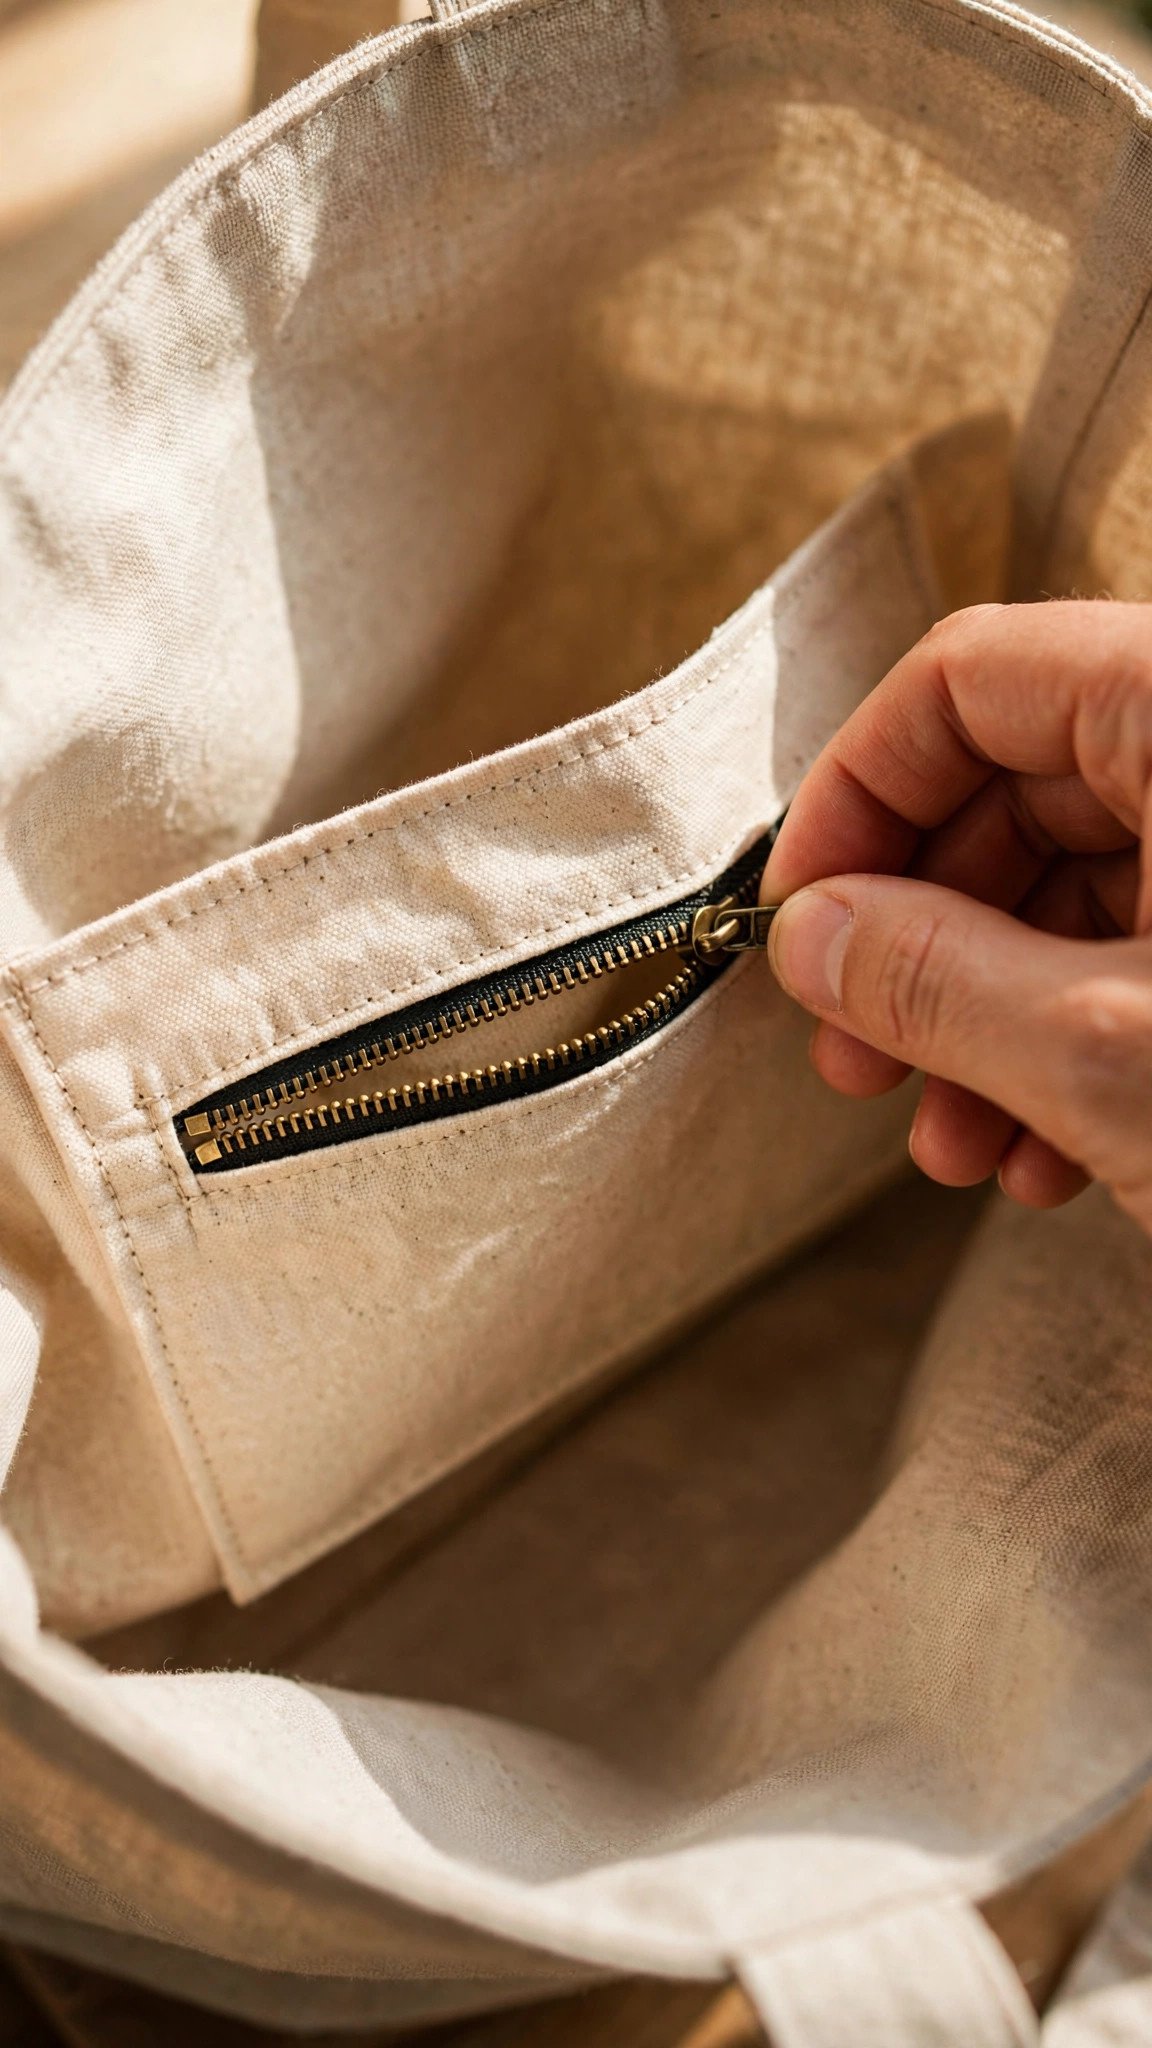
Flip the lining right side out and test the zipper a few times. It should glide without catching, and the pocket should hang flat against the lining without pulling. If you are building the pocket into a bag you are currently sewing, attach it to the lining piece before you assemble the bag. The pocket is now part of the lining, ready to be sewn into the finished bag, and it will look like it came from a factory.
Troubleshooting: Wavy Zippers and Gaping Corners
A wavy zipper almost always means the zipper tape got stretched while you sewed. Zipper tape has a little give, and if you pull it even slightly as it feeds under the foot, it relaxes into waves afterward. The fix is prevention: let the feed dogs do the work, use basting tape instead of stretching things into place, and never tug the zipper from behind the presser foot.
Gaping corners usually mean the diagonal clips did not reach close enough to the stitching, so the fabric cannot turn cleanly and bunches instead. Clip again carefully, a thread or two closer to the stitches, and press once more. And if your window looks crooked, be honest with yourself about the marking step. Measure from the center, use the ruler for every line, and remember that five careful minutes with a fabric marker saves an hour of unpicking later.
FAQ
What size zipper do I need for a bag pocket?
Pick a zipper whose teeth are about two to three inches shorter than your finished pocket width. That leaves room for the window frame and the pocket seams on each side. When in doubt, go slightly longer rather than shorter: you can shorten a zipper easily, but you cannot stretch one.
Can I add a zipper pocket to a bag I already finished?
Yes, as long as you can reach the lining. For a lined bag, unpick a section of the lining’s bottom seam, pull the lining out through the gap, add the pocket, then sew the lining closed again. For an unlined bag, you can add the pocket directly to the inside of the bag body using exactly the same method.
Do I need interfacing in a zipper pocket?
It is optional, but I recommend it for thin linings. A light woven interfacing pressed on the wrong side of the lining behind the pocket area keeps the window crisp and stops the fabric from stretching while you stitch the rectangle. It also gives the pocket a more substantial, quality feel.
Why does my zipper look wavy after topstitching?
You stretched the zipper tape while sewing. Let the machine feed the work without pulling from behind, hold the zipper in place with basting tape instead of tension, and sew at a moderate, steady speed. A fresh, sharp needle also helps the stitches form cleanly without dragging the tape.

Written by June Carter
I am June, a sewing enthusiast who loves turning simple fabric into things people actually use. I test every technique and product I write about at my own machine before it lands here.