
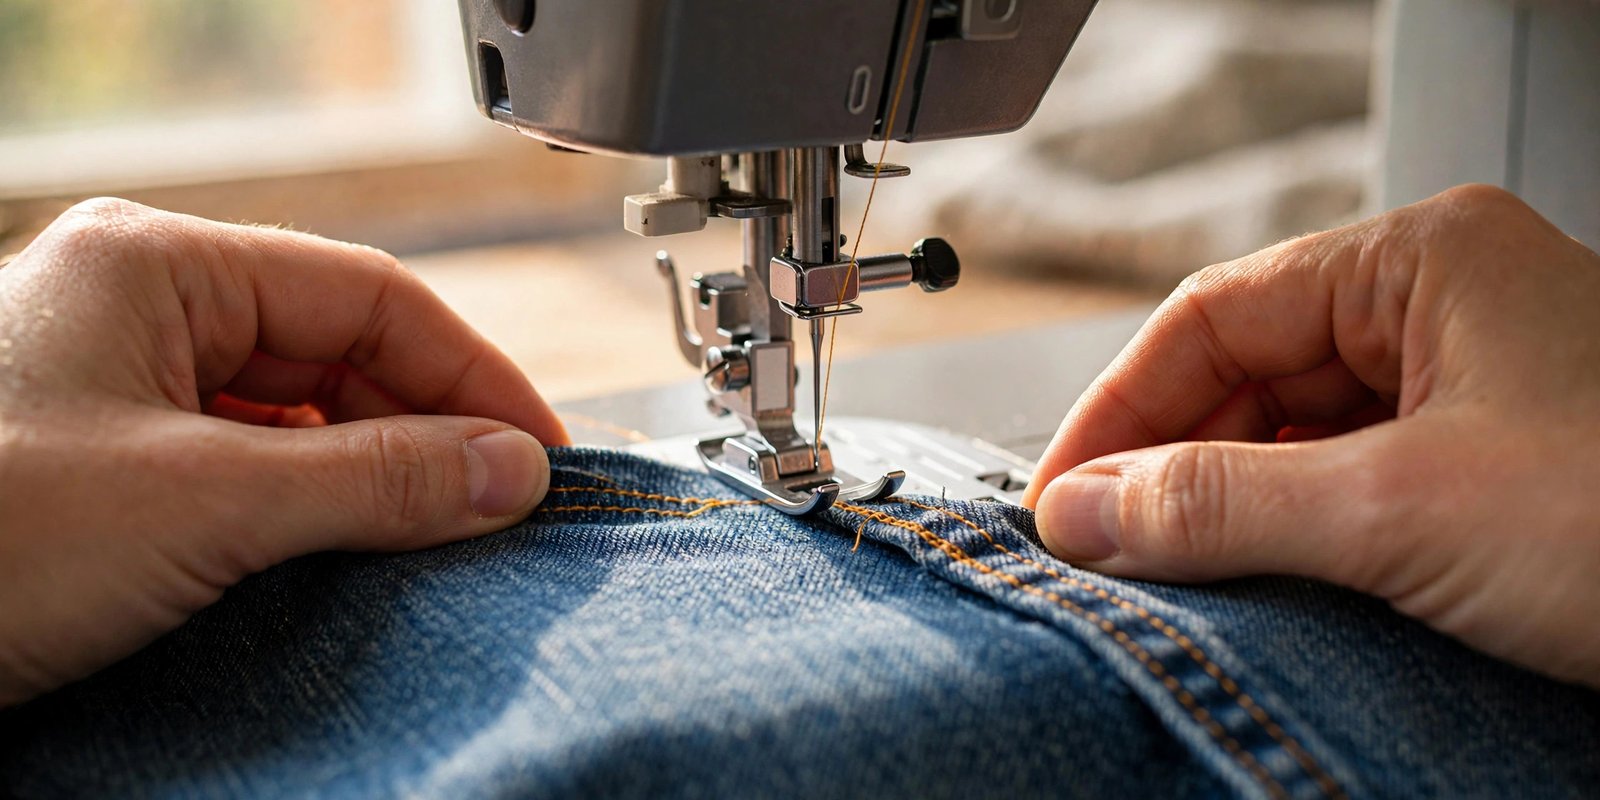
Learning how to topstitch evenly is what took my sewing from “nice handmade” to “wait, you made that?” Topstitching is simply a line of stitching sewn on the right side of the garment, running parallel to a seam or edge, and because it sits right out in the open, every wobble shows. A straight, even row of topstitching makes collars crisp, hems look tailored, and waistbands look professional. A wobbly one draws the eye to exactly the spot you wanted to look clean.
My honest opinion is that even topstitching is 80 percent preparation and only 20 percent actual sewing. Press the seam first, choose the right stitch length, pick one guide and stick to it, and the stitching almost takes care of itself. I topstitch nearly every garment I sew now, from shirt hems to bag straps, and the method below is the exact routine I follow every time. If your machine basics are shaky, start with sewing a straight stitch and adjusting stitch length and width, since topstitching is just a straight stitch done deliberately on the right side of the fabric.
What Topstitching Is (and Is Not)
Topstitching is decorative and structural at the same time. Structurally, it holds seam allowances flat, secures hems without hand sewing, and reinforces areas that take stress, like pocket edges and waistbands. Decoratively, it adds a tailored detail: think of the double rows of stitching on jeans or the crisp edge stitching on a shirt collar. It is almost always sewn with the right side of the garment facing up, at an even distance from the seam or edge, commonly a quarter inch or three eighths of an inch.
It is not the same as edge stitching, though people mix them up. Edge stitching runs very close to the edge, about an eighth of an inch, and its job is to keep facings and edges crisp. Topstitching sits a little farther out and is meant to be seen. Both use the same evenness skills, so everything in this article applies to both.
Set Up Your Machine for Success
Three settings matter for topstitching. First, stitch length: lengthen it to about 3.0 to 3.5 mm. Longer stitches look more professional and deliberate on a visible line, and they are more forgiving of tiny wobbles than short, dense stitches. Second, thread: use a good quality all-purpose thread that matches or coordinates with your fabric. Contrasting thread looks fantastic but shows every waver, so save it for after you are confident. If you want a bolder line, a slightly heavier topstitching thread in the needle with regular thread in the bobbin gives that ready-to-wear look.
Third, your needle and presser foot. A fresh needle in the right size for your fabric prevents skipped stitches and uneven feeding; my guide to choosing a sewing machine needle covers the sizes. A regular presser foot works fine, but an edge-stitch foot with its little metal guide makes keeping an even distance almost automatic. And before you stitch a single line on your garment, test on a scrap with the same layers and thread. Check the stitch length, check the tension, and check that your chosen distance from the edge looks right. Ten minutes of testing saves hours of unpicking.
Press Before You Stitch
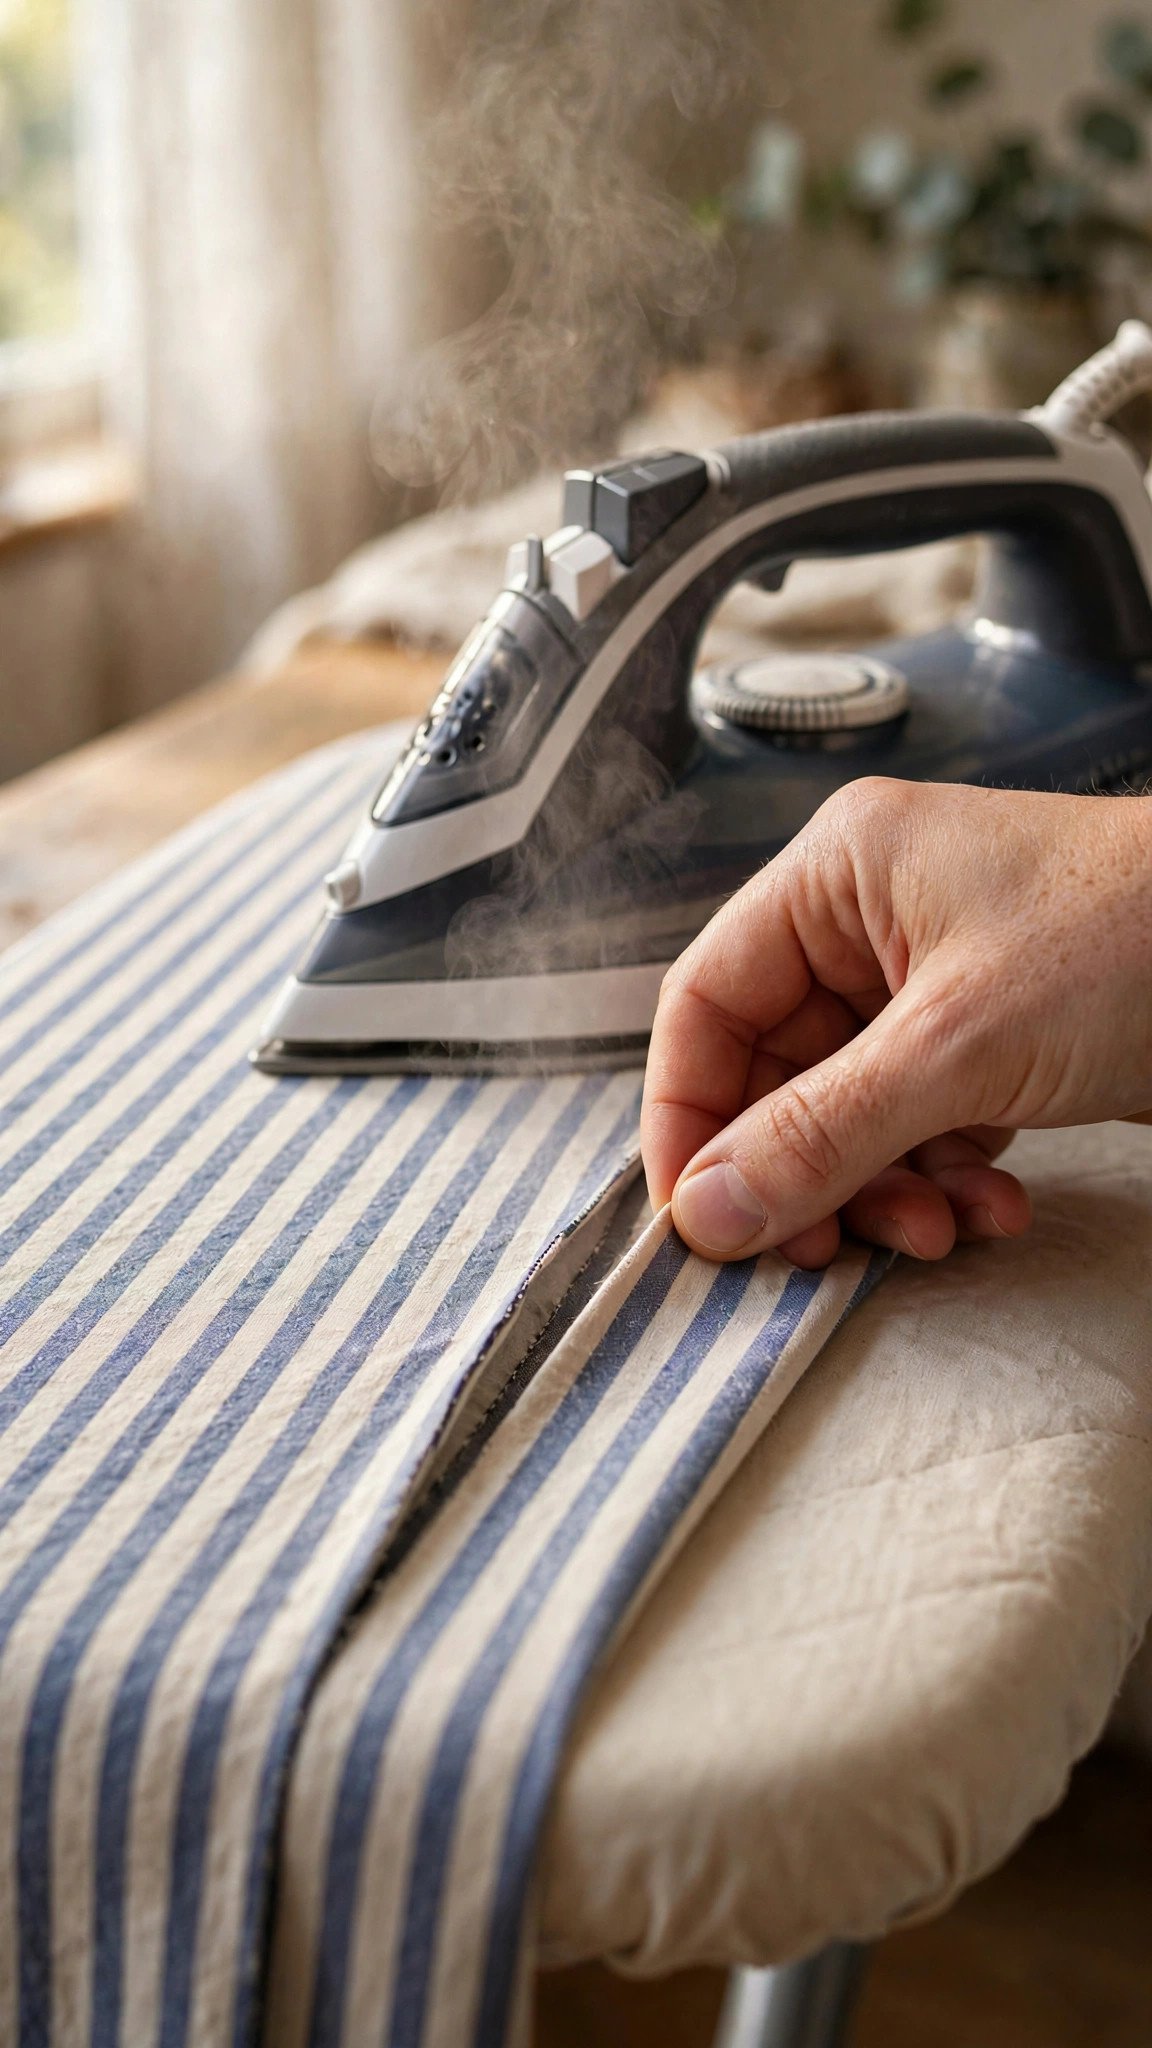
I am going to say this firmly because I ignored it for years: press your seam or hem flat before topstitching, every time. Any bump, fold, or ridge under the presser foot will deflect it and send your stitching line wandering. A hot iron with steam, used properly for your fabric, turns a lumpy seam into a flat runway for your needle. Press the seam allowances to one side or open as your pattern directs, then press the folded hem or edge you are about to topstitch.
While you are at the iron, press the exact fold line where your topstitching will run. A crisp pressed edge gives your presser foot something consistent to ride against, which is half the battle for evenness.
How to Topstitch Evenly: My Method
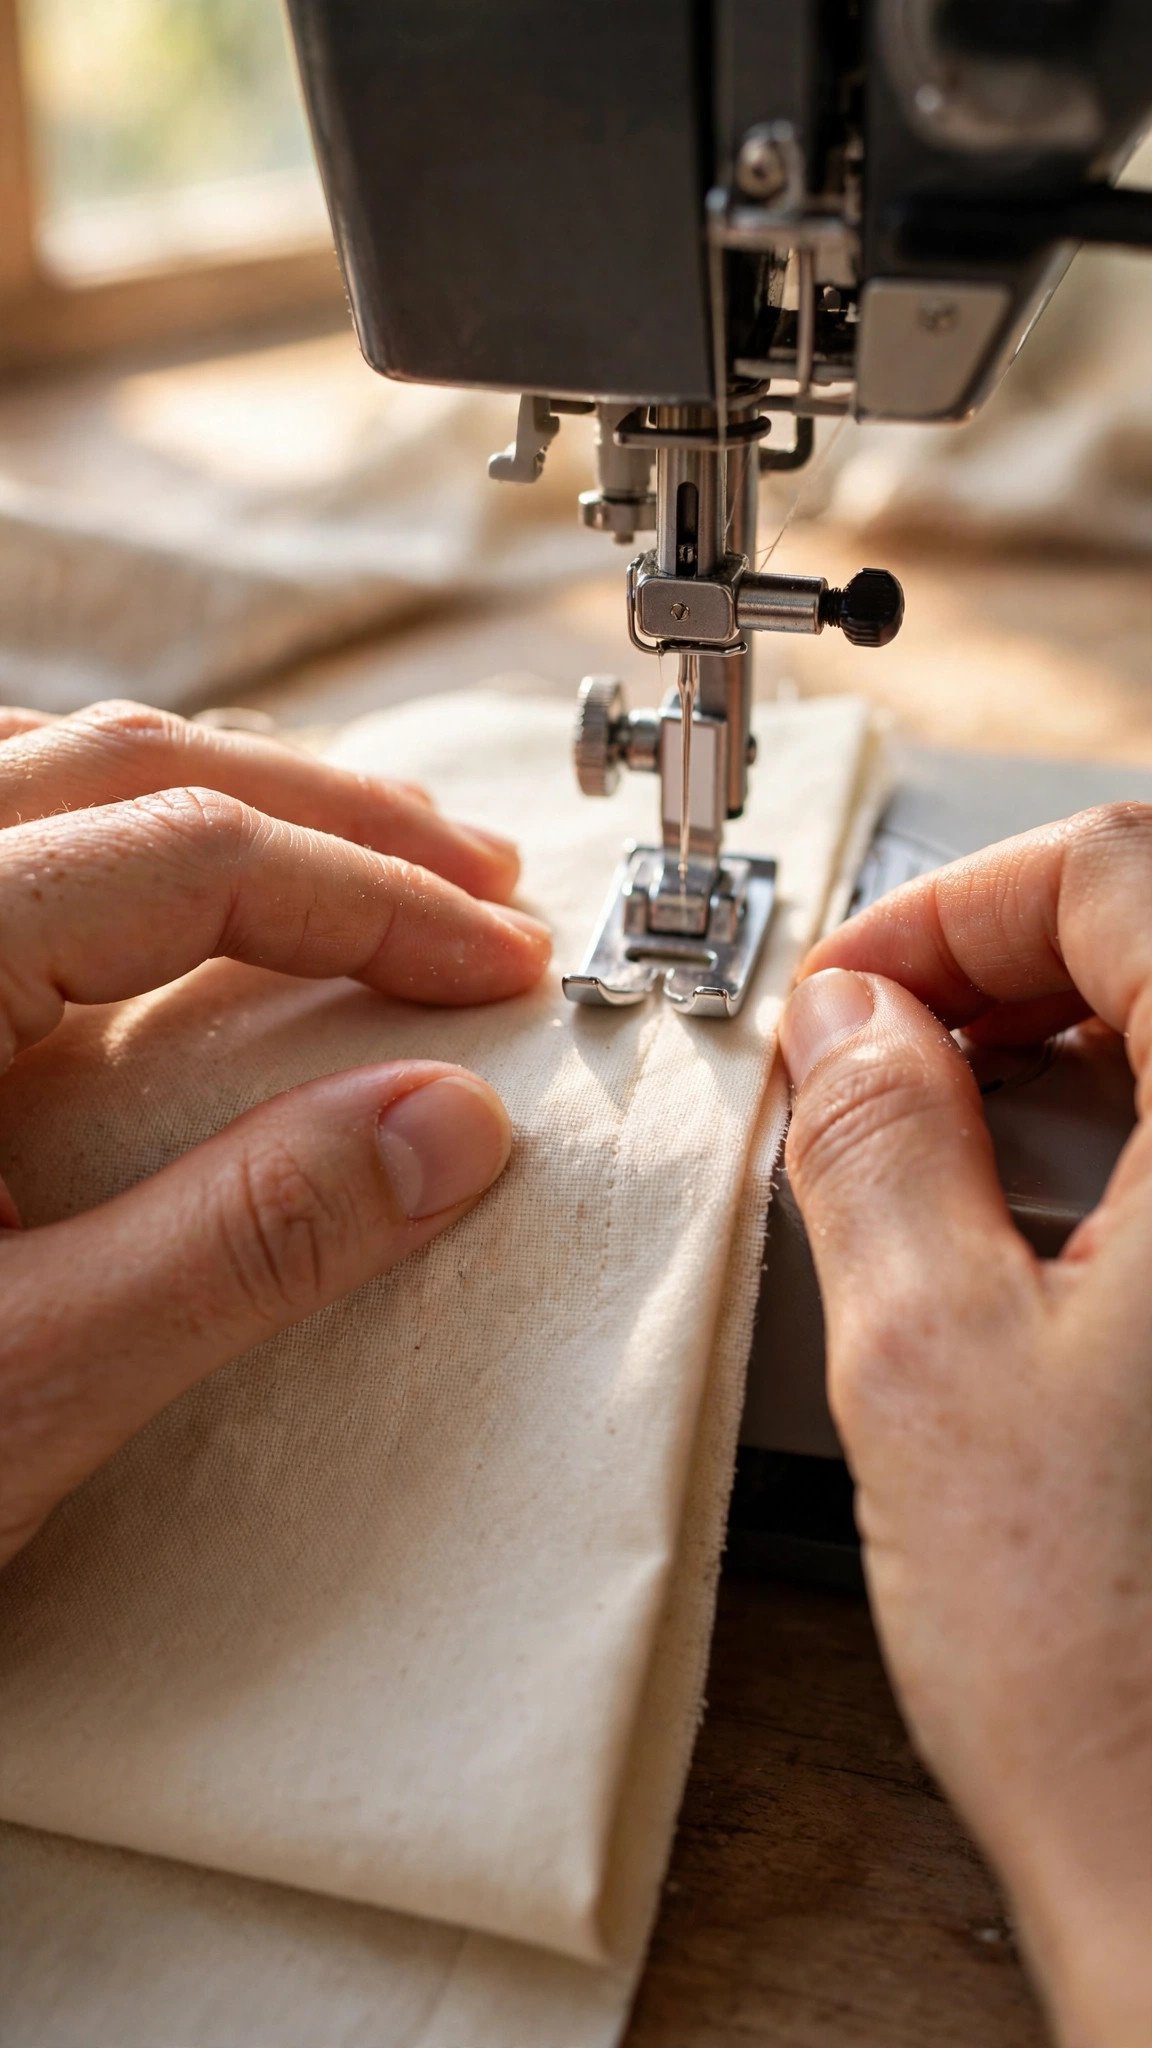
Here is the routine. Place your work right side up under the needle and line up your chosen guide before you start sewing. The simplest reliable guide is the edge of your presser foot: on most machines the right edge of a standard foot sits about a quarter inch from the needle, so lining the fabric edge up with the foot edge gives you an automatic quarter-inch topstitching line. Alternatively, use the etched seam guide lines on your needle plate: align the fabric edge with the line and keep your eyes on that alignment as you sew, not on the needle.
Sew at a slow, steady pace. Speed is the enemy of evenness; the faster you go, the more your hands micro-correct and the more the line wanders. Let the feed dogs move the fabric and simply guide it gently, keeping the edge aligned with your chosen guide. Do not push from behind or pull from the front, since any extra pressure changes the stitch length and can stretch the fabric out of shape.
For corners and curves, slow down even more and pivot with the needle down. On a collar point, stitch to the corner, leave the needle down in the fabric, lift the presser foot, pivot the work, lower the foot, and continue. The result is a sharp corner instead of a rounded wobble. For a second parallel row, sew the first row, then use the edge of the presser foot against that first row as your guide for the second. It will run perfectly parallel with no measuring.
Securing Your Ends Cleanly
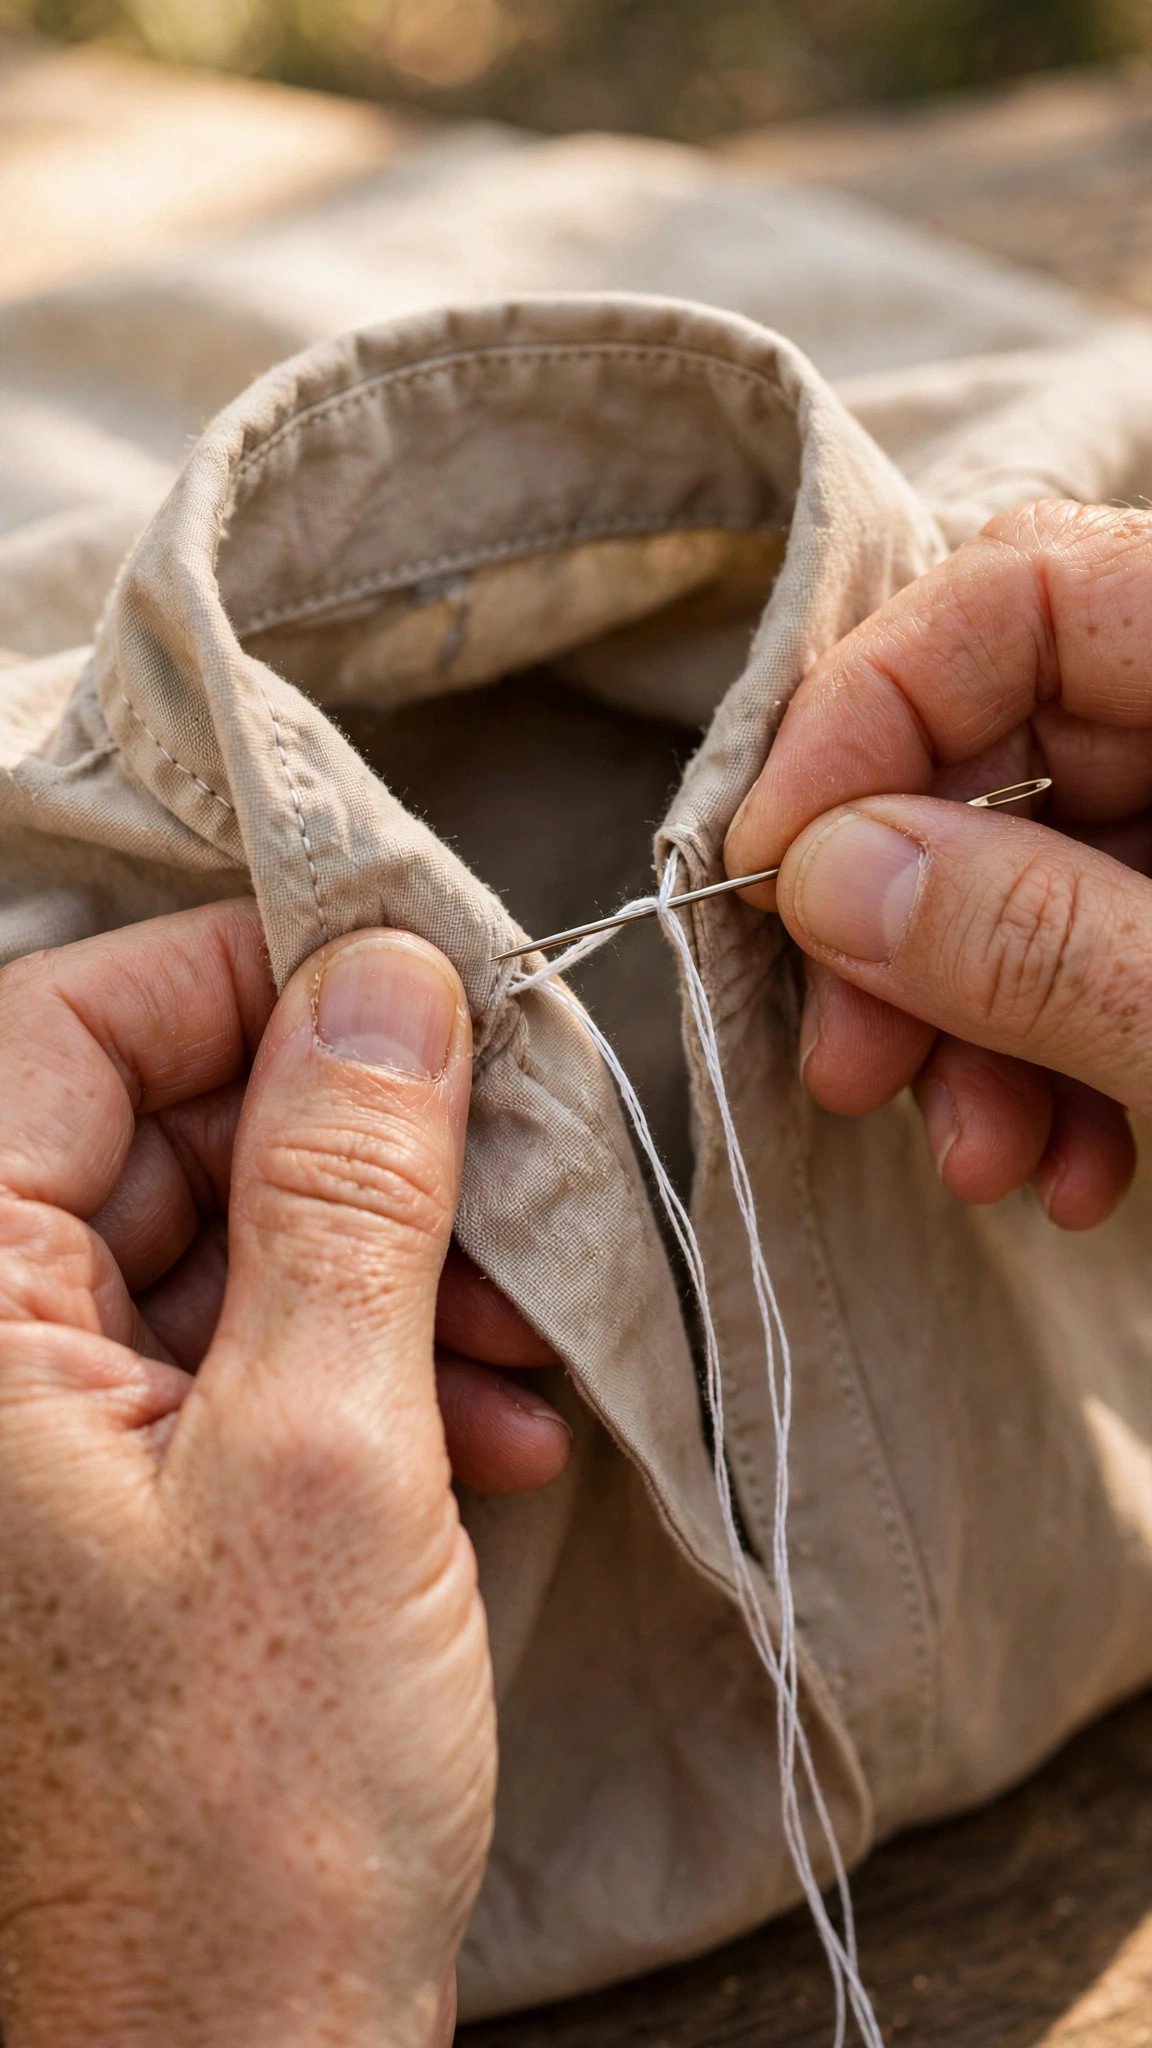
How you start and finish matters because topstitching ends are often visible. If the end of your stitching line will be hidden inside another seam, backstitch normally to lock it. But if the end will show, on a collar edge or a pocket top, for example, backstitching leaves a visible little knot of thread that looks clumsy.
For visible ends, do what the professionals do: stitch to the end without backstitching, pull the work out leaving long thread tails, then use a hand needle to pull the top thread through to the wrong side and tie the tails in a small secure knot. It takes thirty seconds and the right side stays perfectly clean. On very visible topstitching, I also reduce my stitch length for the last few stitches so the line tapers neatly into the end. The best thread for sewing machines article covers thread weights in detail if you want to experiment with heavier topstitching threads, which need a slightly longer stitch and sometimes a topstitch needle with a bigger eye.
Troubleshooting Wobbly Topstitching
If your lines still wander, run through this checklist. First, were you watching the guide or the needle? Almost every wobble I have ever sewn came from staring at the needle instead of the alignment point a half inch ahead of it. Train your eyes on the guide and the line straightens out.
Second, check your pressing. An unpressed or half-pressed seam is the most common cause of a line that drifts for no apparent reason. Third, check your speed and hands: pushing or pulling the fabric changes everything, so consciously relax your hands and let the machine feed. Fourth, check the basics: a dull or wrong-size needle, lint under the needle plate, or incorrect tension can all make stitches form unevenly. And finally, if one section of a long seam always goes wrong, mark the stitching line with chalk or a water-soluble pen before you sew. There is no shame in drawing the line; professionals mark, and so should you.
FAQ
What stitch length should I use for topstitching?
Around 3.0 to 3.5 mm for most fabrics. Longer stitches look more professional on a visible line and are more forgiving of small wobbles. Use a slightly shorter length on lightweight fabrics and a longer one on denim or canvas.
How do I keep topstitching an even distance from the edge?
Pick one guide and use it the whole way: the edge of the presser foot, a seam guide line on the needle plate, or an edge-stitch foot with a metal guide. Keep your eyes on the guide, not the needle, and sew slowly.
Should I backstitch at the start and end of topstitching?
Backstitch when the ends will be hidden inside another seam. When the ends are visible, stitch without backstitching, pull the threads to the wrong side with a hand needle, and tie them off for a clean finish.
Why is my topstitching puckering the fabric?
Usually the tension is too tight, the stitch length is too short, or you are pushing or pulling the fabric as you sew. Test on a scrap, lengthen the stitch, loosen the tension slightly, and let the feed dogs do the work.

Written by June Carter
I am June, a sewing enthusiast who loves turning simple fabric into things people actually use. I test every technique and product I write about at my own machine before it lands here.