

If you are wondering how to sew a french seam, you are in the right place. This is one of my all-time favorite sewing techniques, and not just because it sounds fancy when you say it out loud at the sewing table.
A French seam is a seam you sew twice, so that all the raw edges end up completely enclosed inside a neat little tunnel of fabric. The result is strong, fray-proof, and almost as pretty on the inside of your garment as the outside. It needs no serger, no overlock stitch, and no zigzag, just a basic sewing machine, an iron, and a little patience.
What a French Seam Actually Is
The magic of the French seam is that it hides everything. After the second line of stitching, there are no raw edges peeking out anywhere, which means nothing to fray and nothing scratchy rubbing against the skin. That is why it is the classic finish for sheer blouses, unlined jackets, and delicate summer dresses where the inside of the garment will be seen.
An enclosed seam like this also behaves beautifully on fabrics that shred if you look at them sideways. Instead of finishing the edges with a zigzag that can stretch lightweight fabric out of shape, the French seam simply wraps the edges up inside itself. I learned this technique early in my sewing life, back when all I owned was a straight-stitch-only machine, and I still reach for it constantly now that I own machines that do everything.
How to Sew a French Seam, Step by Step
Here is my full method. Read through it once before you start, because the first step feels wrong the first time you do it.
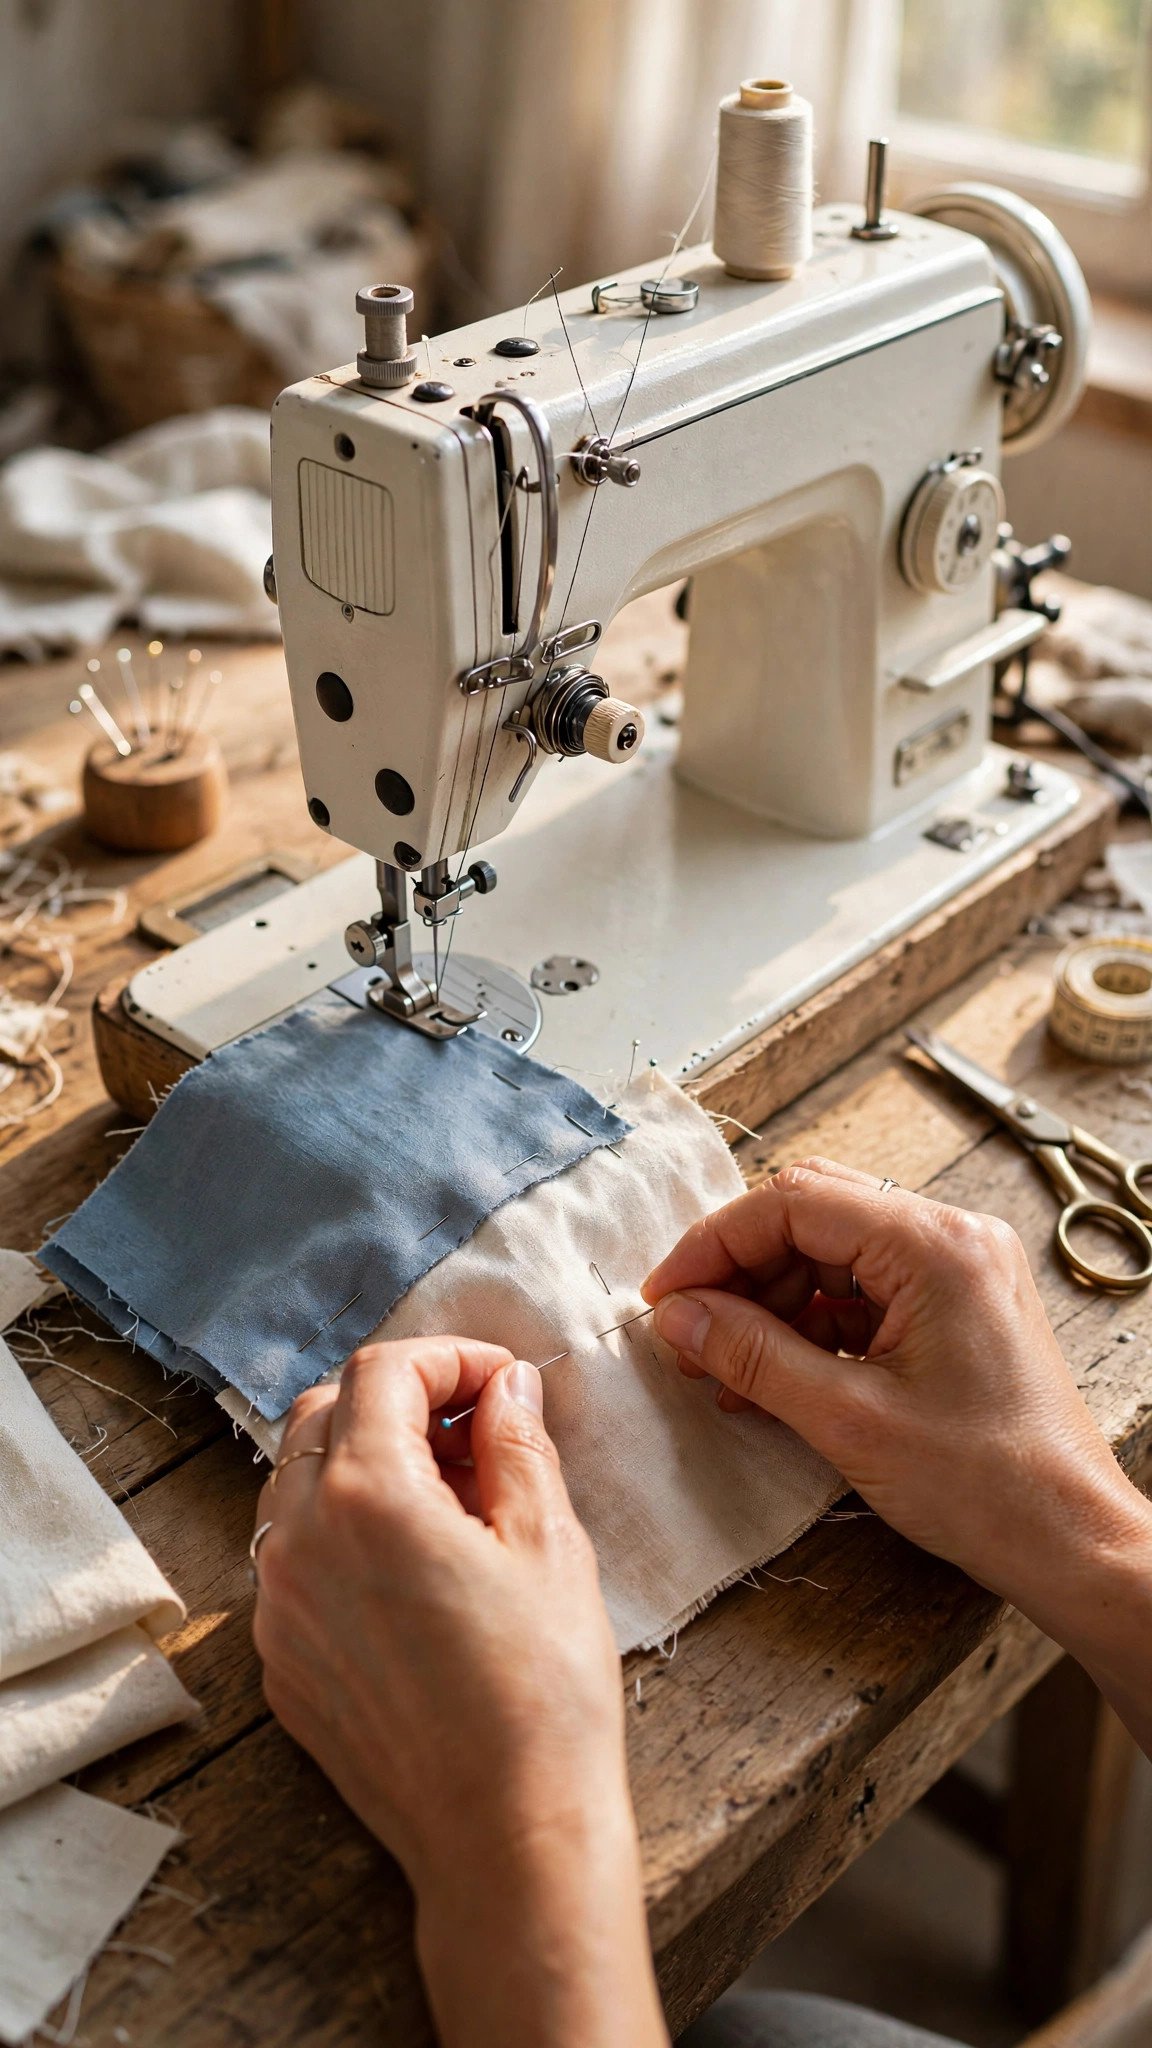
- Place the pieces with wrong sides together. Yes, wrong sides. This is the part that makes every beginner pause, but trust the process: the raw edges will be enclosed in the second pass.
- Sew the first seam. Stitch with a narrow seam allowance, usually 1/4 inch, using a plain straight stitch. If your straight stitch is still wobbly, warm up on a scrap first. My guide on how to sew a straight stitch covers tension and guiding the fabric. Backstitch at both ends.
- Trim the seam allowance down to 1/8 inch. Get close to the stitching without nicking it. Sharp scissors make this painless, and a rotary cutter works too.
- Press the seam to one side. Do not skip this. Pressing is what makes the second pass sit flat and crisp. Press from the wrong side first, then flip and give it a quick press from the right side if needed.
- Fold the fabric right sides together, enclosing the trimmed edges inside, and press the fold. The first line of stitching should sit right on the folded edge.
- Sew the second seam. This time stitch with a wider seam allowance, usually 3/8 inch, making sure it completely covers the trimmed raw edges. Backstitch at both ends.
- Give it a final press to one side and admire your work. You have just sewn a French seam.
Here is my honest opinion: beginners almost always trim too timidly in step three. If the trimmed edge is not fully hidden by the second seam, little whiskers of raw edge will poke out and the whole thing looks messy. Be brave with the scissors.
Getting the Seam Allowance Math Right
This is the part most tutorials rush past. Your first and second seam allowances must add up to the total seam allowance your pattern provides. For a standard 5/8 inch seam allowance, I sew the first seam at 1/4 inch and the second at 3/8 inch. That adds up to 5/8, so the finished seam lands exactly on the pattern’s seam line.
If your pattern only includes a 1/4 inch seam allowance, you cannot French seam it as cut: there simply is not enough fabric. Before you cut anything, check whether your pattern includes seam allowances and how wide they are. My post on checking seam allowance inclusion walks you through it. If the allowance is too narrow, trace the piece with extra width added before you cut.
One rule never changes: the second seam must always be wider than the first. If it is not, the raw edges will not be fully enclosed.
French Seaming Curves Without Puckers
Curved seams can be French seamed too, but they need a gentler hand. The golden rule on curves is to sew the wider seam first: stitch the first pass at 3/8 inch, trim it close to 1/8 inch, then clip or notch the curve before you fold. Clipping releases the tension so the seam lies flat instead of puckering. If clipping is new to you, my guide to pinning and clipping fabric covers the technique.
Use a slightly shorter stitch length on curves for a smoother result. My tutorial on adjusting stitch length and width explains how to find the sweet spot for your fabric. Press the curve over a tailor’s ham or the rounded end of your ironing board so the shape stays smooth.
And be honest with yourself: on very tight curves, like a small armscye, a French seam may pucker no matter how careful you are. In that case, finish the seam another way and save the French seams for straighter territory.

Best Fabrics for French Seams
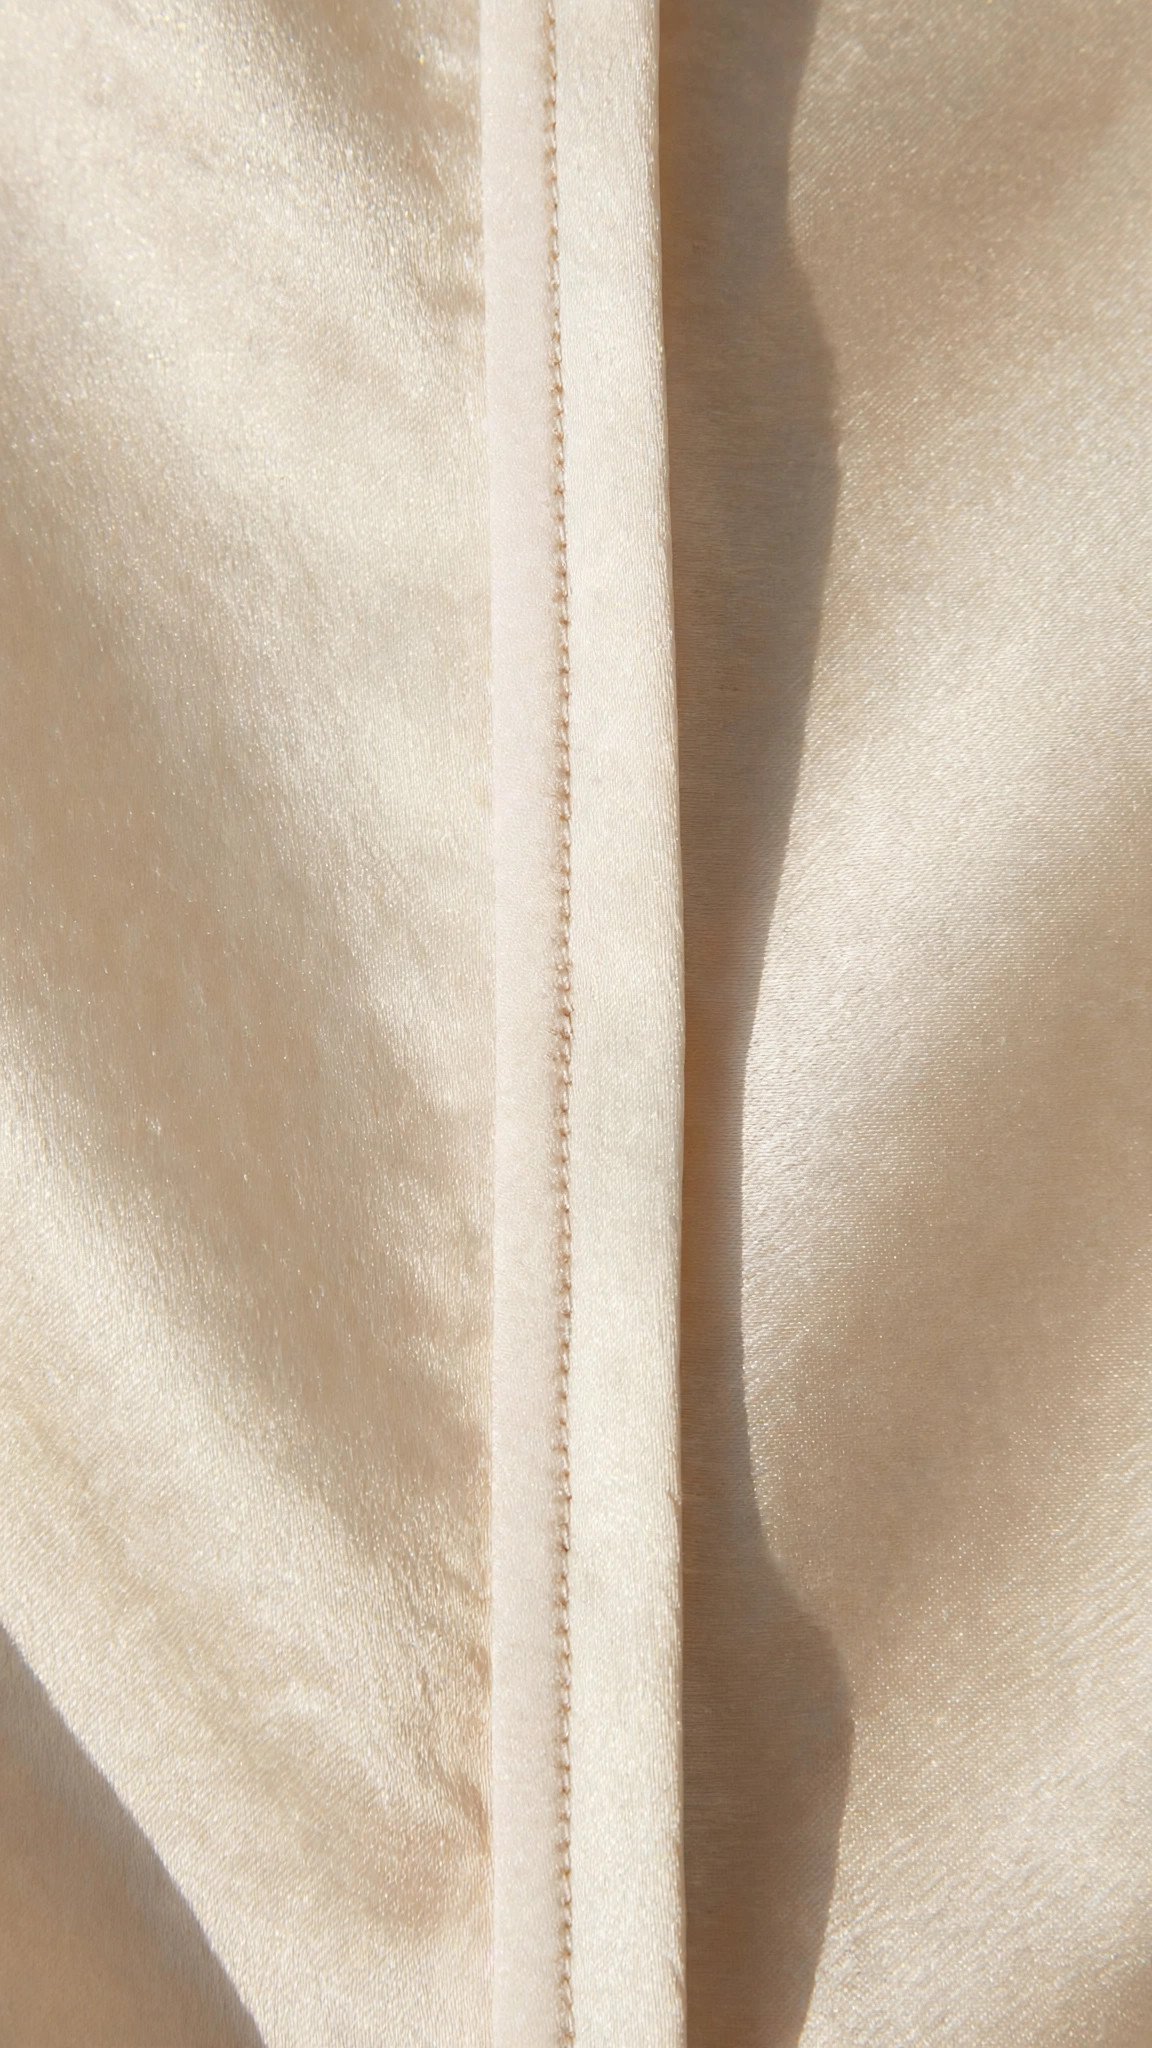
French seams were born for lightweight fabric. Chiffon, georgette, voile, silk, and cotton lawn are all perfect candidates. On sheer fabrics the enclosed seam is nearly invisible, and because there is no bulky finished edge inside, the seam allowance will not show through as an ugly shadow from the right side. On heat-sensitive silk, press with a pressing cloth to avoid shine marks.
What about quilting cotton? It works, but the seam will be a little bulkier, so I keep French seams in quilting cotton for unlined garments where I want a tidy inside. Heavy fabrics like denim, canvas, or thick wool are a hard no. The enclosed layers become a bulky ridge that will not press flat and will fight you at every seam crossing.
When NOT to Use a French Seam
I love French seams, but I do not use them everywhere. Skip them anywhere you need to minimize bulk, such as a faced neckline or a princess seam on a lined bodice. Skip them on seams that will be graded, and skip them anywhere the seam must lie perfectly flat under topstitching. On fray-happy medium-weight fabrics, a serged finish is faster and flatter, and honestly the better choice.
FAQ
Can I sew a French seam without a serger?
Absolutely. That is the whole point. A French seam only needs a basic sewing machine that sews a straight stitch, plus scissors and an iron.
Why are my French seams puckering?
Usually it is one of three things: the first seam was not pressed well before the second pass, the seam allowance was trimmed unevenly, or you skipped clipping on a curve. Slow down on the pressing and clipping steps and the puckers usually disappear.
Do French seams work on knit fabrics?
I do not recommend it. Knits need stretch in the seam, and the two straight rows of a French seam have none, so the seam can pop when the fabric stretches. Use a zigzag or a serger for knits instead.
How do I finish the ends of a French seam?
Backstitch at the beginning and end of each pass, and trim your threads close. The enclosed raw edges do the rest of the work.

Written by June Carter
I am June, a sewing enthusiast who loves turning simple fabric into things people actually use. I test every technique and product I write about at my own machine before it lands here.