
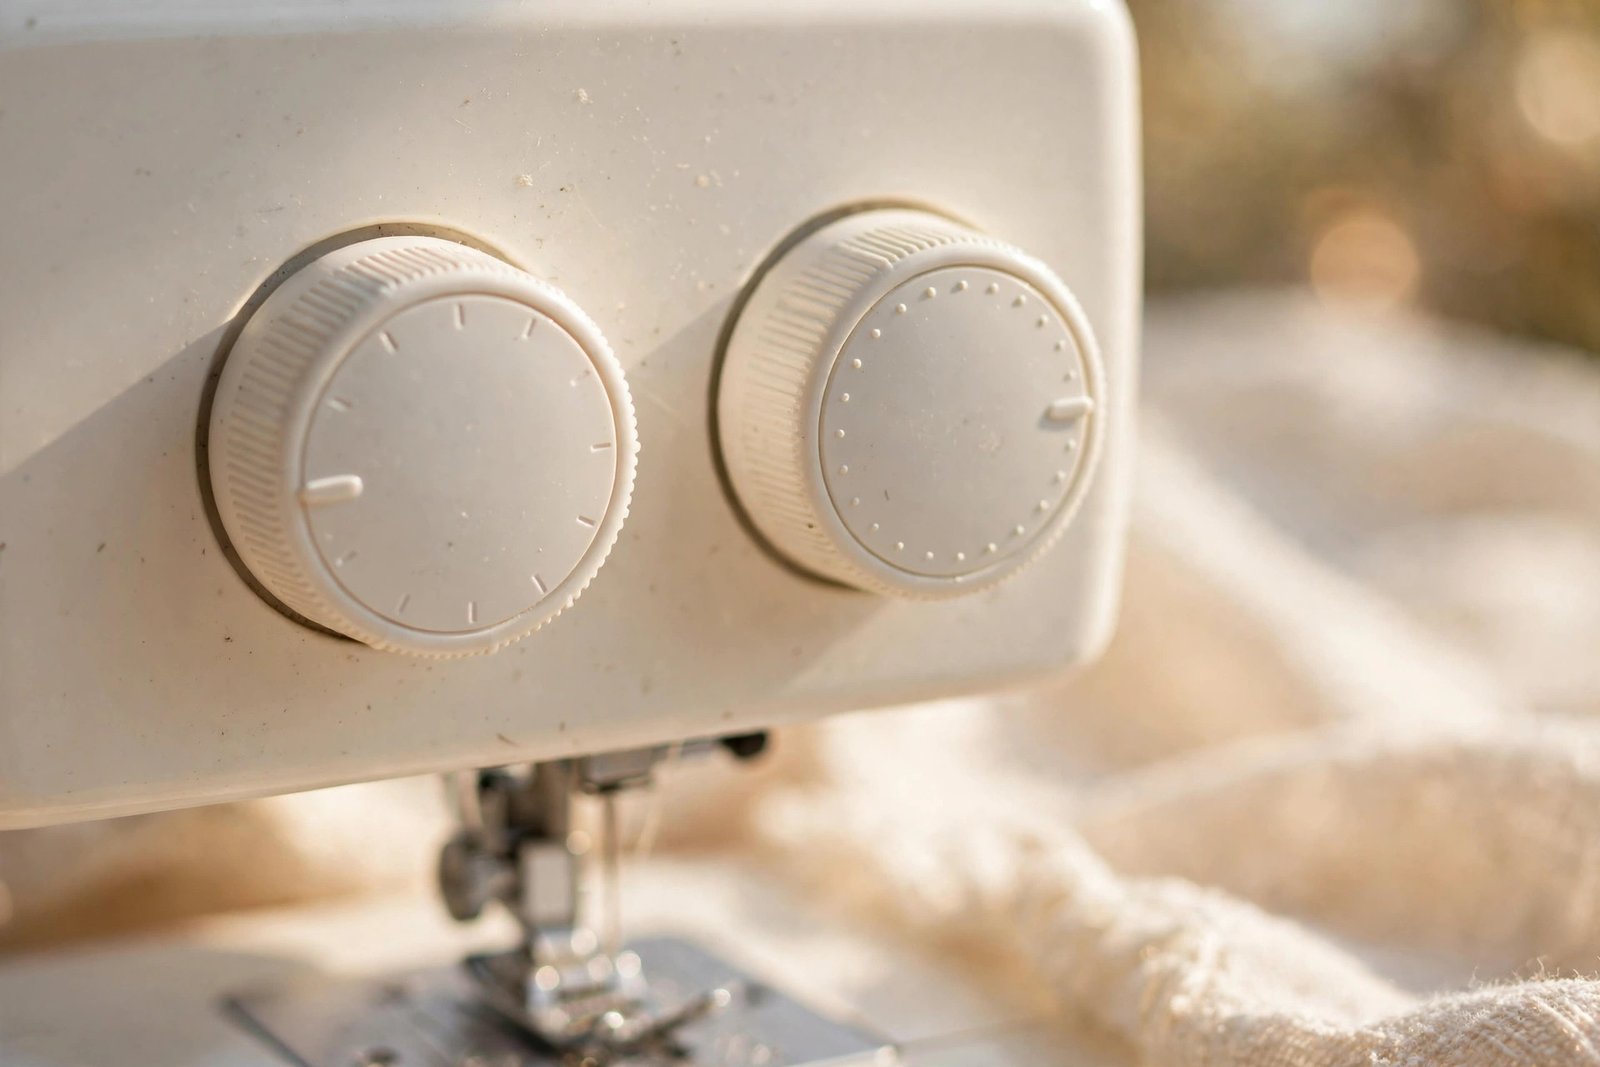
There are two dials on your sewing machine that most beginners never touch, and they control more about your sewing than almost anything else you will learn this year. Stitch length and stitch width decide whether your seams are strong or fragile, whether your knits survive the wash, and whether your decorative stitching looks intentional or accidental. I sewed for months with both dials on whatever the machine defaulted to, and I assumed my puckered seams were a talent issue. They were a settings issue.
Here is the complete guide to what those dials do, where to find them, and the exact settings to use for the fabrics and tasks you will actually meet. It takes ten minutes to learn and pays off on every single project after.

What stitch length actually does
Stitch length is the distance the feed dogs move the fabric between each needle punch, measured in millimeters. Shorter length means more stitches per inch, packed tight. Longer length means fewer, more spaced-out stitches. That is the entire concept, and everything else is application.
The default: 2.5 mm. On almost every machine, the standard straight-stitch length is 2.5 mm, and it is correct for medium-weight wovens like quilting cotton and linen. If you only remember one number from this article, remember 2.5. It is also the length I recommend in my straight stitch guide, because it is strong enough to hold and still easy to unpick when (not if) you make a mistake.
My length cheat sheet:
- Basting (temporary stitches you will remove): 4.0 to 5.0 mm
- Standard seams on quilting cotton and medium wovens: 2.5 mm
- Lightweight fabrics like voile or lawn: 2.0 to 2.5 mm
- Topstitching (visible decorative seams): 3.0 to 3.5 mm, because longer stitches read as more deliberate
- Denim, canvas, and heavy fabrics: 3.0 to 3.5 mm with a 90/14 or 100/16 needle
- Gathering: longest your machine makes, usually 4.0 to 5.0 mm
Why not always use tiny stitches for strength? Because below about 2.0 mm on normal fabric, the stitches perforate the fabric like a postage stamp, weakening it along the seam, and unpicking becomes a miserable archaeological dig. Strength comes from the right length for the fabric, not the shortest length possible.
What stitch width actually does
Stitch width is how far the needle swings side to side, also in millimeters. Here is the thing beginners miss: width only matters when the needle is swinging. On a straight stitch, the width should be 0, with the needle parked dead center. Width comes alive with zigzag and decorative stitches, where it controls how wide the zigzag spreads.
Typical zigzag widths: 3.0 to 5.0 mm for finishing raw edges and sewing knits, narrower (1.0 to 2.0 mm) for applique outlines. A true satin stitch is just a zigzag with the length shortened to about 0.5 mm, so the stitches pack into a solid bar. Same dial, wildly different results, all from two numbers.

Where the controls are
On most mechanical machines, stitch length is a numbered dial on the front, usually 0 to 4 or 0 to 5, and stitch width is a second dial, usually 0 to 5 or 0 to 7. On computerized machines, both are buttons or a touchscreen menu, often with the current values displayed in millimeters. They are almost always near the stitch selection dial, because you adjust them together.
If you cannot find them, check your manual before you guess. Every machine hides at least one control somewhere smug. Your manufacturer’s support site is the backup: Brother, for example, keeps manuals and settings guides for every machine at support.brother.com, and most brands do the same.
When to change the length: the real-world guide
Basting. Crank it to the longest setting, 4.0 to 5.0 mm. Long stitches hold layers together for fitting and then pull out in seconds. This is the only time deliberately weak stitches are the goal.
Topstitching. Lengthen to 3.0 or 3.5 mm. Longer stitches look more even and professional on visible seams, and they are more forgiving of slight wobbles. This is the difference between topstitching that looks handmade-good and handmade-sorry.
Heavy fabrics. Denim, canvas, and upholstery weight want 3.0 to 3.5 mm. Short stitches on thick fabric cause puckering and can even break needles, because the machine is fighting too much material per stitch. Pair the longer length with a jeans needle, 90/14 or heavier.
Gathering. Two rows of the longest stitch, sewn about 1/4 inch apart inside the seam allowance, then pull the bobbin threads to gather. Do not backstitch gathering rows; you need those threads free to slide.
Staying with 2.5. For plain seams on quilting cotton, linen, and medium wovens, just leave it at 2.5. Changing settings you do not need to change is how beginners create problems they did not have.
When to change the width: zigzag territory
Knits and stretch. A straight stitch on stretch fabric pops the moment the fabric stretches, because the thread has no give. A zigzag (width 3.0 to 5.0 mm, length 1.5 to 2.5 mm) stretches with the fabric. This is the single most important width application for beginners.
Finishing raw edges. A medium zigzag over a raw edge keeps wovens from fraying. It is not as pretty as a serger, but it works, and it is free.
Applique and satin stitch. Narrow width (1.0 to 2.0 mm) with short length outlines applique shapes; shorten the length toward 0.5 mm and it becomes a solid satin stitch bar. Test on a scrap first, because satin stitch eats thread and shows every wobble.
The safety rule. Never set a width above 0 on a straight stitch, and never change the width while the needle is down in the fabric. A swinging needle meeting a straight-stitch needle plate is how needles break and plates get scarred. Ask me how I know. (A zigzag plate, a zigzag foot, and twenty dollars later, I know.)
Test on a scrap every time
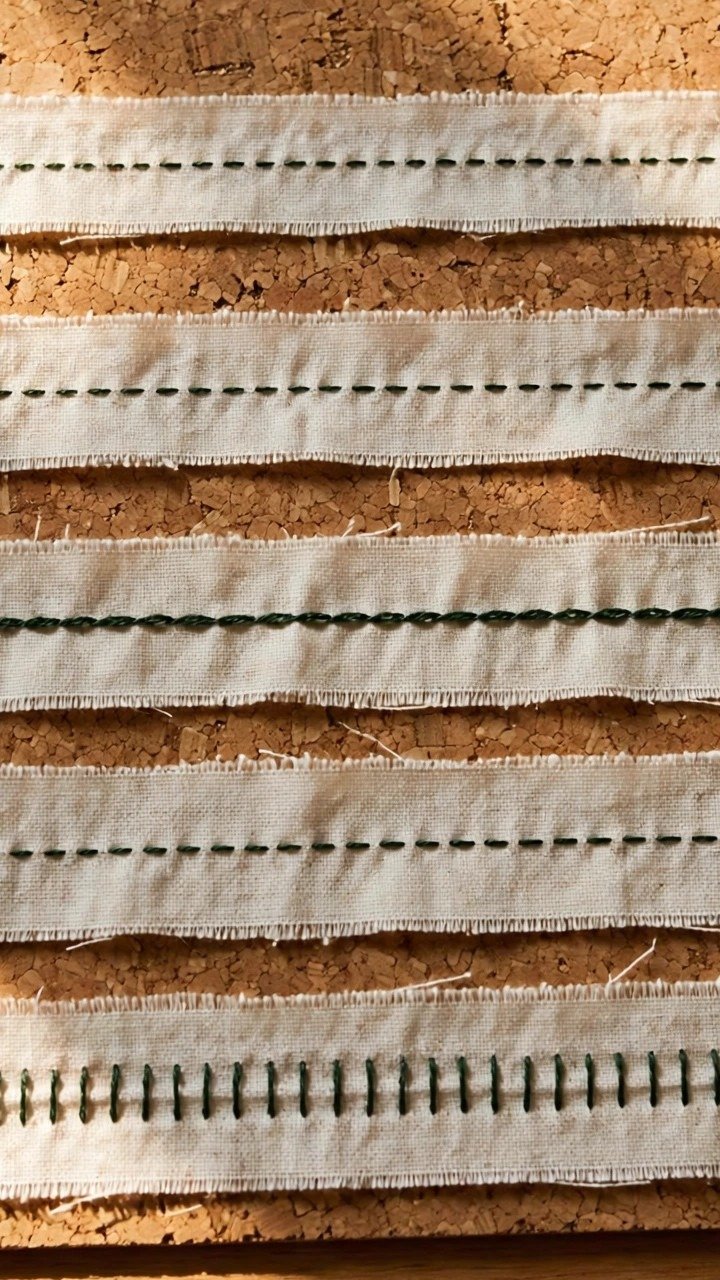
Before you touch your project, sew a test strip on a scrap of the actual fabric, doubled like your seam will be. Sew an inch at 2.5, an inch at 3.0, an inch at 3.5. Look at both sides. The right setting looks balanced and even; the wrong one loops, puckers, or perforates. This takes ninety seconds and has saved me from more bad decisions than any other habit in sewing. I keep a little library of labeled test strips pinned to my bulletin board, which is either organized or obsessive, depending on who you ask.
What can go wrong
Puckering. Usually stitch length too short for the fabric, or the fabric being pushed. Lengthen to 3.0 mm first and lighten your hands before you blame anything else.
Seams that will not hold. Basting-length stitches left in a structural seam, or a straight stitch on stretch fabric. Match the length to the job, and use zigzag where stretch lives.
Skipped stitches after changing settings. Sometimes a new length or width exposes a needle problem that the old settings masked. Fresh needle first, always. If the skips persist, my guide to fixing skipped stitches walks through the rest in order.
Thread nests underneath. Almost always threading, not settings. Rethread with the presser foot up before you touch a single dial. My threading walkthrough covers the full path if yours has gone fuzzy.
FAQ
What do the numbers mean: millimeters or stitches per inch?
Modern machines use millimeters of stitch length. Older American machines and patterns sometimes say stitches per inch (SPI): 12 SPI is roughly 2.0 mm, 10 SPI is roughly 2.5 mm. If your vintage machine speaks SPI, 10 to 12 is your home base.
Can I change length or width while sewing?
Length, cautiously yes on most machines, though I do not recommend it until your hands are steady. Width, never while the needle is in the fabric. Stop, raise the needle, then adjust.
Why does my zigzag look more like a wavy line?
Your width is too narrow for your length, or your length too long for your width. They work as a pair: for a classic zigzag, try width 4.0 and length 2.0, then adjust from there on a scrap.
What settings should I use for knit fabric?
Zigzag, width 3.0 to 5.0 mm, length 1.5 to 2.5 mm, with a ballpoint or stretch needle. And slow down: knits punish rushing more than any other fabric.
Do I need to change settings for every fabric?
No. The 2.5 mm straight stitch handles an enormous range of medium wovens. Change settings when the fabric or the task genuinely demands it, not as a ritual. Most of my sewing life happens at 2.5 and zero.
Learn the dials, then forget them
Here is the honest endpoint: you learn what length and width do, you use them deliberately for a few months, and then they become reflex. Basting? Long. Knits? Zigzag. Everything else? Two-point-five and zero, until the fabric tells you otherwise. The dials stop being intimidating the moment they become boring, and boring is exactly what good settings should be.

Written by June Carter
I am June, a sewing enthusiast who loves turning simple fabric into things people actually use. I test every technique and product I write about at my own machine before it lands here.