

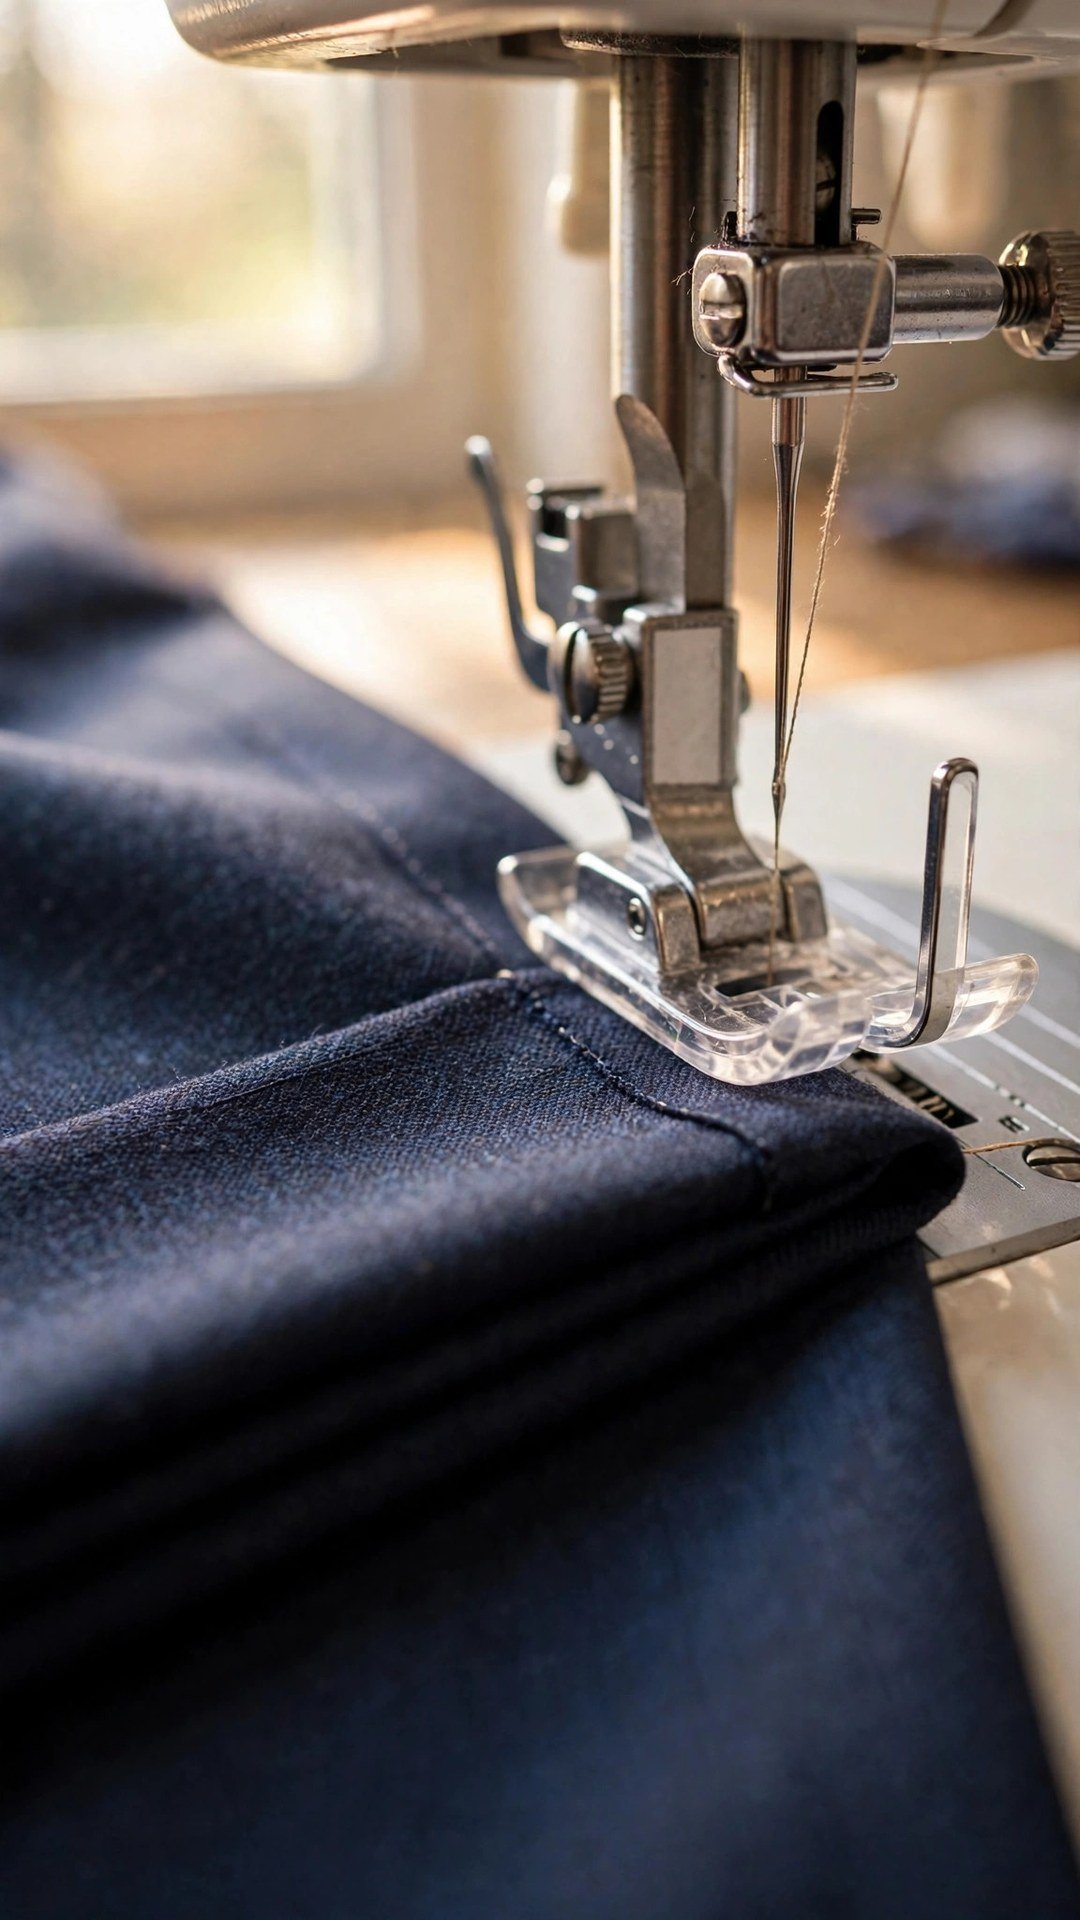
Learning how to use presser feet changed my sewing more than any new machine ever did, because the small metal foot under the needle decides how fabric feeds, how straight your stitching runs, and how close you can sew to an edge. When I started, I used one foot for everything and wondered why zippers wobbled, hems looked uneven, and slippery fabric slid all over the place.
A presser foot is not a gadget for advanced sewists. It is a practical tool that holds fabric flat against the feed dogs, guides it under the needle, and gives you a steady edge to follow. Different feet solve different problems, and once you know what each one does, you will reach for the right one without thinking. That is when sewing starts to feel calm instead of fiddly.
In this guide I will show you how to change a foot safely, what the common feet do, and how to practise with each one so you can choose confidently. We will keep it simple, start with the feet you already own, and build up from there.
How to Use Presser Feet: Start With the Standard Foot
The standard foot, sometimes called the all purpose foot, is the one your machine arrives with, and it is the right starting point for most straight and zigzag stitching. It has a flat sole, a wide opening for the needle, and markings that help you keep a steady seam allowance. If you are learning how to use presser feet, spend real time with this one first.
To change a foot, raise the needle to its highest point and raise the presser foot lever at the back of the machine. Most modern machines have a small button behind the foot holder that releases the foot with a gentle press, and the new foot simply snaps or screws into place. Always turn the machine off before you change a foot, and lower the needle by hand once to check that it clears the opening.
Practise sewing straight lines on a scrap of cotton with the standard foot, watching the edge of the fabric against the markings on the foot or the needle plate. Keep your hands light and let the feed dogs do the moving, because pushing or pulling the fabric is what makes seams wavy. My guide to how to adjust stitch length and width will help you pair the right stitch settings with each foot you try.
The Zipper Foot and Getting Close to the Edge
The zipper foot is the foot I reach for whenever I need to sew close to something bulky, and zippers are only the start. It is narrow and it sits to one side of the needle, so you can stitch right beside a zipper coil, a piping cord, or a thick seam without the foot riding up over the bulk. If you have tried to sew a zipper with the standard foot, this foot will feel like a small revelation.
To use it, attach the foot and move the needle position to the side that suits your work, left or right, following your machine manual. Sew slowly, keeping the edge of the foot against the zipper teeth or the cord you are following. Your seam will run straight and close, and the zipper will sit flat instead of rippling.
The zipper foot is also useful for piping and for topstitching close to a seam. Whenever a standard foot cannot sit flat because something raised is in the way, the narrow foot can. Try it on a scrap first with the same layers you will sew in the real project, because thick layers can shift and a quick test saves you from unpicking a visible seam.

The Walking Foot for Slippery and Layered Fabric
The walking foot looks unusual, with its chunky top and extra feed teeth, but it solves one of the most frustrating sewing problems: layers that shift as you sew. It feeds the top layer at the same rate as the bottom layer, so quilts stay flat, plaids stay matched, and slippery fabrics stop creeping. If your top layer always ends up longer than the bottom, a walking foot is the fix you need.
Attach it carefully, following your manual, because it usually hooks onto the needle bar as well as the foot holder. Sew at a steady, moderate speed and let the foot do the work. It is brilliant for quilting straight lines, sewing long seams in velvet or satin, and joining thick layers. My guide to how to use a walking foot goes into more detail on quilting and matching patterns.
Do not use a walking foot for tight curves or very narrow work, because its size makes turning difficult. For those jobs, switch back to the standard foot. Think of the walking foot as your long straight seam specialist, and it will reward you with flat, even results every time.
Blind Hem, Overcasting, and Other Helpful Feet
The blind hem foot has a small guide that runs along a folded edge, and it is made for hems that should be nearly invisible from the right side. It works with a blind hem stitch, catching just a tiny bite of the fold with each stitch. It takes a little practice to set the fold at the right depth, so try it on a scrap first and adjust until only a thread or two shows on the outside.
The overcasting foot guides the fabric edge under a zigzag stitch and helps prevent the edge from curling. It is a good choice for finishing raw edges when you do not own a serger, and it gives a tidy finish on seams that will be seen inside a garment. Pair it with a zigzag stitch and a steady speed, and let the guide keep the edge in place.
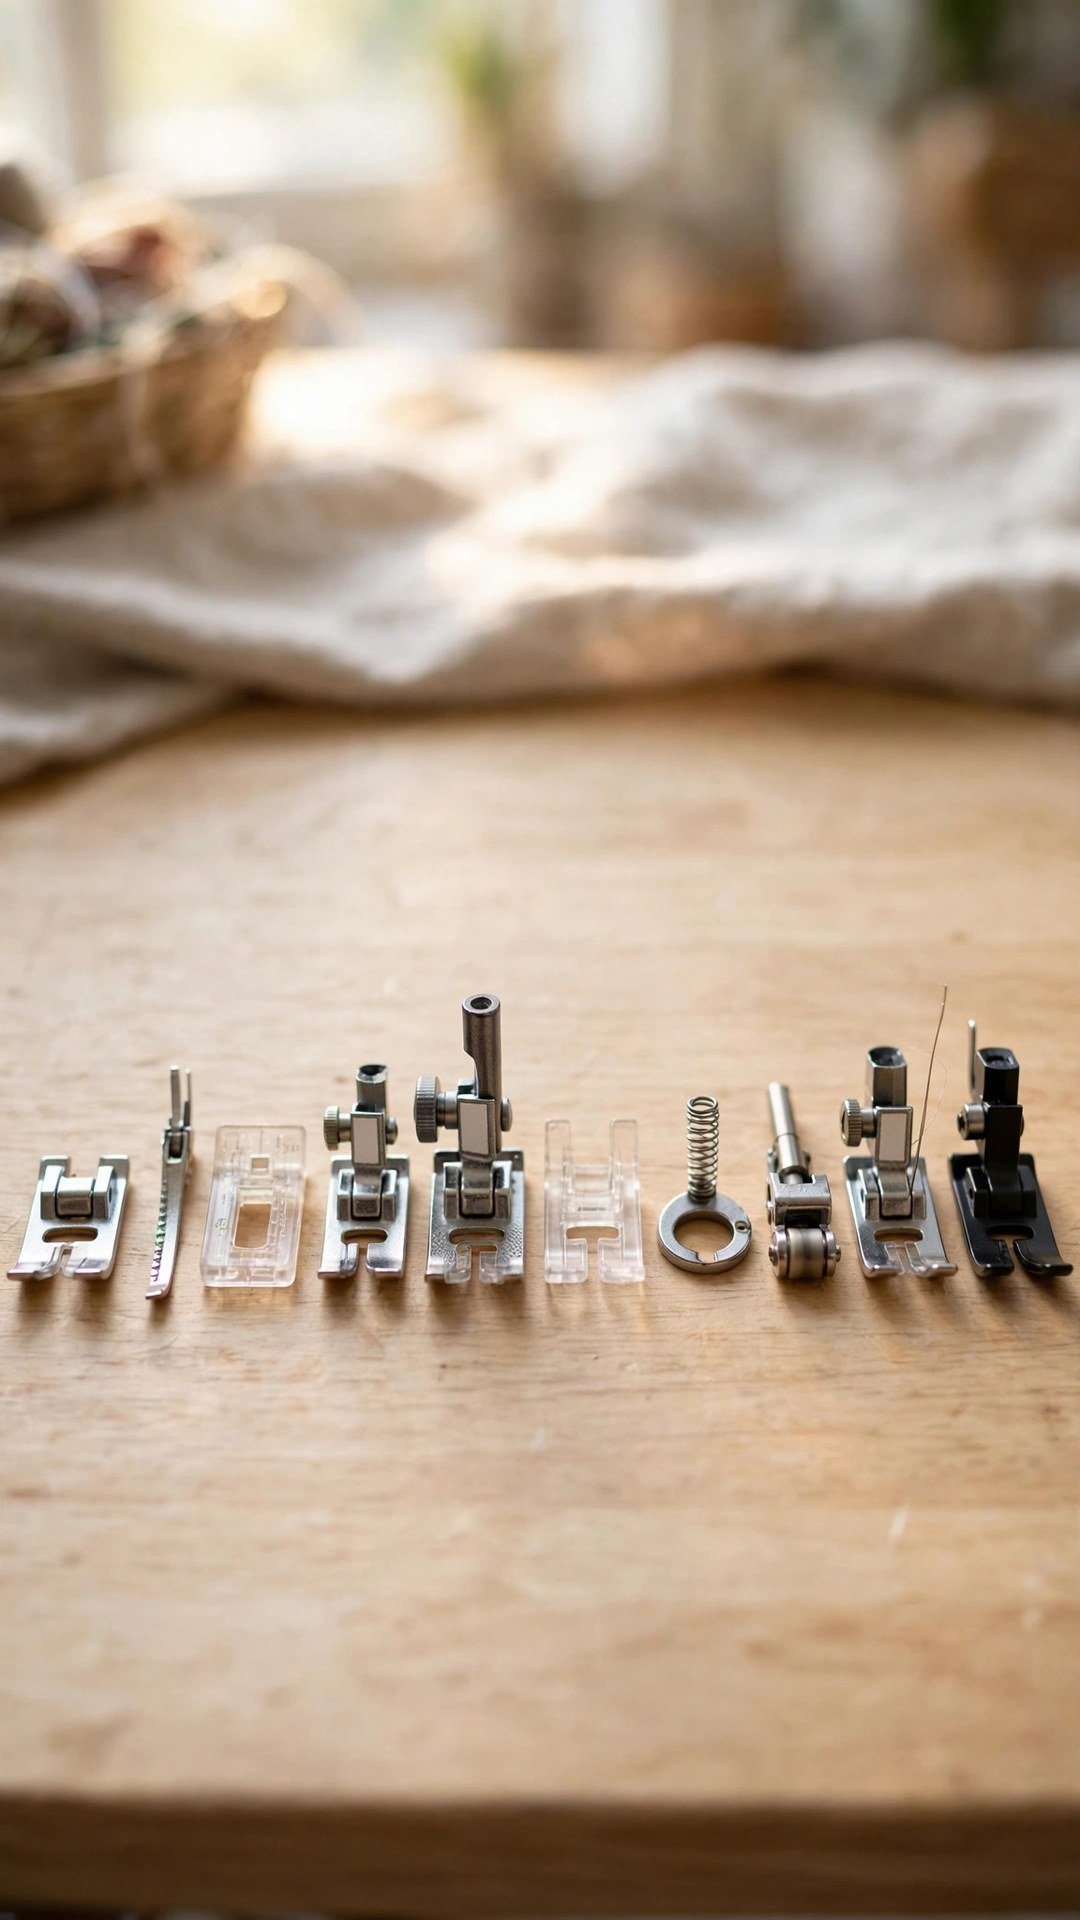
Other feet worth knowing include the buttonhole foot, which makes neat, even buttonholes, and the gathering foot, which pulls gentle gathers into a single layer as you sew. You do not need to buy them all at once. Learn the standard, zipper, and walking feet first, then add one new foot when a project actually calls for it.
Practise, Care, and Common Mistakes
The best way to learn a new foot is to sew a test swatch before you touch your project. Use the same fabric and the same number of layers, sew a short seam, and check the result from both sides. Look for even stitching, flat fabric, and a seam that sits where you intended. If something looks wrong, change one thing at a time until it looks right.
Common mistakes are easy to avoid once you know them. Forgetting to raise the needle before changing a foot can bend the needle or damage the foot. Sewing with the wrong needle position can hit the foot and break the needle, so always turn the handwheel once by hand after a change. Sewing too fast with an unfamiliar foot usually ends in wavy seams, so slow down until the foot feels familiar.
Store your feet in a small box or pouch where they cannot knock against each other, and keep the manual nearby for the feet you use least. A quick look at the manual before a tricky job is faster than unpicking a seam. If your topstitching still wanders even with the right foot, my notes on how to topstitch evenly will help you steady your lines.
Frequently Asked Questions
Do I need to buy extra presser feet?
Not at first. The standard foot, zipper foot, and buttonhole foot that come with most machines cover most beginner projects. Add a walking foot or a blind hem foot when a project calls for it.
How do I change a presser foot safely?
Turn the machine off, raise the needle and the presser foot lever, then release the old foot with the button behind the holder. Snap the new foot into place and turn the handwheel once by hand to check the needle clears the foot.
Which foot should I use for slippery fabric?
A walking foot is the best choice for slippery fabrics like satin, because it feeds the top and bottom layers together and stops them sliding apart. It gives a flatter result on long seams.
Can I use a zipper foot for piping?
Yes. The narrow zipper foot sits close beside the piping cord, so you can stitch tightly against it without the foot riding over the cord. Use it for inserting piping and for topstitching close to a raised seam.
Why does my fabric pucker under the foot?
Puckering often comes from too much pressure, too long a stitch, or pushing the fabric instead of letting the feed dogs move it. Try a shorter stitch length and sew more slowly with a light touch.
Try One New Foot This Week
Presser feet are small, quiet tools, and they reward the sewist who takes time to learn them. Change one foot, sew a test swatch, and notice how much easier the job feels when the right foot is doing the guiding. Before long you will reach for the right foot without thinking, and your seams will show it.

Written by June Carter
I am June, a sewing enthusiast who loves turning simple fabric into things people actually use. I test every technique and product I write about at my own machine before it lands here.