
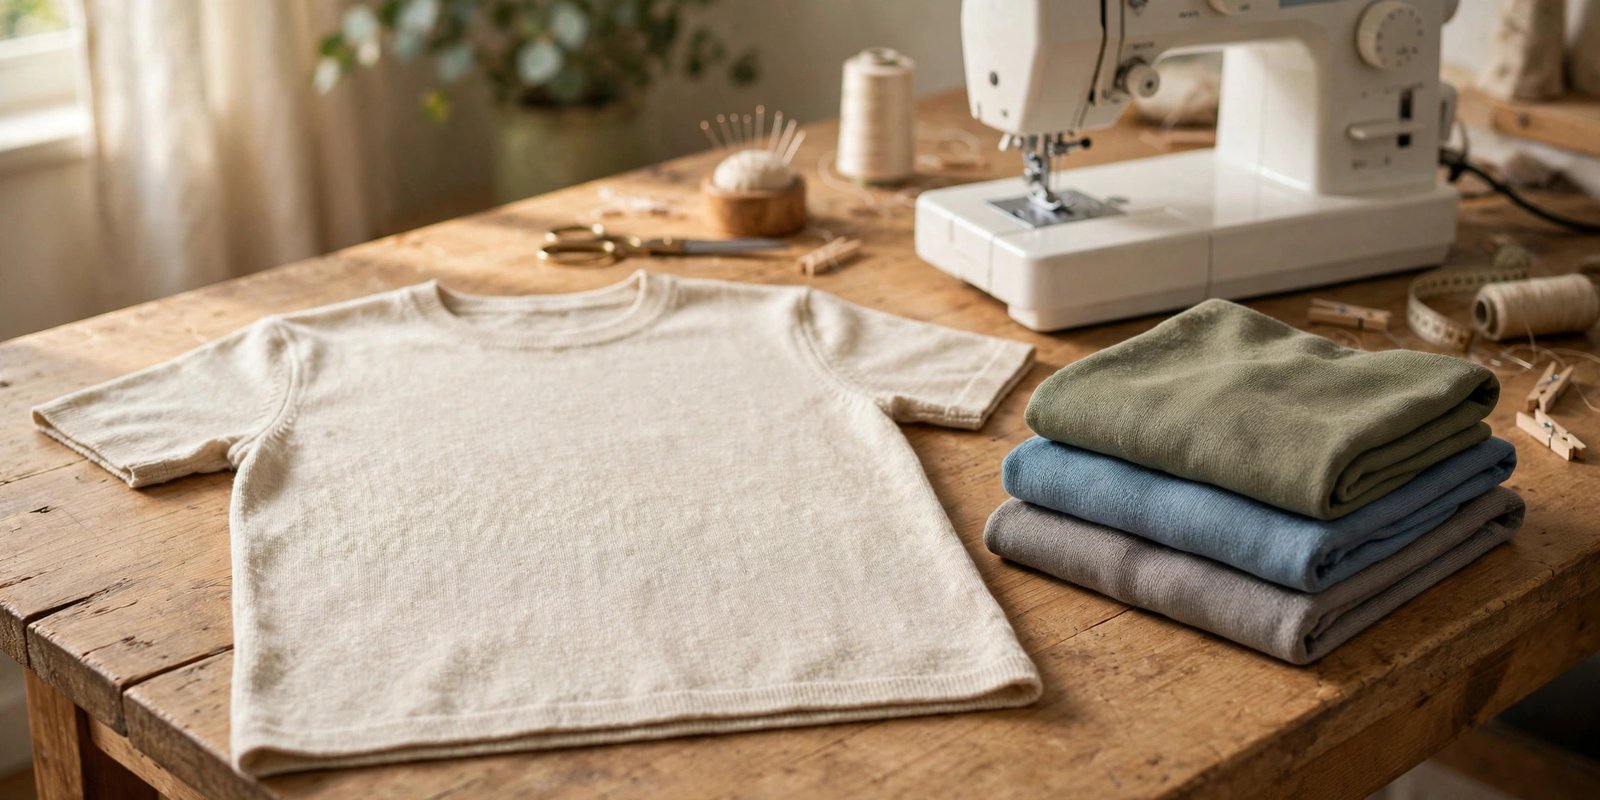
If you have ever wondered how to sew a knit t-shirt without a serger, without tears, and without the neckline waving at you like a flag, you are in the right place. I put off sewing with knits for almost a year because I thought they were fiddly. Then I tried a simple tee, and honestly, it was easier than most of the woven projects I had already made.
A t-shirt is a great first garment because it has no darts, no zippers, no set-in sleeves, and only a handful of pattern pieces. If you can sew a seam and keep your fabric from stretching while you cut it, you can make a shirt you will actually wear. Here is exactly how I sew mine, from fabric choice to the final press.
Choosing the Right Knit Fabric
Start with a jersey fabric or a ponte knit that has at least 30 to 40 percent stretch across the width. Ponte is my top pick for beginners because it holds its shape, barely curls at the edges, and feeds through the machine without a fight. A medium weight cotton jersey is also friendly and very wearable.
Skip the slippery slinkies, velvets, and ultra thin sheer knits until you have a couple of tees under your belt. Those fabrics move while you cut them, and they will test your patience. When you shop, stretch the fabric in your hands and check that it springs back. If it stays stretched out like taffy, put it back. Check the stretch percentage printed on the bolt or the pattern envelope so your shirt ends up the right size.
Buy a little extra the first time, maybe a quarter of a yard more than the pattern calls for, so you have room to test stitches and fix a miscut. And prewash your knit before cutting. Knits shrink, sometimes dramatically, and I would rather discover that in the washer than after I have sewn the sleeves on.
Set Up Your Machine for Knits
Here is the part that changes everything. Swap in a ballpoint needle or a stretch needle in size 75/11 or 80/12. A universal needle punches holes through knit loops and skips stitches. The ballpoint needle slides between the loops instead, which is why your stitching suddenly starts behaving. If you are unsure which needle suits your fabric, read my guide on choosing the right needle for your fabric.
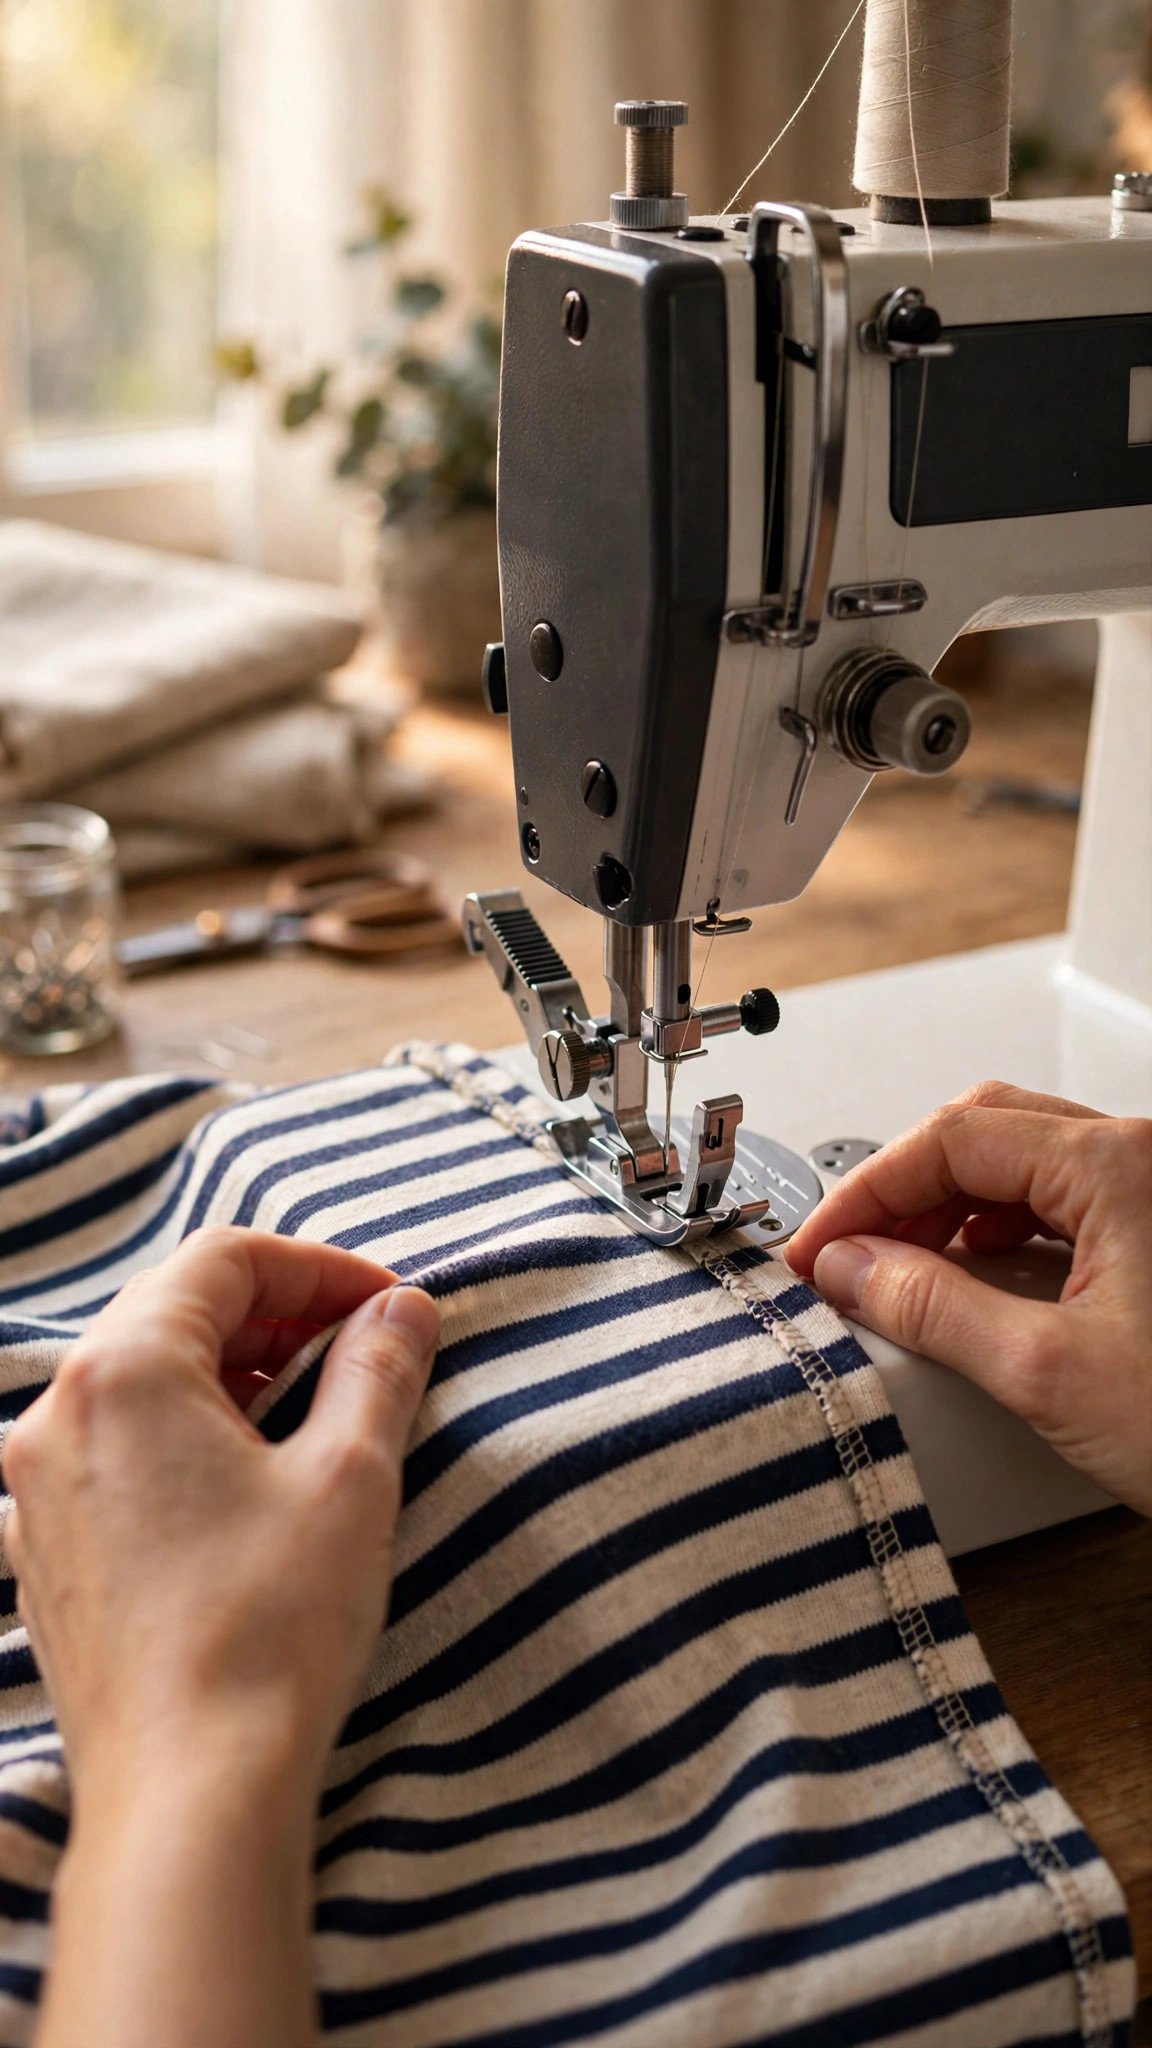
Next, change your stitch. A straight stitch pops when a knit seam stretches, so use a narrow zigzag (about 2.5 mm long and 1 to 1.5 mm wide) or your machine’s stretch stitch, the one that looks like a little lightning bolt. Test both on a double layer scrap and pull the seam. If the stitches do not break and the seam bounces back, you have your winner.
A walking foot is worth its weight here. It feeds the top layer at the same rate as the bottom layer, so striped and slippery knits stop shifting and puckering. If your machine does not have one yet, shorten your presser foot pressure if your machine allows it, and use a little more pressure from your hands to guide rather than push the fabric.
Cut Your Pieces on Grain
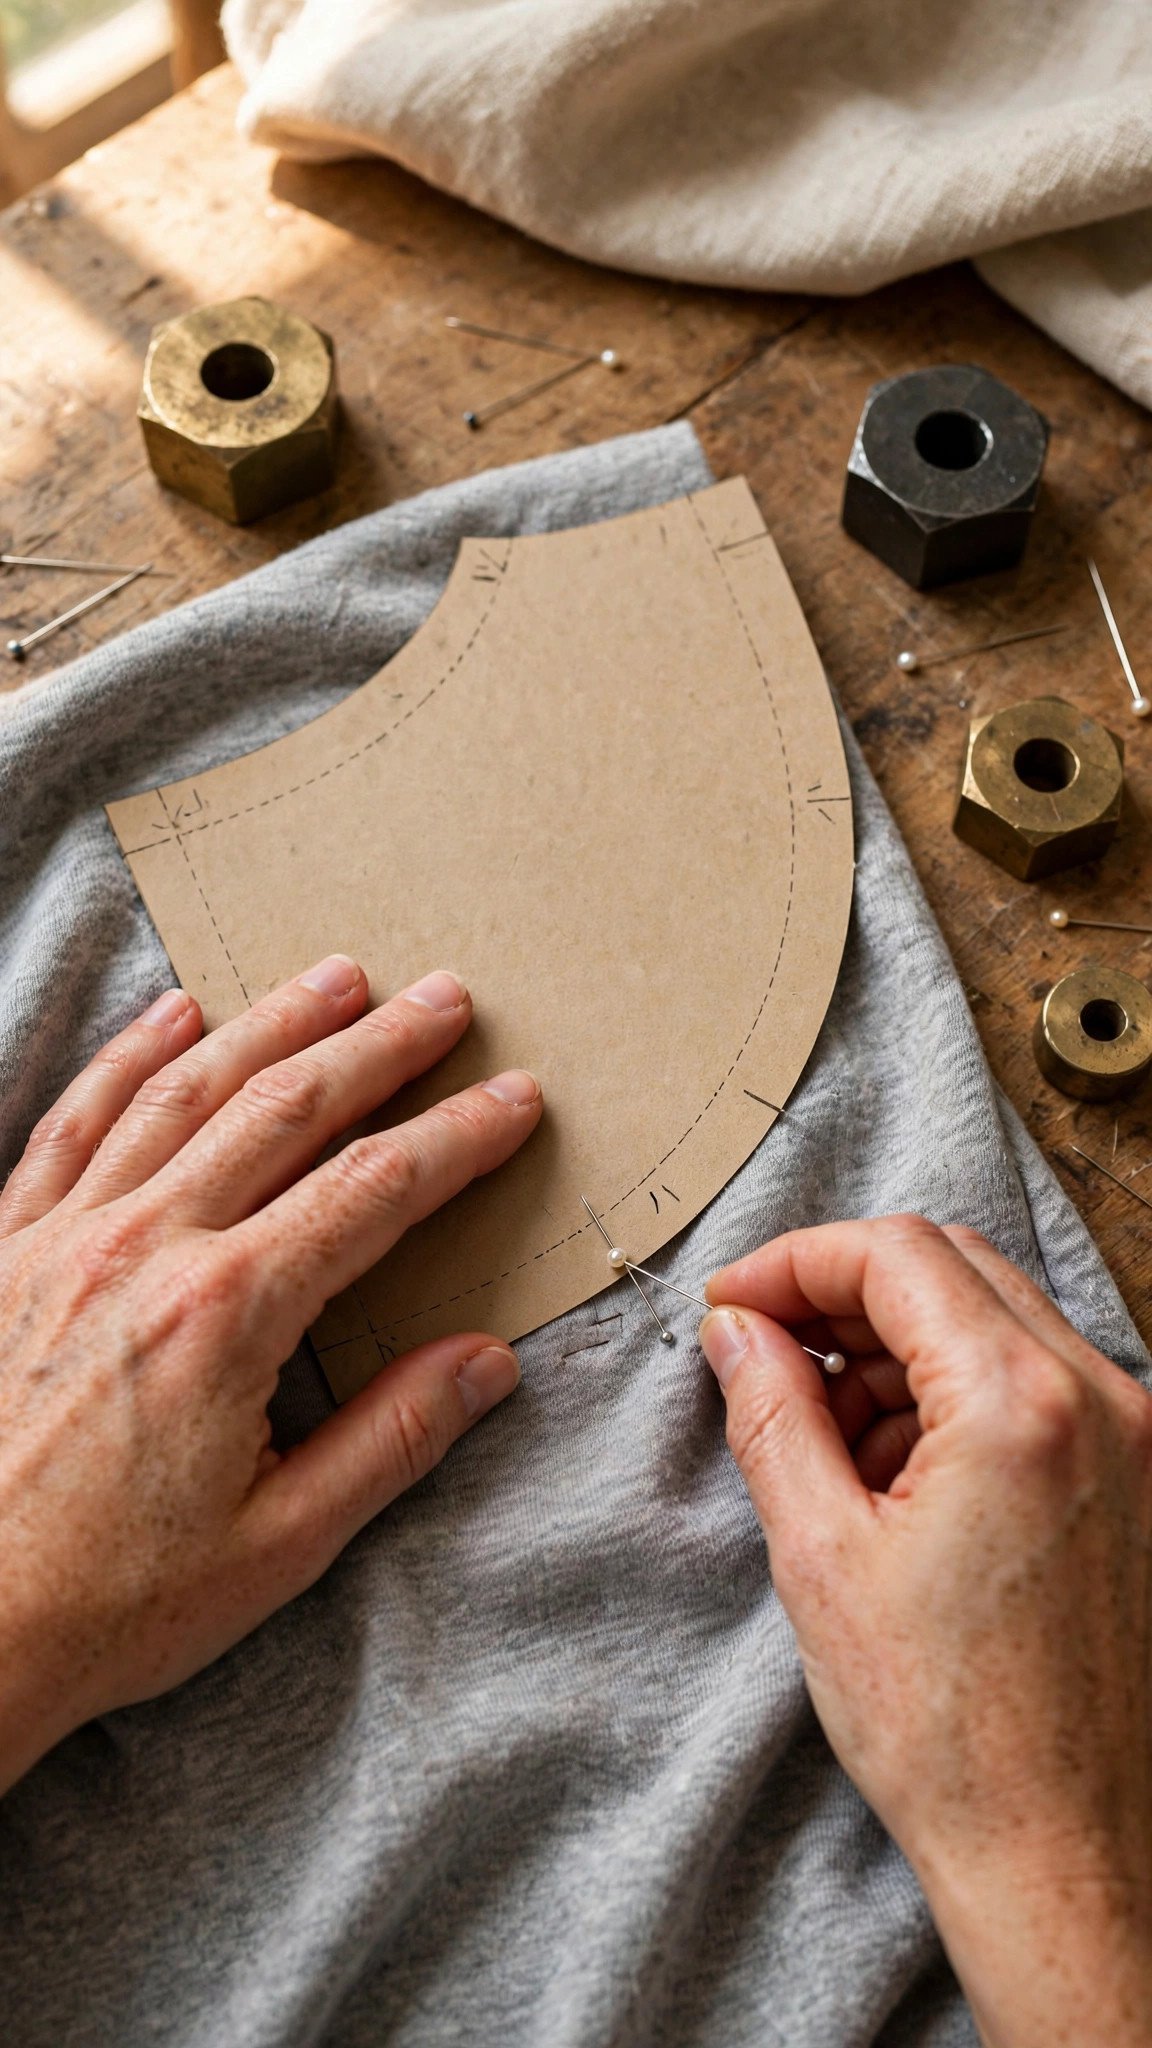
Knits misbehave most at the cutting stage, so slow down here. Lay your fabric flat in a single layer and let it relax for a few minutes before you cut. Stretch it gently back into shape if it looks wavy, then let it settle. Never cut knit while it is even slightly stretched, or your pieces will shrink back smaller than your pattern.
Line the grain line on each pattern piece up with the fabric grain, and keep the greatest stretch of the fabric going around the body, not up and down. I use pattern weights instead of pins for cutting because pins can distort the fabric. If you only have pins, that is fine too, just place them inside the seam allowance and handle the fabric gently.
Cut carefully around curves with small scissor snips rather than long strokes, and do not lift the fabric while you cut. Mark notches by snipping tiny triangles outward into the seam allowance, never inward, since inward cuts weaken the edge. For more on getting this right, see how to assemble tiled PDF pattern pages if you are printing a pattern at home.
How to Sew a Knit T-Shirt: Shoulders and Neckband
Here is the part of how to sew a knit t-shirt where the construction order really matters. Sew the shoulder seams first. Before you do, stabilize them, because shoulders carry the whole weight of the shirt and unstabilized knit shoulders stretch out of shape. I iron a thin strip of fusible tricot interfacing or sew in a length of stay tape along the back shoulder seam. Either one stops the shoulder line from growing.
Sew the shoulders with your zigzag or stretch stitch, then press the seam allowances toward the back. I know pressing knits sounds fussy, but this is where a shirt starts looking store bought. Press as sewn first, then to one side, using a lift and press motion instead of sliding the iron.
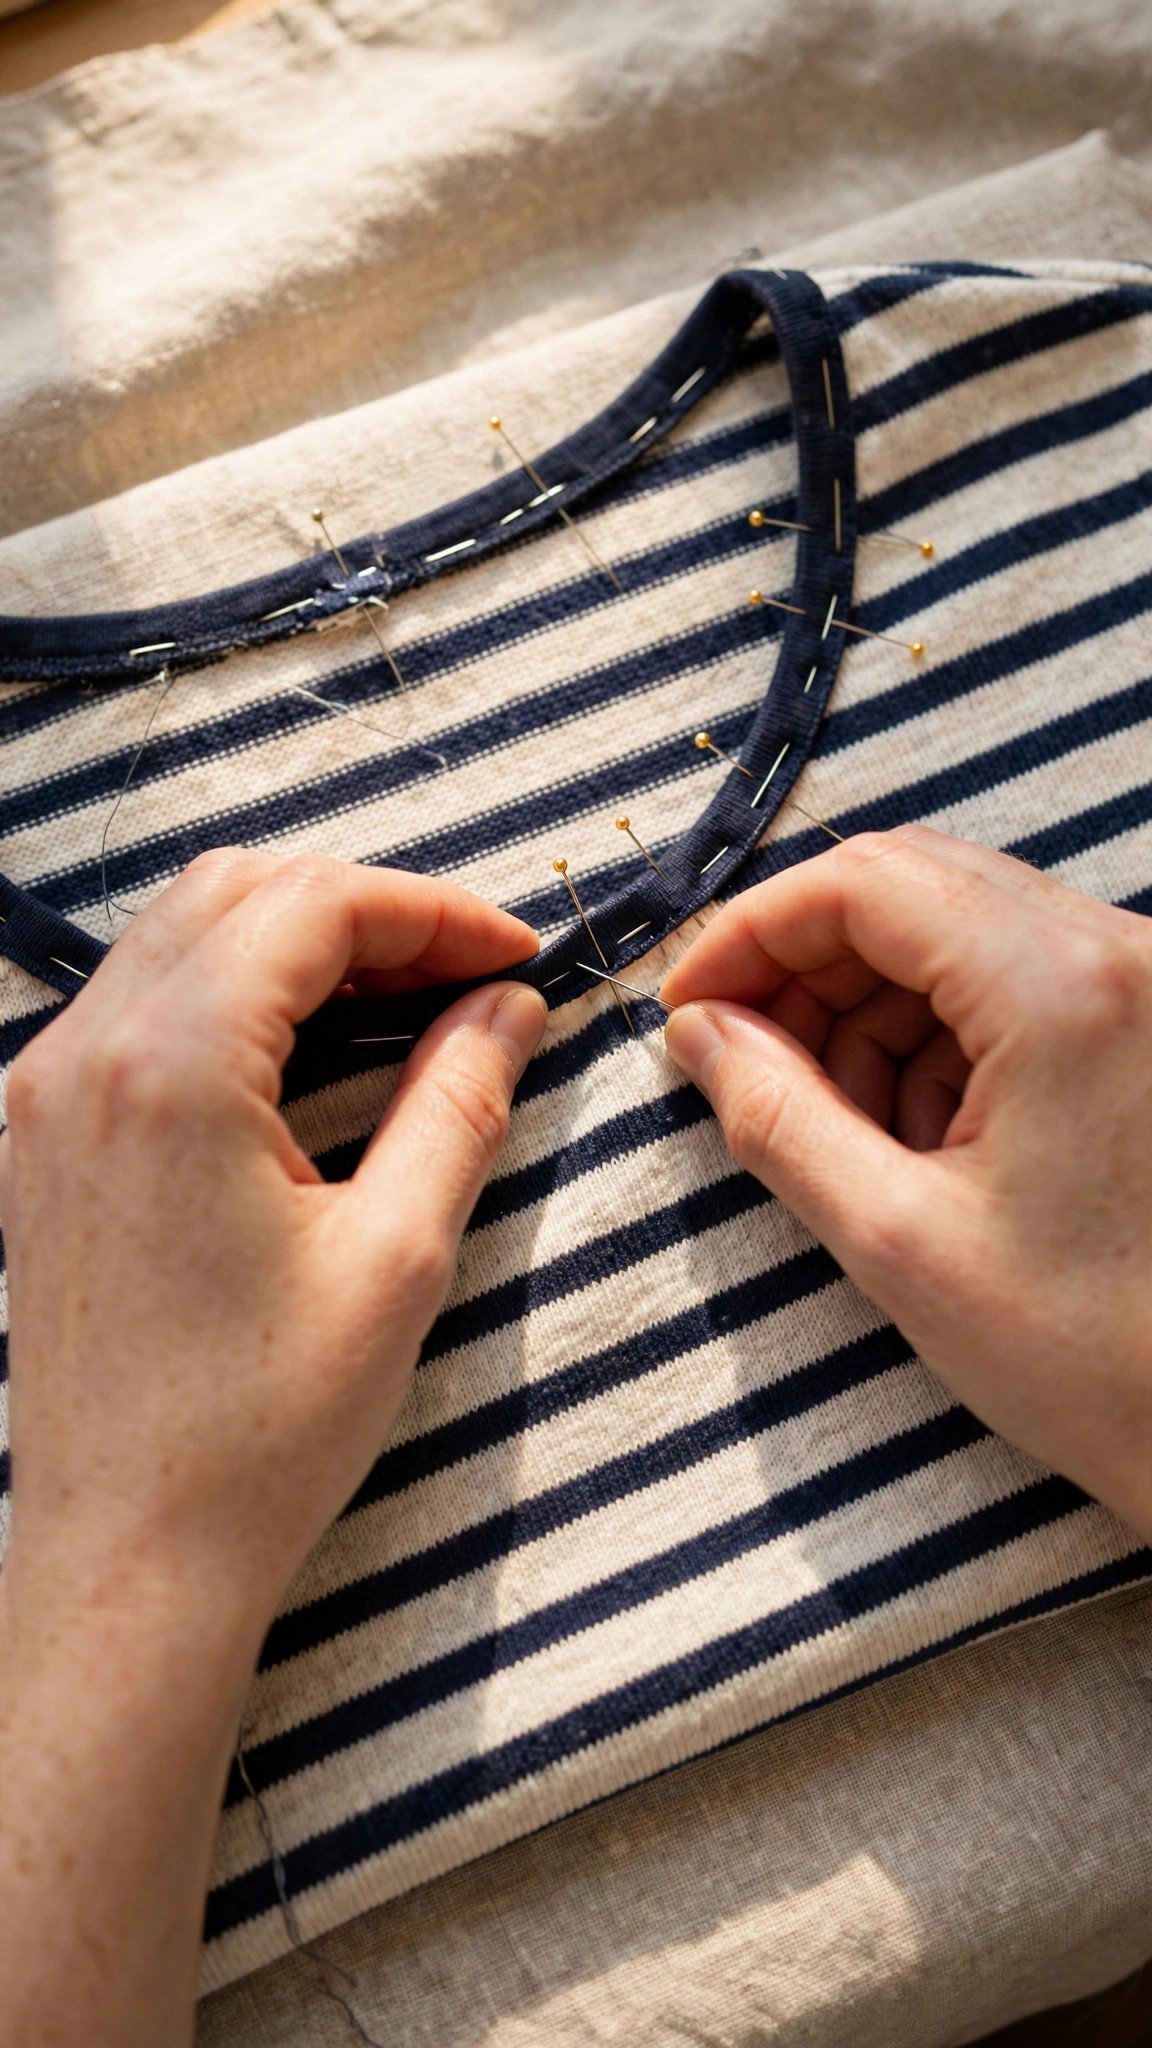
Now the neckband, which is the detail that makes or breaks a tee. Cut your ribbing collar piece so it measures about 85 to 90 percent of the neckline length, including seam allowances, and join its short ends. Fold it in half lengthwise with wrong sides together and mark quarters on both the band and the neckline: center front, center back, and the two shoulder points.
Pin the band to the neckline at the quarter marks, then stretch the band evenly between pins so it fits the opening. Sew with a zigzag stitch, stretching gently as you go but never pulling. Press the seam allowance down toward the body and topstitch it with a long straight stretch stitch or a second row of zigzag. The result should lie flat, with the neckline cupping slightly inward rather than gaping or rippling.
Attach the Sleeves and Sew the Side Seams
Use flat construction for the sleeves: lay the shirt body open, right side up, and pin each sleeve to the armhole with right sides together, matching the notches and the top of the sleeve cap to the shoulder seam. The sleeve piece is usually a little bigger than the opening, so ease it in by pinning generously. Sew, then press the seam allowances toward the sleeve.
Now fold the shirt right sides together, matching the underarm seams and the sleeve edges. Sew from the sleeve hem all the way down the side seam to the shirt hem in one pass. Use your stretch stitch here too, and keep your seam allowance consistent. Backstitch at the underarm where the seams cross, since that spot takes a beating when you pull the shirt on.
Press the side seams toward the back. If you started out learning with wovens and you are comfortable sewing a clean straight stitch, think of these knit seams the same way, just with a stitch that gives a little.
Hem Without Stretching
Hemming knit fabric is where shirts get wavy hems, and the fix is simple: stabilize before you stitch. I iron a strip of fusible knit interfacing along the hem fold line, or I use a wash-away hem tape. Either one keeps the fabric from growing as you sew.
Fold the hem up, press, and pin or clip it well. Then hem with a twin needle from the right side, a long zigzag, or your stretch stitch. A twin needle gives that classic twin row of topstitching you see on ready to wear tees, and it keeps the stretch because the bobbin thread zigzags underneath. Test your hem on a scrap first, because twin needles can tunnel if the tension is off. A little steam and a clapper press after hemming flattens everything beautifully.
FAQ
Can I sew a knit t-shirt without a serger?
Absolutely. I sewed my first dozen tees on a basic machine with a ballpoint needle and a zigzag stitch. A serger makes it faster and neater inside, but it is not required. Clean up raw edges with a second row of stitching or pinking shears if you want a tidy finish.
Why does my neckline ripple and wave?
Usually the neckband was cut too long or stretched while you sewed it, so it is fighting the neckline instead of drawing it in. Cut the band to about 85 to 90 percent of the neckline length, pin at quarters, and stretch it evenly between pins. A wavy neckline can also come from a stretched out opening, so handle the cut neckline gently and stabilize it if needed.
What stitch length and width should I use for knits?
A narrow zigzag of about 2.5 mm length and 1 to 1.5 mm width works for most seams. Your machine’s stretch stitch is another good option. Always test on a scrap of your actual fabric and pull the seam to check that the stitches do not pop before you sew the real thing.
How do I stop the fabric from stretching while I sew?
Use a walking foot, ease up on the presser foot pressure, and guide the fabric instead of pushing or pulling it. Do not sew with the fabric hanging off the edge of the table either. Support the weight of the project so it is not dragging through the feed dogs. If you are picking your first project, start with a beginner-friendly fabric that holds its shape, like ponte.

Written by June Carter
I am June, a sewing enthusiast who loves turning simple fabric into things people actually use. I test every technique and product I write about at my own machine before it lands here.