

If you want to learn how to sew a neckline facing, you are in the right place. This is one of those quiet finishing skills that separates tops that look homemade from tops that look handmade, and honestly, the difference is bigger than most beginners expect.
A neckline facing is simply a shaped piece of fabric, usually interfaced, that finishes the raw edge of the neckline from the inside. No visible binding, no scratchy serged edge peeking out, just a smooth, clean finish that lies flat and stays put. Once you know how to sew one, you will use the technique on dresses, tops, and blouses for the rest of your sewing life.
I will be honest: the first neckline facing I ever sewed was a wrinkled mess. The facing flipped to the outside, the curves puckered, and I wore the top exactly once. Everything in this tutorial is what I wish someone had told me that day. Follow it in order, do not skip the understitching, and your facings will look crisp from the very first try.
What a Neckline Facing Actually Does
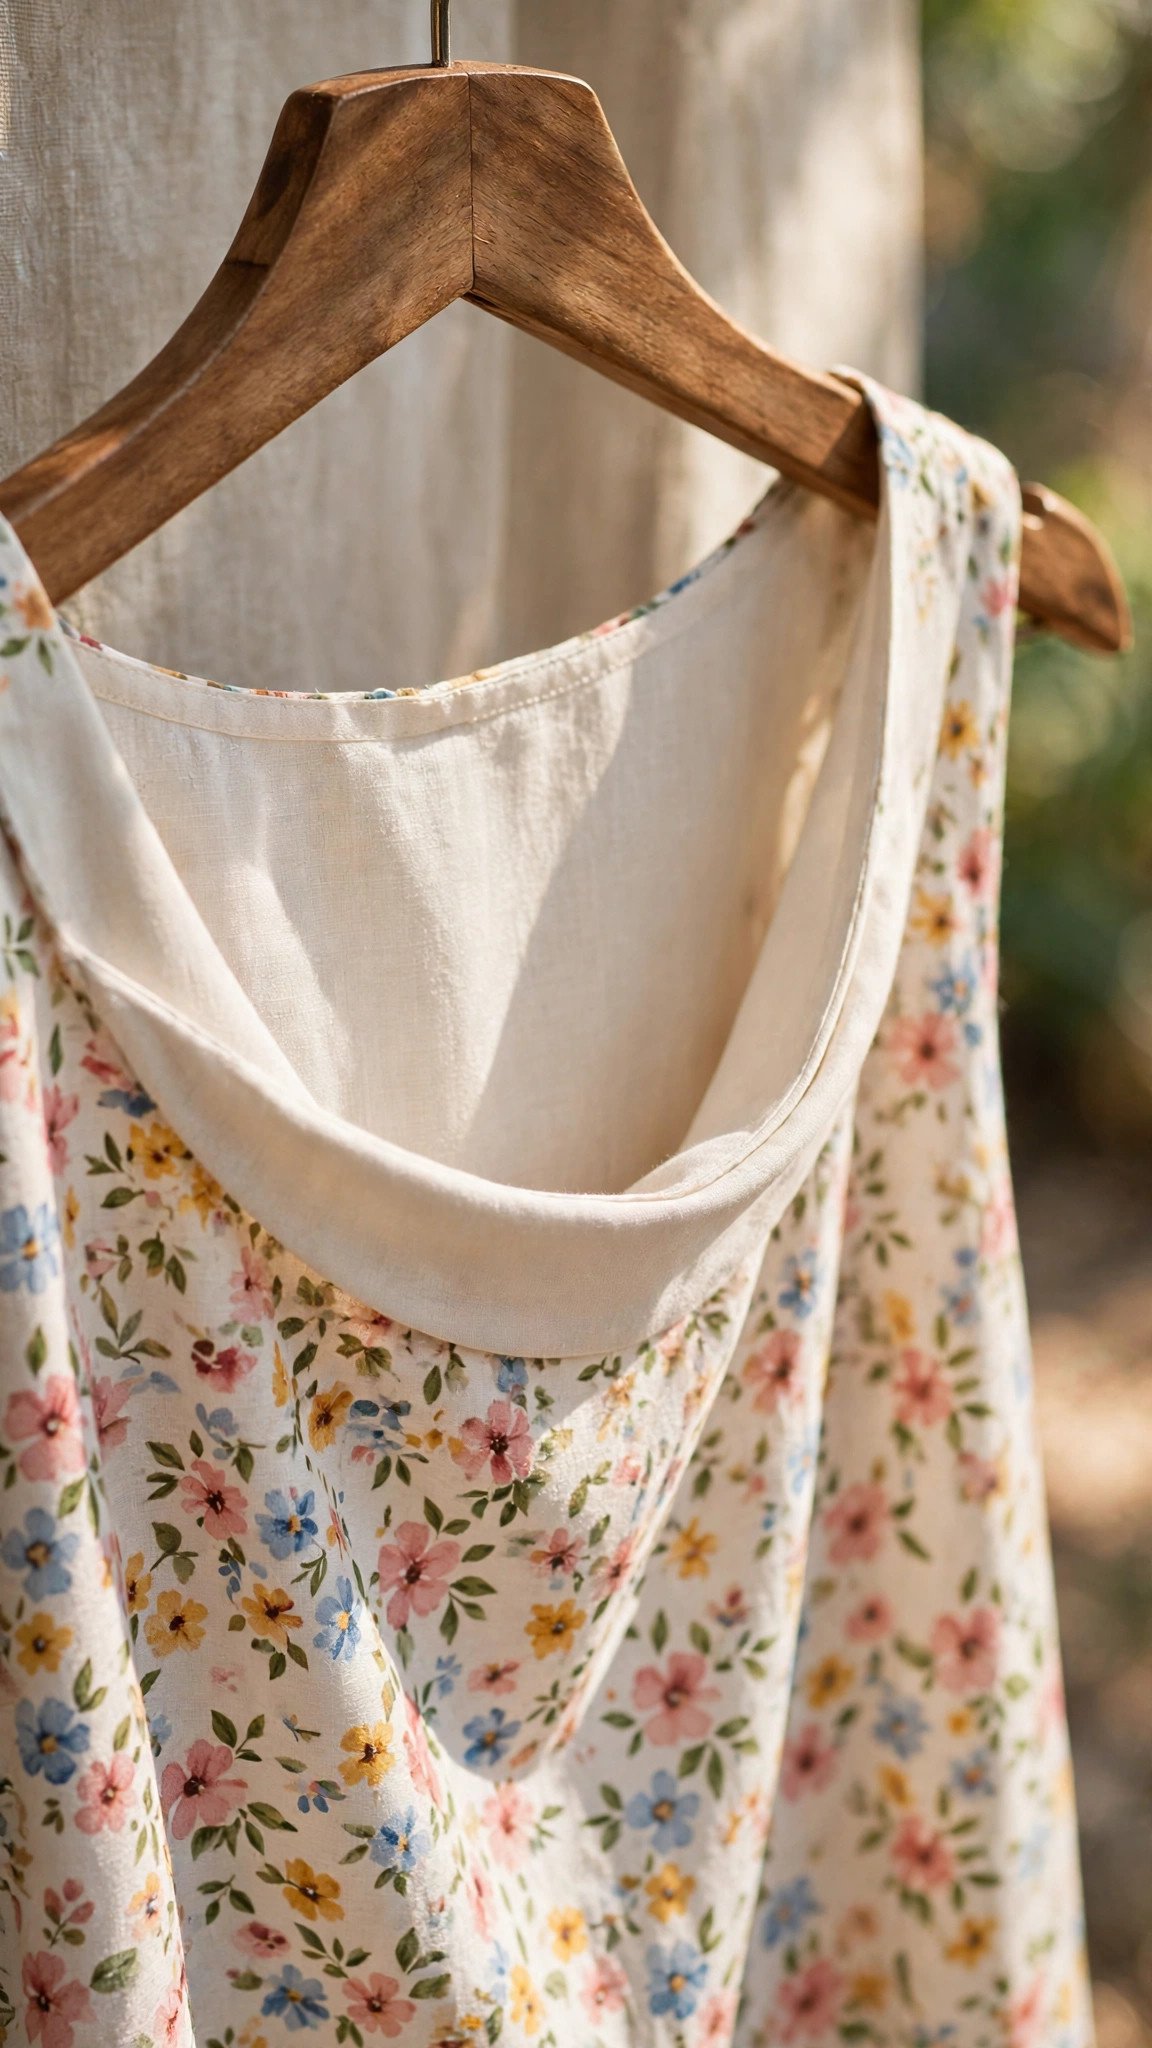
Think of a facing as a mirror image of your neckline, cut about two to three inches wide, that gets stitched right sides together with the garment neckline and then flipped to the inside. From the outside you see nothing but a clean edge. From the inside you see a neat band of fabric that stabilizes the neckline and keeps it from stretching out of shape.
Facings show up everywhere in garment sewing. They finish round necklines, V necks, square necklines, and even armholes on sleeveless tops, where the same technique is called an armhole facing. If your pattern includes separate facing pattern pieces, they will be shaped exactly like the neckline, just narrower. Some patterns instead have you draft your own facing from the bodice piece, which sounds scary but takes about two minutes with a ruler.
Why choose a facing over bias binding? A facing gives a completely invisible finish from the outside and adds subtle structure, which is lovely on woven fabrics. Bias binding adds a visible line of stitching or a contrast trim, which is a style choice. My rule of thumb: use a facing when you want the neckline to look clean and quiet, and reach for binding when you want it to look like a design detail.
How to Sew a Neckline Facing, Step by Step
Here is my complete method. Read the whole thing once before you pick up the scissors, because the order of operations matters.
- Sew the garment shoulder seams first. Join the front and back bodice pieces at the shoulders with right sides together, and press the seams open. Your neckline should be one continuous curve now, not two separate pieces.
- Apply fusible interfacing to the wrong side of the facing pieces. Use a lightweight fusible interfacing, and trim away the seam allowances of the interfacing first if you want to reduce bulk. Fuse with heat, pressure, and steam, holding the iron in place rather than sliding it around.
- Sew the facing shoulder seams. Join the front and back facing pieces right sides together at the shoulder seams, matching the shoulder markings. Press the seams open. You now have a ring that matches your neckline exactly.
- Finish the outer edge of the facing. This is the edge that will sit against your body, and an unfinished edge will fray in the wash. Run a zigzag stitch along it, or overlock it if you have a serger. On very lightweight fabric, I sometimes just turn this edge under by a quarter inch and press it.
- Staystitch the garment neckline. Stitch a row of straight stitching just inside the seam allowance of the bodice neckline, sewing from the shoulder toward the center on each side so both halves stay balanced. This keeps the curve from stretching while you work. If your straight stitch needs a refresher, my tutorial on how to sew a straight stitch covers tension and stitch length.
- Pin the facing to the neckline, right sides together. Match the shoulder seams and the center front and center back points first, then pin between them, easing the facing onto the curve. The two pieces are the same shape, but the curve still likes to argue, so pin generously.
- Stitch the neckline at the pattern’s seam allowance. Sew slowly around the curve with the facing side down if your machine feeds better that way. Take your time around the tightest part of the curve and keep the seam allowance consistent.
- Grade, clip, and notch the seam allowances. Trim the garment seam allowance a little shorter than the facing seam allowance to reduce bulk, then clip into the concave curves and notch out the convex ones, staying just clear of the stitching line. There is a full breakdown below.
- Press the seam allowances toward the facing. Open the facing out and press the whole seam allowance up toward the facing piece. This sets up the next step, which is the one that makes everything behave.
- Understitch the facing. With the seam allowances pressed toward the facing, stitch through the facing and both seam allowances about an eighth of an inch from the seam line. This row of stitching is invisible from the outside and it is the single biggest reason facings stay tucked inside where they belong.
- Turn the facing to the inside and press. Roll the facing to the inside of the garment so the seam sits exactly on the edge, then press the neckline firmly. Tack the facing to the shoulder seams with a few hand stitches or stitch in the ditch from the right side so it never flips out.
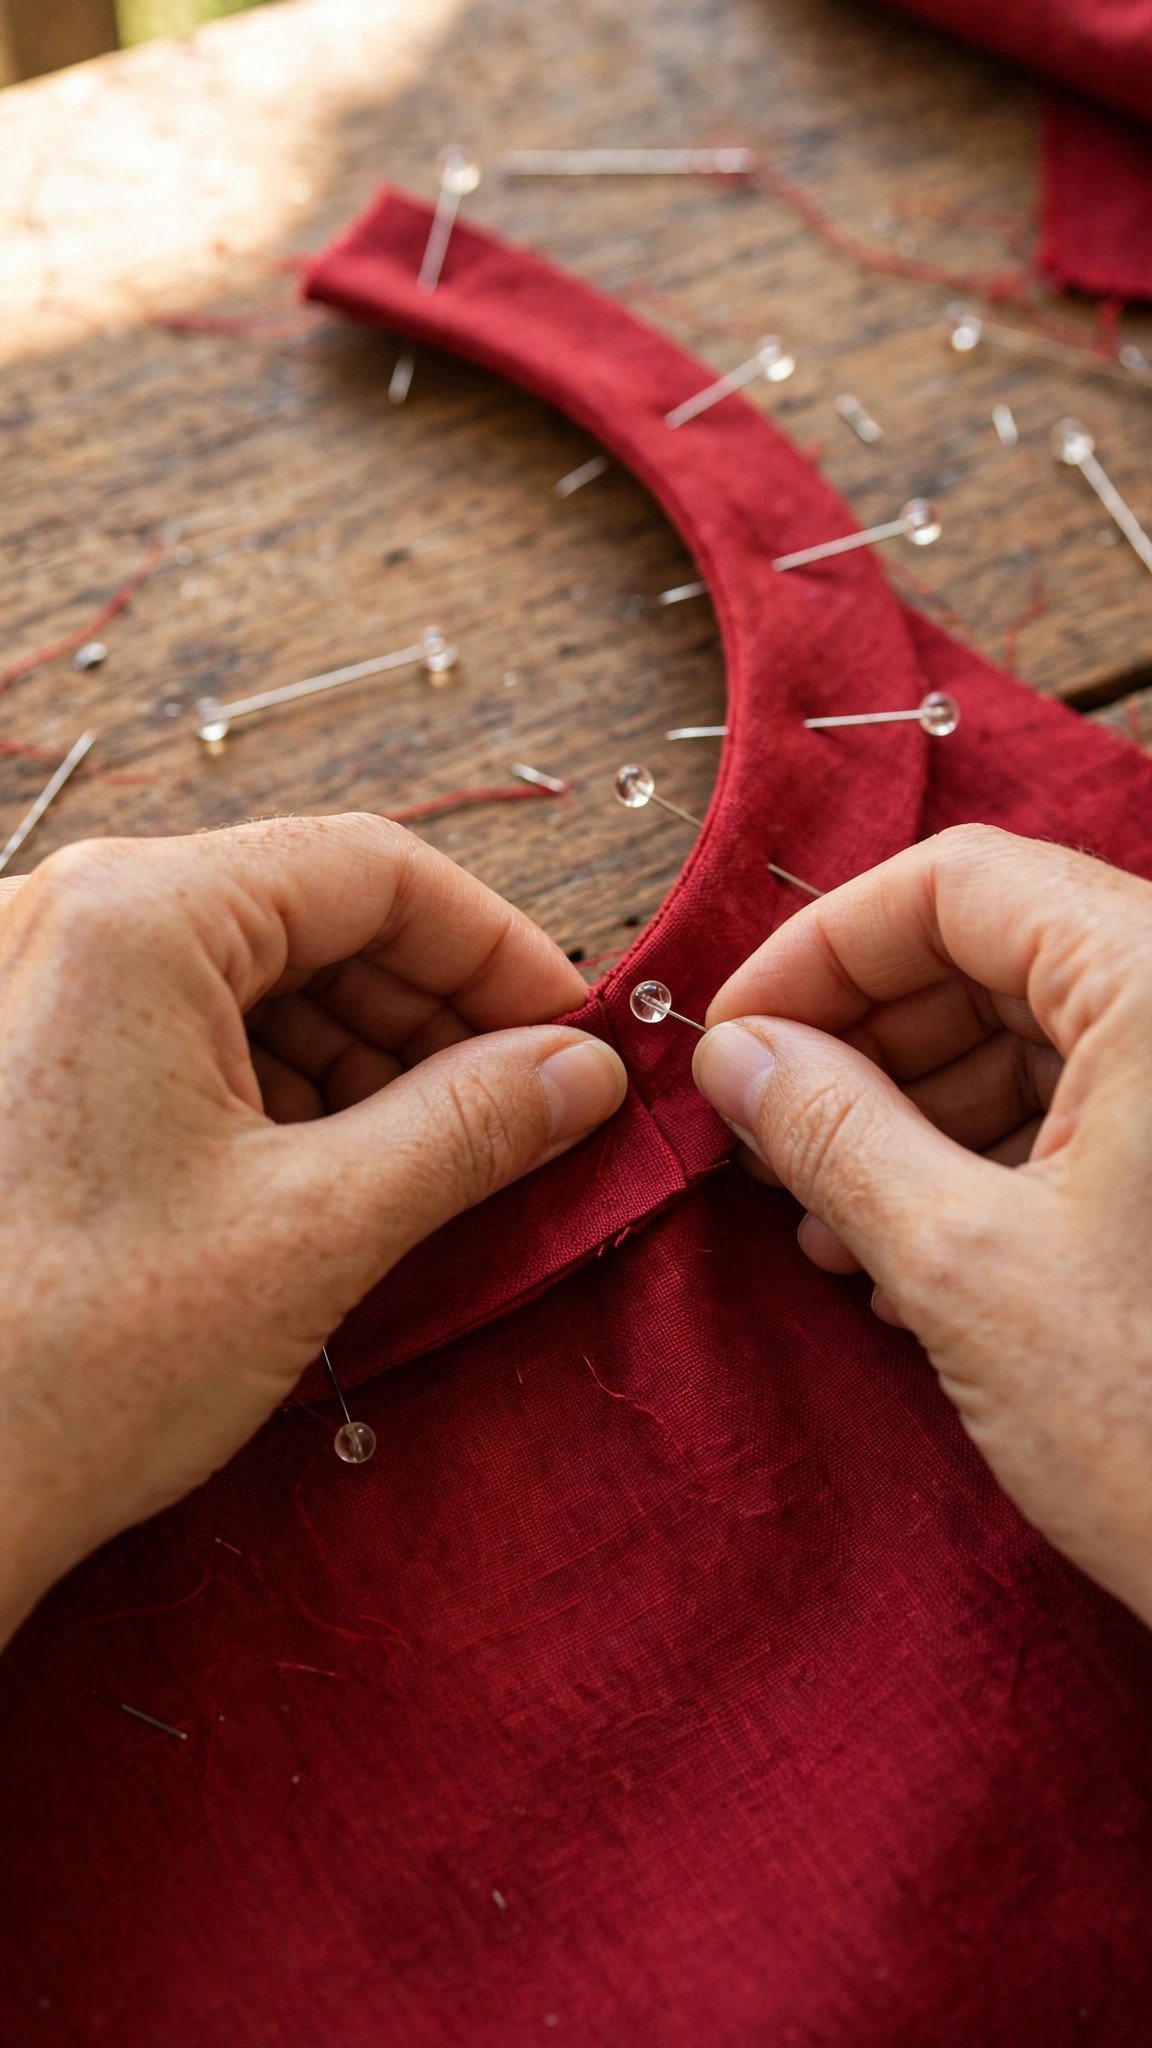
Interfacing: The Invisible Hero of a Crisp Neckline
Here is my strong opinion: a facing without interfacing is just a floppy piece of fabric pretending to be a finish. Lightweight fusible interfacing gives the facing body so it holds the neckline’s shape, and it keeps the outer edge of the facing from fraying into nothing over time.
Match the interfacing weight to the fabric. For quilting cotton or linen, a lightweight fusible woven interfacing is perfect. For very sheer fabrics, use a featherweight fusible so the facing does not show through as a dark band from the right side. For heavy fabrics, you can sometimes skip the interfacing on the facing entirely, because the fabric already has enough body.
Two interfacing habits will save you grief. First, trim the seam allowance off the interfacing before fusing when bulk is a concern, especially on V necklines where several seam allowances stack at the point. Second, fuse before you cut the facing pieces, not after, if your pattern allows it. A fused piece cuts more accurately and does not distort under the rotary cutter.

Staystitching: The Step Most Beginners Skip
Staystitching is a single row of stitching sewn just inside the seam allowance of a curved or bias-cut edge, and its only job is to keep that edge from stretching while you handle it. A neckline is cut on the curve, which means it wants to grow longer every time you touch it. If your facing ends up longer than the neckline opening, or your neckline looks wavy before you even attach the facing, skipped staystitching is almost always the culprit.
Sew the staystitching from the shoulder down toward the center front on one side, then from the shoulder down toward the center on the other side. This mirrored direction keeps both halves of the curve the same length. Use a regular stitch length, and do not backstitch: the row lives inside the seam allowance and will be hidden forever. My guide to adjusting stitch length and width will help you find a comfortable setting for this kind of detail stitching.
Staystitch immediately after cutting your bodice pieces, before any construction. The longer an unstayed neckline sits in your project basket, the more it stretches from its own weight, especially in fluid fabrics like rayon.
Clipping Curves and Corners Without Fear
Clipping is what lets a seam that was sewn flat turn a curve and still lie smooth. On a concave curve like a scoop neckline, the seam allowance is longer than the seam line, so it needs little V-shaped clips cut into it to release the extra width. On a convex curve, the seam allowance needs wedge-shaped notches removed so it does not bunch up inside.
Clip about every inch along the curve, cutting up to but never through your stitching. On a V neckline, clip right into the point of the V, as close to the stitches as you dare, because that one clip is what lets the point turn crisply instead of rounding off. If clipping curves makes your hands shake, you are not alone, and my tutorial on pinning and clipping fabric has close-up photos that will steady your nerves.
After clipping, grade the seam allowances: trim the garment’s seam allowance to about half the width of the facing’s seam allowance. This staggers the layers so you do not get a visible ridge from the right side. On bulky fabrics, grading matters more than clipping for a smooth finish.
Understitching: The Secret to a Facing That Stays Put
If you take one thing from this tutorial, let it be understitching. An understitched facing rolls to the inside and stays there. A facing that was never understitched will creep out and show at the neckline every time you wear the garment, no matter how well you pressed it.
To understitch, open the facing out with the seam allowances pressed toward the facing, then stitch through the facing and all the seam allowance layers about an eighth of an inch from the seam line. You will feel the seam allowances under your fingers as you sew: keep them flat and out of the way. When you turn the facing inside, that line of stitching anchors everything exactly where it should be.
On very tight curves where understitching feels impossible, stitch as far as you comfortably can and stop. Partial understitching still beats none. And if your machine struggles to keep the layers flat, slow down and use both hands to guide rather than push, letting the feed dogs do the moving.
FAQ
Do I have to interface a neckline facing?
Strictly speaking, no, but I strongly recommend it for woven fabrics. Interfacing gives the facing the body it needs to hold the neckline’s shape and survive washing. On heavy fabrics with plenty of body of their own, you can skip it.
Why does my facing flip to the outside?
Almost always because it was never understitched, or the understitching was sewn on the wrong side of the seam allowances. Understitch with the seam allowances pressed toward the facing, then tack the facing to the shoulder seams so it cannot migrate.
Can I use a neckline facing on knit fabric?
You can, but use a knit fusible interfacing with stretch so the facing moves with the fabric. A woven interfacing on a knit neckline will stop the neckline from stretching over your head, which is a miserable discovery to make while getting dressed.
What is the difference between a facing and bias binding?
A facing is a shaped piece that finishes the neckline from the inside and stays invisible from the outside. Bias binding wraps the raw edge and usually shows as a design detail. Both are valid finishes: facings look clean and quiet, binding looks decorative.

Written by June Carter
I am June, a sewing enthusiast who loves turning simple fabric into things people actually use. I test every technique and product I write about at my own machine before it lands here.