
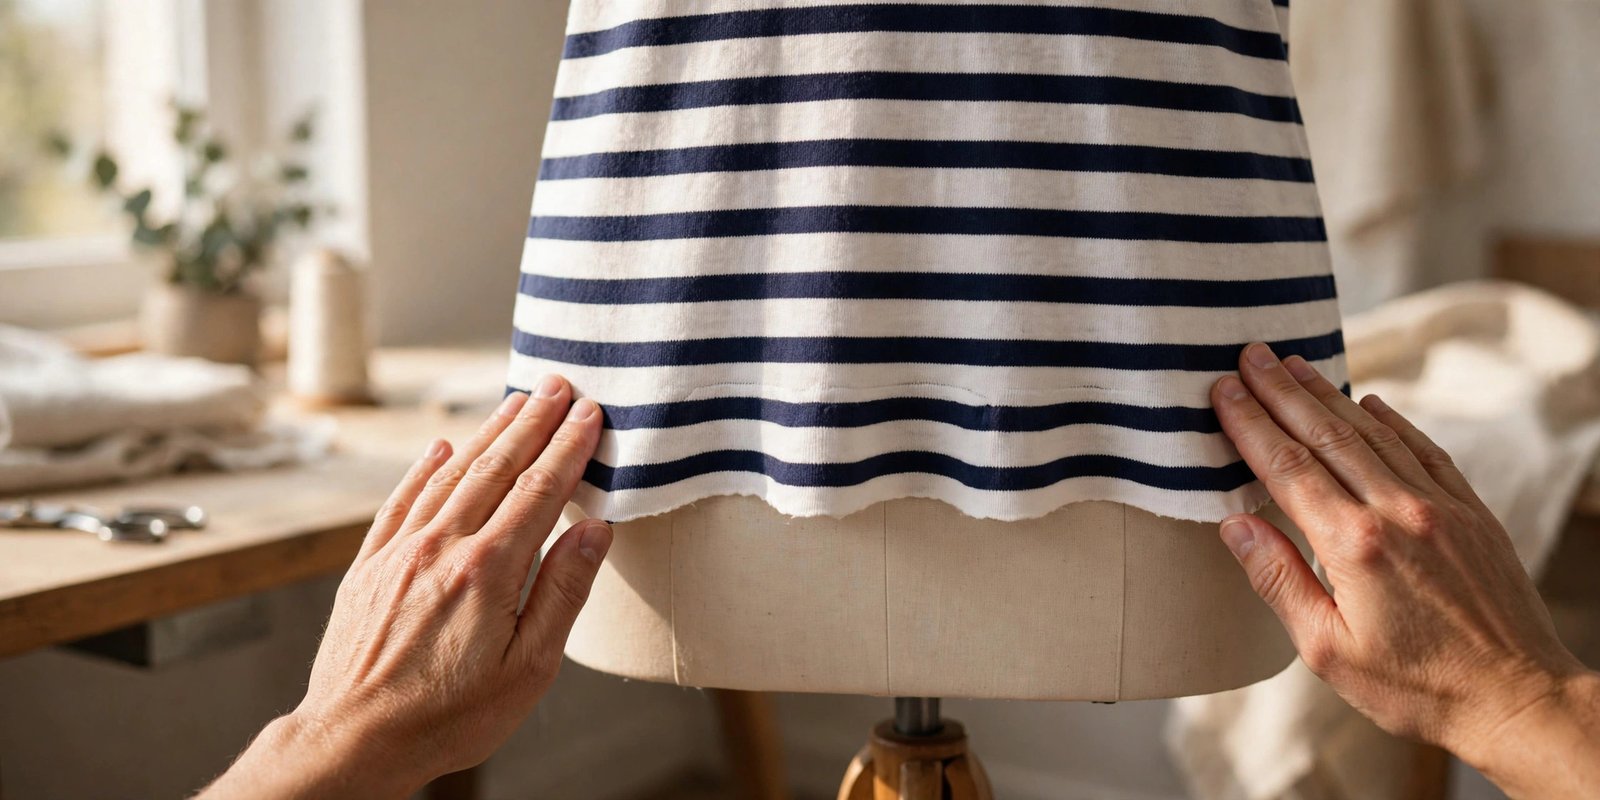
Nothing deflates the joy of finishing a knit top like flipping it over and seeing the hem ripple like a lettuce leaf. If you want to know how to stop wavy knit hems, here is the truth I wish someone had told me years ago: the waves are not a talent problem, they are a physics problem. Knit fabric stretches, your presser foot presses down, the feed dogs push from below, and somewhere in that sandwich the edge gets stretched out of shape as you sew. Once you understand the mechanics, the fixes are straightforward, and a flat, professional knit hem is absolutely within reach on a regular sewing machine.
My strong opinion: most wavy hems come from just two culprits, stretching the fabric while you sew and using the wrong stitch. Fix those two and eighty percent of waviness disappears. The rest is fine-tuning with the right needle, a walking foot, and a little stabilization. I sew knits constantly, from t-shirts to leggings, and the routine below is what I run through every time a hem needs to lie flat. If your machine is skipping stitches on knits too, that is usually a needle issue as well, and my guide to how to fix skipped stitches pairs well with this one.
Why Knit Hems Wave in the First Place
Picture what happens under your presser foot. The feed dogs grip the bottom layer and push it forward; the presser foot drags on the top layer. On a stable woven, the fabric resists and everything moves together. On a stretchy knit, the layers shift, the edge elongates, and your straight stitch then locks that stretched-out shape permanently into the hem. The waviness you see afterward is literally extra length that got sewn in.
Three things make it worse. Pulling the fabric from behind the needle, even lightly, adds stretch with every inch. A straight stitch with a short length has no give, so it both shows the waves and can snap when the garment stretches. And too much presser foot pressure squeezes the knit like a accordion as it feeds. The good news: every one of these has a fix, and none of them requires a new machine.
The Three Fixes That Matter Most
Fix one: stop stretching the fabric. This sounds obvious and it is the hardest habit to break, because our hands instinctively help the fabric along. Consciously let the feed dogs do all the moving. Support the weight of the garment so it is not dragging, guide the edge gently with your fingertips, and never pull from the front or push from behind. A walking foot attachment makes this dramatically easier by feeding both layers together. Sew slower than you think you need to; speed magnifies every bit of handling error.
Fix two: use a stretch-friendly stitch. A narrow zigzag, a stretch stitch (the one that looks like a lightning bolt on your stitch panel), or a twin needle all let the hem flex with the fabric instead of fighting it. On most machines a zigzag about 2.5 mm wide and 2.5 mm long is the sweet spot for hems. My guide to adjusting stitch length and width walks through dialing these in if you have never touched those settings.
Fix three: get the right needle in the machine. Knits need a stretch needle (a ballpoint needle works too), which has a rounded tip that slips between the knit loops instead of piercing and cutting them. A sharp universal needle punches tiny holes that weaken the fabric and can cause skipped stitches and wavy feeding. Sizes 75/11 or 80/12 cover most t-shirt weight knits; go up to 90/14 for heavy sweatshirt fleece. My full rundown on choosing a sewing machine needle covers exactly which needle suits which knit.

How to Stop Wavy Knit Hems Step by Step
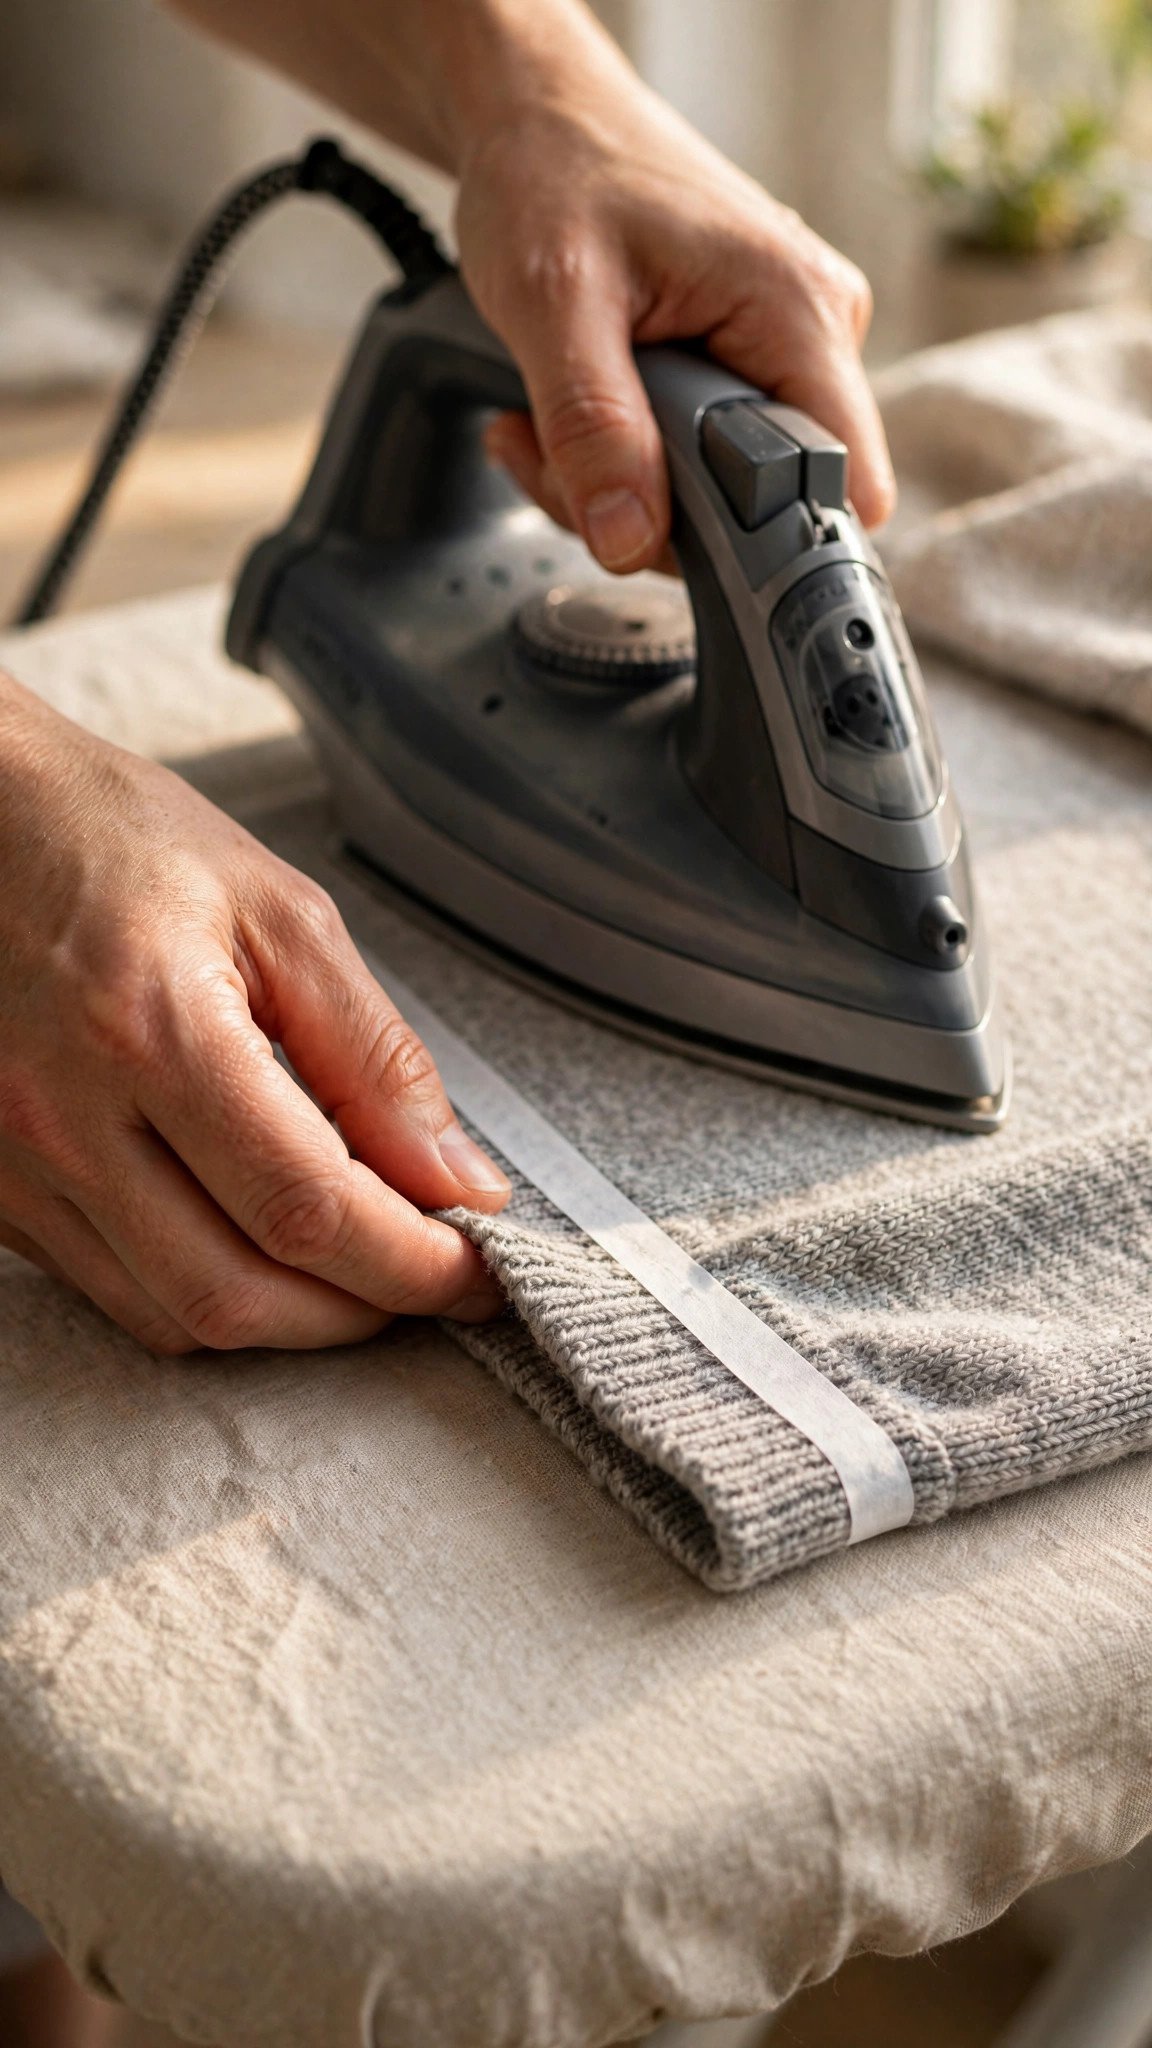
Here is my full routine, in order. Start by pressing the hem fold, but press gently: press, lift, and set the iron down again rather than sliding it, because sliding the iron stretches knit exactly like sewing does. A little steam is fine on cotton knits; go easy on synthetics.
Next, stabilize the hem. This is the step most people skip and the one that makes the biggest difference on difficult fabrics. Fuse a strip of lightweight knit stay tape or fusible interfacing along the hem edge, or in a pinch, sew through a strip of tissue paper pinned under the fabric and tear it away afterward. Stabilizer gives the feed dogs something consistent to grip and stops the edge from elongating as it feeds.
Now set up the machine: ballpoint or stretch needle, narrow zigzag or twin needle, walking foot if you have one. A walking foot feeds the top and bottom layers together and is the single best accessory for knit hems; if your machine allows presser foot pressure adjustment, lower it a touch for lightweight knits. Test everything on a doubled scrap of your actual fabric, cut on the same grain as the hem, and adjust one setting at a time until the test hem lies flat.
Sew the hem slowly, supporting the garment weight, guiding without pulling. When you finish, press the hem once more, gently, with the iron lifted and set rather than pushed. Then hang the garment for a few hours before judging the result; knit hems often relax and flatten further as they hang.
Stitch Choices for Stretchy Hems
Each stitch option has its personality. The narrow zigzag is the workhorse: easy, stretchy, and available on every machine. It looks slightly homemade up close, but pressed well it is perfectly respectable. The stretch stitch, sometimes called the triple straight stitch, looks like a straight stitch but sews each stitch multiple times for built-in give; it is stronger but slower and uses more thread.
The twin needle is my favorite for visible hems because it gives that classic ready-to-wear look: two parallel rows on top and a zigzag underneath that lets the hem stretch. Threading a twin needle takes an extra minute, and you will want to lengthen the stitch slightly and possibly loosen the tension a touch to prevent tunneling between the rows. If you find yourself sewing knits often, a serger finishes hems beautifully too, though it is absolutely not required; my comparison of the best sergers for home use is there if you ever decide to take the plunge.

Rescue Mission: Fixing a Hem That Already Waves
Already sewed it and it ripples? Do not despair, and do not reach for the iron expecting miracles: pressing cannot fix severe stretching, though gentle steam can relax mild waviness. For a truly wavy hem, the honest fix is to unpick it and redo it with the routine above. I know that is not what you wanted to hear, but re-sewing one hem takes twenty minutes and you will be proud of it for years.
Before you unpick, diagnose. If the whole hem waves evenly, the fabric stretched during sewing: redo it with stabilizer and no pulling. If only sections wave, your handling was inconsistent: redo it slower with the garment supported. If the stitches themselves are puckered rather than wavy, the tension is too tight or the stitch too short: lengthen the stitch and test again. And if the hem curled before you even sewed, that is the knit doing what knits do; stay tape or a light fusible along the edge tames it before stitching.
FAQ
Can I use a straight stitch on knit hems?
You can, but it is the worst choice for the job: it has no stretch, so it highlights waviness and can snap when the garment stretches. A narrow zigzag, stretch stitch, or twin needle will give you a flatter, more durable hem.
Do I need a walking foot for knit hems?
Not strictly, but it is the single most effective tool for the job. A walking foot feeds the top and bottom layers together so the edge does not elongate. If you do not have one, stabilize the hem with stay tape and sew slowly.
What needle should I use for knit fabric?
A ballpoint or stretch needle with a rounded tip that slips between knit loops instead of cutting them. Use 75/11 or 80/12 for t-shirt weight knits and 90/14 for heavy fleece, and replace the needle when it gets dull.
Why does my hem wave even with a zigzag stitch?
Because the stitch is only part of the equation. If you are pulling the fabric, using too much presser foot pressure, or skipping stabilizer on a difficult knit, the edge still stretches as it feeds. Fix the handling first, then fine-tune the stitch.

Written by June Carter
I am June, a sewing enthusiast who loves turning simple fabric into things people actually use. I test every technique and product I write about at my own machine before it lands here.