
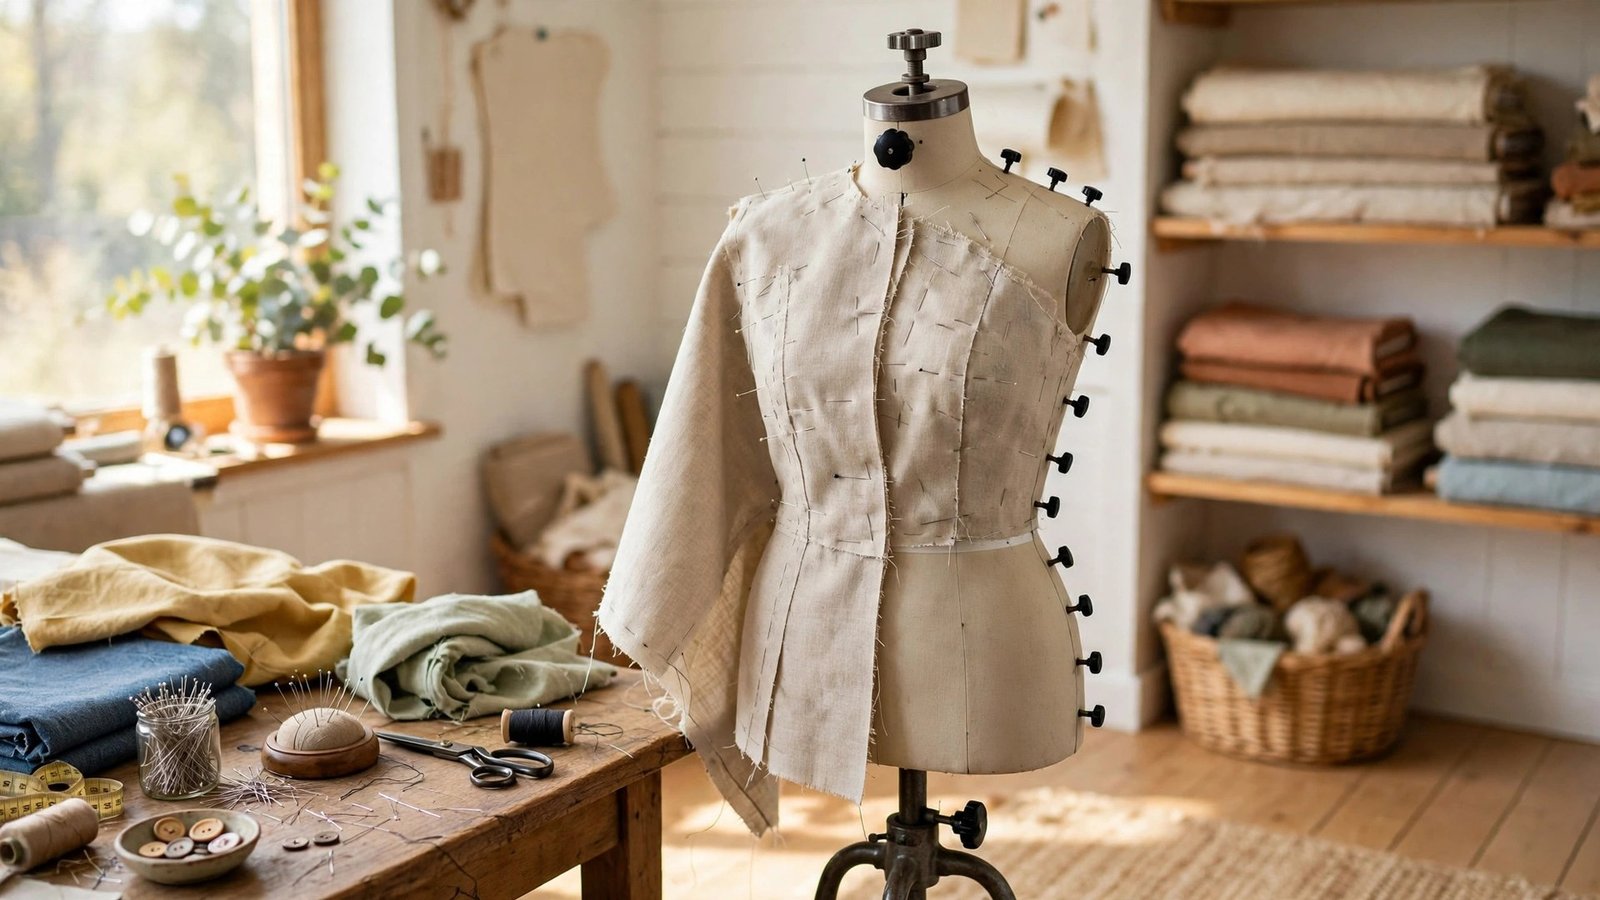
If you want to learn how to use a dress form for fitting, you are about to meet the most useful fitting tool in the sewing room. A dress form is a padded body shape on a stand, made to your measurements, that lets you fit a garment without wearing it. You can pin, drape, check a hem, and see how a garment hangs, all without twisting in front of a mirror. I resisted buying one for years, thinking it was a luxury, and now I wonder how I ever fitted anything without it.
A dress form is not a replacement for fitting on a real body, because a form does not move, breathe, or sit down, and it cannot tell you if a sleeve feels tight when you reach. But it is the next best thing, and for many fitting jobs it is actually better than a mirror, because you can walk around the garment, look at it from every angle, and pin with both hands free. In this guide I will show you how to set up a form, pad it to your measurements, and use it for the fitting jobs that matter most.
Before you buy, measure yourself carefully and compare with the form sizes. A form that is close to your measurements, and that can be padded to match, is far more useful than a form that is two sizes off. My guide to how to take accurate body measurements will help you take the numbers you need, and a muslin is still the best test for a new pattern, as I explain in how to make and fit a muslin.
How to Use a Dress Form for Fitting: Setting It Up
Start by setting the form to your height and checking its basic measurements against yours. Most adjustable forms have dials or knobs that let you change the bust, waist, and hip measurements, and you should set those to match your body as closely as you can. Measure the form with a tape measure, just as you would measure a person, and write the numbers down. If the form is a fixed size rather than adjustable, you will pad it instead, which I will cover next.
Set the form on a flat floor with good light, and raise or lower the stand so the waistline of the form sits at your own waist height. This matters more than it sounds, because a form set too high or too low will make you misjudge the hem and the waistline. Put the form where you can walk all the way around it, not pushed into a corner, because fitting means looking from the front, the back, and both sides. And keep a pincushion, a tape measure, and a mirror nearby, because you will reach for them constantly while you fit.

Padding a Dress Form to Your Measurements
Very few dress forms match a real body exactly, so padding is part of the job. The goal is to add padding where your body is fuller than the form, until the form measurements match yours at the bust, waist, hip, and shoulder. Use thin layers of batting or foam, pinned or taped in place, and build up gradually, measuring after each layer. A padded bra on the form, for example, is a common and sensible addition, because it gives the bust the shape and height of a real body wearing a bra.
Cover the padding with a snug fitting cover or a close fitting T-shirt pulled over the form, which holds the padding in place and gives you a smooth surface to pin into. Mark your key lines on the cover with tape or a pen: the centre front, the centre back, the waistline, and the bust line. These lines are your reference points, and they make it easy to see at a glance whether a garment is sitting straight. Take your time with the padding, because a well padded form is accurate, and an unpadded form that is two inches off at the waist will mislead you on every garment you fit on it.
Fitting a Garment on the Form
To fit a garment, put it on the form just as you would put it on yourself, with the centre front and centre back lined up with the marked lines on the cover, and the waistline of the garment sitting on the waistline of the form. Step back and look. Is the garment hanging straight, or does it pull to one side? Is the waistline level all the way around, or does it dip at the front or the back? Does the hem hang evenly, or does it rise on one side? These are the questions a form answers at a glance, and they are hard to answer in a mirror.
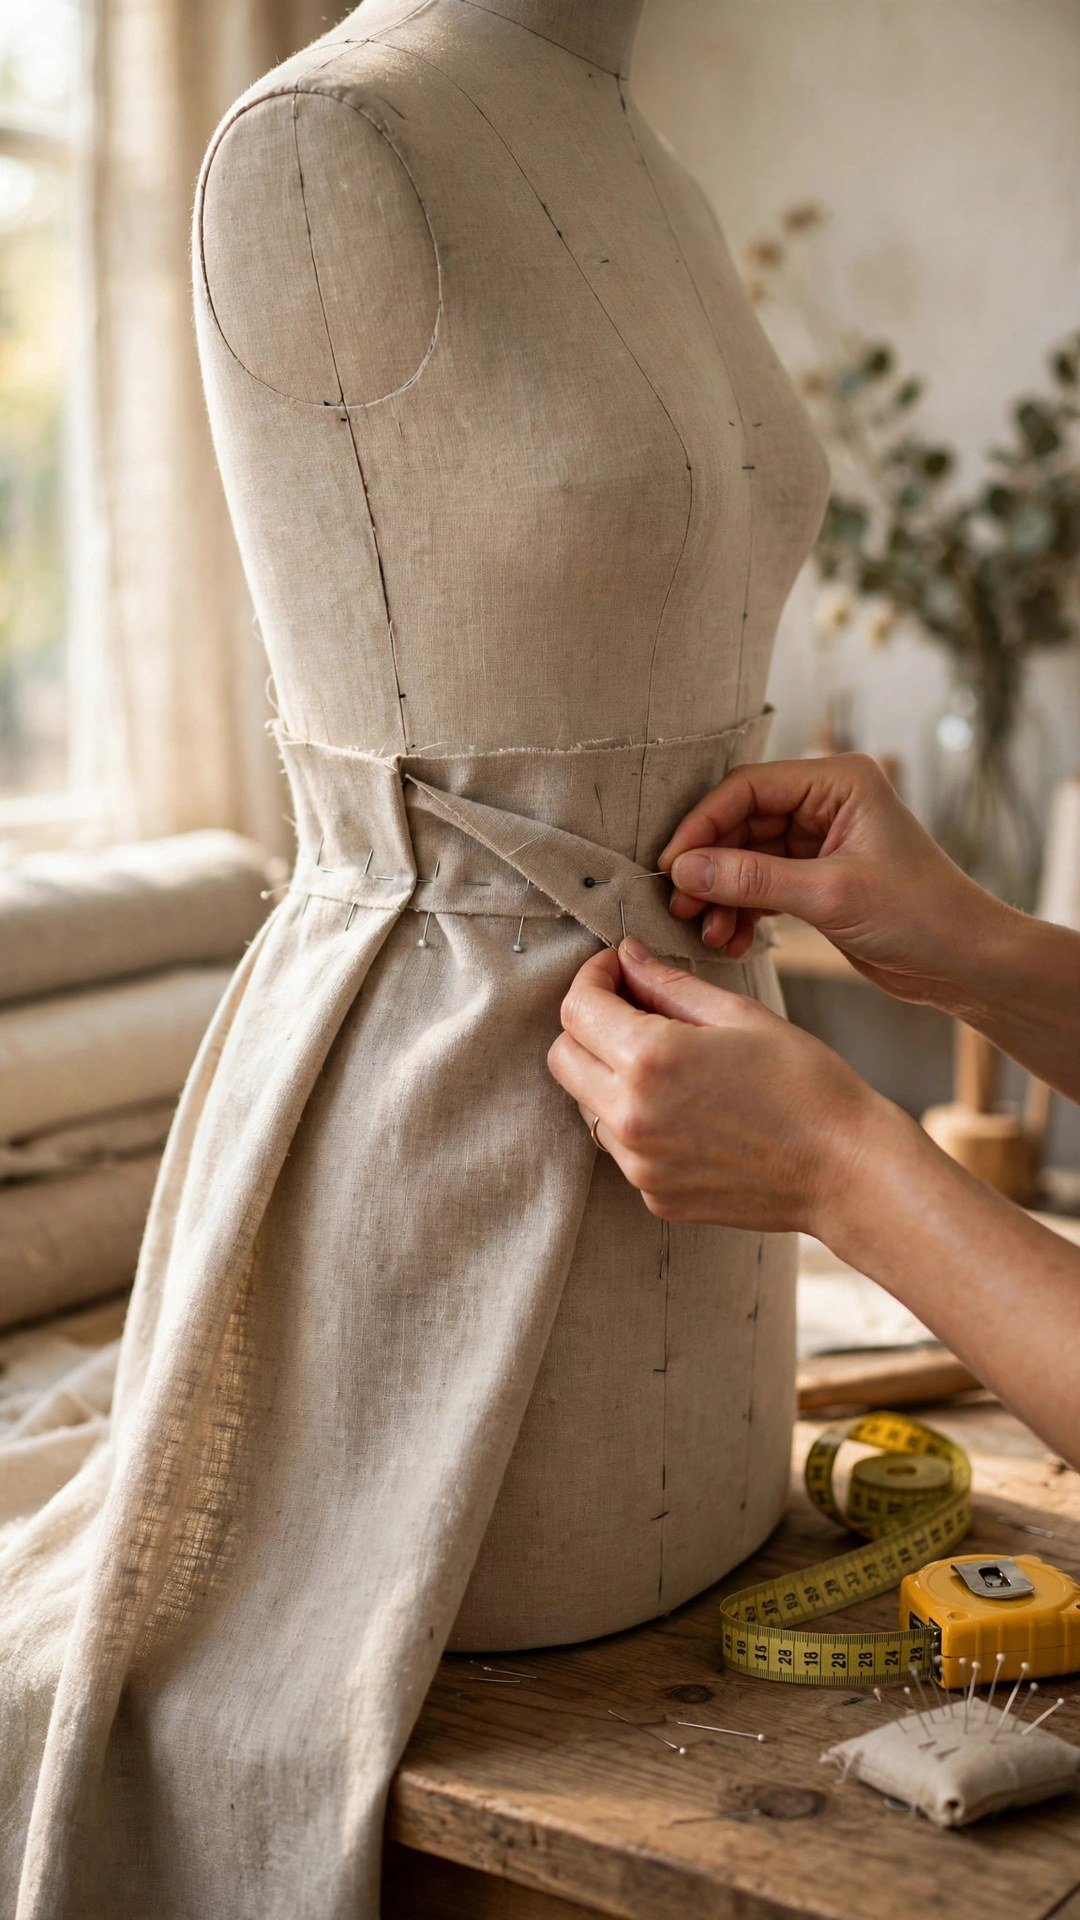
Now pin the changes. Pin out excess fabric at the side seams, pin a dart deeper if the waist needs shaping, and mark a new hemline with pins all the way around while the garment is on the form. Use a tape measure to check that the hem is the same distance from the floor on every side, because a hem that looks level on a form that is standing straight will be level on you too. Take the garment off, transfer the pins to chalk marks, and sew the changes. Then put it back on the form and check again. Fitting is a loop: pin, check, sew, check again. For shoulder fitting specifically, my guide to how to fit shoulder width covers the shoulder checks that a form makes easy to see.
Draping and Checking Ease on a Form
A dress form is also wonderful for draping, which means shaping fabric directly on the form to design a garment, rather than working from a flat pattern. Pin a length of fabric to the form at the centre front, smooth it over the bust and waist, and pin it at the side seams. You can see the shape forming in real time, and you can mark the seam lines right on the fabric with chalk. It is how many designers work, and it is a lovely way to understand how flat fabric becomes a three dimensional garment.
The form is also the best place to check wearing ease, which is the extra room in a garment beyond your body measurements that lets you move and breathe. Put the garment on the form and check that it does not pull across the bust or the hips, that you can imagine sitting in it, and that the ease is even all the way around. A garment that is tight on the form will be tight on you, and a garment that hangs with even, relaxed ease on the form will feel comfortable to wear. My guide to how to understand wearing ease explains how much ease different garments need, and the form is where you can see it in action.

Frequently Asked Questions
Do I need a dress form to sew well?
No, but it helps a lot with fitting. You can fit on yourself in a mirror, or fit on a friend, and many sewists do. A dress form just makes fitting calmer, because you can see all sides and pin with both hands free.
What size dress form should I buy?
Buy a form close to your measurements, ideally one size smaller so you can pad it up to match. A form that is much larger than you cannot be made smaller, but a smaller form can always be padded out.
How do I pad a dress form?
Add thin layers of batting or foam where your body is fuller than the form, measuring after each layer, and cover the padding with a snug cover or T-shirt. Mark the centre front, centre back, and waistline on the cover for reference.
Can I fit pants on a dress form?
Only partly. A standard dress form has no legs, so you cannot fit the full length of pants on it. You can check the waist and hip fit, but the legs and the crotch need fitting on a real body.
How do I store a dress form?
Keep it standing on a flat floor, away from damp and direct sun, with a cover over it to keep dust off. Do not store it folded or on its side, which can bend the stand and distort the padding.
Fit It on the Form, Wear It with Confidence
A dress form will not sew for you, but it will show you the truth about a garment, and that is half the battle in fitting. Set it to your height, pad it to your measurements, mark your lines, and use it to check, pin, and drape. Your garments will fit better, and your fitting sessions will feel calmer, because the form holds still while you think.

Written by June Carter
I am June, a sewing enthusiast who loves turning simple fabric into things people actually use. I test every technique and product I write about at my own machine before it lands here.