

If you have ever wondered how to transfer muslin changes to a pattern, you have already done the hard part. Fitting a muslin, or toile, is where you discover what your body actually needs from a pattern, and transferring those changes is how you keep that knowledge instead of losing it when the muslin goes in the bin. A pattern that carries your fitting changes is a pattern you can sew again and again with confidence.
I used to skip this step and just remember what I had pinned, and I can tell you from experience that memory is a terrible pattern filing system. Three months later I would cut the same pattern, forget I had taken an inch out of the waist, and sew the same fitting problem all over again. Now I transfer every change to the paper pattern before I cut the good fabric, and my sewing is faster, calmer, and far less wasteful.
This guide covers marking changes clearly on the muslin, measuring them accurately, moving them to the paper pattern, truing the lines so the pieces still fit together, and testing the revised pattern before you commit to fashion fabric. It is methodical work, but it is the work that turns a fitting session into a pattern that truly fits you.
Mark Every Change Clearly While You Fit
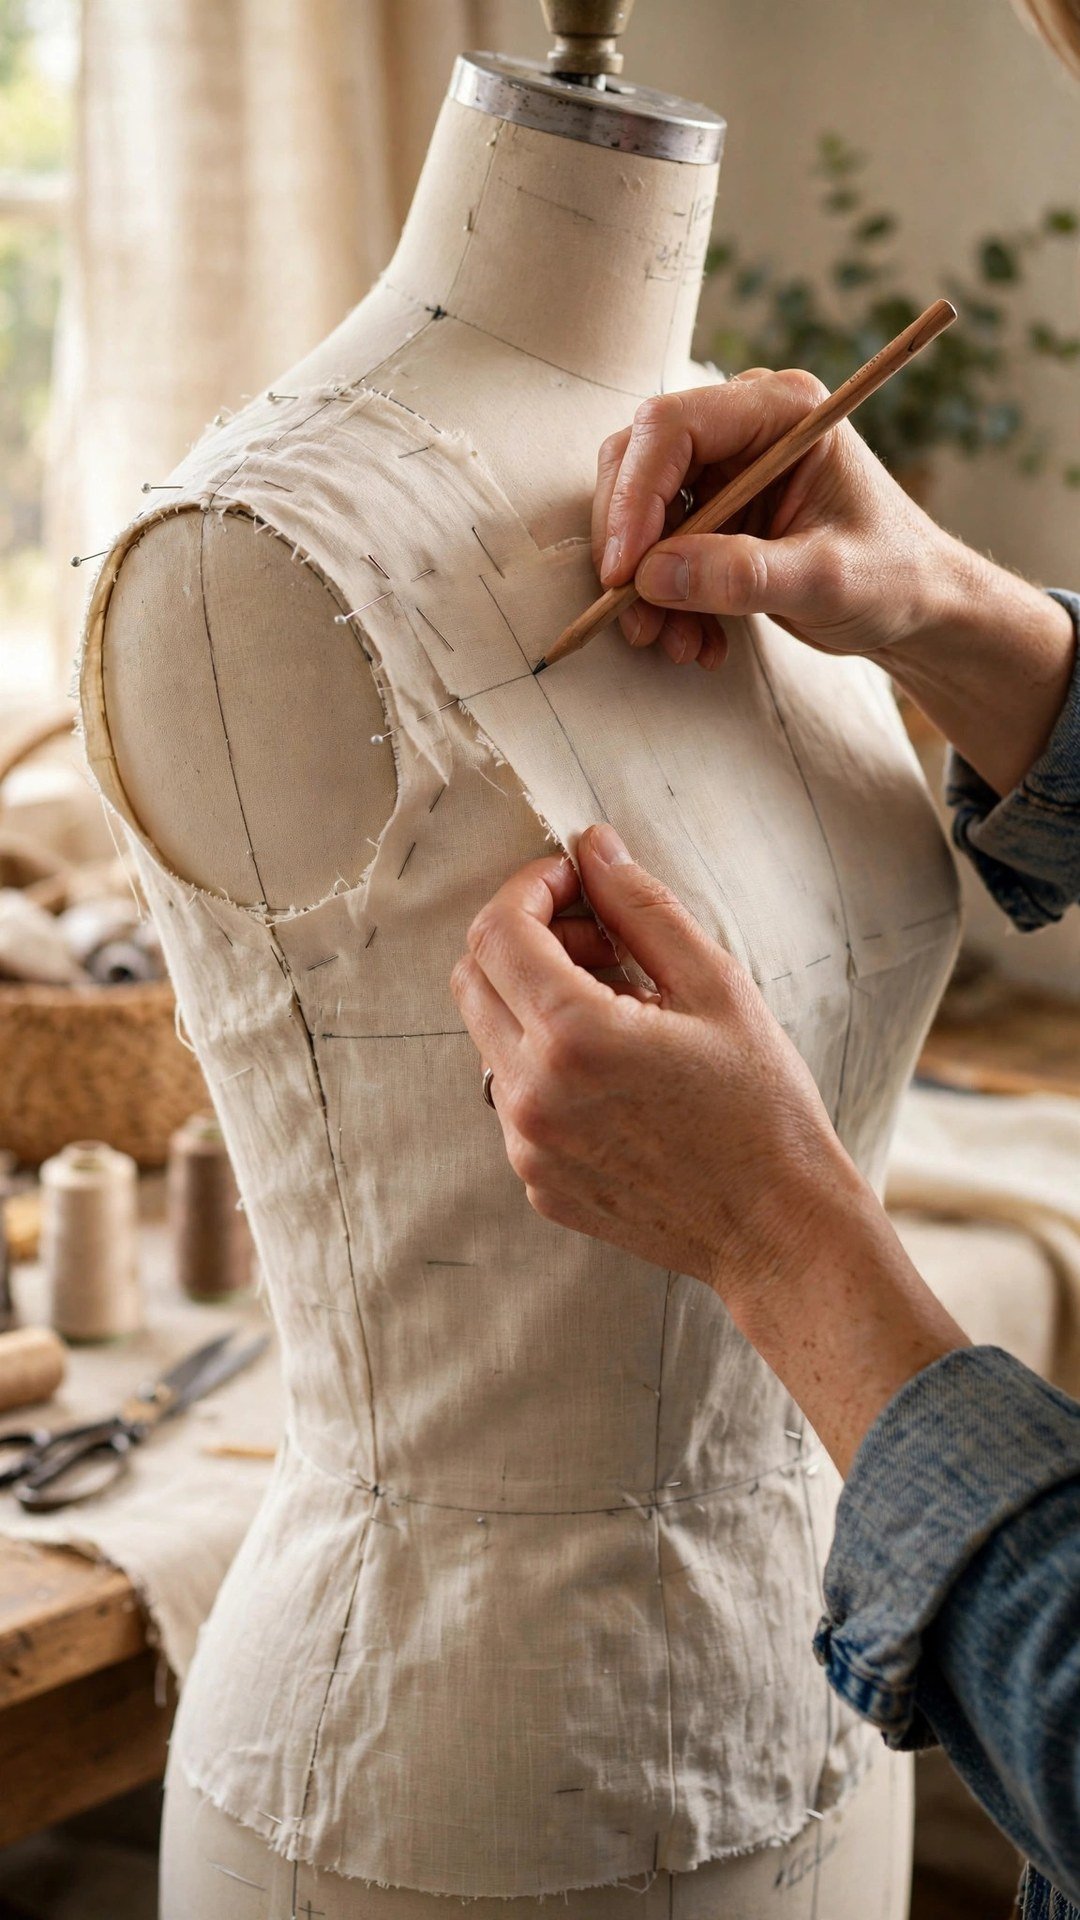
Good transfer starts with good marking, so mark every change on the muslin while it is still on your body or on the dress form. Use a pencil or a fabric marker to draw the new seam lines exactly where the pins sit, and write a short note beside each one, such as take in one inch at waist, or lower bust dart by half an inch. Draw the line on both sides of the body where it applies, and mark the top and bottom of any change so you know where it starts and ends.
Pin the new lines rather than just drawing them, because pins show you how the fabric will actually sit when sewn. Use safety pins for changes you want to keep while you move, and mark the grainline and the centre front and back on each muslin piece before you take it apart. If you have not made one before, my guide to making and fitting a muslin walks through the fitting itself, and everything here picks up where that fitting ends.
Take the Muslin Apart and Measure Carefully
Once you are happy with the fit, take the muslin apart at the seams and press each piece flat. Work on one pattern piece at a time, laying the muslin piece over the matching paper pattern piece and lining up the grainline and the original seam lines first. The difference between the muslin and the paper is your change, so measure it with a ruler at several points along the line, not just one, because a change that is one inch at the waist may taper to nothing at the hip.
Write each measurement on the paper pattern in pencil, and note whether the change is on one side of the body or both, because that decides whether you add the full amount or half of it to the pattern. If you took in a side seam by half an inch on each side of the body, that is a total of two inches around the garment, and the pattern needs half an inch on each side seam. Measuring twice at this stage saves you from cutting a garment that is suddenly far too tight or too loose.
Move the Changes to the Paper Pattern
With the measurements written down, draw the new seam lines on the paper pattern using a ruler for straight lines and a curved ruler for armholes, necklines, and hips. Blend the new line into the old line gradually, tapering the change to nothing at the points you marked, so the seam flows smoothly instead of jumping. If you moved a dart, draw the new dart legs and mark the new dart point, and check that both legs are the same length, or the dart will pucker when sewn.
For length changes, use the lengthen and shorten lines on the pattern where they exist, and follow my guide to lengthening or shortening a pattern for the slash and spread method. For a change that crosses several pieces, such as a shoulder adjustment that affects the sleeve, change every affected piece, and write the same note on each one so you remember why it changed. A pattern is a set of pieces that must fit together, and a change to one piece is never truly finished until the neighbours match.

True the Seams, Notches, and Grainlines
Truing is the step that separates a workable pattern from a frustrating one, and it simply means walking the seam lines to check that pieces that sew together are the same length. Lay the revised front and back pieces together along the side seam and the shoulder seam, and check that the lengths match and the notches line up. If one seam is now longer than its partner, ease or adjust it until they match, and move the notch to its new position.
Check every curve with a French curve ruler and smooth any bumps or sharp corners, because a wobble on paper becomes a wobble in fabric. Redraw the grainline if you have changed the shape of the piece, keeping it parallel to the original grainline, and recheck the seam allowances, especially where you have added or removed width. If you use transferring notches and grainlines as part of your routine, this step will already feel familiar, and your pieces will sew together cleanly.
Test the Revised Pattern Before Cutting Good Fabric
Before you cut into your fashion fabric, test the revised pattern. If the changes were small, a quick check by measuring the finished garment measurements against your body measurements may be enough. If the changes were large, or if you changed the shoulders, the bust, or the sleeve, sew a second muslin. It sounds like extra work, and it is, but it is far cheaper than cutting a second failed garment from good fabric.
Sew the second muslin quickly, with long stitches and no finishing, and try it on with the shoes and undergarments you will wear with the finished garment. Check the same fit points you fixed the first time, and if anything still needs adjusting, repeat the transfer process. Once the second muslin fits, label the pattern with the date and a note such as fitted, and store it flat. That pattern is now yours in a way no shop bought pattern ever was, and the next garment from it will start from a fit, not from a guess.

Frequently Asked Questions
Do I need to transfer every muslin change to the pattern?
Yes, if you ever want to sew the pattern again. Small changes are easy to forget, and a pattern that does not carry its fitting changes will give you the same fitting problems next time. Transfer everything, even the half inch tweaks.
What if I only changed one side of the muslin?
Check whether the change was for a body asymmetry or a mistake in pinning. If it is a real asymmetry, keep the change on one side only and label the pieces left and right clearly. If it was a pinning error, apply the change evenly to both sides.
How do I transfer a dart change?
Mark the new dart point and legs on the muslin, measure the change, and redraw the dart on the paper pattern. Check that both dart legs are the same length, and move the dart point so it sits about an inch from the bust point.
Should I cut the old pattern or trace a new one?
Trace a new copy when the changes are large, so you keep the original as a backup. For small changes, drawing on the original in pencil is fine. Either way, label the revised pattern with the date and the changes you made.
How do I know the revised pattern fits before cutting?
Measure the finished garment measurements on the pattern and compare them with your body measurements plus wearing ease. For big changes, sew a second muslin. Measuring catches most errors, but a second toile is the only sure test.
Transferring muslin changes is slow, careful work, and it is some of the most valuable sewing you will ever do. Mark clearly, measure twice, true every seam, and test before you cut the good fabric. Your pattern will carry your fit forward into every garment you make from it, and that is a gift your future self will thank you for. Keep a notebook of your fitting notes beside your patterns, and each new project will start a little closer to perfect. If you are still choosing a size, my guide to choosing your pattern size helps you start from the right place before you even cut a muslin.

Written by June Carter
I am June, a sewing enthusiast who loves turning simple fabric into things people actually use. I test every technique and product I write about at my own machine before it lands here.