
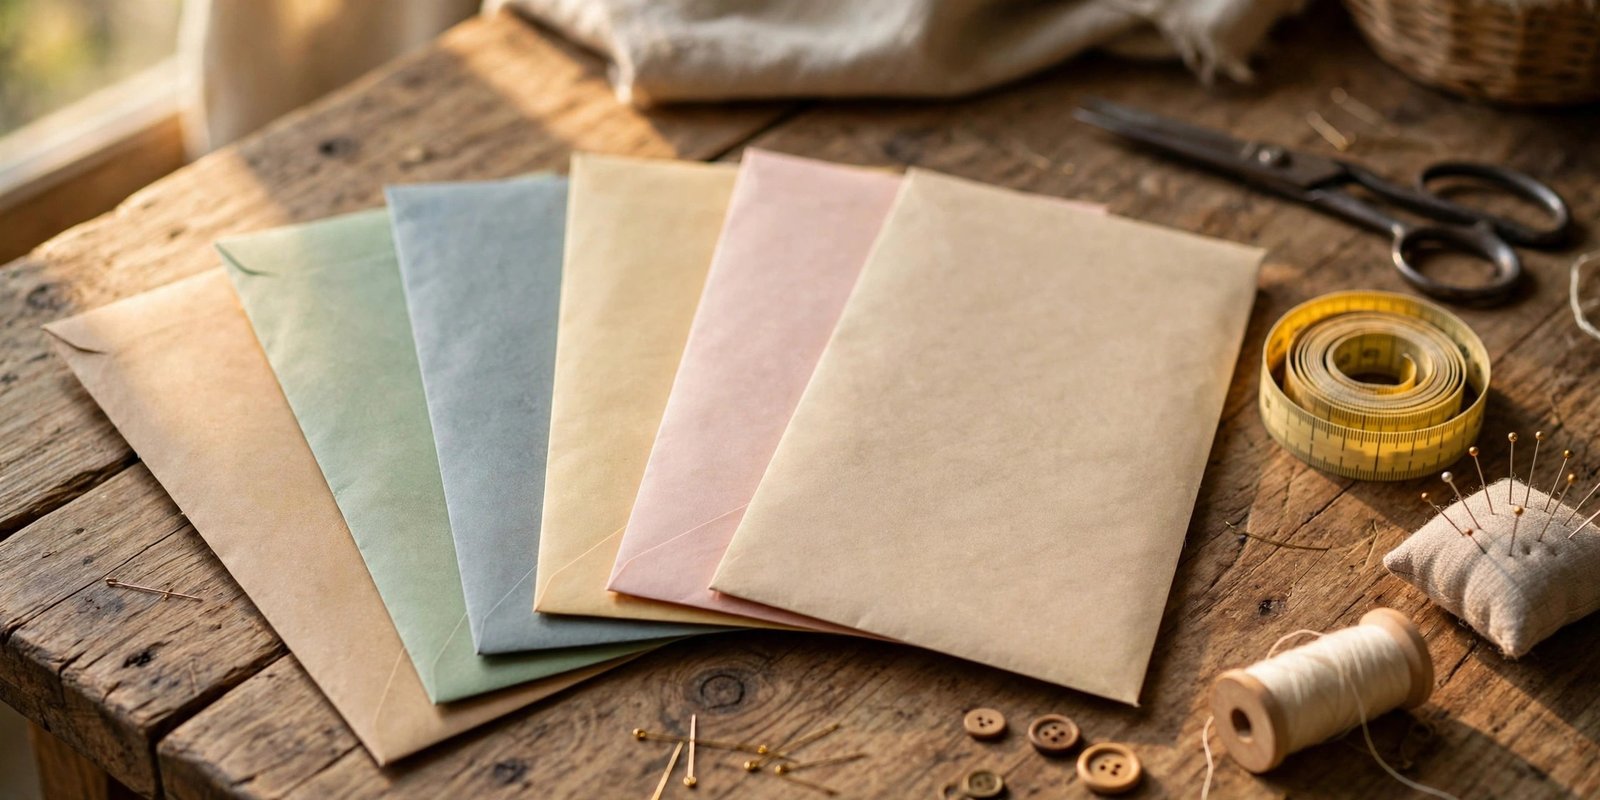
Knowing how to choose your pattern size is the skill that separates garments you love from garments that live in the back of the closet. I learned this the expensive way: my first three dresses were all cut in the size I wear in shops, and all three were too big in the shoulders, too tight in the hips, and mysteriously wrong everywhere else. The problem was not my sewing. It was that I had picked a size with my ego instead of my tape measure.
Here is the truth that pattern companies do not print in big letters on the envelope: pattern sizes have almost nothing to do with ready-to-wear sizes. A store size 12 might be a pattern 16 or 18 depending on the brand, and that is completely normal. Once you stop taking it personally and start choosing by measurement, your fit problems shrink dramatically. This guide shows you exactly how.
Forget Your Store Size Entirely
The first step in learning how to choose your pattern size is unlearning the number on your jeans tag. Pattern sizing was standardized decades ago and never followed fashion’s vanity sizing, so pattern numbers run larger than store numbers for the same body. Feeling dismayed when you measure into a bigger number than you expected is universal among sewists, and it is also completely pointless. Nobody sees the number on your tissue paper. They see how the finished garment fits.
Every pattern company also drafts to its own block, which means you can be a size 14 in one brand and a 16 in another, just like ready-to-wear. The pattern size chart printed on the envelope or in the instruction booklet is the only authority that matters for that pattern. Check it fresh for every new pattern, even from a company you have sewn before, because charts get revised between releases.
Take Your Measurements Properly
You cannot choose a size without current numbers, so start here. Wear the undergarments you will wear with the finished garment and stand relaxed. Breathe normally, do not suck in your stomach, and keep the tape level all the way around. You need three core numbers: the bust at the fullest point, the natural waist at the narrowest point, and the hips at the fullest point. Write them down with the date, because bodies change and memory lies.
Two extra measurements earn their keep on fitted garments. The high bust measurement, taken snugly around your chest just under your arms and above the full bust, is the secret weapon for anyone whose full bust is more than a couple of inches larger than their high bust. Choosing a bodice size by high bust instead of full bust keeps the shoulders and neckline fitting while you adjust the bust separately. If measuring yourself feels awkward, my detailed walkthrough of how to take accurate body measurements covers positions, posture, and the mistakes that throw numbers off.

Read the Size Chart, Then Read the Finished Measurements
Pattern instructions give you two charts and beginners routinely read only one. The body measurement chart matches your tape-measure numbers to sizes. The finished garment measurements chart tells you how big the sewn garment will actually be. The difference between the two is called ease: the extra room the designer built in so you can move, breathe, and sit down.
Ease is the difference between a pattern fitting and a pattern suiting you. A blouse with two inches of bust ease fits close, while one with six inches is relaxed and drapey. Before choosing, compare the finished measurements to a garment you already own and love. Lay your favorite shirt flat, measure its bust and length, and compare those numbers to the finished garment chart. That ten-second comparison tells you more about how the pattern will feel on your body than any size number can.
How to Choose Your Pattern Size by Garment Type
Almost nobody matches one size across bust, waist, and hips, so choose by the key area of fit for the garment you are making. For dresses, tops, and jackets, fit the bust first, or the high bust if you are fuller busted, because shoulders and necklines are the hardest areas to alter. For skirts and trousers, fit the hips first and adjust the waist, since taking in a waistband is far easier than letting out hips that have no seam allowance to spare.
Also read the envelope description before deciding. A blouse described as “very loose fitting” in your measured size may swim on you, while a “fitted” jacket in the same size may feel snug. The description tells you the designer’s intent for the ease, which changes what size feels right. When the description and your measurements disagree with your gut, trust the measurements and the finished garment chart every time. For decoding everything else on the envelope, from those nested cutting lines to the symbols, see how to read sewing pattern symbols.
Between Sizes? Blend Them
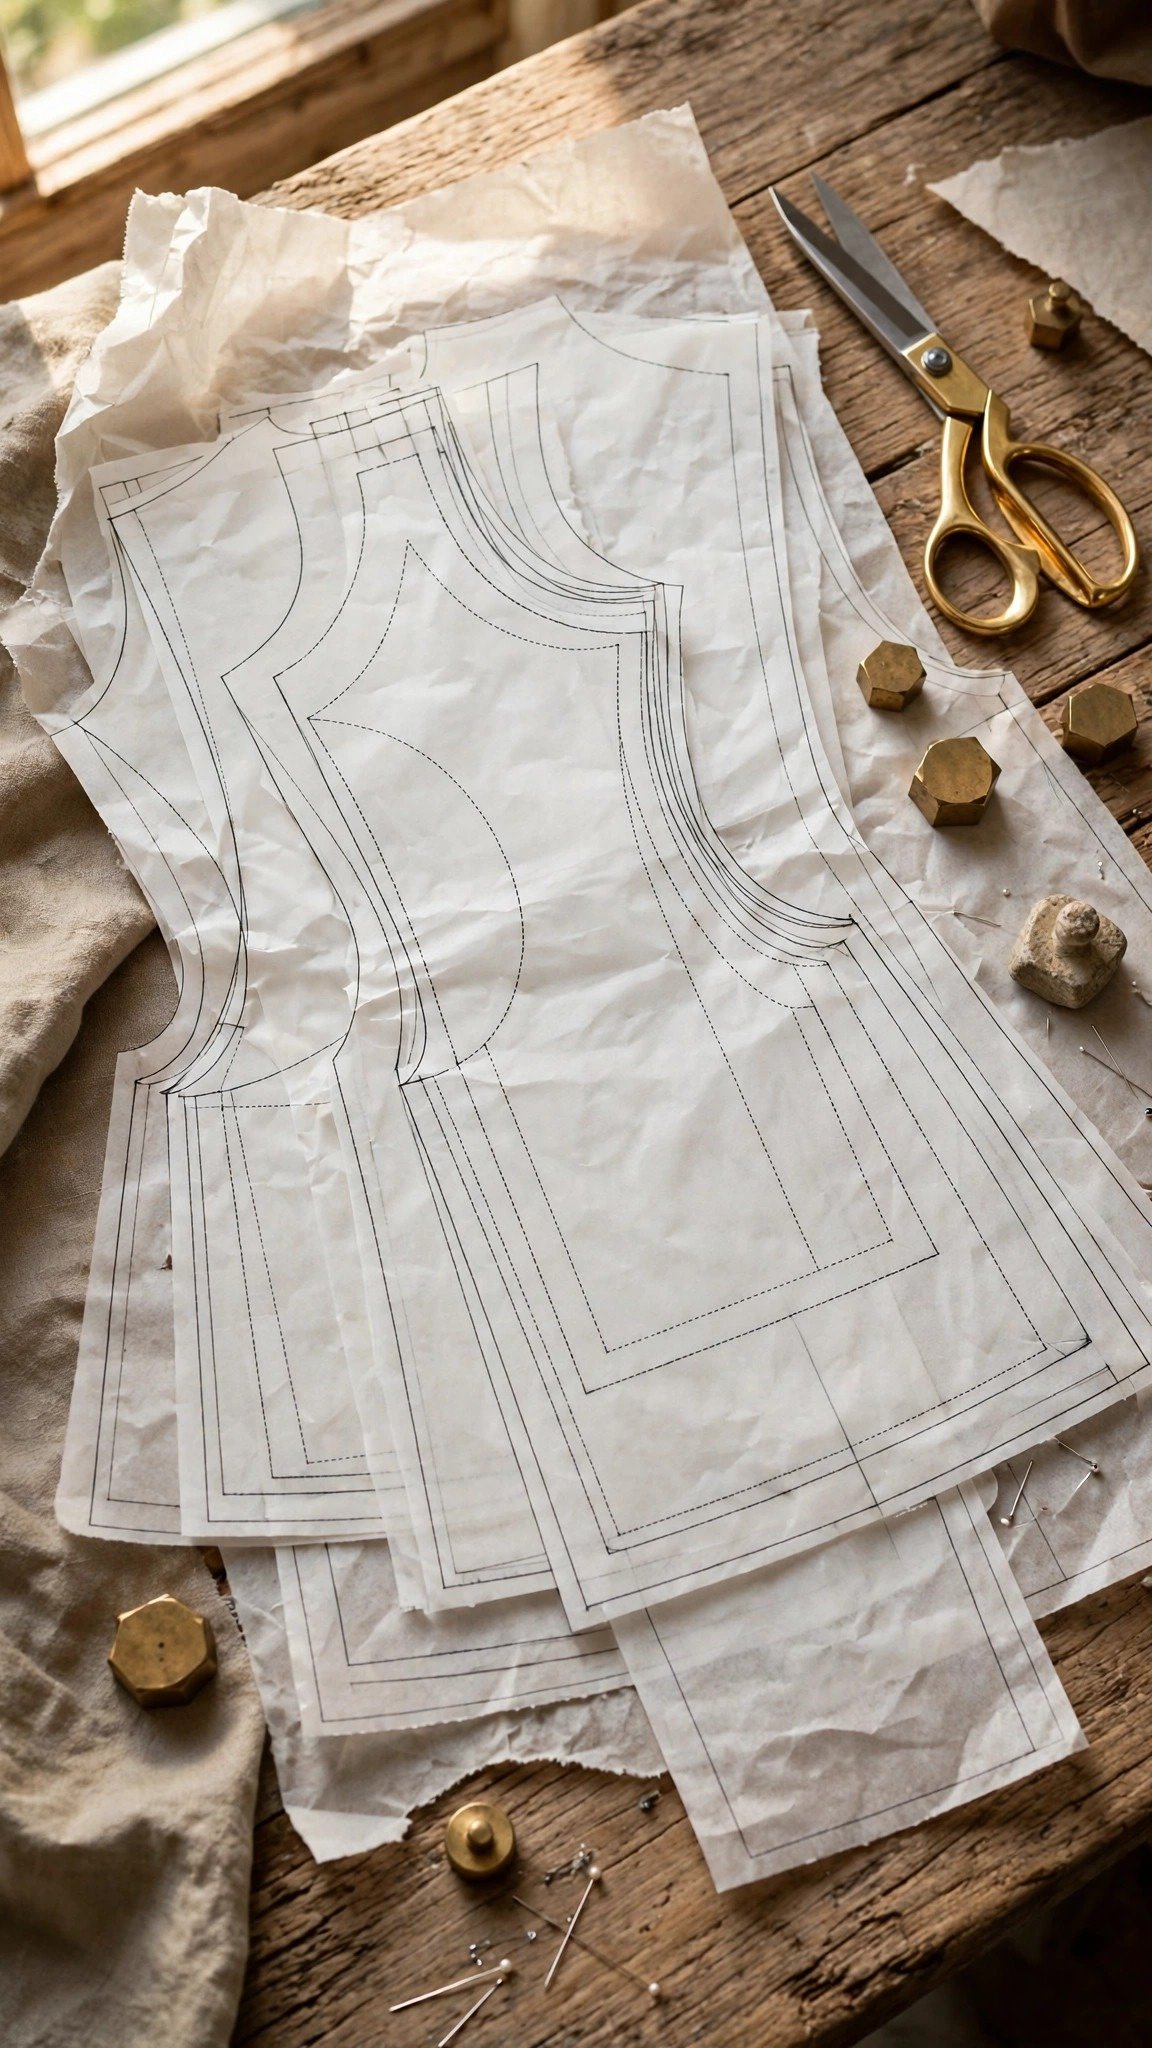
If your bust says one size and your waist says another, congratulations: you have a completely normal body. The answer is to grade between sizes, which means drawing a smooth line from one size to another across the pattern piece. Most modern patterns print all sizes nested together precisely so you can do this.
Grading between sizes is simpler than it sounds. Find where your bust size line and your waist size line run on the side seam, and draw a gentle curve connecting them, blending from one to the other over a few inches. Do the same at the hip if needed. Use a curved ruler or French curve for a smooth transition, and true the line by eye: if it looks like a ski jump, smooth it out. PDF patterns make this even easier since you can print just the sizes you need. If you are new to tiled patterns, how to assemble A4 tiled pattern pages gets you from printer to taped tissue without tears.
My standing advice for anyone between two sizes: when in doubt, cut the larger size. Taking a garment in is straightforward. Letting one out when the seam allowances are already trimmed is heartbreak. And always make a quick muslin or toile of a fitted bodice before cutting your good fabric. An hour of test sewing beats an evening of mourning over ruined yardage.

FAQ
Why am I a bigger size in patterns than in stores?
Pattern sizing and ready-to-wear sizing follow different standards. Ignore the number and choose from the pattern size chart using your actual body measurements. The number is invisible in the finished garment; the fit is not.
Should I use my full bust or high bust measurement?
Use your full bust for most garments. If your full bust is more than about two inches larger than your high bust measurement, choose your bodice size by high bust and adjust the bust area separately for the best shoulder fit.
What if my measurements fall between sizes?
Choose the larger size and take it in, or grade between sizes by blending the cutting lines. Blending gives the most custom fit and is easier than it looks on multi-size patterns.
Do I need to check the size chart for every pattern?
Yes. Sizing varies between pattern companies and even between releases from the same company. Your measurements plus that specific pattern’s chart plus its finished garment measurements are the only combination that picks the right size.

Written by June Carter
I am June, a sewing enthusiast who loves turning simple fabric into things people actually use. I test every technique and product I write about at my own machine before it lands here.