

Knowing how to use fabric marking tools properly is one of those invisible skills that makes everything else easier. Darts land where they should, notches match up, buttonholes sit level, and pattern markings transfer cleanly from tissue to cloth. And just as important, the marks come out afterward, which is the part people learn the hard way.
I have a permanent reminder of that lesson on a linen skirt I made years ago. I marked the front with a pen that promised to wash out, pressed it with a hot iron before washing, and set the marks forever. The skirt is still wearable, but I think of it every time I reach for a marker. That is why this guide is as much about removal as it is about marking.
Here I will walk you through the main tools, chalk, water-soluble markers, air-erasable pens, heat-erasable pens, tracing wheels with carbon paper, and old-fashioned tailor’s tacks, and show you how to match each one to your fabric. We will end with my scrap test, the five-minute habit that prevents every marking disaster I have ever had.
How to Use Fabric Marking Tools: Match the Tool to the Job
There is no single best marking tool, only the right tool for the fabric in front of you. Light fabrics want tools with strong contrast, dark fabrics want light-colored marks, and delicate fabrics want the gentlest option available. A tool that is perfect on quilting cotton can be a disaster on silk charmeuse, so the first skill is not technique at all, it is selection.
Two rules govern everything that follows. First, always mark on the wrong side of the fabric unless the mark is a basting guide that must be visible while you sew. Second, test every tool on a scrap of your actual project fabric before it touches the garment. I will explain the full test later, but treat it as non-negotiable, the way you would treat checking a seam allowance.
Tailor’s Chalk: The Classic
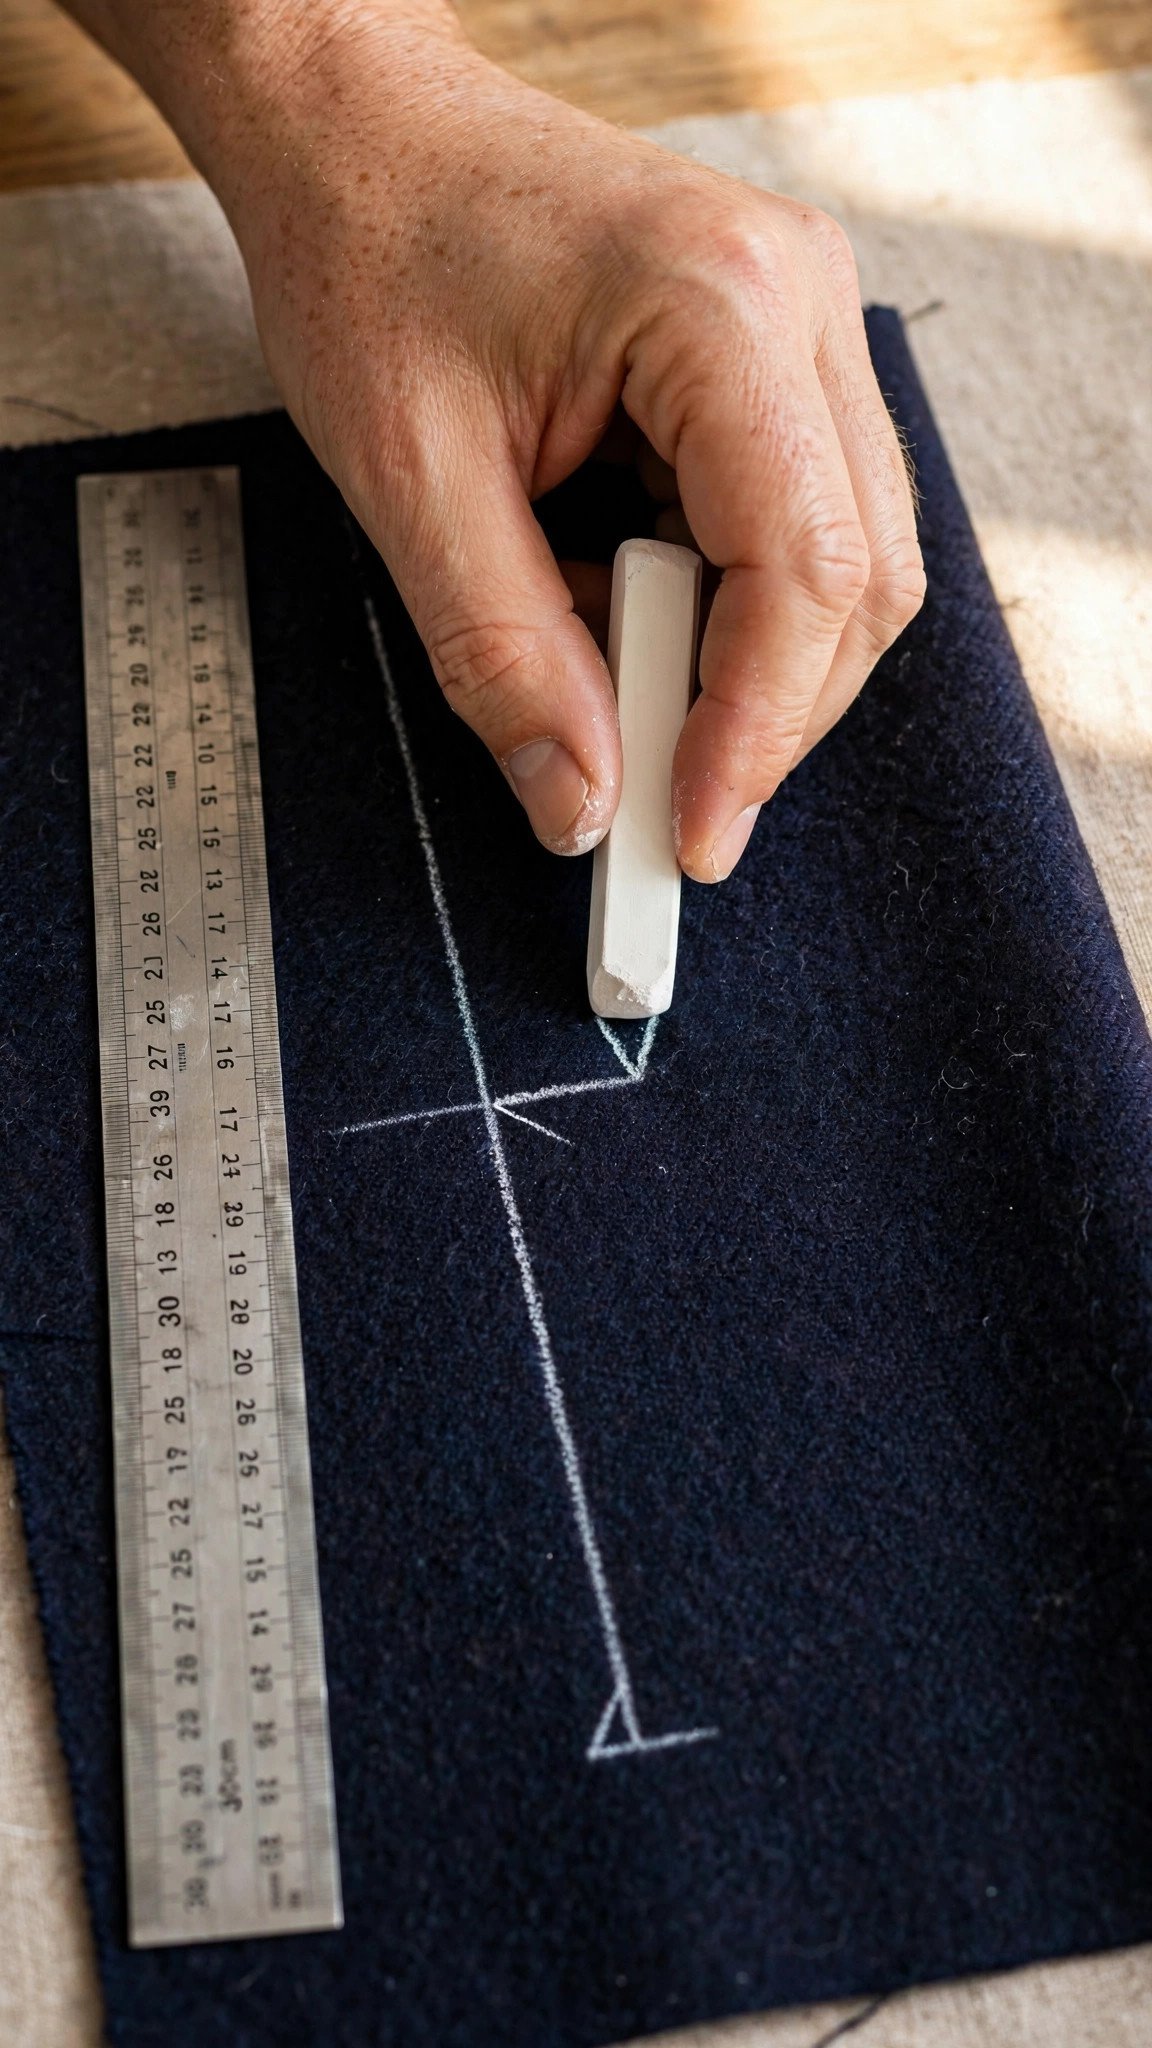
Tailor’s chalk is the tool your grandmother used, and it is still one of the safest choices in the drawer. It comes as triangles, pencils, and chalk wheels, and it brushes or shakes out of most fabrics without a trace. On dark fabric like navy wool or black denim, white or yellow chalk gives you crisp, readable lines exactly where you need contrast most.
To use it well, keep the edge sharp: a blunt triangle draws a fat, vague line, while a sharp edge draws precisely. Draw with light, confident strokes rather than pressing hard, since ground-in chalk is harder to remove. Chalk is ideal for marking darts, hem lines, and pattern markings on medium to heavy fabrics, and it is my default for anything I plan to press, because unlike inks, chalk does not get set permanently by heat.
Water-Soluble and Air-Erasable Markers
Water-soluble markers draw fine, vivid lines on light and medium fabrics and rinse out with plain water. They are wonderful for precise work like marking buttonhole placement or quilting lines, where chalk would be too blunt. The catch is the removal order: rinse with plain water first, before any detergent touches the fabric, because some detergents react with the ink and turn a removable mark into a permanent brown shadow.
Air-erasable pens work on a timer instead of water: the marks fade on their own over hours or days. They are perfect for markings you only need during one sewing session, like matching notches. The risk is exactly what you would expect: if life interrupts your sewing and the marks vanish before you finish, you are re-marking from scratch. I use them for quick jobs and never for anything I might put down for a week.
Heat-Erasable Pens: Powerful but Risky
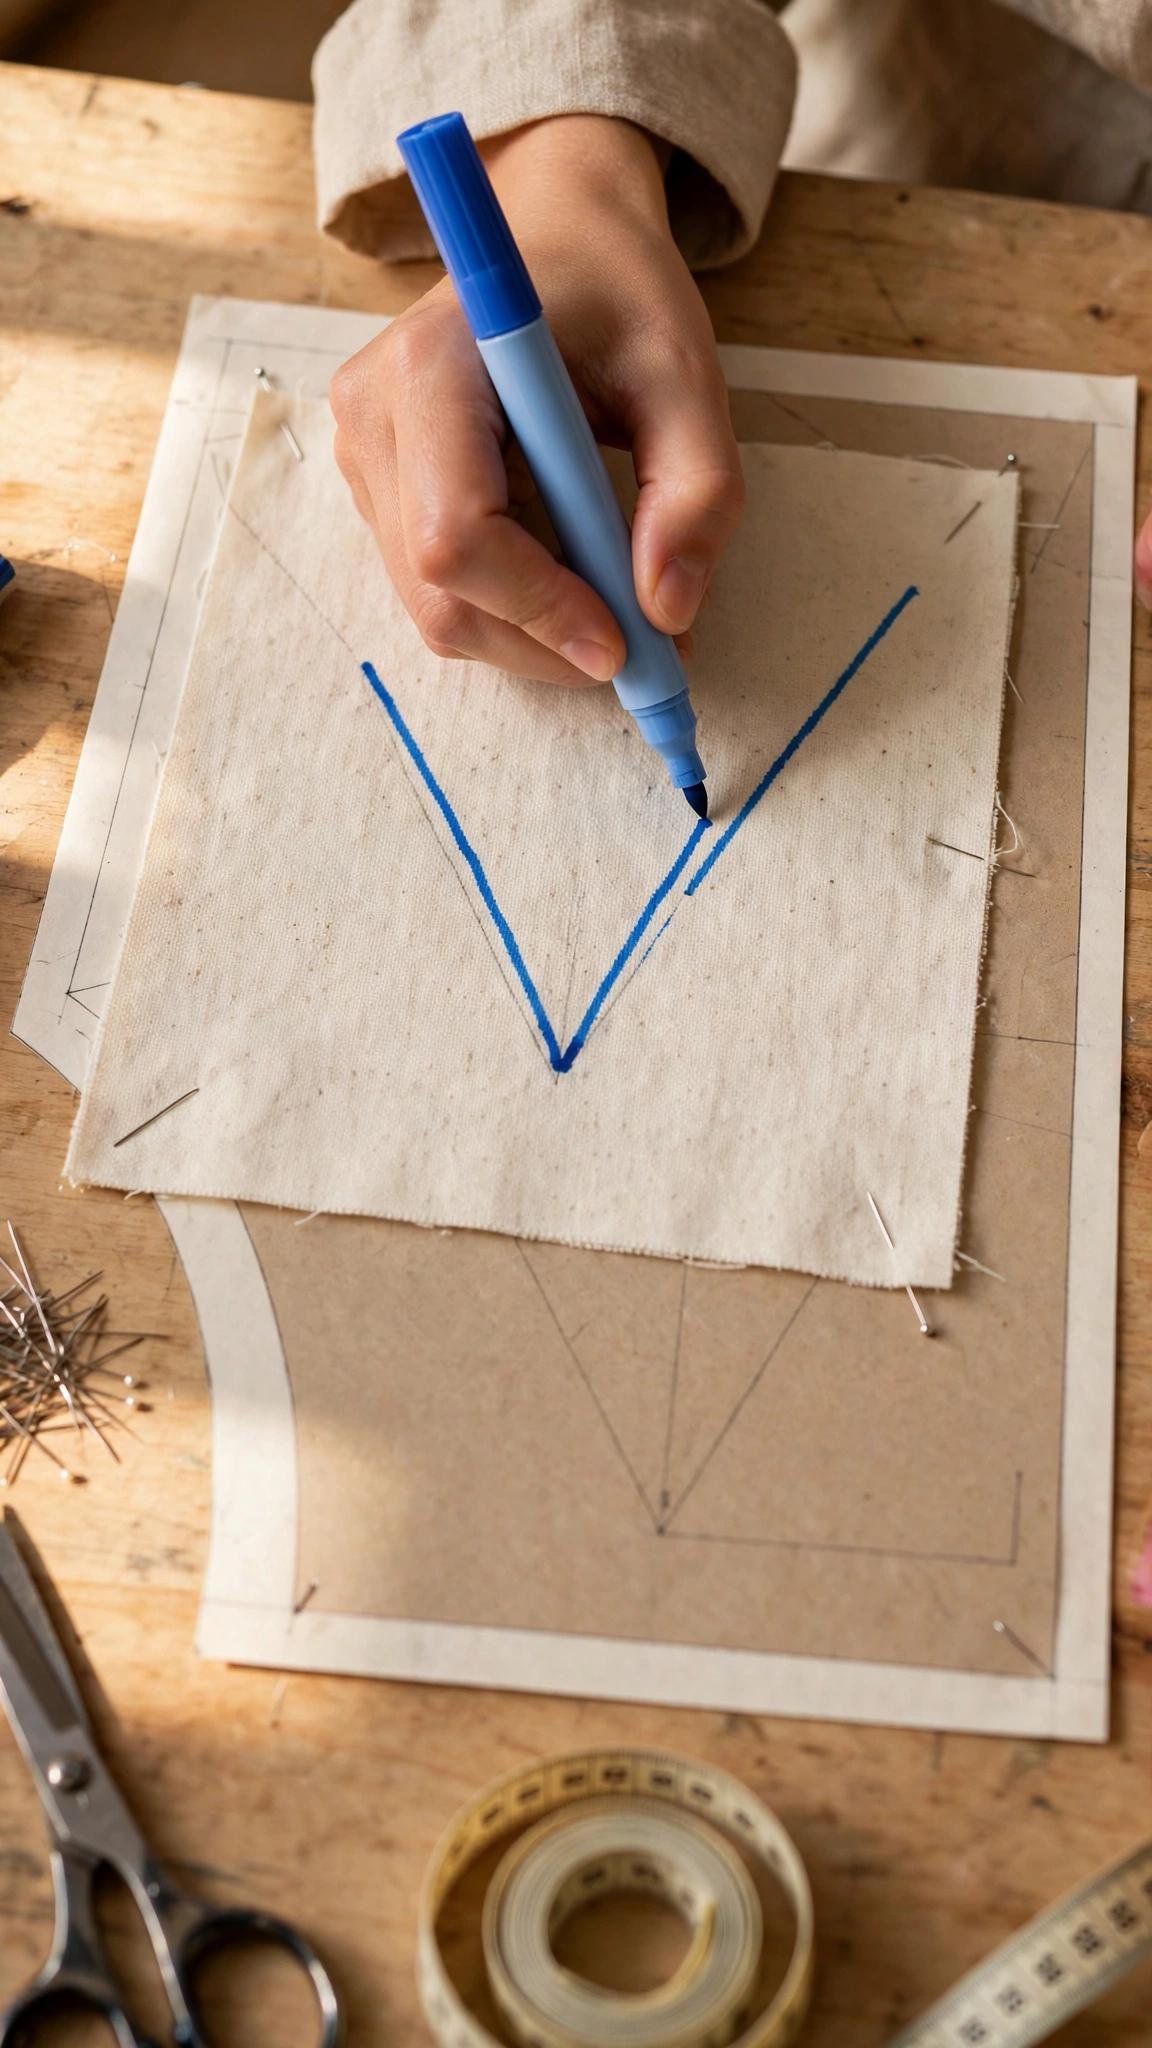
Heat-erasable pens draw beautifully fine lines and vanish with the touch of an iron, which makes them beloved for precise marking on quilting cotton and stable wovens. I understand the appeal completely. But they come with two warnings you must respect. First, the marks can return in cold temperatures as ghost lines, which is a nasty surprise on a winter coat. Second, on some fabrics the ink leaves a faint residue even after ironing, especially on light colors.
My rule is simple: heat-erasable pens are for practice pieces, quilts, and areas that will be hidden inside the garment, never for visible marking on fine or light-colored fashion fabric unless your scrap test proves them innocent. And never use them on anything that will be dry cleaned, since the chemistry of dry cleaning can interact with the ink unpredictably.
Tracing Wheels, Carbon Paper, and Thread Marking
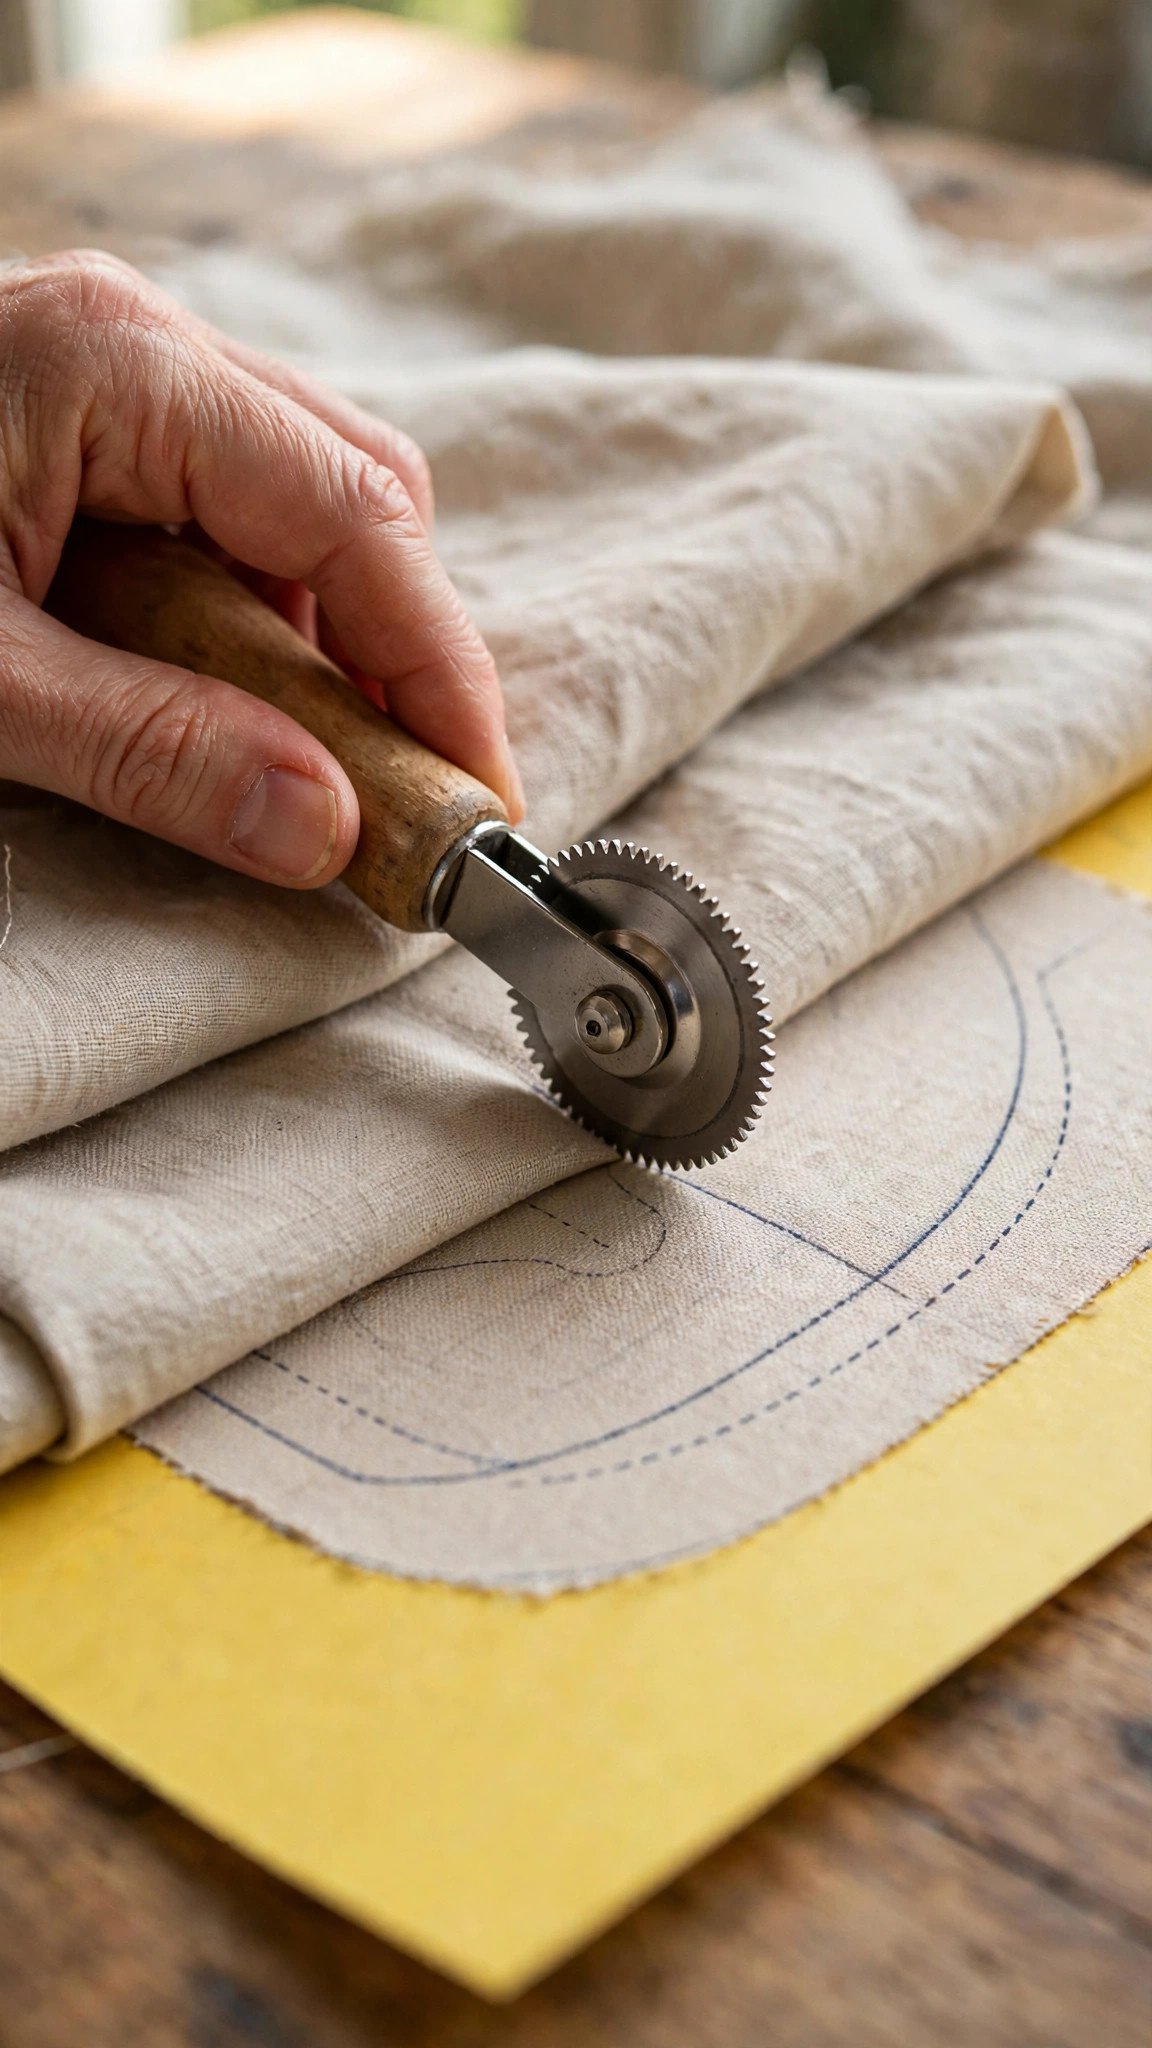
When you need to transfer pattern markings to both layers of fabric at once, nothing beats a tracing wheel and dressmaker’s carbon paper. Lay the carbon between your pattern and fabric, roll the wheel firmly along the lines, and the markings transfer as a dotted trail. Use a smooth wheel on delicate fabrics and a serrated wheel on sturdier ones, and choose carbon in a color that contrasts with your fabric but will not show on the right side. When your pattern asks for grainline markings, the tracing wheel transfers those long straight lines beautifully.
For the most delicate fabrics, skip tools that touch the surface at all and mark with thread instead. Tailor’s tacks are loops of contrasting thread basted through the pattern and fabric at dots and notches, then snipped to leave tufts marking both layers. It is slow, traditional, and completely safe on fabrics where even chalk feels risky, like silk or loosely woven wool. Transferring pattern markings this way takes patience, but some fabrics are worth it.
The Scrap Test: Never Skip It
Here is the habit that prevents disasters. Take a scrap of your actual project fabric, ideally one that includes any interfacing you plan to fuse. Mark it with the tool you intend to use, using the same pressure you will use on the garment. If your project involves pressing, press the marked scrap with your iron at your planned setting, because heat sets many inks permanently and you need to know that now.
Then try to remove the mark using the tool’s recommended method: brush for chalk, plain water for water-soluble ink, heat for heat-erasable. Let the scrap dry completely and inspect it in good light. Some marks disappear when wet and ghost back as a faint stain when dry, so the dry check matters. If the mark does not come out one hundred percent on the scrap, switch tools. Keep the essential sewing tools for marking together in one pouch so the test becomes a reflex, not a chore.
FAQ
What is the safest marking tool for delicate fabric?
Tailor’s tacks with contrasting thread are the safest, since nothing touches the fabric surface except a needle. If you prefer a tool, a sharp chalk pencil used lightly on the wrong side is the next safest option.
How do I mark dark fabric?
Use white or yellow tailor’s chalk, a white chalk pencil, or a silver gel pen made for fabric. Always test on a scrap first, since light-colored marks can be surprisingly stubborn on some dark dyes.
Why did my disappearing ink become permanent?
The most common cause is pressing before removing the mark: heat sets most inks. The second is washing with detergent before rinsing with plain water. Always remove marks by their intended method, and never press over a mark you have not removed yet.
Can I use regular pens or pencils on fabric?
A soft graphite pencil is acceptable for marks that will be hidden inside seams on light fabrics, but ballpoint and gel pens from the stationery drawer are not made to wash out and should stay away from your projects.

Written by June Carter
I am June, a sewing enthusiast who loves turning simple fabric into things people actually use. I test every technique and product I write about at my own machine before it lands here.