
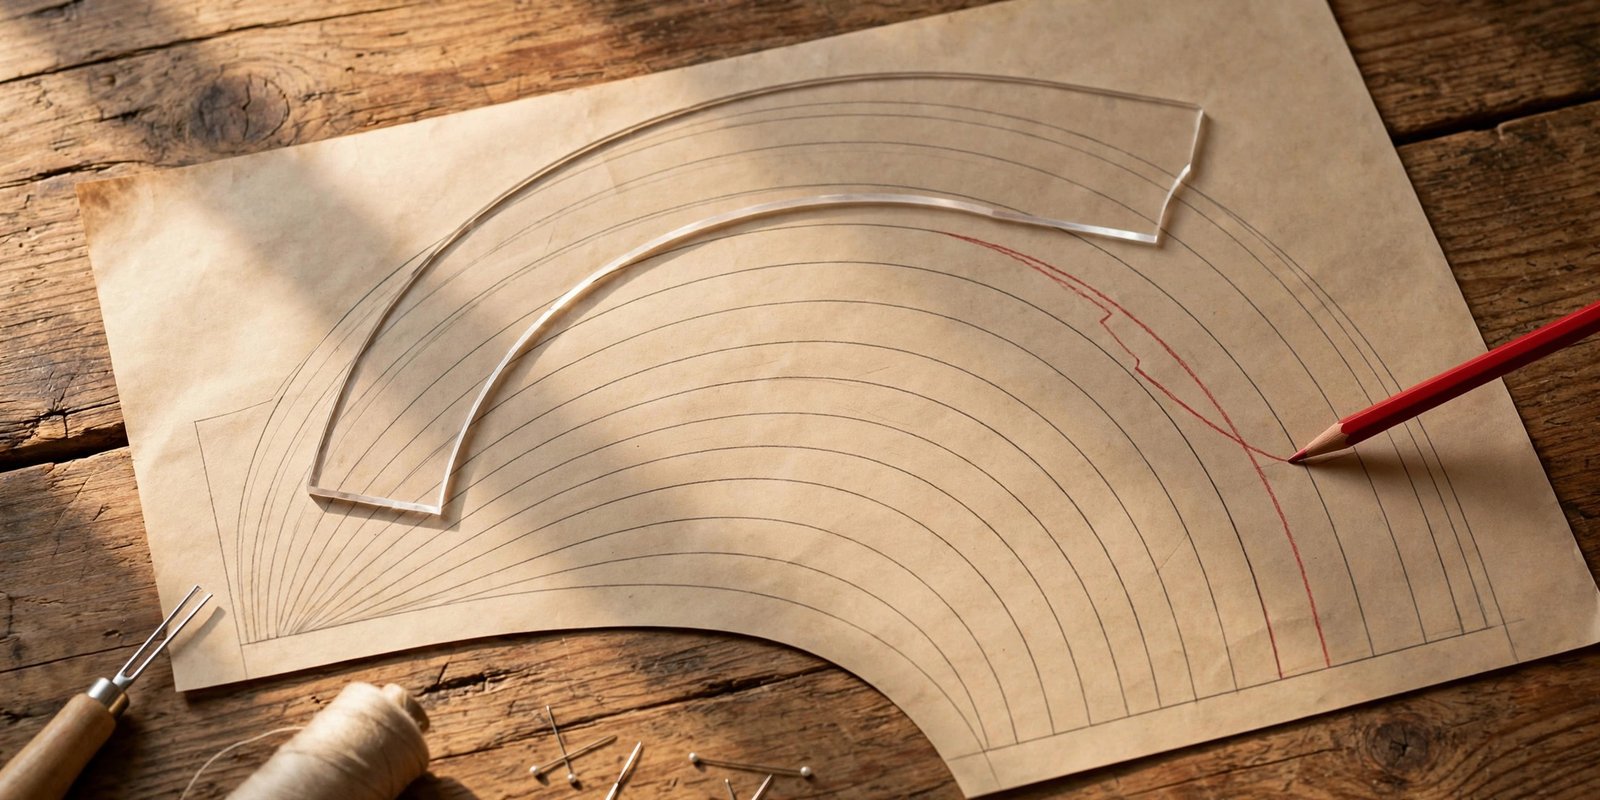
If your bust says size 12, your waist says size 10, and your hips say size 14, congratulations: you are a completely normal human body, and learning how to grade between sizes on a pattern is the single most useful fitting skill you can learn. Almost nobody fits neatly into one printed size from neck to hem. Grading simply means drawing a smooth line that blends from one size to another across your pattern pieces, so the finished garment follows your actual shape instead of forcing your shape into a single size.
I grade on nearly every fitted project I sew. It takes about fifteen minutes with a pencil and a ruler, and it is the difference between a dress that pulls at the hips and one that looks made for you. This guide covers the whole process: measuring, choosing your sizes, tracing, drawing the blended lines, and checking your work before you cut.
What Grading Between Sizes Actually Means
Most modern patterns are printed nested, meaning all the sizes are drawn on top of each other like contour lines on a map. Grading between sizes means you start on one size line at the top of a pattern piece and glide across to a different size line further down. The result is a custom cutting line that is, say, a 12 at the bust flowing into a 14 at the hip.
This is not the same as just cutting a bigger size everywhere. If you cut the whole pattern in a 14 to fit your hips, the shoulders and bust will swim. Grading keeps each area true to the size it needs. It is a small adjustment with an outsized payoff, and once you do it twice, it becomes second nature.
Take Your Measurements First, Every Time
Grading starts with honest numbers. Measure your bust at the fullest point, your waist at the natural narrowest point, and your hips at the fullest point, keeping the tape level all the way around. I re-measure before every single project, because bodies change and old numbers lie. My guide to taking accurate body measurements covers the exact spots to measure and the mistakes that throw numbers off.
Compare your measurements to the pattern’s size chart, not to ready-to-wear sizes, which mean nothing here. Write down which pattern size you are at bust, waist, and hip. Then check the finished garment measurements on the pattern tissue or instructions. A pattern with generous ease might already give you the room you need, and grading is only necessary when the finished measurements confirm you actually need it.
Trace Your Pattern Before You Touch It
Here is my strong opinion: never grade on your only copy of a pattern. Trace the sizes you will be blending onto fresh tracing paper or tissue first. Mistakes happen, and experimenting on the original pattern leads to regret. Tracing also lets you see through the paper, which makes positioning and blending lines much easier.
If you printed a PDF pattern with layers, print only the sizes you need. Two or three nested lines are easy to follow; ten nested lines are a maze. Label everything on your tracing: the size at each key point, the grain line, and all notches. If you are new to pattern markings, my guide to reading sewing pattern symbols will help you transfer every mark that matters.

How to Grade Between Sizes on a Pattern Step by Step
Let us walk through the classic example: you are a size 10 at the waist and a size 14 at the hip on a skirt pattern. Grab a contrasting pencil and a ruler or French curve, and work piece by piece.
- Mark your size at each key point. On the front piece, make a small mark on the size 10 line at the waist and on the size 14 line at the fullest part of the hip. Use the hip line marking on the pattern, or hold the piece up to your body to find your hip level.
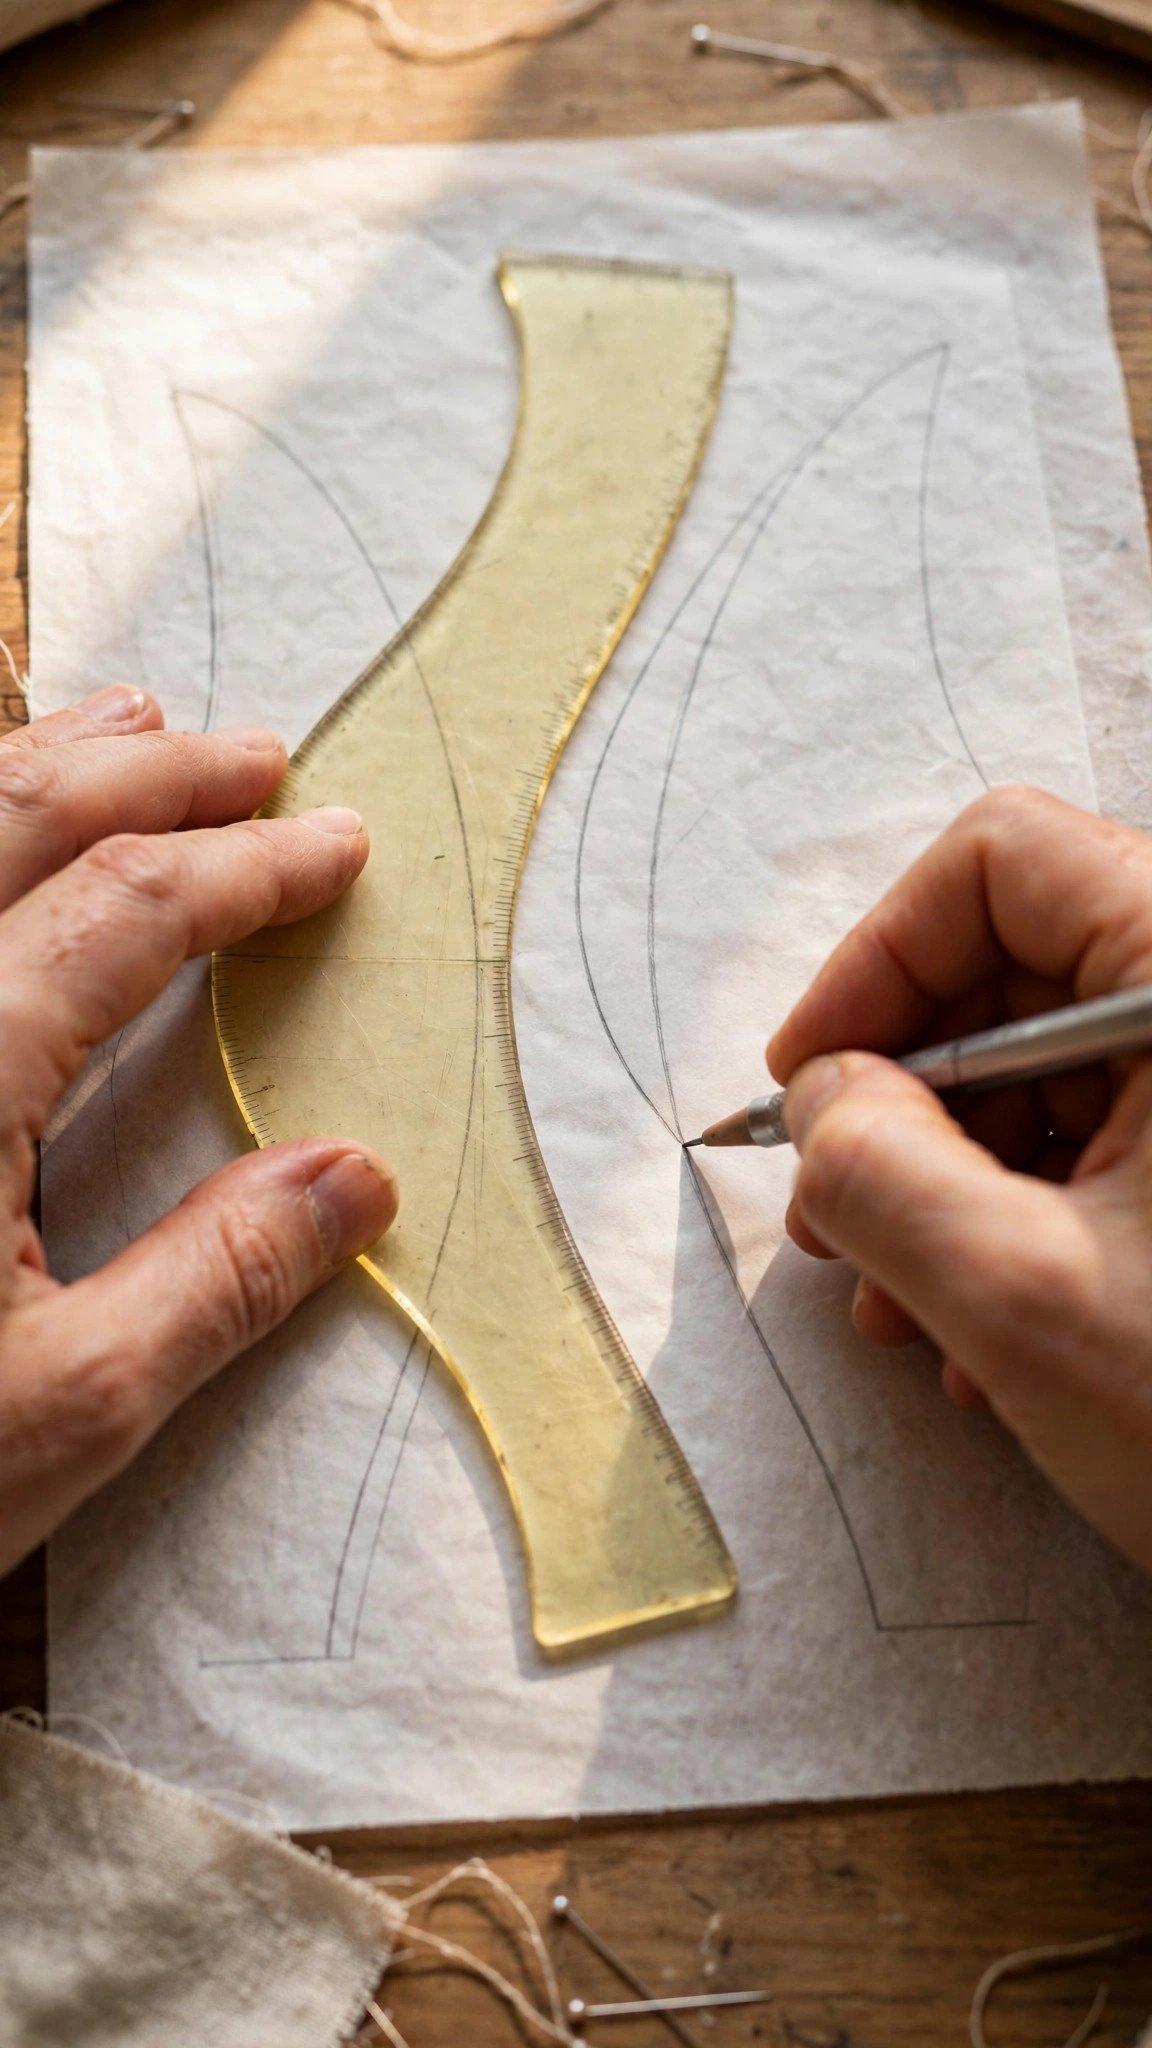
- Draw the blended line. Connect your two marks with a smooth, gently curving line. Bodies do not have corners, so avoid a sharp angle where the line changes direction. A French curve or hip curve ruler helps enormously here; follow its edge to get a line that flows naturally.
- Grade the back piece to match. Repeat the exact same process on the back piece, marking waist and hip at the same heights. Then lay the front and back on top of each other with the side seams aligned and check that the two new curves match. Smooth out any wobbles.
- Blend through seam crossings. If a horizontal seam, like a waistband seam or an empire line, crosses your grading line, pin the pattern pieces together at that seam and draw one continuous smooth line across both. Otherwise you will get a jog where the pieces meet.
- True your seam allowances. Walk along your new cutting line and make sure the seam allowance is even all the way down. This is also the moment to double check whether your pattern includes seam allowances at all, which my guide to checking seam allowance inclusion explains.
The sharper the difference between your sizes, the more gradual your blend should be. If you are jumping two sizes between waist and hip, start the transition a little above the waist mark so the curve stays gentle.
Grading Bodices, Sleeves, and Pants Without Tears
Different garments need slightly different thinking. On a bodice with a bust dart, mark your bust size at the bottom of the dart, your waist size at the narrowest point, and join them with a smooth line down the side seam. Do the same on the back, measuring up from the waist to bust height so the marks sit level. Then lay front and back together and compare the curves.
For pants and skirts, the waistband is usually cut as a straight size, so make sure your graded piece still meets the waistband cleanly at the seam line. Pockets that sit on a graded side seam need attention too: trace the pocket opening at your waist size and extend it out to meet your grading line, so the pocket still functions. The pocket bag itself does not need grading.
Sleeves are the easy part: choose the sleeve size that matches your bust size, since the sleeve cap must fit the armhole you cut. If you graded the bodice armhole between sizes, blend the armhole curve the same way and pick the sleeve to match the larger of the two armhole measurements.
Check Your Work Before You Cut Fabric
Grading mistakes are cheap on paper and expensive in fabric, so I always run three checks. First, lay adjoining pieces together and walk the seams: pinned side seams should meet at the same lengths with notches aligned. Second, measure your new cutting line at bust, waist, and hip and compare against your body measurements plus the intended ease. Third, hold the traced pieces up to your body or a dress form for a sanity check on the overall shape.
If a grading line looks too steep, like jumping from a 10 waist to a 16 hip over a short distance, consider choosing a curve that gets close to your hip size without fully hitting it, then fitting the rest in a muslin. Grading handles one to two size differences beautifully; bigger jumps sometimes need a muslin fitting round to confirm.

FAQ
How many sizes can I grade between at once?
One to two sizes is the sweet spot and works beautifully with a smooth blended line. Jumping three or more sizes can distort darts, notches, and pocket placements, so for big differences, grade one to two sizes and fit the rest with a muslin.
Do I need to grade every pattern piece?
Every piece that spans the area you are grading, yes. If you grade the side seam of a skirt front, you must grade the skirt back to match, or the seams will not sew together. Small pieces like facings that do not span the graded area can stay as cut.
What if I am larger at the waist than at the hip?
Grade in the other direction with the same technique: mark your larger size at the waist and your smaller size at the hip, then draw the smooth line between them. Just make sure you have chosen your bust size from your upper bust or full bust correctly first, since that sets the shoulder fit.
Can I grade a pattern that only has one size printed?
Single-size patterns can be graded by hand, but it takes more work: you measure the grading increment between sizes from a multi-size pattern or size chart and add or remove it evenly. For most sewists, it is easier to buy the multi-size version of the pattern if one exists.

Written by June Carter
I am June, a sewing enthusiast who loves turning simple fabric into things people actually use. I test every technique and product I write about at my own machine before it lands here.