
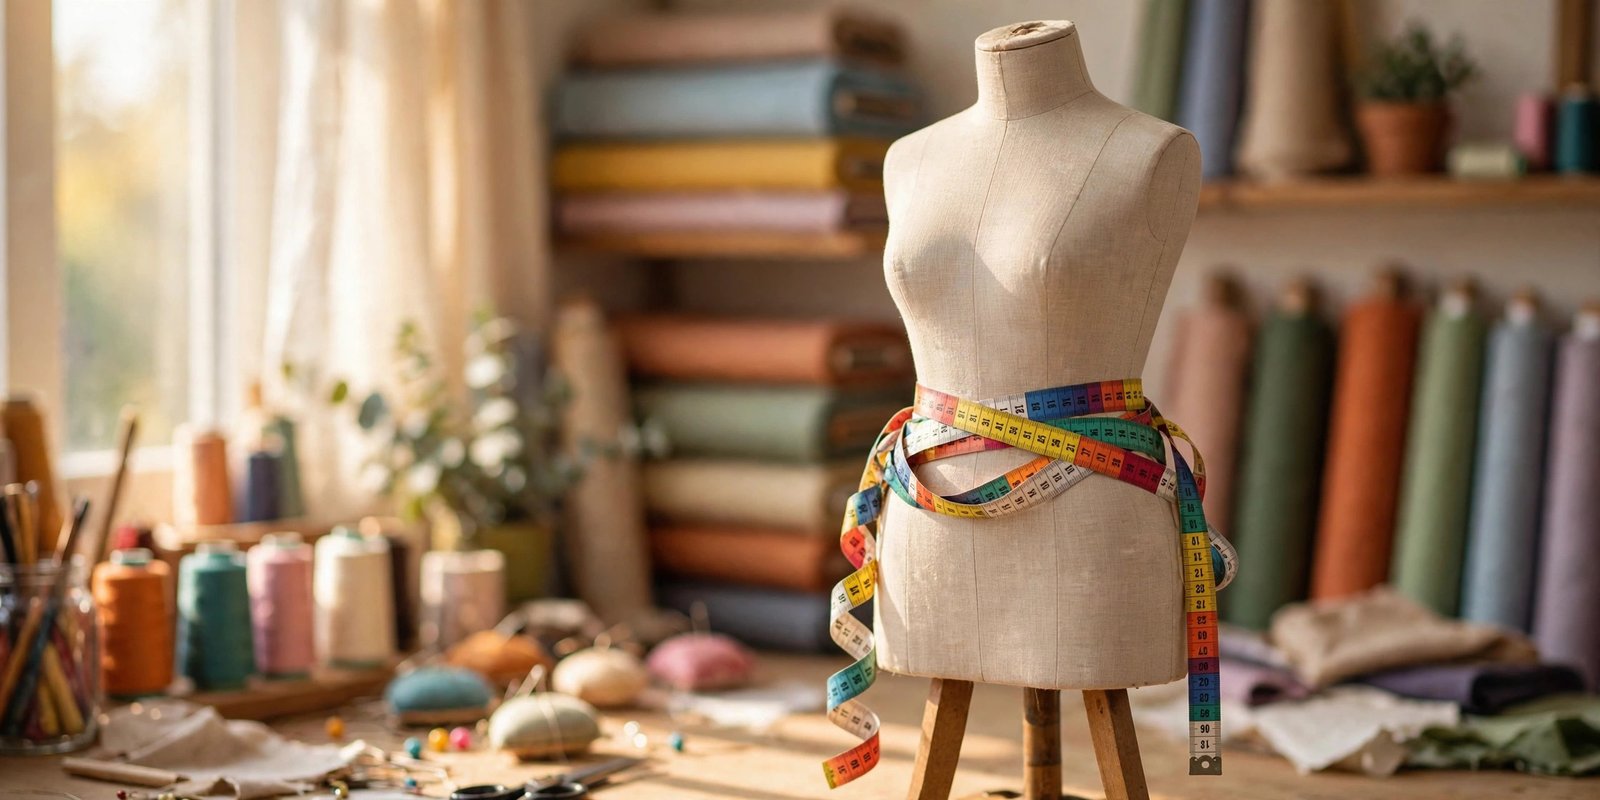
Learning how to understand wearing ease in sewing was the moment my handmade clothes stopped fighting me. For my first few years at the machine, I picked a pattern size straight from the envelope chart, cut it out, sewed it up, and then stood in front of the mirror wondering why the blouse pulled across my shoulders or the skirt waistband gaped like it belonged to someone else. The problem was not my sewing. It was that I had no idea ease existed, let alone how to read it.
Ease is simply the difference between your body measurements and the finished measurements of the garment. Every pattern builds some in, and once you know how to find it and what to do with it, choosing a size stops being a guessing game. Here is the whole thing, explained the way I wish someone had explained it to me: plain, practical, and with the numbers that actually matter.
What Wearing Ease Actually Is
Wearing ease is the minimum extra room a garment needs so you can live in it. Sit down, breathe deeply, reach for the top shelf, bend to pick up a dropped pin. Without wearing ease, a woven garment is basically a second skin you cannot move in, and woven fabric does not stretch to forgive you.
Here is the simple formula the whole concept hangs on: finished garment measurement minus your body measurement equals ease. If your bust measures 36 inches and the finished blouse measures 38 inches around the bust, the blouse has 2 inches of wearing ease. That is it. That is the entire math behind learning how to understand wearing ease in sewing.
The key word is wearing. This is the functional minimum, the room your body demands regardless of fashion. Designers add more on top of it for style, which we will get to, but wearing ease is non-negotiable in woven fabrics. Skip it and seams strain, buttons gape, and you spend the whole day tugging at your clothes. Ask me how I know.

Wearing Ease vs Design Ease: Know the Difference
Once you start reading about ease, you will meet its stylish sibling: design ease. Design ease is the extra fullness added purely for looks. It is what makes one blouse skim close to the body while another floats like a tent, even though both were drafted for the same body measurements. Wearing ease lets you move. Design ease decides the silhouette.
A fitted button-up shirt might carry 2 inches of total ease at the bust, almost all of it wearing ease. An oversized camp shirt in the same size might carry 8 or more inches, with most of that being design ease. Neither is wrong. They are just different garments with different intentions, and the pattern envelope should tell you which one you are getting.
Why does the difference matter to you? Because when a pattern says relaxed fit, that is design ease talking, and you get to decide how much of it you want. When you are fitting a garment and it feels tight, you need to know whether you are missing wearing ease (a fit problem you must fix) or just seeing less design ease than you prefer (a style choice you get to make). Mixing those two up is how good fabric gets cut into garments nobody wears.
How Much Wearing Ease Do You Actually Need
Here are the rough numbers that get quoted in fitting books and pattern-drafting classes, and in my experience they hold up well for woven fabrics. At the bust, aim for about 2 to 2.5 inches of wearing ease. At the waist of a dress, about 1 inch, and for skirts and trousers, 1 to 1.5 inches. At the hips, 2 to 3 inches. These are minimums, not targets. They are the floor your body needs to function, and plenty of garments sit happily above them.
A few honest caveats. Larger bodies often need proportionally more wearing ease for the same comfort, because movement pulls fabric across more surface. Very fitted styles, like a sheath dress, live close to these minimums. Looser styles sail past them without a second thought. And if you are between sizes, I would rather see you take the larger size and remove width where you do not need it than squeeze into the smaller size and fight the wearing ease the whole time you wear the thing.
Also remember that inches of ease are measured around the full body, not on one pattern piece. A front bodice piece is only half the garment, so 1 inch added to the front piece becomes 2 inches of total ease. I mention this because it trips up nearly every beginner, and it tripped me up for longer than I care to admit. If your measurements span two different sizes, grading between sizes, sometimes called blending sizes along the cutting lines, is the standard fix, and it keeps the wearing ease balanced everywhere instead of perfect in one spot and wrong in another.
How to Understand Wearing Ease in Sewing Patterns
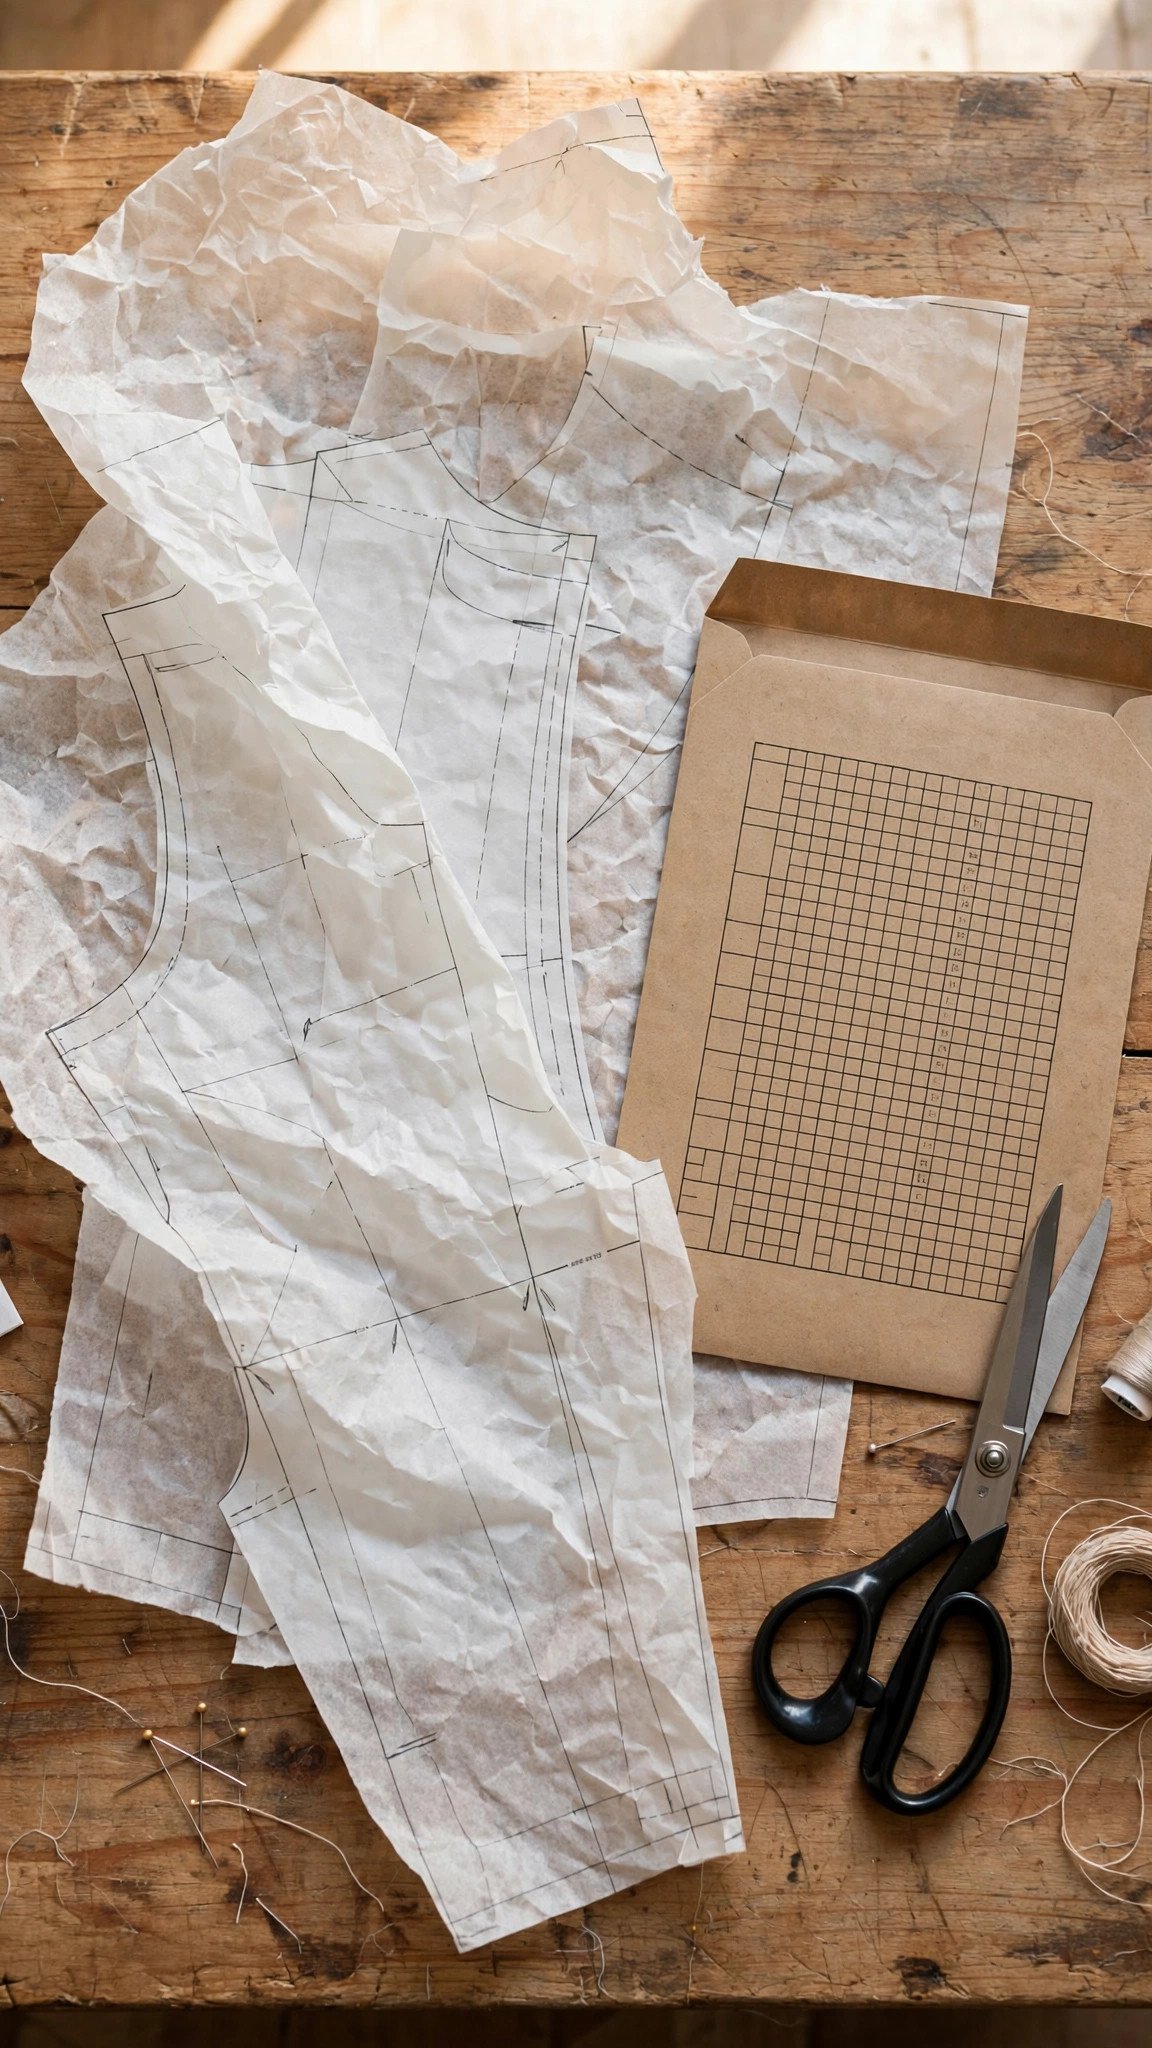
This is the practical heart of it: how to find the ease hiding in any pattern before you cut. Start at the back of the pattern envelope or the finished measurements chart in a PDF pattern. You are looking for finished garment measurements, which tell you how big the garment will be when it is sewn, not how big the body is that it fits.
Do this little exercise with a pattern you own. Find your body measurement, say a 36 inch bust. Find the finished bust measurement for the size you would pick, say 40 inches. Subtract. Those 4 inches are the total ease: wearing ease plus design ease. Now read the pattern description. If it says close fitting, most of those 4 inches are wearing ease and you are looking at a snug garment. If it says loose fitting or oversized, a good chunk is design ease and the garment will drape with room to spare.
The golden rule I sew by now: never choose a size from the body measurement chart alone. Always compare your body measurements to the finished measurements. The body chart tells you which size the company thinks you are. The finished measurements tell you what the garment will actually be. Those are two very different promises, and the second one is the one you wear.
If you are new to reading all the lines and symbols on tissue, my walkthrough on how to read sewing pattern symbols will make the envelope a lot less intimidating. And if your tape measure technique is rusty, start with taking accurate body measurements, because every ease calculation is only as honest as the numbers you feed it.
Wearing Ease in Knit Fabrics and the Mystery of Negative Ease
Knits play by different rules, and this is where beginners get burned. Stretchy fabric does not need as much wearing ease because the fabric itself moves with you. Many knit patterns are drafted with very little ease, and some are drafted with negative ease, which means the finished garment is actually smaller than your body and stretches to fit.
Negative ease sounds alarming but it is completely normal for leggings, fitted T-shirts, and swimwear. If your bust is 36 inches and the finished tee measures 34 inches, that is 2 inches of negative ease, and the shirt will still fit because the knit stretches. The mistake is treating a knit pattern like a woven one and sizing up to eliminate the negative ease. Do that and you will end up with a saggy tee that bags at the neckline.
With knits, trust the pattern company’s finished measurements and the amount of stretch they recommend, usually listed as a percentage on the envelope. If the pattern was drafted for your size with negative ease, sew the size it tells you and let the fabric do its job.
My No-Fail Routine Before I Cut Anything
After years of hit-and-miss fitting, I settled into a routine I now run before every single garment, and it takes maybe fifteen minutes. First, I take fresh body measurements. Bodies change, and sewing from numbers you took two summers ago is asking for disappointment. Second, I compare those numbers to the finished garment measurements, not the size chart, and I write down the actual ease at bust, waist, and hip.
Third, I do the closet trick: I pull out a ready-made garment I love the fit of, lay it flat, and measure it. If my favorite blouse has 4 inches of total ease at the bust, then I know my personal comfort zone, and I can hunt for that same number in a new pattern. This one habit has saved me from more bad cuts than any fitting book.
Fourth, the pinch test. Put on a muslin or an old garment and pinch the excess fabric at the bust. Measure the pinched bit and multiply by four, and that is roughly the total ease you are wearing. It is gloriously low-tech and surprisingly accurate for a quick estimate of ease before you commit.
Fifth, for anything fitted, I sew a muslin. A quick test garment in cheap fabric shows exactly where the ease is working and where it is not, and marking changes on a muslin is infinitely calmer than marking them on your good fabric. When I am buying fabric for the real thing, I finish by calculating fabric yardage so I have enough for the muslin and the final garment without a panicked second trip.

FAQ
What is the difference between wearing ease and design ease?
Wearing ease is the minimum room a garment needs for movement and comfort, while design ease is extra fullness added for style. A fitted shirt is mostly wearing ease, while an oversized tunic carries a lot of design ease on top.
How much wearing ease does a woven blouse need at minimum?
About 2 to 2.5 inches at the bust, 1 inch at the waist, and 2 to 3 inches at the hips. These are functional minimums for woven fabrics, and many patterns include more.
Can wearing ease be negative?
In woven garments, no, because woven fabric does not stretch. But knit patterns often use negative ease, where the finished garment is smaller than the body and stretches to fit. That is intentional, so do not size up to remove it.
Do I add wearing ease to my pattern myself?
Usually not. Commercial patterns already include wearing ease in their finished measurements. Your job is to read those measurements, compare them to your body, and pick the size with the ease you want, rather than adding ease from scratch.

Written by June Carter
I am June, a sewing enthusiast who loves turning simple fabric into things people actually use. I test every technique and product I write about at my own machine before it lands here.