

If you want to know how to check stitch quality, start with this simple truth: a good stitch looks the same on both sides of the fabric, lies flat without puckering, and holds firm when you give the seam a gentle tug. I check my stitches on every project now, not because I am fussy, but because I have had seams come apart in the wash, and I have had a beautiful top ruined by tension I never bothered to look at. A two minute check before you sew the real seams saves hours of unpicking later.
I learned this habit the hard way. Years ago I sewed a lined skirt, pressed it, wore it once, and watched the side seam split open at a lunch table. The stitches looked fine from the top, but the bobbin thread underneath was looping like a nest of loose curls. The top thread was doing all the work, and it gave up. Nobody at that table said anything, but I went home and taught myself to read my stitches the way a mechanic reads an engine. This guide walks you through exactly that, in plain language, with no jargon you need a glossary to follow.
Here is what we will cover: what a balanced stitch looks like, how to test seam strength, how to spot the common problems by sight and touch, and the quick routine I run at the start of every sewing session.
What a Balanced Stitch Looks Like
A balanced stitch is the foundation of good stitch quality. On a straight stitch, the top thread and the bobbin thread should meet in the middle of the fabric layers, locked together where you cannot see them. From the top, you should see neat, even stitches that are all the same length. From the bottom, you should see the same thing: tidy, even stitches with no loops, no dots of the top thread pulling through, and no bobbin thread showing on the top side.

How to Check Stitch Quality on a Test Seam
Before I sew any real seam, I sew a test seam on two layers of scrap from the actual project fabric, using the same thread, needle, and settings I plan to use. This is the single most useful habit in this whole guide, because fabric behaves differently from one bolt to the next, and settings that were perfect yesterday can be wrong today if you changed the thread or the needle.
Reading the Underside of Your Stitching
The underside of your stitching tells the truth even when the top looks perfect. Flip your test seam over and look closely. You want to see a clean line of bobbin stitches that match the top in size and spacing. Loops, nests, and tangles underneath are the classic signs of a threading problem, and nine times out of ten the machine simply was not threaded with the presser foot up, so the thread never seated properly in the tension discs.
Also check for skipped stitches on the underside. A skipped stitch leaves a long gap where the needle missed the bobbin thread, and it weakens the seam at exactly that spot. Skipped stitches often mean the needle is bent, dull, or the wrong type for the fabric. Swap in a fresh needle before you touch any tension dial, because a tired needle causes more so-called tension problems than tension ever does. If you keep getting nests and tangles, my guide to diagnosing thread nests walks through the full checklist step by step.
Testing Seam Strength Before You Commit
Looking is only half the job. A seam can look lovely and still be weak, so I test strength directly. The simplest test is the pull test I described above, done firmly but not violently. Pull across the seam, not along it. A strong seam holds. A weak seam will show gaps between the stitches, and the fabric layers may start to separate.
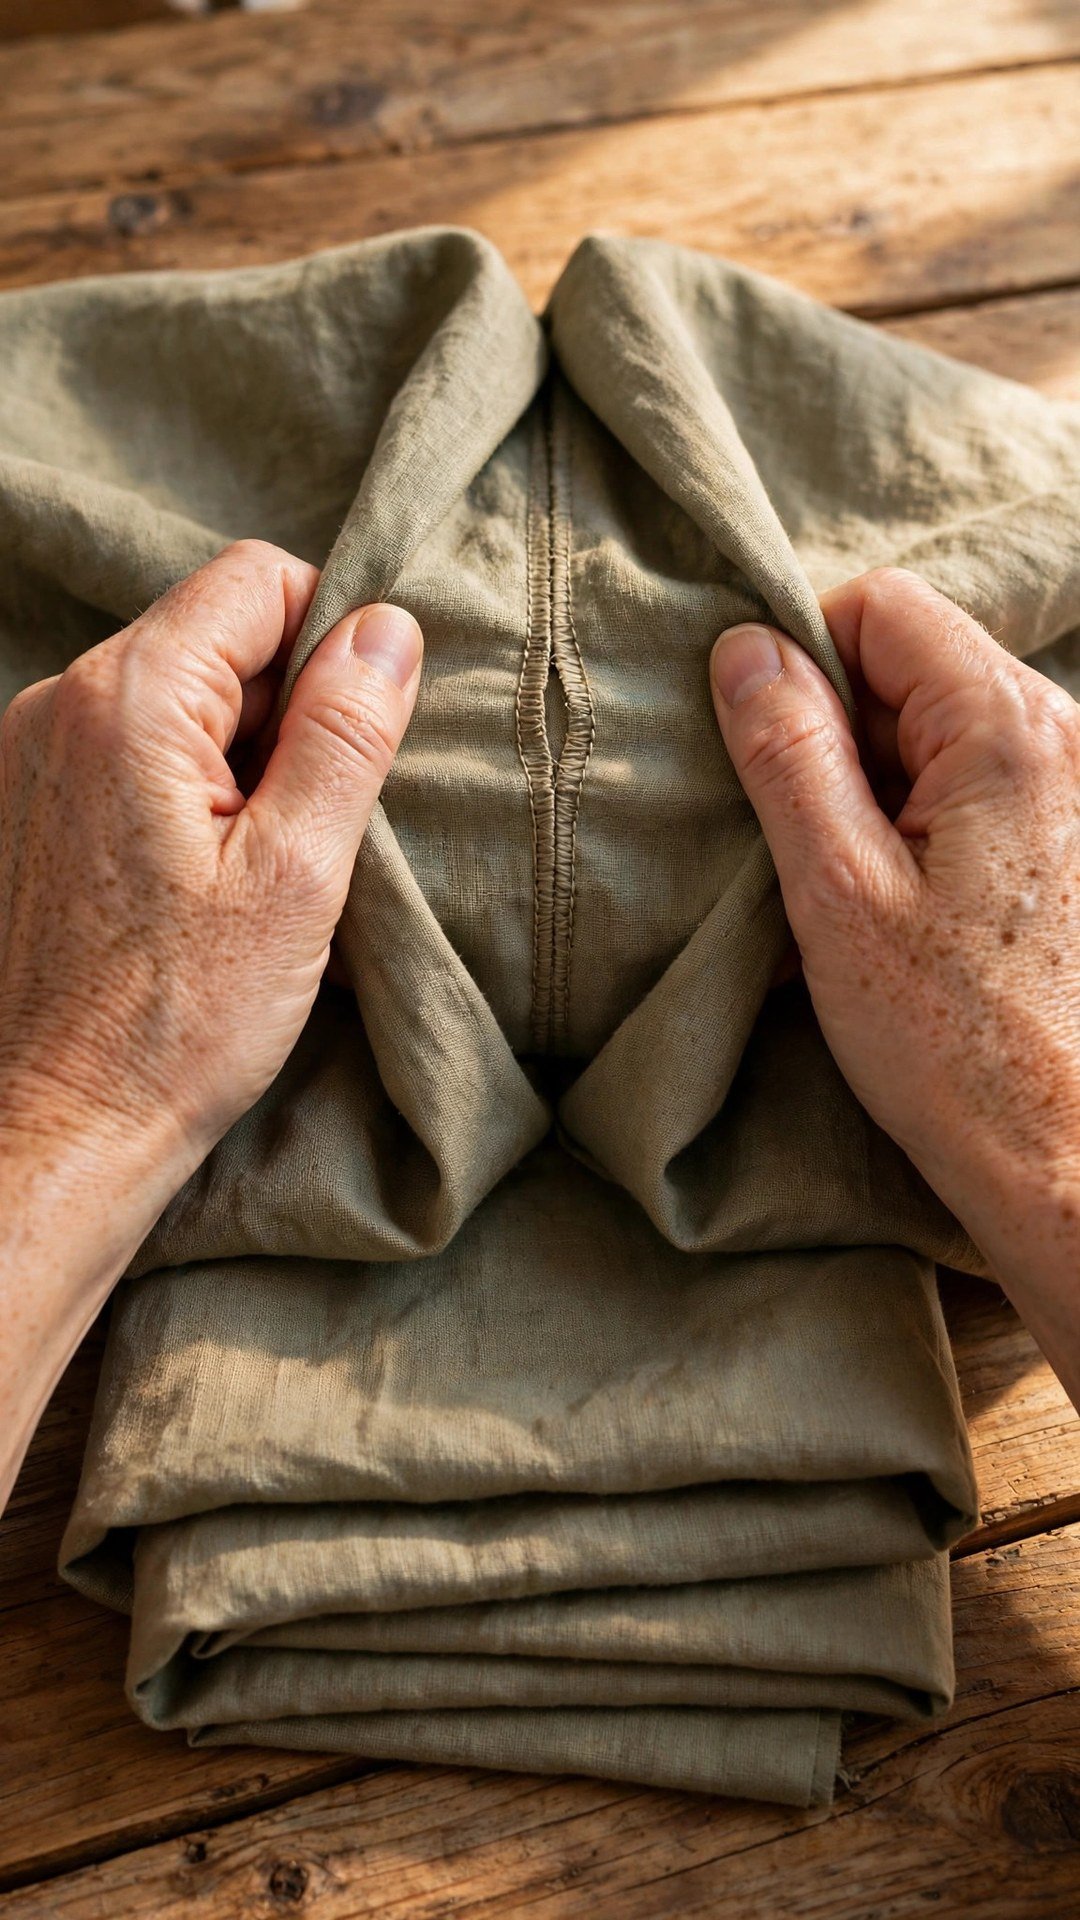
For seams that will take real stress, like a crotch seam, an underarm seam, or the seat of a pair of trousers, I sew a second line of stitching about a hair inside the first, or I finish the seam and then press it and tug it again. If the fabric itself is fragile, no stitch will save a seam that is asked to carry more stress than the cloth can hold, so reinforce stress points with a second row of stitching or a small patch of interfacing. My guide to reinforcing stress points shows where to add that extra strength on garments.
Common Stitch Problems and What They Mean
Once you know how to read a seam, the problems start naming themselves. Loopy stitches underneath mean loose top tension or a threading slip. Tiny bobbin dots on top mean tight top tension. Puckering along the seam usually means the tension is too high, the needle is dull, or the presser foot pressure is too strong for a lightweight fabric. Uneven stitch length often means you are pushing or pulling the fabric instead of letting the feed dogs move it.
Skipped stitches point at the needle first, then at the thread and fabric combination. If the needle is new and correct and stitches still skip, try a slightly larger needle or a different thread, and check that the bobbin is wound evenly. A bobbin wound too loosely feeds thread unevenly and makes the stitch quality wander from perfect to dreadful within a single seam.
Keep a small notebook by your machine and write down the settings that work for each fabric: needle type and size, thread, stitch length, tension number, and presser foot. It sounds fussy, and it is the single best shortcut I know. Next time you sew that fabric, you start from a known good place instead of from scratch. If your stitches keep breaking as well as looking uneven, my guide to fixing repeated thread breaks covers the thread and needle causes in detail.
My Quick Stitch Check Routine
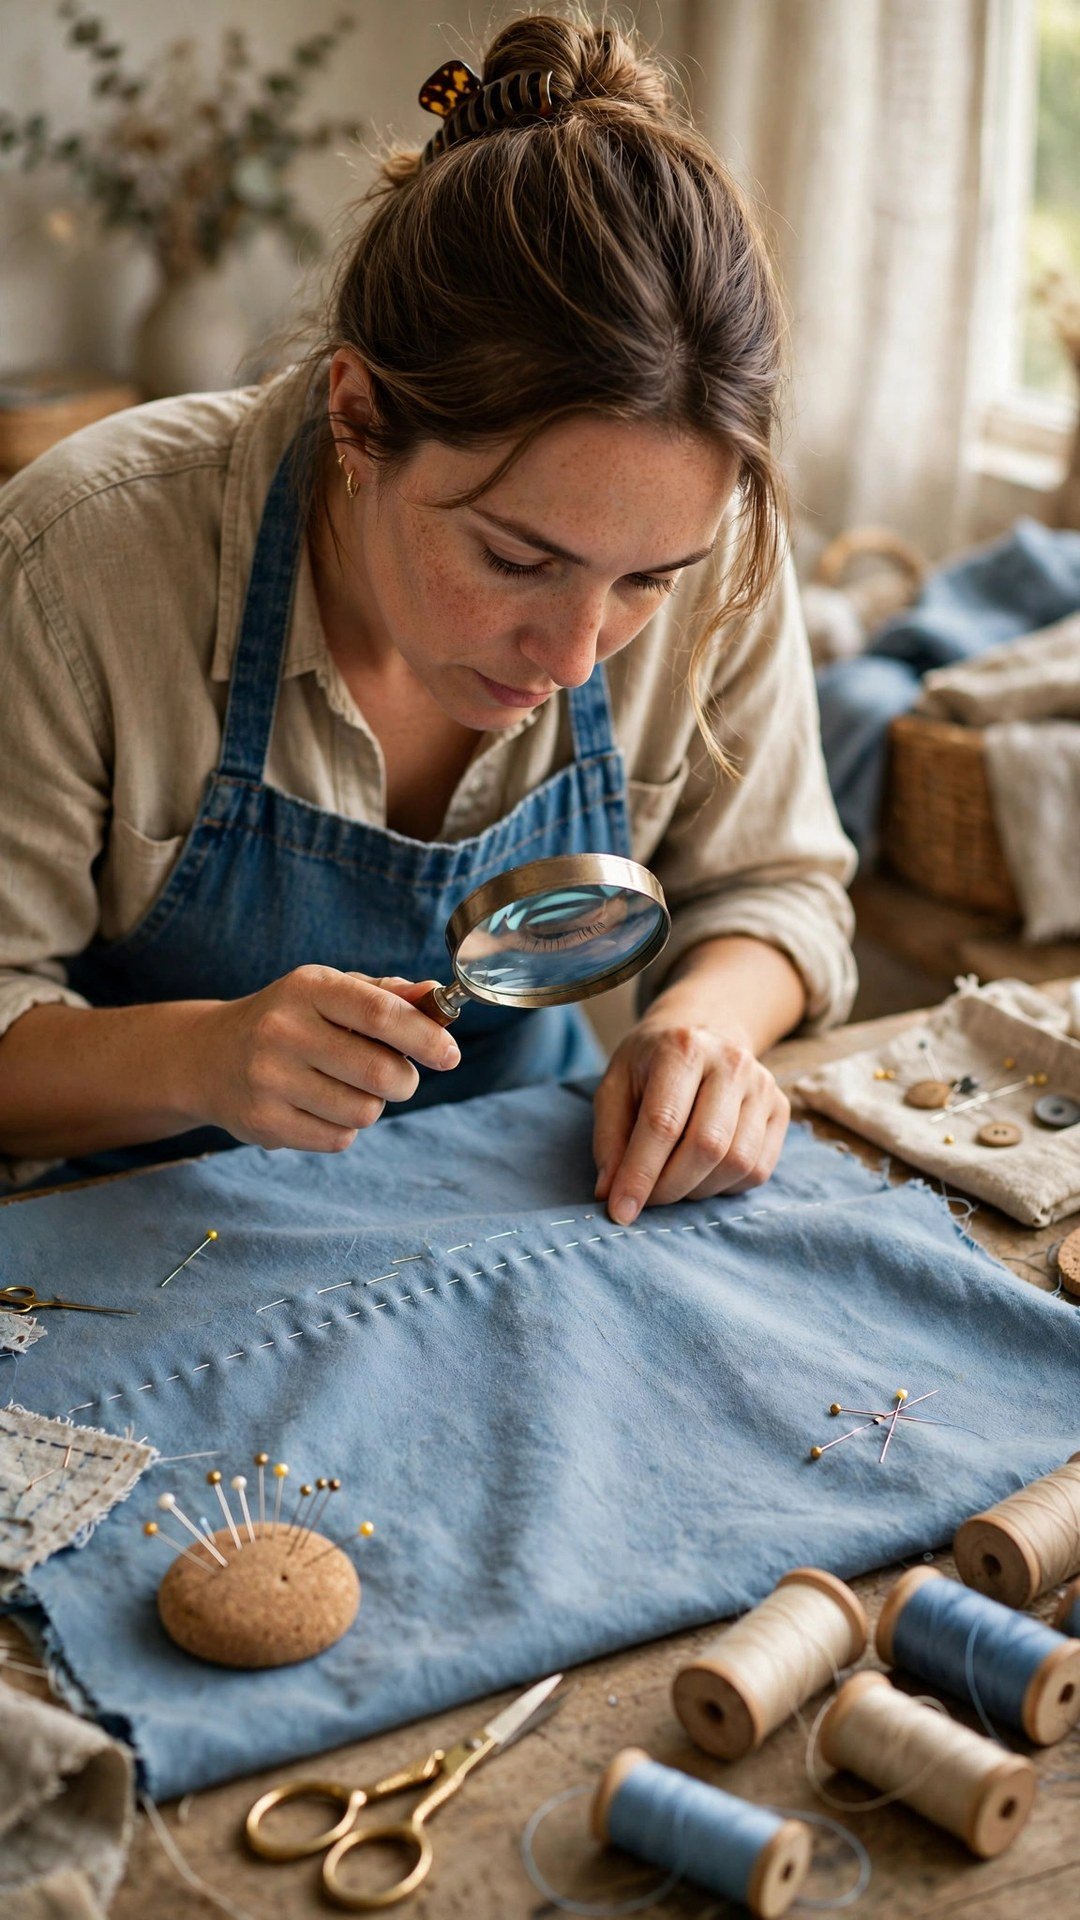
Here is the routine I run at the start of every session, and it takes about three minutes. First, I sew a test seam on a scrap of the project fabric, two layers, about six inches long. I look at both sides, I feel the seam, and I tug it gently. If it passes, I sew the project. If it fails, I fix the problem on the scrap, not on the garment.
Second, I check the needle. If I cannot remember when I last changed it, I change it. Needles are the cheapest part of sewing and the most common cause of bad stitches, so I never try to squeeze one more project out of a dull one. Third, I rethread the machine fully, top and bobbin, with the presser foot raised, and I check that the bobbin is wound evenly and inserted the right way round.
Finally, I press the test seam and look at it once more. Pressing is the great revealer, and a seam that still looks good after pressing is a seam I trust. This routine has saved me from more disasters than any fancy foot or gadget ever has, and it is the habit I wish someone had taught me on my very first day at the machine.
Frequently Asked Questions
How often should I check my stitch quality?
Check it on a test seam at the start of every sewing session, and again whenever you change fabric, thread, needle, or stitch type. A quick look at both sides of a test seam takes a minute and catches most problems before they reach your garment.
What does good stitch quality look like?
Even stitches of equal length on both sides, no loops or dots of the other thread showing through, a flat seam with no puckering, and a seam that holds firm under a gentle tug. The top and the bobbin thread should lock in the middle of the fabric layers.
Why do my stitches look fine on top but loopy underneath?
Loops underneath almost always mean the top thread is not seated in the tension discs, usually because the machine was threaded with the presser foot down. Rethread with the foot raised, then test again before touching the tension dial.
How do I know if my stitch length is right?
For most woven garments, a stitch length around 2.5 millimetres is a good starting point. Shorter stitches are stronger but harder to remove, longer stitches are weaker. Test on a scrap and tug the seam: if stitches separate easily, shorten the length a little.
Should I test stitch quality on scraps or on the garment?
Always on scraps of the actual project fabric first, with the same thread and needle. Testing on the garment itself risks a bad seam you then have to unpick, and unpicking damages fabric. A scrap test gives you the same information with no risk.
Stitch quality is not a talent, it is a habit. Sew a test seam, look at both sides, tug it, press it, and only then sew the real thing. Do that every time, and the seams you make will hold, lie flat, and look like the work of someone who knows exactly what she is doing, because you will.

Written by June Carter
I am June, a sewing enthusiast who loves turning simple fabric into things people actually use. I test every technique and product I write about at my own machine before it lands here.