
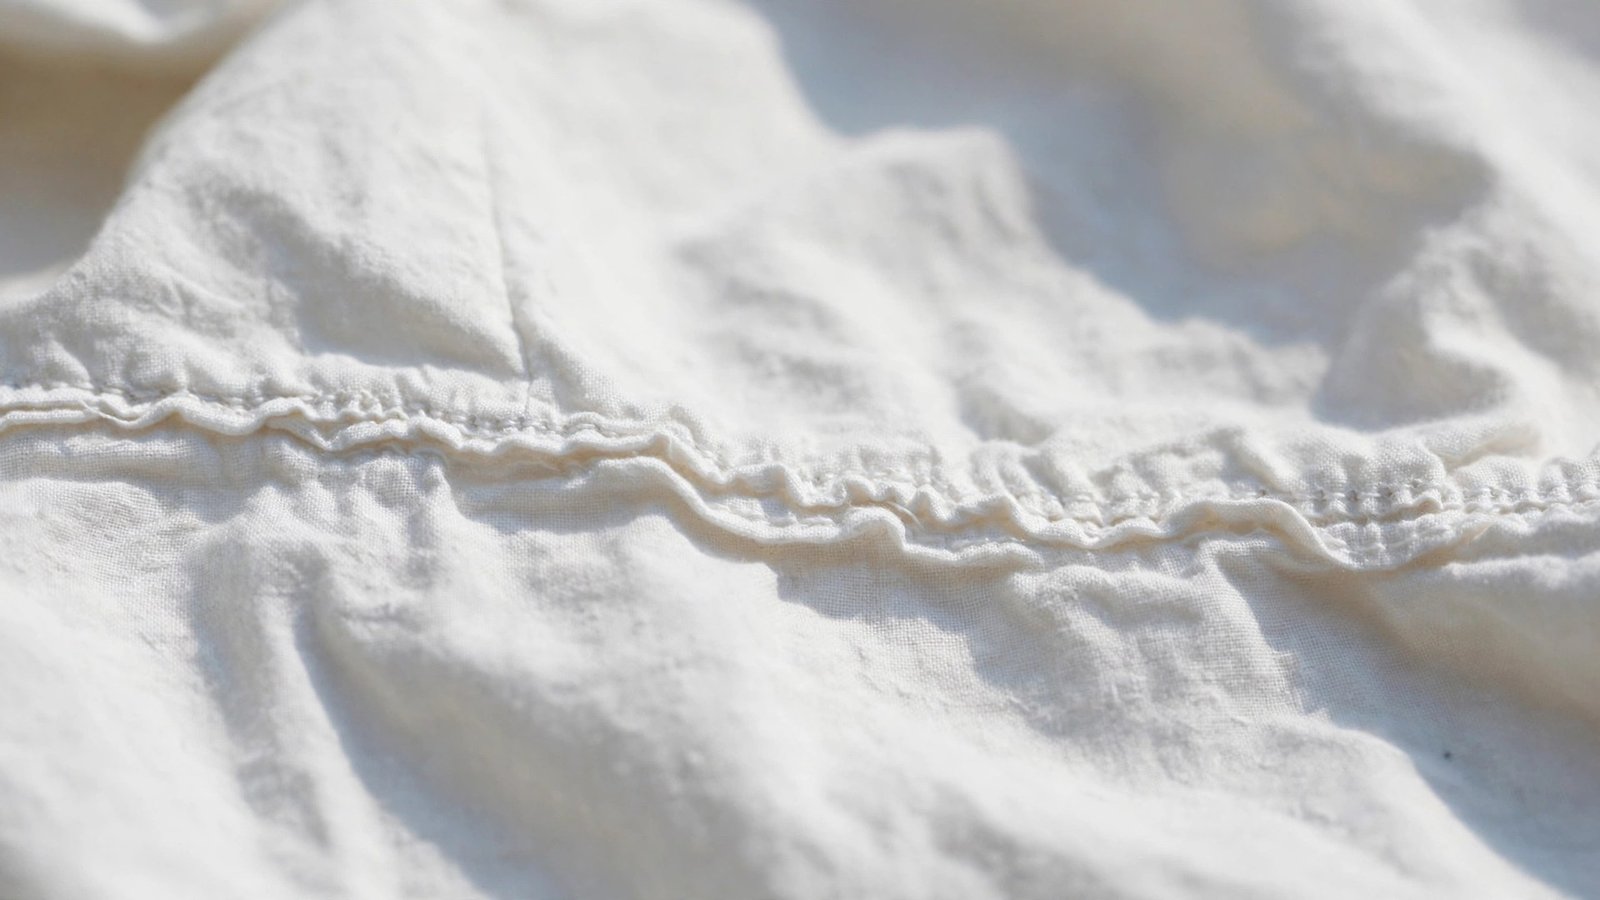
If you are wondering how to fix a puckered seam, start here: puckering is almost always a tension problem, a needle problem, or a fabric handling problem, and it is almost always fixable. A puckered seam looks like a tiny gathered ripple along the stitching line, and it can turn an otherwise lovely garment into something that looks homemade in the worst way. The good news is that you can usually fix it without unpicking the whole seam, and you can always prevent it next time once you know the cause.
I see puckering most often on lightweight fabrics and on long straight seams, like the side seam of a blouse or the centre seam of a skirt. Once I learned to check my needle, my thread tension, and my stitch length before I blamed the fabric, the problem mostly disappeared.
This guide will help you diagnose why your seam puckered, fix the seam you have already sewn, and set up your machine so the next seam lies perfectly flat. We will cover needle and thread choices, tension and stitch length, pressing, and the fabric handling habits that matter most.
What Causes a Puckered Seam
The most common cause is a dull or wrong needle. A blunt needle pushes the fabric down into the needle plate instead of piercing it cleanly, and the fabric puckers around every stitch. A needle that is too heavy for the fabric does the same thing, punching holes that are too big for the thread. Change your needle often, and match it to your fabric: a sharp microtex needle for wovens, a ballpoint for knits, and a fresh needle at the start of every project.
The second common cause is thread tension that is too tight. When the top tension pulls too hard, it draws the fabric in along the stitching line and the seam puckers. Test your tension on a scrap of the same fabric before you sew the real seam. The stitches should look the same on both sides, with no loops and no pulling. If the seam puckers on the scrap, loosen the top tension a little and test again.
The third cause is stitch length. A stitch that is too short packs too many stitches into a short distance and gathers the fabric. For most medium weight wovens, a stitch length of around two and a half millimetres works well. For lightweight fabrics, go a little longer. For heavy fabrics, go longer still. The fourth cause is handling: pushing or pulling the fabric through the machine instead of letting the feed dogs move it. Guide the fabric gently and let the machine do the feeding.
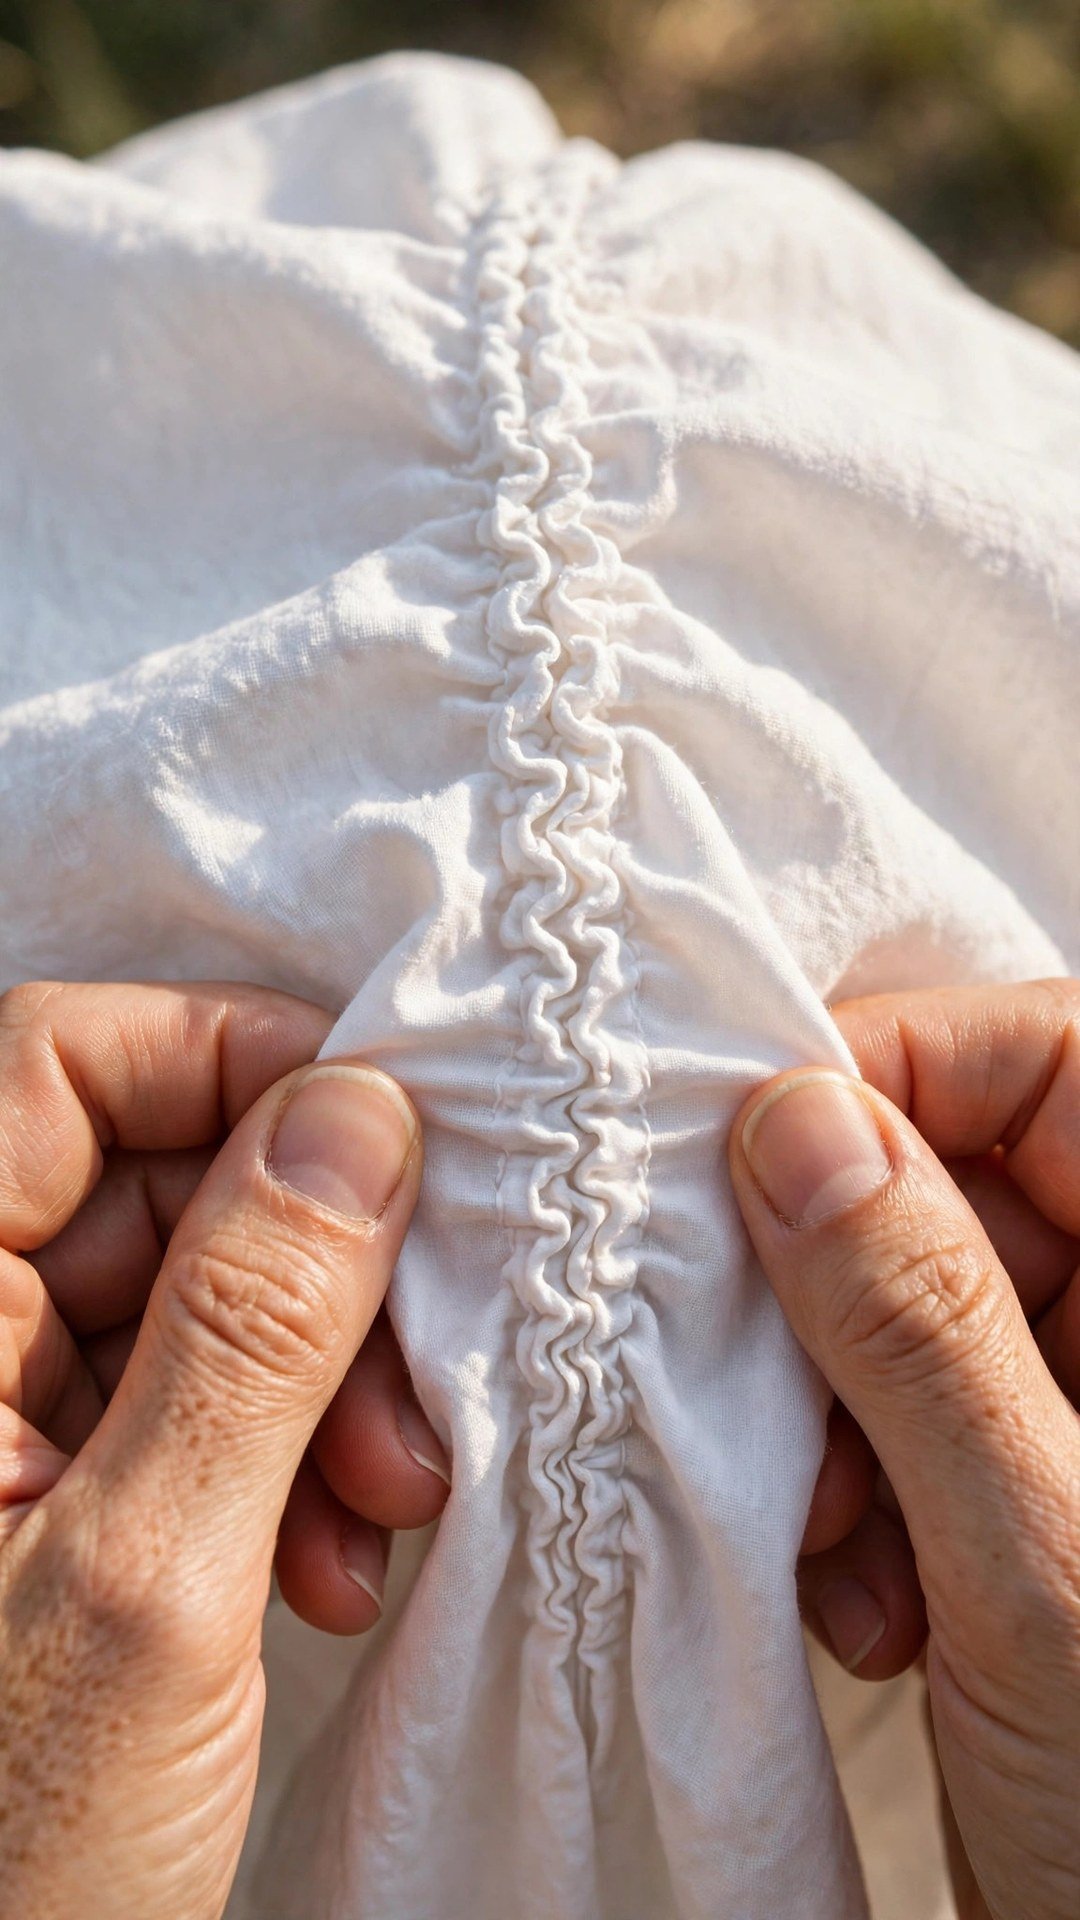
How to Fix a Puckered Seam You Already Sewed
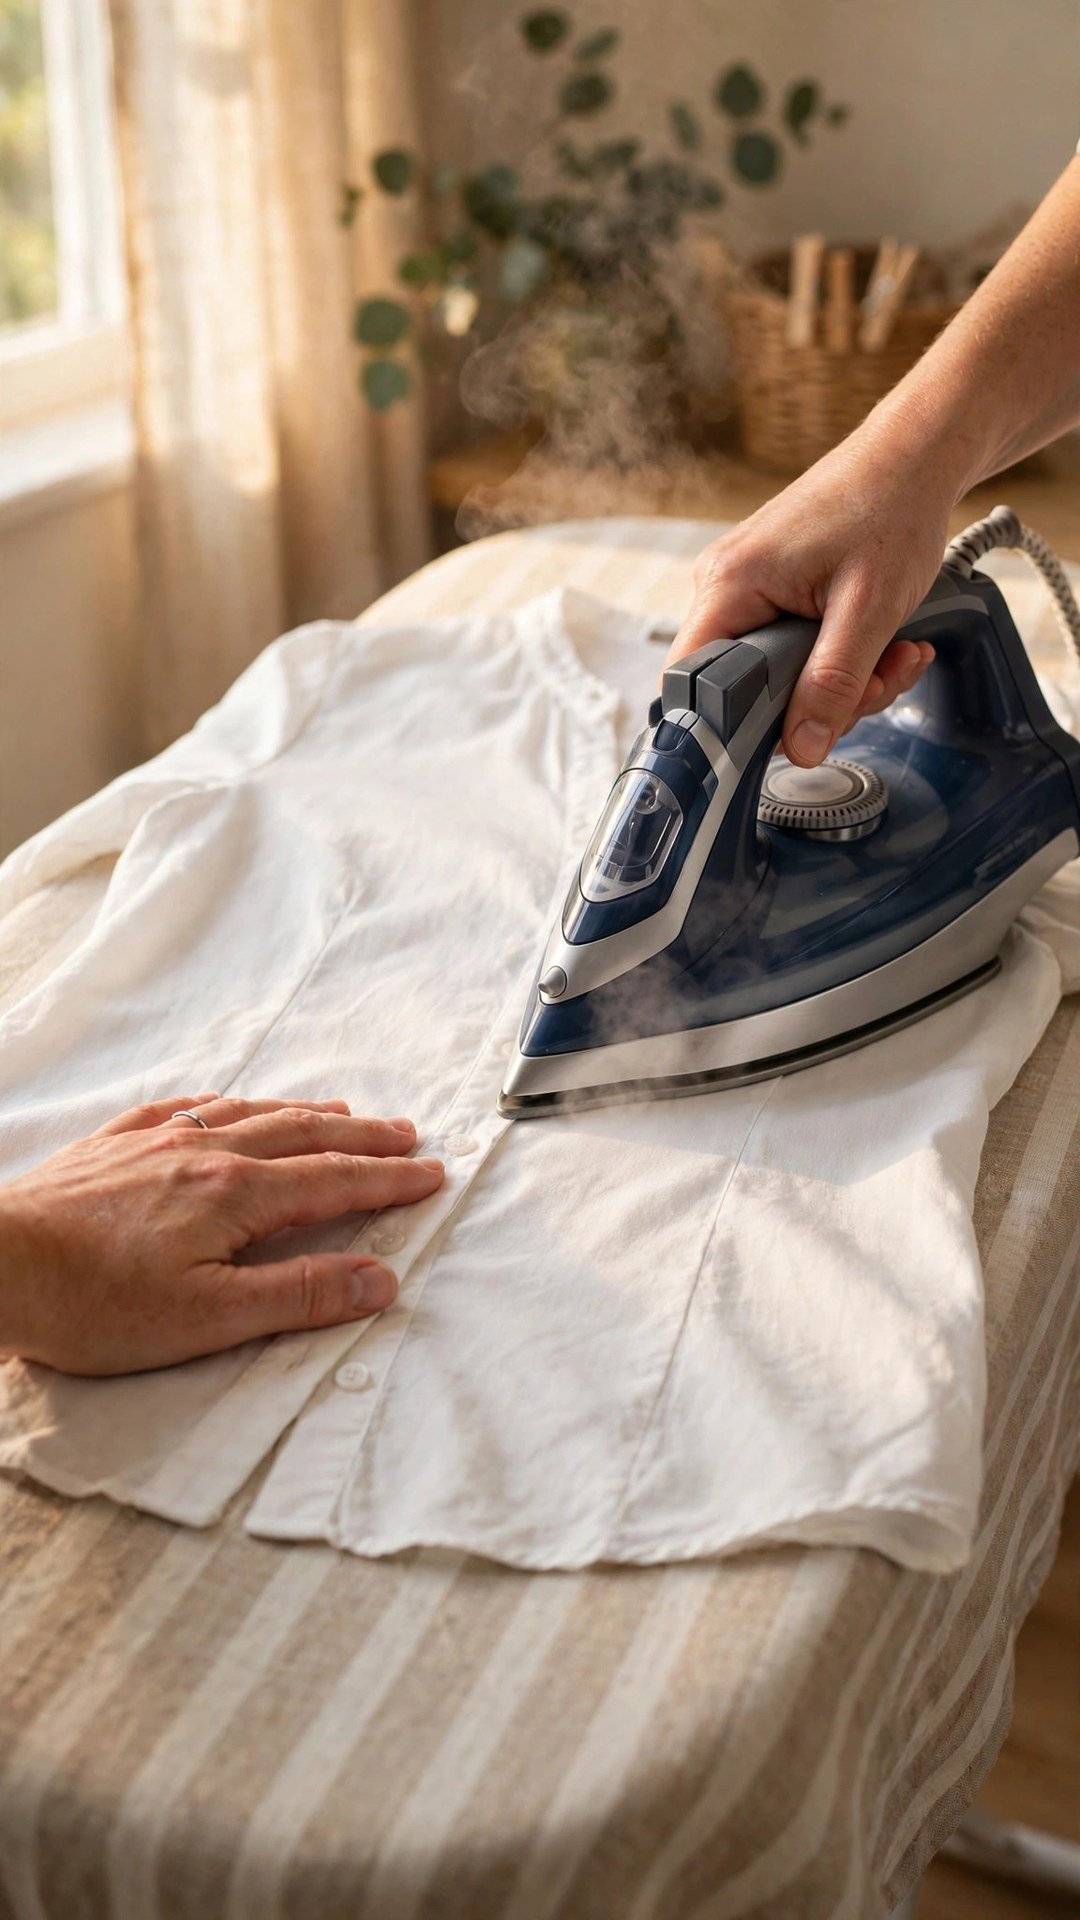
Before you reach for the seam ripper, try pressing. Press the seam from the wrong side first, with steam, and then from the right side with a press cloth. Press, lift, and hold the iron in place for a few seconds rather than sliding it, which can stretch the seam. On cotton and linen, a good press fixes mild puckering completely. On synthetics, use a lower heat and a press cloth, because too much heat can set the pucker permanently.
If pressing does not fix it, the seam needs to come out. Unpick it carefully with a seam ripper, working from the wrong side and cutting every third or fourth stitch, then pulling the thread free. Press the fabric flat to remove the old stitch holes, then check your machine setup before you sew it again. A fresh needle, a test scrap, and a slightly longer stitch length are the three changes I make first.
When you re-sew, use a walking foot if you have one. A walking foot feeds the top layer at the same rate as the bottom layer, which stops the layers from shifting and puckering. It is the single most useful presser foot for puckering problems, especially on slippery fabrics and on long seams. My guide to how to use a walking foot explains how to fit one and when to use it. For a deeper look at preventing this problem from the start, see my guide to how to reduce fabric puckering.
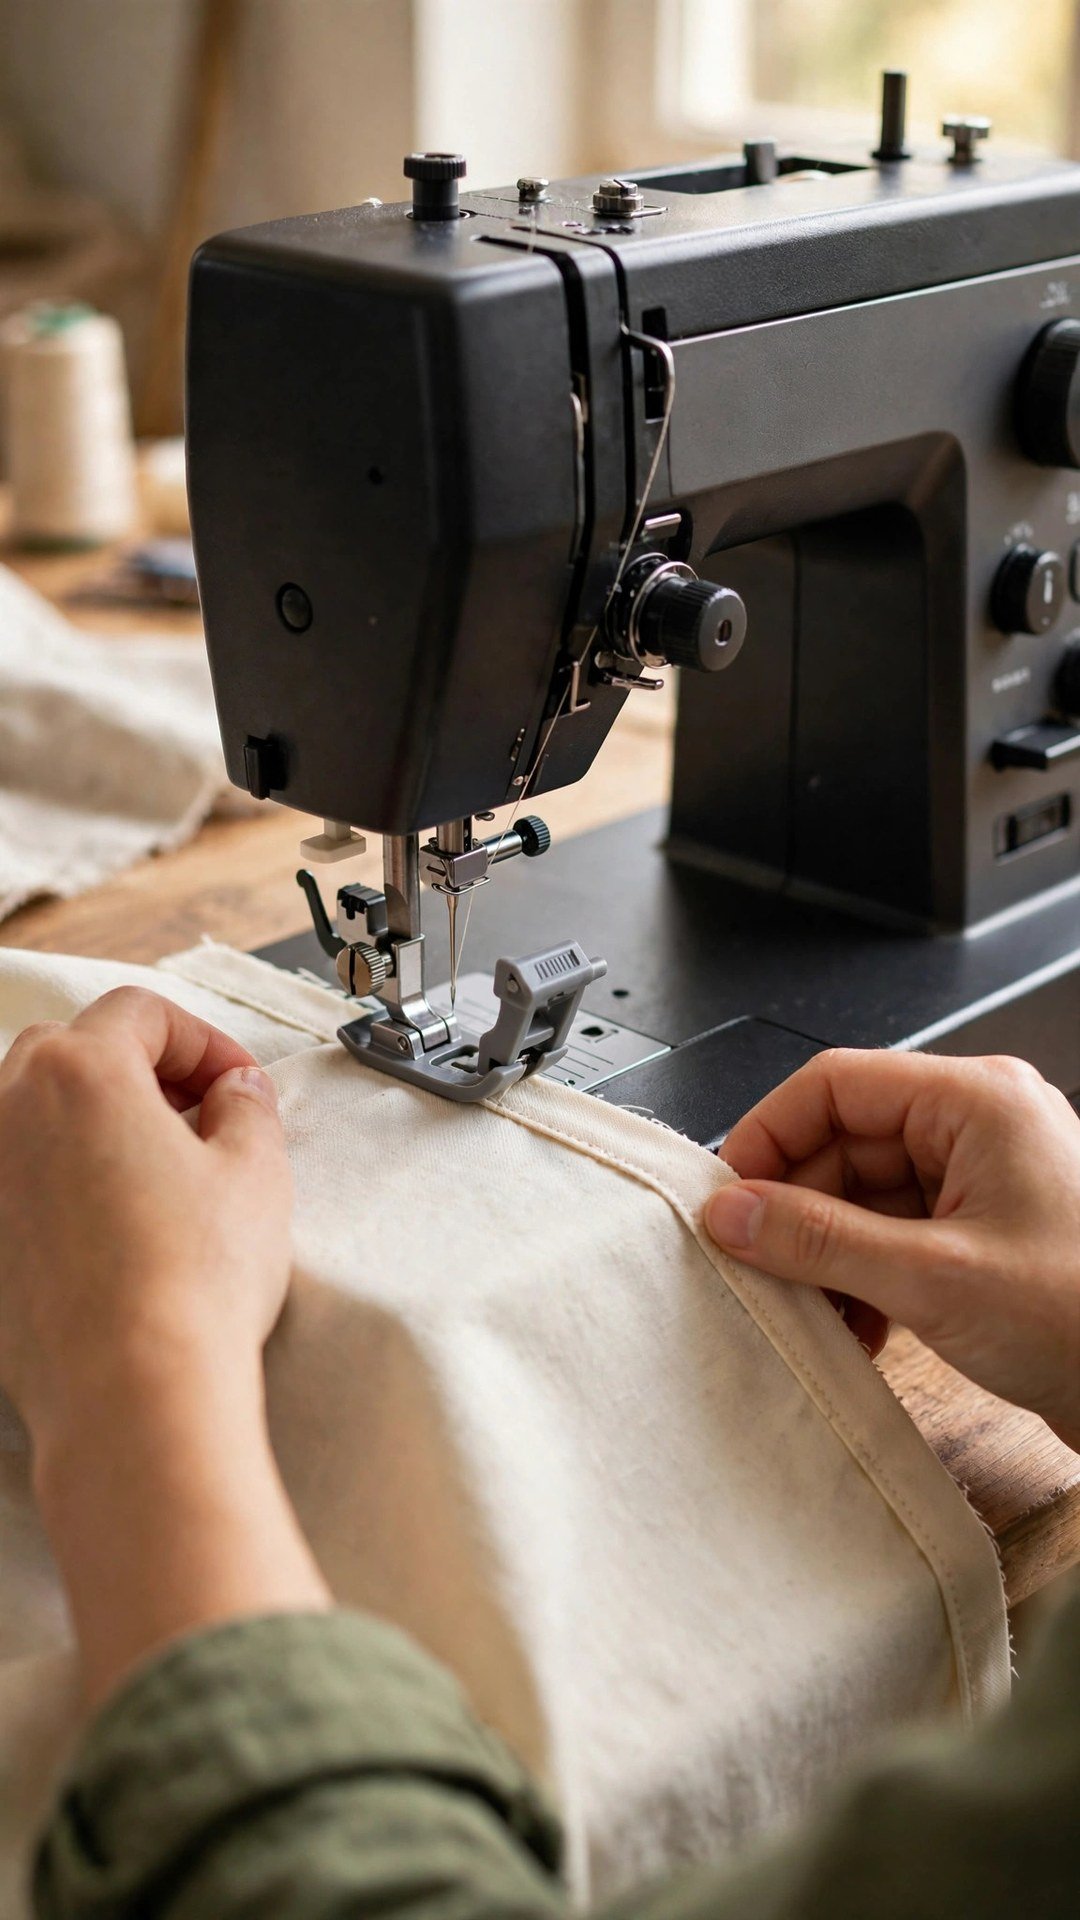
Set Up Your Machine to Prevent Puckering
Prevention starts with a test seam. Before you sew a real seam, sew a test on two layers of the same fabric, with the same thread and the same settings you plan to use. Look at the test seam from both sides. It should lie flat, with even stitches and no rippling. If it puckers, change one thing at a time until it lies flat. Change the needle first, then the tension, then the stitch length, testing after each change so you know what fixed it.
Stabilising helps on tricky fabrics. For a lightweight or slippery fabric, a strip of tissue paper under the seam gives the feed dogs something to grip, and you tear it away afterwards. A light fusible stay tape along a shoulder seam or a neckline stops the seam from stretching and puckering as you sew. For help with stitch settings, my guide to how to adjust stitch length and width walks through finding the right length for your fabric weight.
Fabric Handling Habits That Stop Puckering
How you hold the fabric matters as much as your machine settings. Let the feed dogs pull the fabric through, and guide it gently with your hands, one in front of the needle and one behind. Do not push from behind and do not pull from the front. Pushing creates folds ahead of the needle, and pulling stretches the fabric so it puckers when it relaxes.
Pin or clip generously on long seams, placing pins across the seam line so the layers cannot shift. On a slippery fabric, use clips instead of pins, because pins can leave marks and the fabric can still slide. Basting a tricky seam by hand before machine stitching takes a few minutes and it is worth it on a fabric that wants to move. My guide to how to prevent layers from shifting has more techniques for keeping layers together while you sew.
When Puckering Means Something Else
Sometimes puckering is a symptom of a bigger problem. If your thread keeps breaking as well as puckering, check the threading path and the bobbin. A thread that is not seated properly in the tension discs will pucker and snap. Rethread the machine with the presser foot up, so the thread seats correctly in the tension discs, and check the bobbin is wound evenly. Rethread carefully and check the bobbin is wound evenly before you test again.
If the puckering appears only on one fabric and never on others, the fabric may be the problem. A very lightweight fabric with a loose weave puckers easily, and it may need a stabiliser or a different needle. A fabric that was cut off grain can pucker along the seam because the threads are not running straight. Check the grain before you cut, and stabilise the seam if the fabric is very fine.
If the puckering is worst at the start and end of a seam, your machine may be eating the fabric at the beginning. Hold the thread tails behind the needle for the first few stitches, or start sewing on a scrap leader, a small folded piece of fabric that you sew onto before the real seam. This stops the needle from pushing the fabric down into the plate at the start of the seam.
Frequently Asked Questions
Can pressing fix a puckered seam?
Often, yes. Mild puckering on cotton and linen usually presses out with steam and a press cloth. Press from the wrong side first, hold the iron in place rather than sliding it, and let the seam cool before you move it. Severe puckering usually needs the seam to be unpicked and re-sewn.
What needle should I use to stop puckering?
Use a fresh, sharp needle matched to your fabric. A microtex needle suits lightweight wovens, a universal needle suits medium wovens, and a ballpoint needle suits knits. A dull or heavy needle is one of the most common causes of puckering, so change your needle at the start of every project.
Does stitch length affect puckering?
Yes. A stitch that is too short packs too many stitches into the fabric and gathers it. Lengthen the stitch slightly and test on a scrap. For most medium weight wovens, a stitch length around two and a half millimetres is a good starting point.
Will a walking foot stop puckering?
It helps a great deal, especially on slippery fabrics and long seams. A walking foot feeds the top and bottom layers together so they cannot shift. It is one of the best investments for anyone who sews with tricky fabrics.
Why does my seam pucker only on lightweight fabric?
Lightweight fabrics have less body to resist the pull of the thread, so they pucker more easily. Use a sharp microtex needle, a slightly longer stitch, a lighter tension, and a strip of tissue paper under the seam if needed. Handle the fabric gently and support its weight while you sew.
Press first, unpick if you must, and then change one thing at a time until the test seam lies flat. Once you know your fabric, your needle, and your tension, flat seams become the habit and puckering becomes the rare exception.

Written by June Carter
I am June, a sewing enthusiast who loves turning simple fabric into things people actually use. I test every technique and product I write about at my own machine before it lands here.