

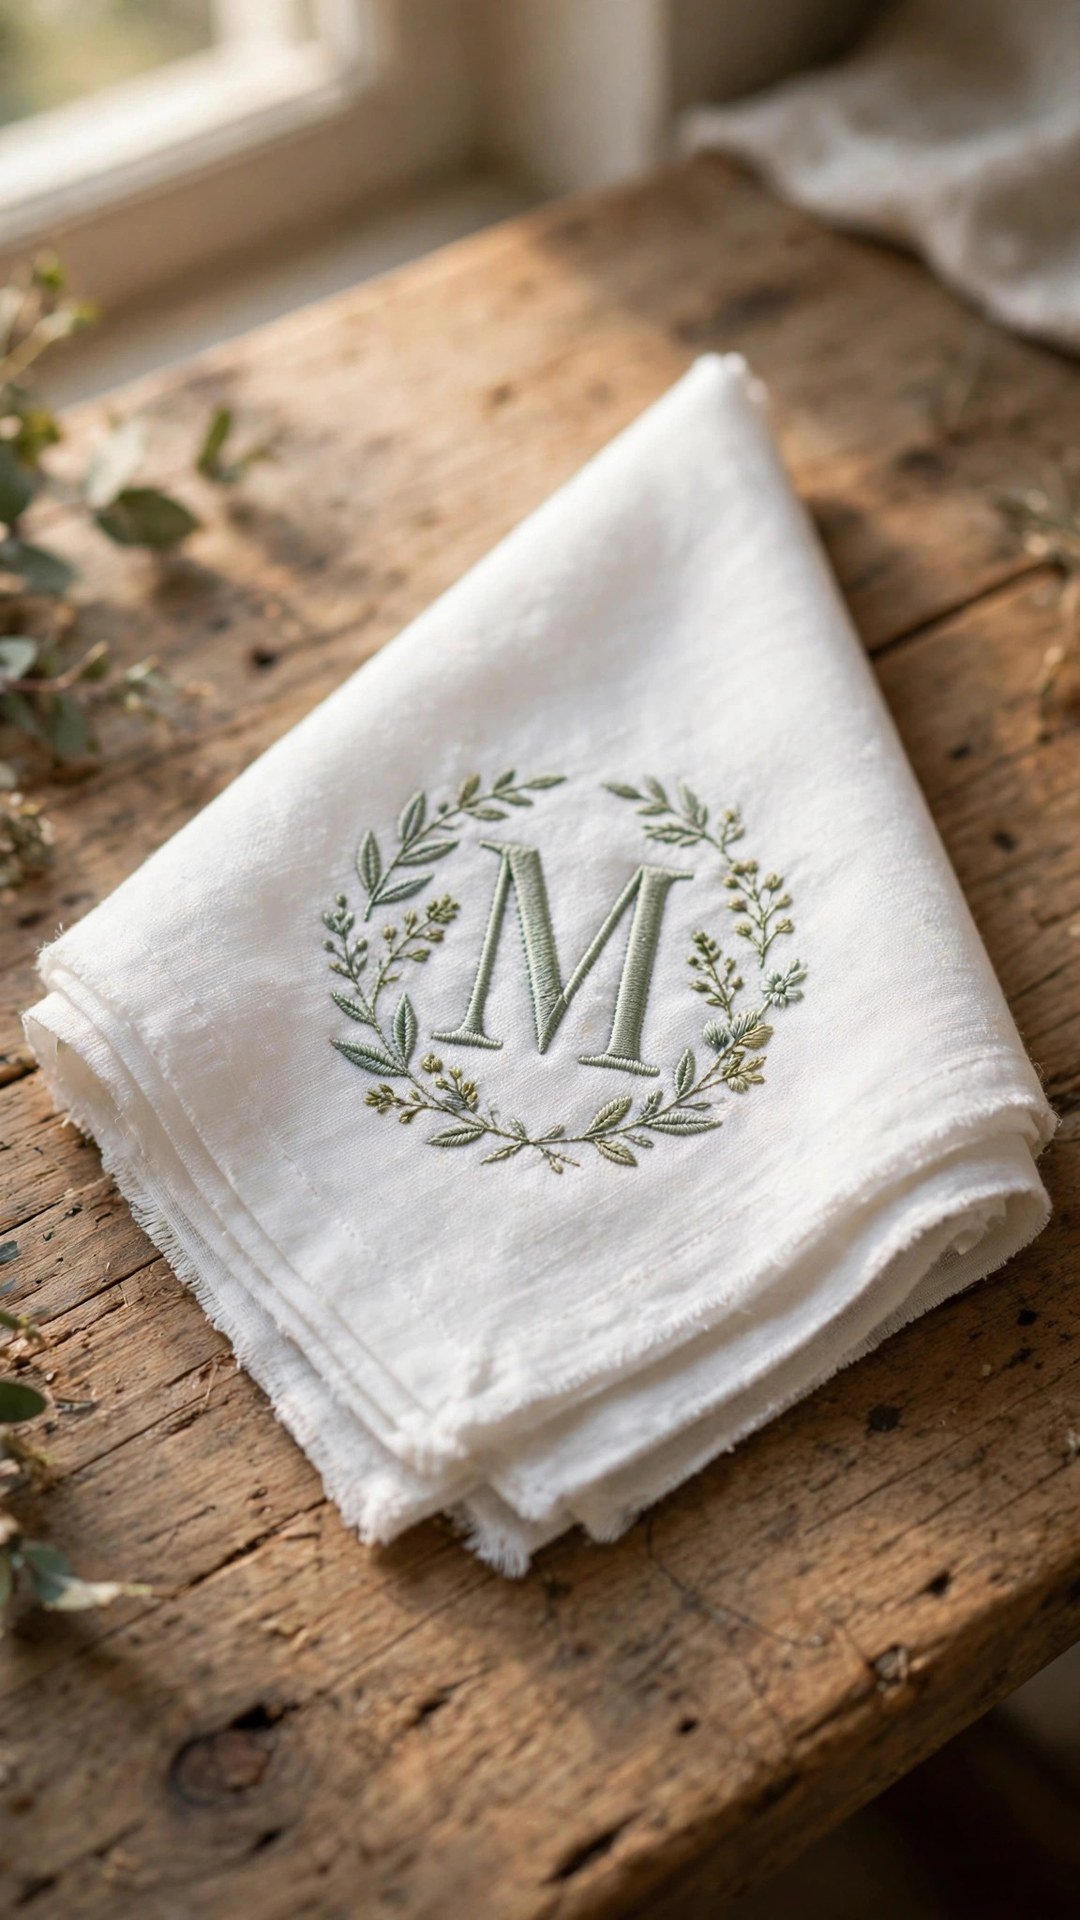
Learning how to sew a simple embroidered monogram is a lovely way to make a plain item feel personal. A single letter, stitched neatly in a colour you love, turns a handkerchief, a towel, a baby blanket, or a shirt cuff into a keepsake. It is also one of the best first embroidery projects, because it teaches you satin stitch, backstitch, and good tension on a small, forgiving design.
I stitched my first monogram on a handkerchief for my mother, and I still remember how pleased I was when the letter came out smooth and even. Since then I have monogrammed towels, pillowcases, tote bags, and a set of napkins for a friend’s wedding, and each one took less than an hour. The secret is a clear transfer, a steady hoop, and stitches that are close together and evenly tensioned.
This guide covers choosing a letter style, transferring it to fabric, stabilising the fabric, stitching the letter with satin stitch and backstitch, and finishing the back neatly. Pick a letter, pick a thread colour, and stitch something that carries your name with pride.
Choosing a Letter Style and Size
A monogram starts with a letter, and the style you choose sets the tone of the whole piece. A simple serif capital, printed in a clear font at about one to two inches tall, is the easiest to stitch and the most readable. Script letters look elegant but are harder to fill neatly, so save them for your second monogram, when your satin stitch is steadier. Print the letter on paper first and check the size against your fabric, because a letter that is too small is fiddly and a letter that is too large is hard to fill evenly.
Keep the design simple for your first monogram: one letter, one colour, and a small border or a few French knots if you want a little extra. A single initial is classic, while two or three initials in a row make a lovely gift. Choose a thread colour that contrasts enough with the fabric to be seen, but not so strongly that it overwhelms the piece. A soft pink on white linen, or a deep blue on cream cotton, are both timeless choices.
Transferring the Letter to Fabric
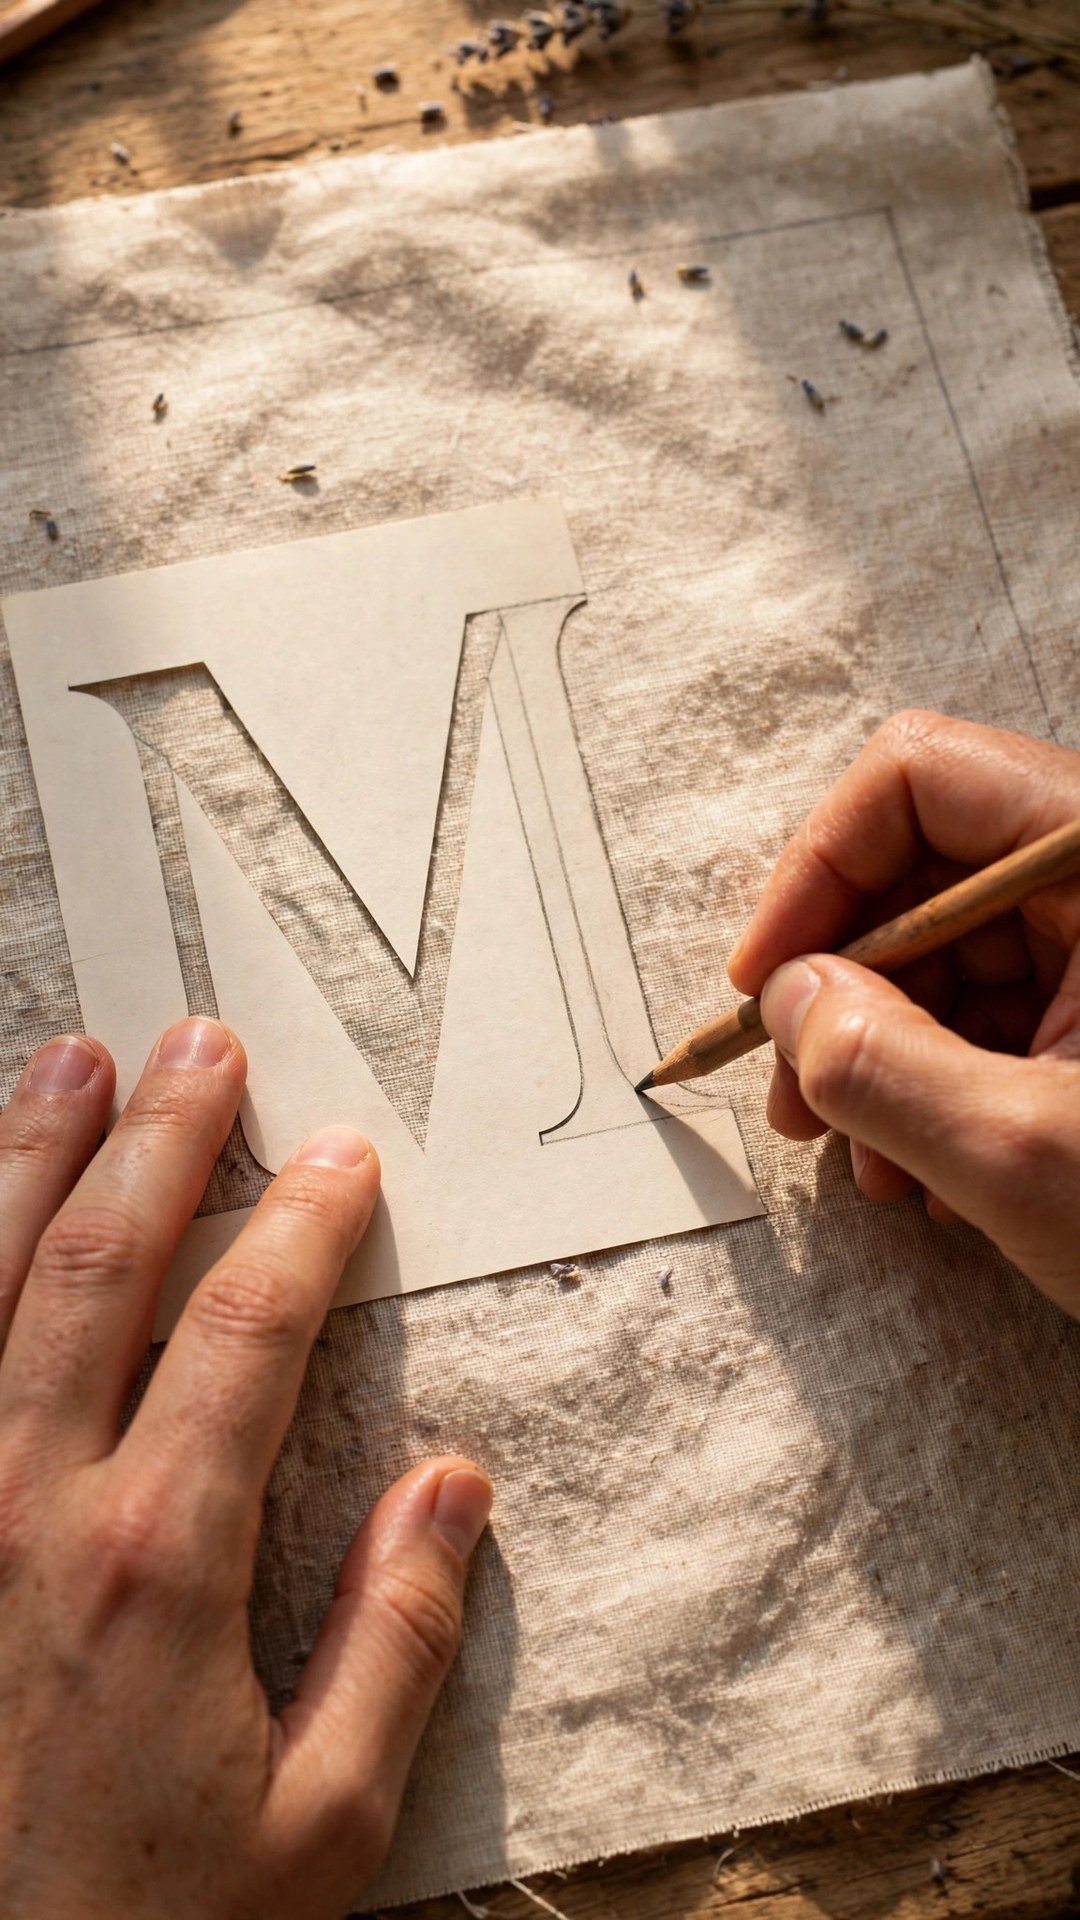
Transfer the letter clearly, because every stitch follows the lines you draw. Trace the printed letter onto your fabric using a lightbox or a bright window, with a water soluble pen or a sharp pencil, and check that the lines are complete and smooth. For dark fabric, use white transfer paper or a water soluble stabilizer with the letter printed on it, so the lines are visible against the fabric.
Centre the letter carefully on your fabric, measuring from the edges or from a fold, because a monogram that sits off centre is very noticeable. Mark the centre of the letter and the centre of the fabric with a small cross, and line them up before you trace. My guide to using fabric marking tools covers which pen suits which fabric, and a test on a scrap will tell you whether your marks wash out cleanly.
Stabilising and Hooping the Fabric
Stabilizer is what keeps a monogram smooth and flat, so do not skip it. Iron a lightweight fusible stabilizer to the back of your fabric, or hoop a tearaway stabilizer behind it, and check that the fabric is taut in the hoop but not stretched out of shape. The fabric should feel like a drum skin when you tap it: firm, but not distorted. If the weave looks pulled, loosen the hoop and reset the fabric.
Use a hoop that is a little larger than your letter, so the whole design sits inside the hoop with room to spare. A hoop that is too small forces you to move it mid stitch, which distorts the stitches. For more on choosing stabilizer, my guide to choosing embroidery stabilizer explains the weights and types, and stabilizing fabric for decorative stitching covers the hooping technique in detail.

Stitching the Letter with Satin Stitch
Satin stitch is the classic monogram stitch, and it fills the letter with smooth, parallel threads that catch the light beautifully. Work with two or three strands of embroidery floss, and bring the needle up on one side of the letter, across the shape, and down on the other side, keeping each stitch close to the last with no gaps. Work slowly and keep the tension even, so the stitches lie flat and the edges stay straight.
For curved parts of the letter, angle the stitches slightly to follow the curve, like the spokes of a fan, so the satin stays smooth around the bend. For straight parts, keep the stitches parallel. If the letter has thin strokes, use backstitch instead of satin stitch, because satin stitch needs some width to look good. Outline the letter first with a row of split stitch or backstitch to give the satin a clean edge to work against, and fill inside the outline.
Finishing the Back and Pressing
A neat back is the mark of careful embroidery, so finish it properly. Weave your thread ends under the stitches on the back rather than knotting them in a lump, and trim the ends close. Remove the stabilizer according to its type, tearing away tearaway stabilizer gently, or washing away water soluble stabilizer in cool water, and let the piece dry flat.
Press the finished monogram from the wrong side, with a soft towel underneath to protect the stitches, and use a warm iron with no steam at first, so the stitches keep their shape. Pressing from the right side can flatten satin stitch, so always press from the back. Your monogram should look smooth, even, and slightly raised, with clean edges and no puckering around the letter. If the fabric puckers, the hoop was too tight or the tension was uneven, and a gentle press will usually relax it.
Frequently Asked Questions
What stitch is best for a monogram?
Satin stitch is best for filling wide letters, because it gives a smooth, lustrous finish. Use backstitch or stem stitch for thin strokes and outlines, and French knots for decorative dots.
How big should a monogram be?
About one to two inches tall is a good size for a first monogram. Smaller letters are fiddly to fill, and larger letters take longer and are harder to keep even.
Do I need stabilizer for a monogram?
Yes. Stabilizer keeps the fabric taut and stops it puckering while you stitch. Use a lightweight fusible or tearaway stabilizer on cotton and linen, and a water soluble stabilizer on stretchy fabric.
How do I transfer a monogram letter to fabric?
Trace it with a lightbox or a bright window using a water soluble pen, or use white transfer paper on dark fabric. Centre the letter carefully before you trace, and test the marking tool on a scrap first.
Where can I put an embroidered monogram?
Handkerchiefs, towels, pillowcases, napkins, tote bags, shirt cuffs, and baby blankets are all classic spots. Choose a flat, stable area of fabric where the letter will sit neatly.
A simple embroidered monogram is a small project with a large feeling, and it is one of the most satisfying things you can stitch by hand. Choose a clear letter, transfer it carefully, stabilise and hoop the fabric, and fill it with smooth, even satin stitch. Press it gently from the back, and enjoy the moment you hold up a plain piece of fabric that now carries a name. Stitch one for yourself first, then one for someone you love, because a monogrammed gift is always received with a smile. If you want to add more decoration, my guide to decorative machine stitches offers machine stitched borders that pair beautifully with a hand stitched monogram.

Written by June Carter
I am June, a sewing enthusiast who loves turning simple fabric into things people actually use. I test every technique and product I write about at my own machine before it lands here.