
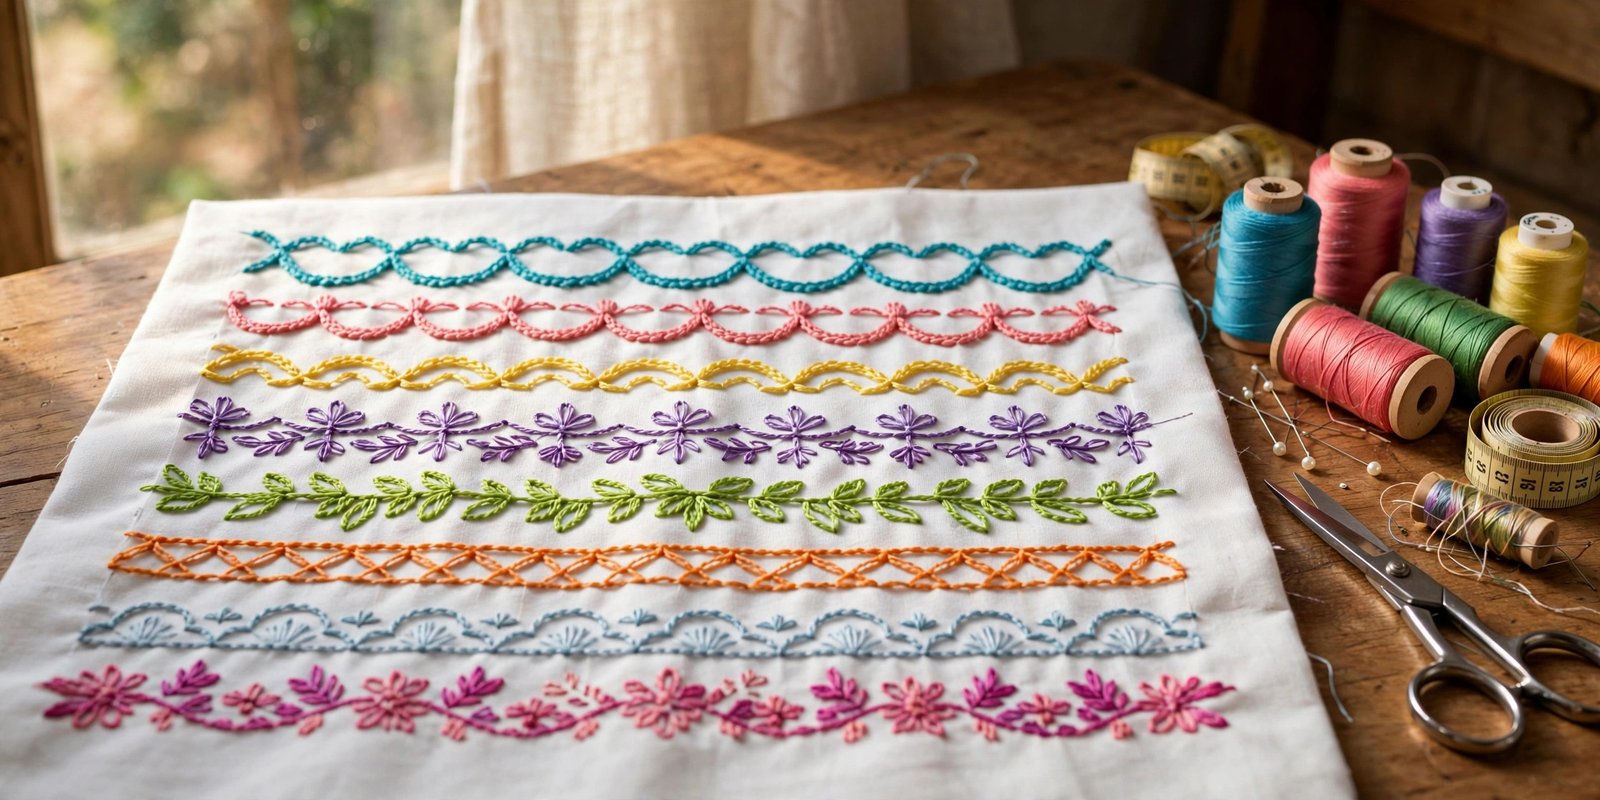
Learning how to use decorative machine stitches is the moment a sewing machine stops feeling like an appliance and starts feeling like a paintbrush. I remember the afternoon I finally stopped ignoring the little flower and scallop icons on my stitch panel and actually tried them. I stitched a row of satin leaves down the edge of a plain pillow cover and stood back thinking, why did I wait three years to touch these buttons?
Most of us buy a machine with dozens of stitches and then sew straight and zigzag for the rest of our lives. There is no shame in that, but you are leaving free decoration on the table. Decorative stitches turn hems into borders, plain pockets into focal points, and simple tote bags into gifts people assume you bought somewhere fancy. You already own the feature. Let me show you how to use it well.
What Decorative Machine Stitches Actually Are
Decorative machine stitches are pre-programmed stitch patterns built into your sewing machine: scallops, waves, leaves, hearts, honeycombs, mock hand-quilting stitches, and dozens more depending on your model. Unlike the straight stitch, which just goes forward, these patterns move the needle side to side while the feed dogs move the fabric forward, drawing a repeating motif as you sew.
Do not confuse them with embroidery machine designs. An embroidery machine moves a hooped fabric in all directions to draw complex pictures. Decorative stitches are simpler: they are linear patterns you sew exactly like a normal seam, following an edge or a marked line. That simplicity is their strength. No hoops, no software, no extra equipment. If your machine has a stitch chart printed on it or in the manual, every little icon on that chart is available to you right now.
How to Use Decorative Machine Stitches: Setup That Matters
The single biggest difference between crisp decorative stitching and a puckered mess is setup, not talent. Before you stitch anything that matters, grab a scrap of your actual project fabric and treat it like a laboratory. Sew out two or three candidate stitches, then adjust and compare. I keep a binder of stitched samplers with the stitch number and settings written beside each row, and it saves me from re-testing the same stitch every time.
Start with your machine’s default length and width for the chosen stitch. Most machines pick sensible defaults, and for your first attempts, defaults are genuinely fine. If the stitch looks too dense and the fabric is tunneling or puckering, lengthen the stitch slightly. If the motif looks sparse and stringy, shorten it. Small changes make a visible difference, so adjust one setting at a time. A refresher on how to adjust stitch length and width will make this experimentation feel natural rather than intimidating.
Sew slowly. Decorative stitches pack a lot of needle movement into a short distance, and speed is the enemy of definition. I sew decorative rows at about half my normal speed and guide the fabric gently without pushing or pulling. Let the feed dogs do their job. If your machine has a speed slider, slide it down and enjoy the control.

The Right Foot, Needle, and Thread
Swap your standard presser foot for a satin stitch foot, also called an open-toe or decorative foot. It has a groove or channel underneath that lets dense, thread-heavy stitches pass through without dragging, plus an open front so you can actually see where the motif is landing. This one foot upgrade improves decorative stitching more than anything else I know. If your machine came with one in the accessory box, that dusty little foot is about to earn its place.
Needle choice matters too. A fresh universal needle in the right size for your fabric is the baseline, and for dense satin-style stitches I prefer an embroidery or topstitch needle with a slightly larger eye, which lets the thread flow without shredding. A dull or wrong-sized needle shows up fast in decorative work as skipped stitches or frayed thread. My guide on how to choose a sewing machine needle walks through matching needle to fabric and thread.
For thread, good-quality all-purpose polyester works for most decorative stitching and holds up to washing. If you want sheen, rayon embroidery thread gives a beautiful glow, though it is a bit more delicate and fussy about tension. Variegated thread, the kind that shifts color along its length, is my favorite trick for decorative rows: one pass of stitching produces a multicolor motif with zero thread changes. Keep a few bobbins wound and ready, because decorative stitches drink thread noticeably faster than straight seams. A quick look at the best thread for sewing machines will help you stock the right basics.

Stabilize Before You Stitch
Decorative stitches lay down a heavy thread load, and light or stretchy fabric will pucker, ripple, or tunnel under it. The fix is stabilizer behind the fabric. Tear-away stabilizer is my default for medium-weight cottons: fuse or pin it behind your stitching line, sew your row, then tear it away. For knits and very drapey fabrics, a cut-away or fusible knit interfacing behaves better because it stays put through washing.
Test the combination on your scrap first, because the wrong stabilizer can be worse than none. I once stitched a dense scallop row on a lightweight blouse without stabilizer and watched the fabric gather up like a ruffle I never asked for. Five minutes of testing would have saved an hour of seam ripping. When you are happy with the test, mark your stitching line on the project with chalk or a washable marker, since decorative rows wander easily without a line to follow.
Tension deserves a test too. Sew your sample, then look at both sides. If you can see bobbin thread pulled up to the top surface, your upper tension is too tight for that stitch; if the top thread loops underneath, it is too loose. Dense stitches often want the upper tension eased slightly from your normal setting. Write the winning number next to your sample so you can repeat it.
Mirror, Elongate, and Combine Stitches
Once the basics are comfortable, your machine’s stitch editing features multiply the possibilities. Many machines let you mirror a stitch horizontally or vertically, which is how you create symmetrical borders: stitch a leaf vine down one side of a pocket mirrored against the other side. The elongate or stretch function lengthens the motif, turning a tight scallop into a lazy wave. Combining two stitches into a sequence, a row of hearts alternating with dots, for example, gives you patterns no single stitch can produce.
My honest opinion: learn one combination feature at a time. The afternoon I discovered stitch mirroring, I mirrored everything in sight and produced a table runner that looked like it was designed by a committee. One well-chosen embellishment per project is the difference between charming and chaotic. Pick the stitch that suits the item, set it up properly, and let it be the star.
Where Decorative Stitches Shine in Real Projects
Some placements flatter decorative stitching more than others. Hems are the classic: a row of scallops or leaves along the hem of a curtain, a skirt, or a child’s dress looks intentional and polished. Pocket edges are another favorite of mine: one row of stitching turns a plain patch pocket into the detail people compliment. I also love decorative rows along tote bag handles and edges, around placemats and napkins, and as quilting lines on small quilted projects.
There are places to hold back, too. I avoid decorative stitches on high-stress seams like crotch seams or bag strap anchors, where a dense decorative stitch can actually weaken the seam compared to a straight stitch. I also skip them right next to buttonholes and zippers, where the extra bulk interferes with function. Decoration should never fight the garment’s job.
If you want a practice project with instant payoff, embellish a plain pillow cover or a simple tote. One border row is all it takes to see the transformation, and the project is quick enough to finish in a single sitting. The satisfaction-to-effort ratio of decorative stitching is honestly the best in sewing, and I say that as someone who loves a complicated pattern.

FAQ
Why are my decorative stitches puckering?
Puckering almost always means the fabric needs stabilizer, the stitch is too dense for the fabric, or you are sewing too fast. Add tear-away stabilizer behind the stitching line, lengthen the stitch slightly, and slow down. Test on a scrap until the sample lies flat before touching your project.
What presser foot should I use for decorative stitches?
A satin stitch foot, also called an open-toe or decorative foot. Its groove underneath lets dense stitches feed smoothly, and the open front gives you visibility to follow your marked line. It is the single most useful accessory for this kind of sewing.
Can I use decorative stitches on stretchy fabric?
Yes, with the right preparation. Use a cut-away or fusible knit stabilizer behind the fabric so the stitches do not ripple, choose a less dense stitch, and test first. Stretch fabrics move under the needle, so go slowly and avoid stretching the fabric as you guide it.
Do decorative stitches use more thread?
Noticeably more, yes. Dense satin-style stitches can use several times the thread of a straight seam, so wind extra bobbins before you start a big decorative project. Running out of bobbin thread mid-motif is annoying, and matching the restart point perfectly is harder than it looks.

Written by June Carter
I am June, a sewing enthusiast who loves turning simple fabric into things people actually use. I test every technique and product I write about at my own machine before it lands here.