
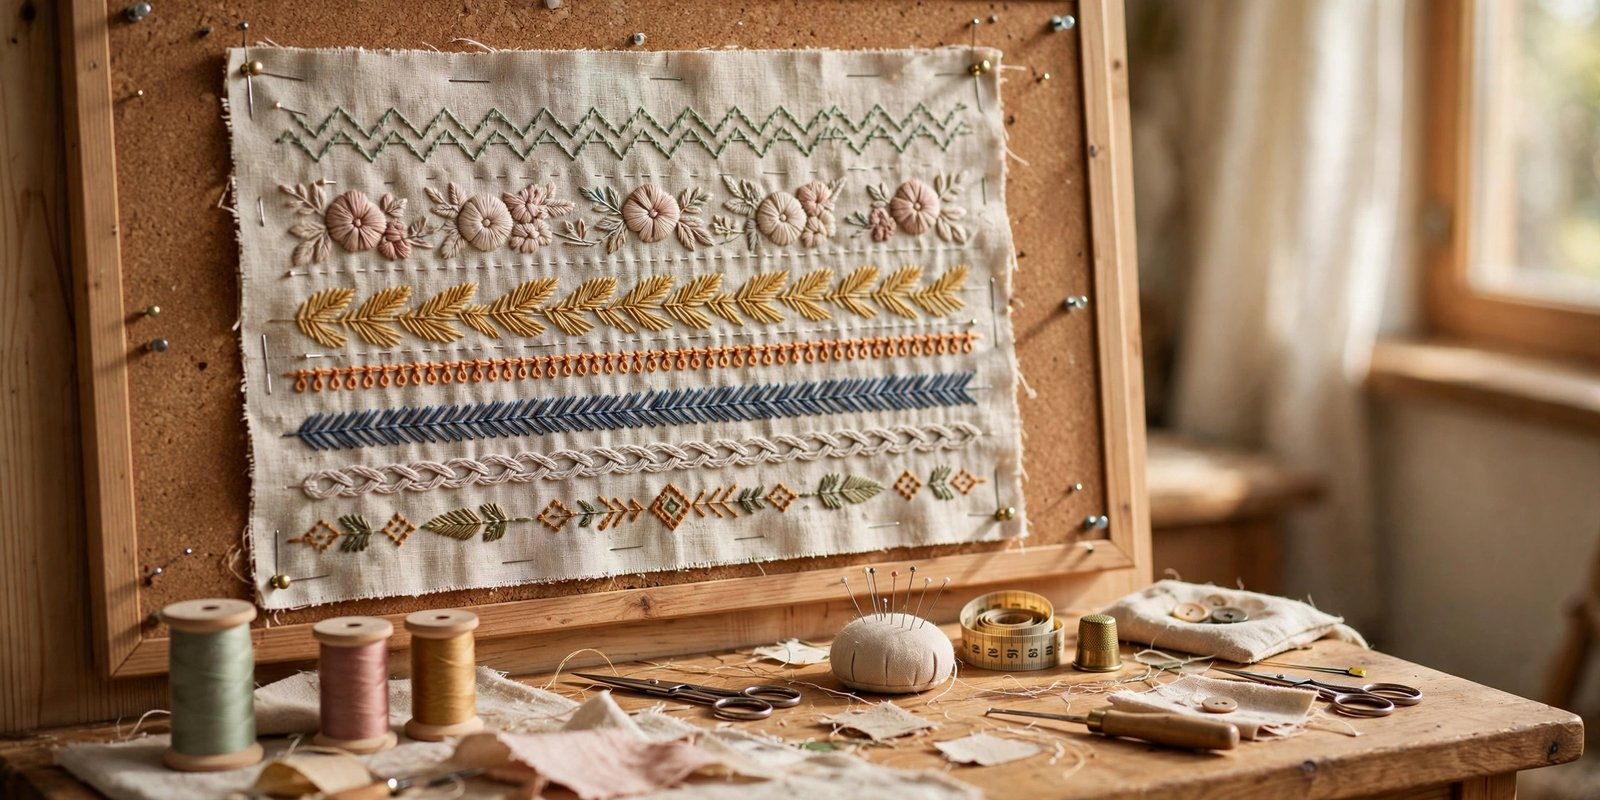
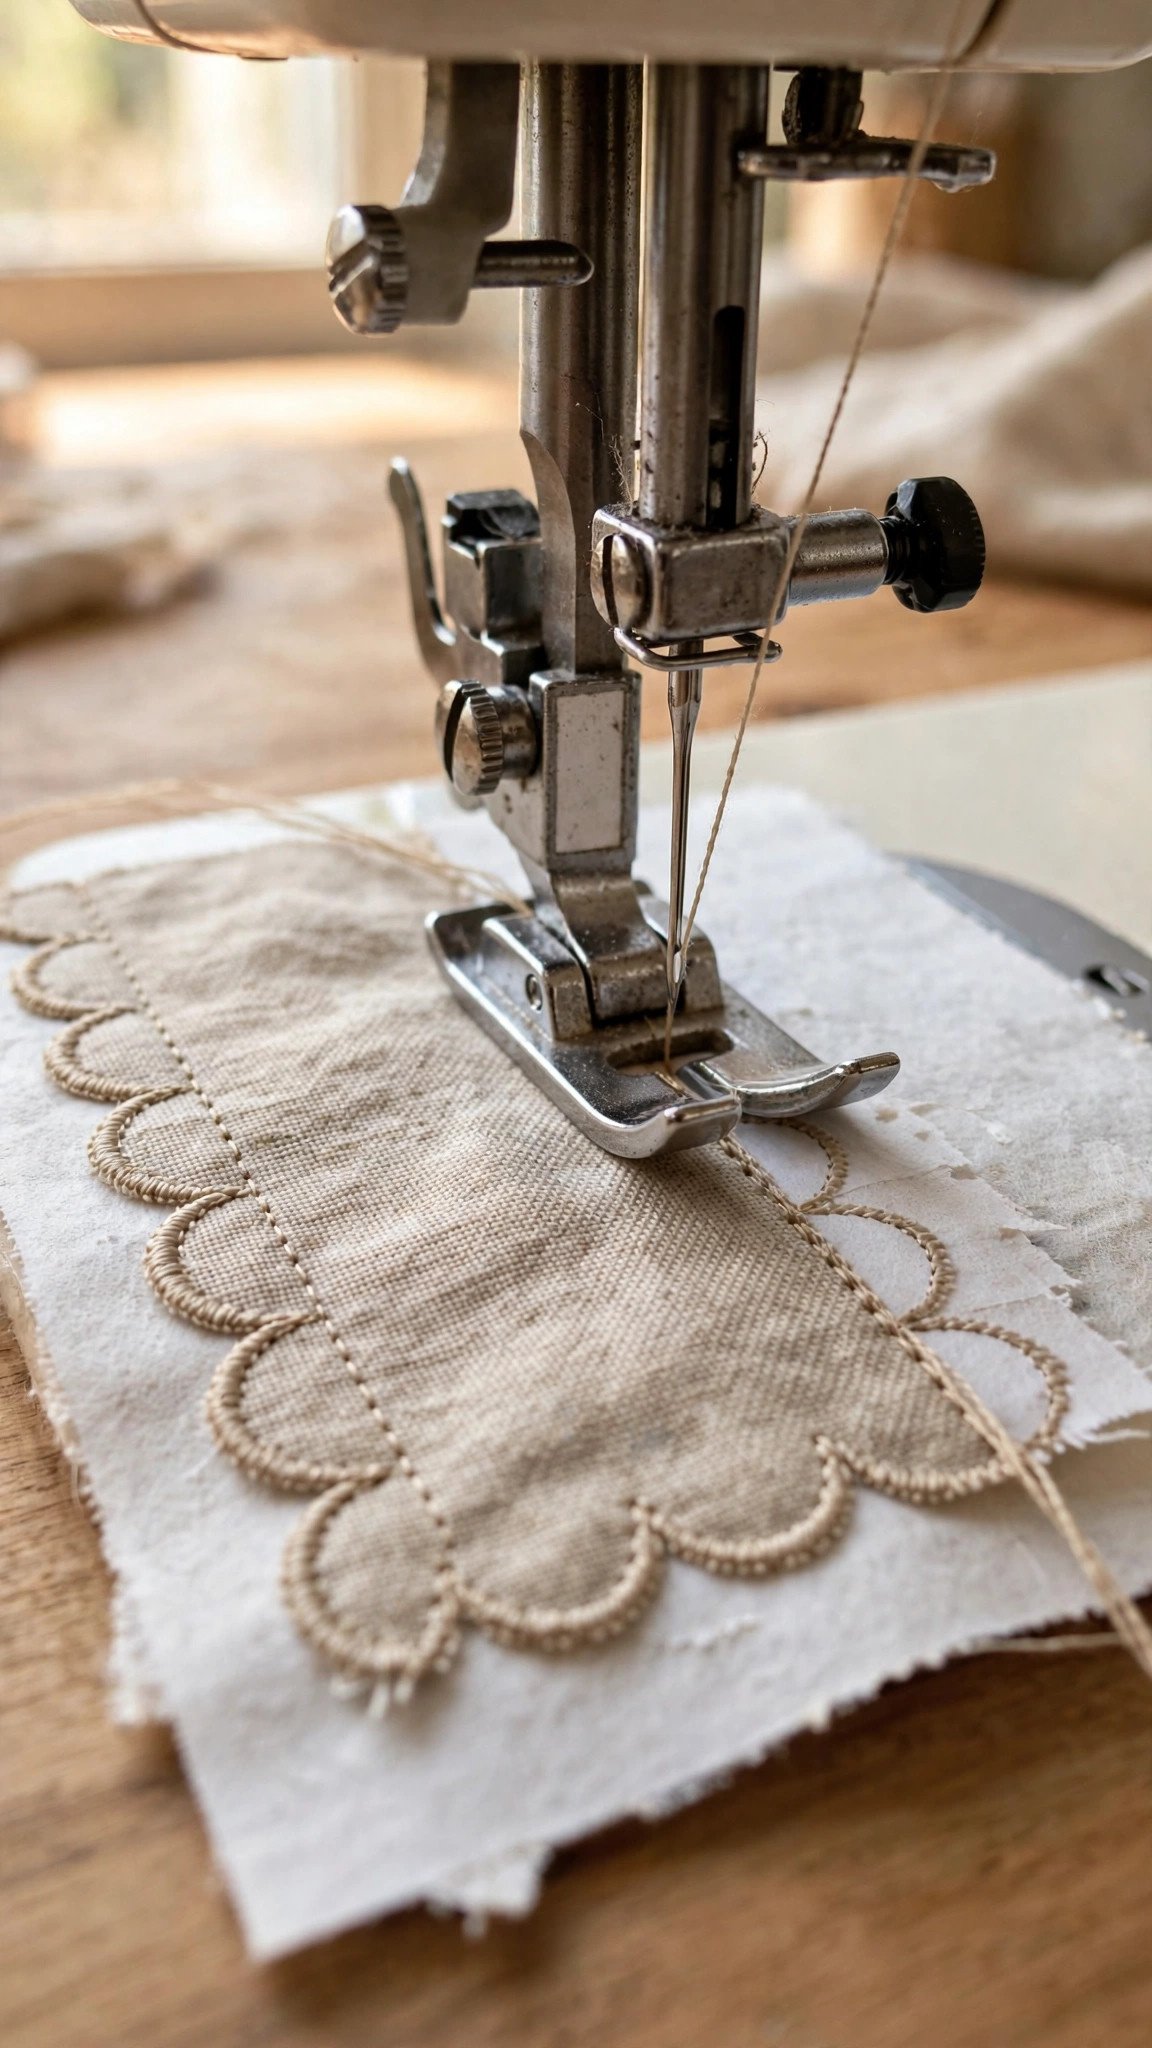
Learning how to stabilize fabric for decorative stitching is the single biggest upgrade you can make to your machine embroidery and decorative sewing. I learned this the dramatic way: I stitched a gorgeous scallop border down the front of a linen tunic, stood back to admire it, and watched the fabric ripple and pucker like a potato chip around every curve. The stitches were perfect. The fabric underneath them was ruined. One layer of tear-away stabilizer would have saved the whole project, and I have never skipped stabilizer since.
Here is the thing nobody tells beginners: decorative stitches are much denser than regular seams. Every extra needle penetration pulls the fabric a little, and hundreds of penetrations in a small area will distort almost any fabric. Stabilizer is simply a support layer that holds the fabric still while those stitches form. In this guide I will walk you through the three main stabilizer families, how to match them to your fabric, the exact hooping and stitching sequence I use, and how to troubleshoot when stitches still misbehave.
Why Decorative Stitches Pucker Without Support
A straight seam puts one line of thread into the fabric. A decorative stitch can put dozens of threads into the same square inch. Each stitch pulls the fabric threads slightly toward the needle, and with nowhere for that tension to go, the fabric buckles. Lightweight fabrics pucker worst, but I have seen quilting cotton ripple under a dense satin stitch and knits stretch into wavy ribbons under even a simple zigzag variation.
Stabilizer solves this by giving the needle something firm to stitch into alongside the fabric. Think of it as scaffolding: it does not change how the stitch looks from the front, but it keeps the ground fabric from moving while the stitch forms. The result is flat fabric, even stitch formation, and designs that look like the picture on the machine’s display instead of a sad approximation. Once you see the difference side by side, you will never go back to stitching decorative designs on bare fabric.
Know Your Stabilizers: Tear-Away, Cut-Away, and Wash-Away
There are three families, and picking the right one is ninety percent of the battle. A tear-away stabilizer for decorative stitching is the everyday workhorse: a nonwoven sheet that supports the fabric during stitching and then tears cleanly away from the back. It is ideal for stable woven fabrics like quilting cotton, linen, and denim. Use a medium weight for most decorative work, and layer two sheets for very dense designs. The big rule with tear-away: it must be genuinely supported by the stitches, so it is a poor choice for sparse, open designs where there is not enough stitching to hold it.
A cut-away stabilizer is the heavy-duty option. It does not tear; you trim it back with scissors after stitching, leaving permanent support behind the design. Cut-away stabilizer embroidery is the standard for knits, stretch fabrics, and anything that will be washed and worn repeatedly, because the support never leaves. If you are decorating a T-shirt, a sweatshirt, or baby clothes, cut-away is almost always the right answer.
Then there is the disappearing family: water soluble stabilizer, also called wash-away stabilizer. It looks like plastic film or a fibrous sheet, supports the stitching, and then rinses away completely in water. It is perfect when you cannot have any stabilizer showing, like sheer fabrics, lace effects, or the back of a double-sided project. The catch is that it must stay dry until you are done stitching, so keep your water glass far from your machine and do not press with steam until the stabilizer is gone.
Whatever you choose, always run a decorative stitch test swatch first. Cut a scrap of your actual project fabric, apply your chosen stabilizer, and stitch the real design at the real size. Five minutes of testing has saved me from more disasters than any other habit in my sewing room.
Match the Stabilizer to the Fabric
Here is my quick-reference logic. For stable wovens like cotton, linen, and canvas: one layer of medium tear-away, two for dense designs. For lightweight or loosely woven fabrics like lawn and voile: fuse a lightweight interfacing to the wrong side first for body, then add tear-away for the stitching itself. For knits and stretch fabrics, you need a stabilizer for stretchy fabric that will not let the knit do what knits love to do, which is stretch. A stabilizer for knit fabric stitching means a medium cut-away, hooped without stretching the knit, and I often fuse a light knit interfacing as well for extra insurance.
Napped and textured fabrics like velvet, corduroy, terry cloth, and fleece have a different problem: stitches sink into the pile and disappear. The fix is a stabilizer topper for velvet and its cousins, a wash-away topper laid on top of the fabric (not underneath) so the stitches form on the film instead of drowning in the nap. After stitching you tear away the excess and rinse out the rest. Use a wash-away topper on top plus your normal backing underneath, and plush fabrics suddenly behave.
For sheers like organza and chiffon, the priority is invisibility. A wash-away mesh backing disappears completely and leaves the transparency intact. For leather and vinyl, which are stable but perforate easily, a sticky-back tear-away holds the material without aggressive hooping, and you should avoid ultra-dense designs that would turn the material into perforated paper.
How to Stabilize Fabric for Decorative Stitching, Step by Step
This is my standard sequence for how to stabilize fabric for decorative stitching on a typical woven project. It takes five minutes and it works.
Step 1: Cut stabilizer larger than your design area. Give yourself at least an inch of stabilizer beyond the design on every side. Skimpy stabilizer is one of the most common causes of edge puckering, because the outer rows of stitching land on unsupported fabric.
Step 2: Attach it smoothly. For fusible types, fuse according to the manufacturer’s directions with a dry iron. For non-fusible, pin or baste the stabilizer to the wrong side of the fabric so it cannot shift. I prefer a light temporary basting around the design area over pins, which can distort lightweight fabrics.
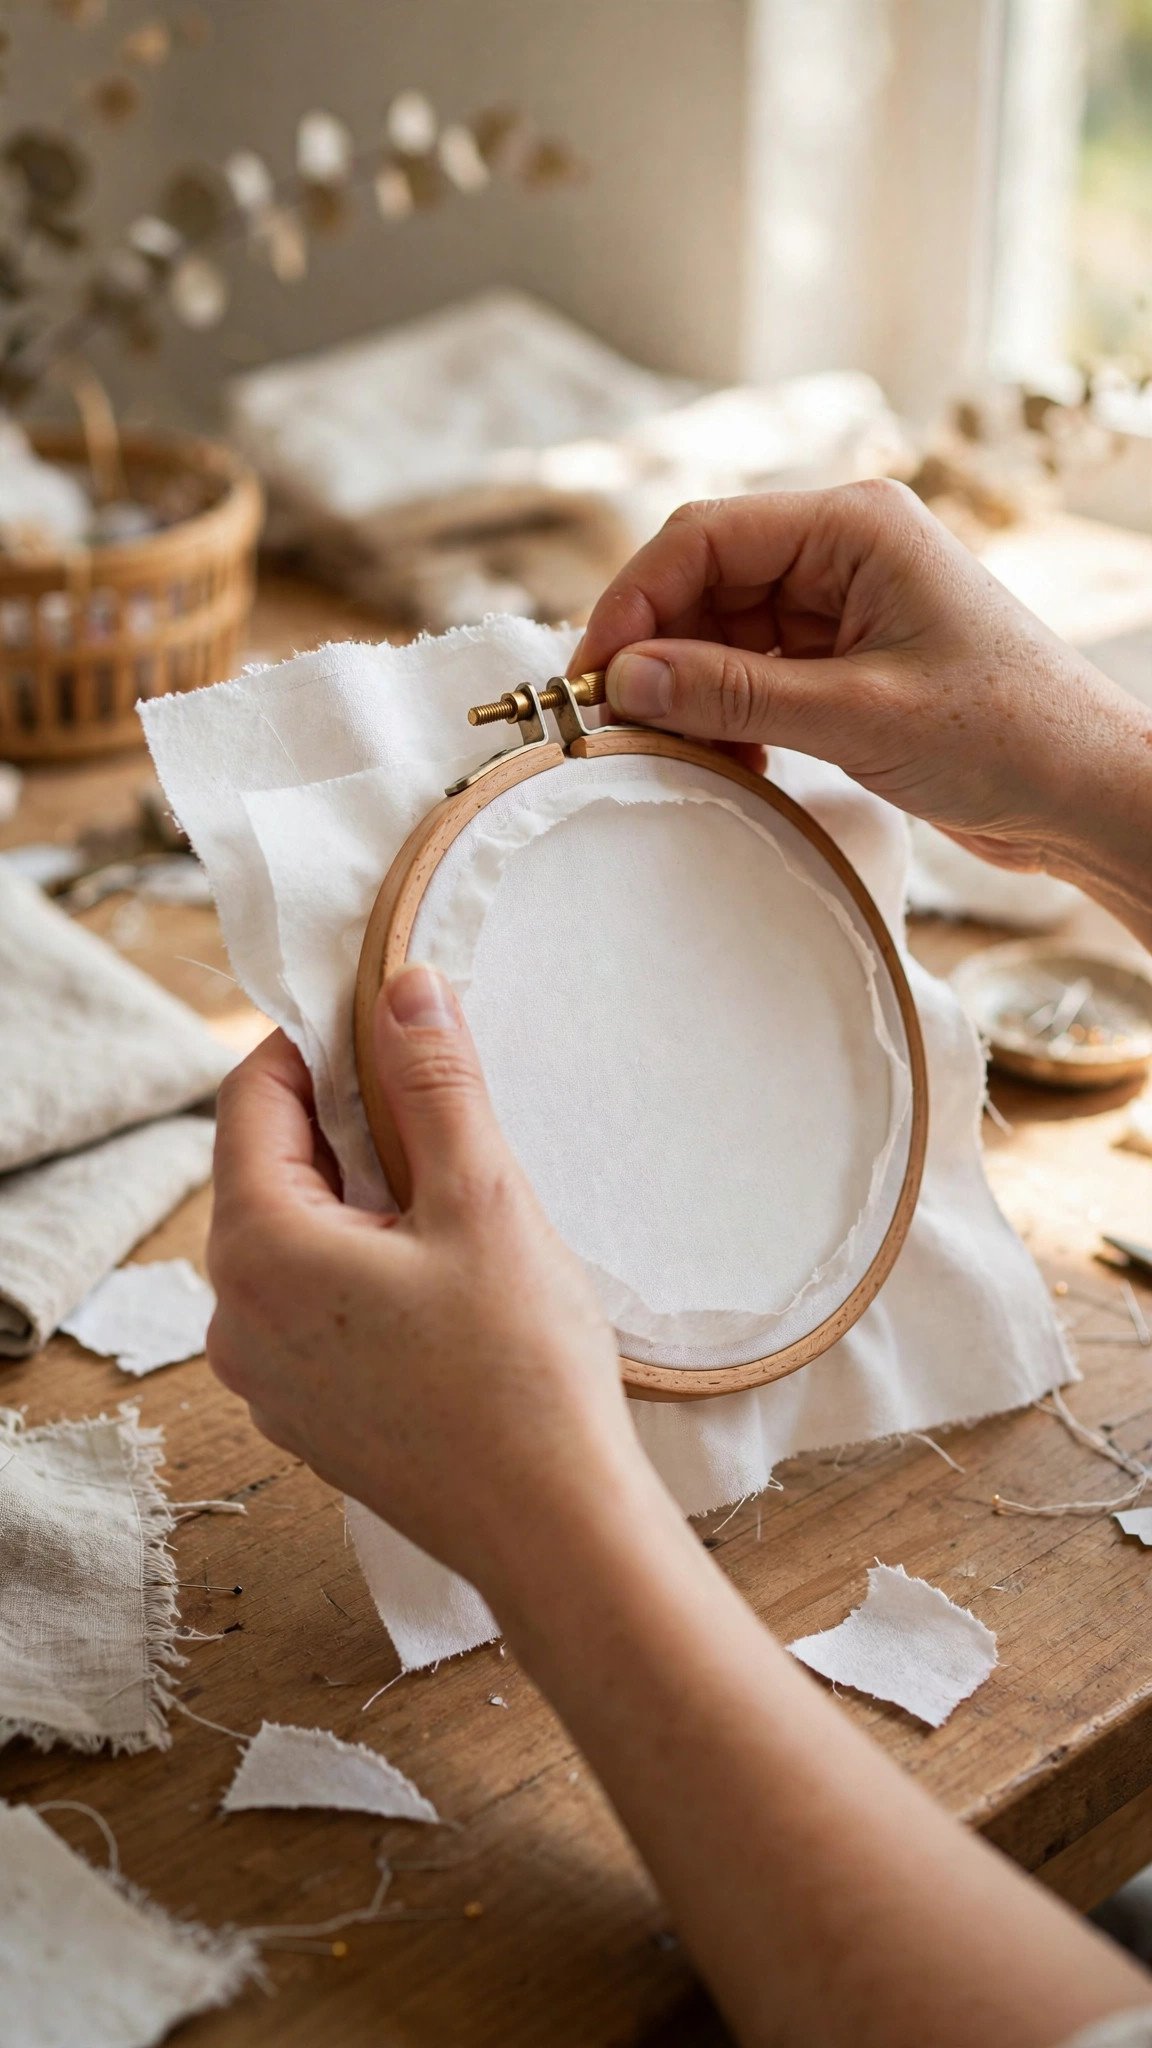
Step 3: Hoop fabric and stabilizer together. Good embroidery hooping technique matters as much as the stabilizer choice. Hoop both layers together, drum-tight but not stretched: tap the fabric and it should sound like a soft drum, not a trampoline. For delicate fabrics prone to hoop burn, hoop the stabilizer alone and float the fabric on top with a little temporary adhesive. This is also the moment to adjust your stitch length and width on a test scrap, since decorative stitches often need a slightly shorter length to look crisp.
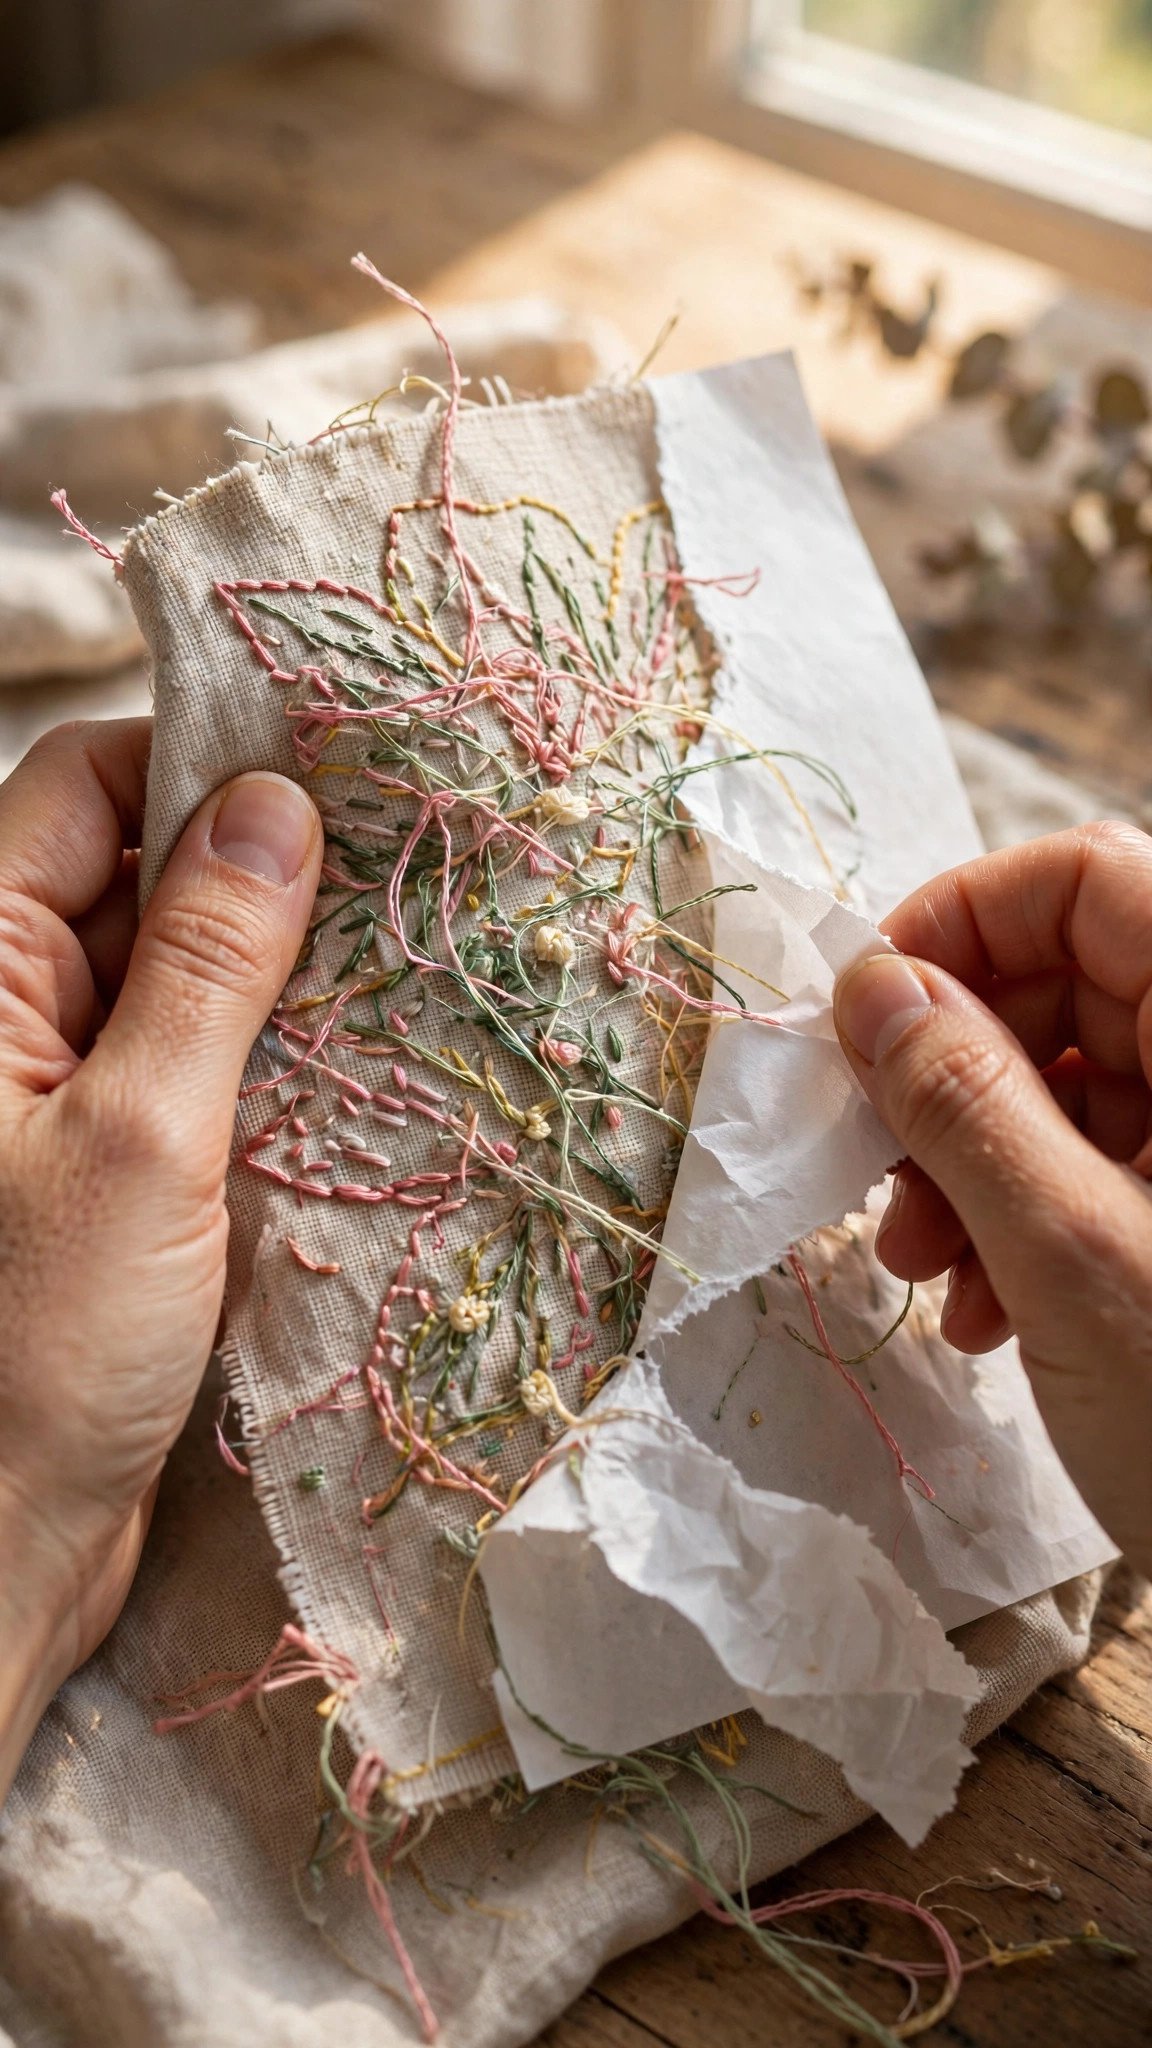
Step 4: Stitch, then remove carefully. Stitch your design, then deal with the stabilizer. Tear-away: hold the stitches with one hand and tear gently outward, supporting the design so you do not distort it. Cut-away: trim to about a quarter inch beyond the design with sharp scissors. Wash-away: rinse in lukewarm water until it dissolves, then dry flat. Never yank stabilizer off aggressively; I have seen more designs ruined in the removal step than in the stitching step.
Toppers, Hooping, and Other Details That Matter
Beyond the basics, a few details separate decent results from great ones. Thread choice matters: decorative stitching shows off thread, so choose the right thread weight for the effect you want. A 40-weight rayon or polyester gives that classic embroidery sheen, while a 30-weight thread makes bolder, more graphic designs. Match the bobbin thread sensibly and consider loosening the top tension slightly for dense satin stitches so the top thread wraps the edge properly.
Needle choice matters too. A fresh embroidery or topstitch needle with a larger eye handles decorative threads far better than a tired universal needle. Change it before an important project, not after it starts shredding thread. And slow down: decorative stitches at full machine speed are asking for trouble. Half speed gives you control, better stitch formation, and time to notice if the fabric starts to flag or pucker.
For hooping fabric with stabilizer on garments, center the design carefully and remember that the garment’s own seams and bulk can interfere with the hoop. It is often easier to hoop just the stabilizer plus a fabric section and let the rest of the garment drape outside the hoop. Patience in setup pays off in the stitching.
Troubleshooting: When Stitches Still Misbehave
If you stabilized properly and still have problems, work through this list. Puckering around the design usually means the stabilizer was too light or too small: go up a weight or add a second layer. If the fabric tunnels or ripples between rows of stitching, the layers shifted during sewing, so baste the stabilizer more securely next time or try a fusible type.
Skipped stitches on decorative designs are often a needle or speed issue rather than a stabilizer issue. Slow down, change to a fresh embroidery needle, and check that you are not pulling the fabric as it feeds. My guide to fixing skipped stitches covers the full checklist if the problem persists. If the design looks great but the stabilizer will not tear cleanly, you probably used tear-away on too open a design; switch to wash-away or trim it as you would a cut-away.
And if the back looks like a bird’s nest while the front looks fine, your tension is off: rethread the machine completely (top and bobbin), check that the presser foot is up while threading, and test again on a scrap before touching your project. Ninety percent of tension drama is a threading problem, not a machine problem.
FAQ
Can I use interfacing instead of stabilizer for decorative stitching?
Sometimes. A medium fusible interfacing adds body and works fine for light decorative stitching on wovens, and I use it as a first layer under tear-away on flimsy fabrics. But interfacing is designed to add body to garments, not to support dense stitching, so for heavy decorative work or knits, use a proper embroidery stabilizer instead.
Do I need stabilizer for decorative stitching on denim or canvas?
Honestly, often no. Heavy, tightly woven fabrics can support light to medium decorative stitching on their own, and I skip stabilizer on denim for simple designs. Add a light tear-away anyway for dense satin stitches or large filled designs, because even denim can ripple under enough needle penetrations.
Which side of the fabric does the stabilizer go on?
Backing stabilizers (tear-away, cut-away, wash-away backing) go on the wrong side of the fabric. Toppers go on the right side, on top of fabrics with nap or texture like velvet and terry cloth. You can absolutely use both at once: backing underneath, topper on top.
How do I remove stabilizer without ruining the stitches?
Support the design with one hand while you work with the other. Tear gently outward from the design, never across it. Trim cut-away with small sharp scissors rather than pulling. Rinse wash-away in lukewarm water without wringing. Slow and supported beats fast and sorry every time.

Written by June Carter
I am June, a sewing enthusiast who loves turning simple fabric into things people actually use. I test every technique and product I write about at my own machine before it lands here.