
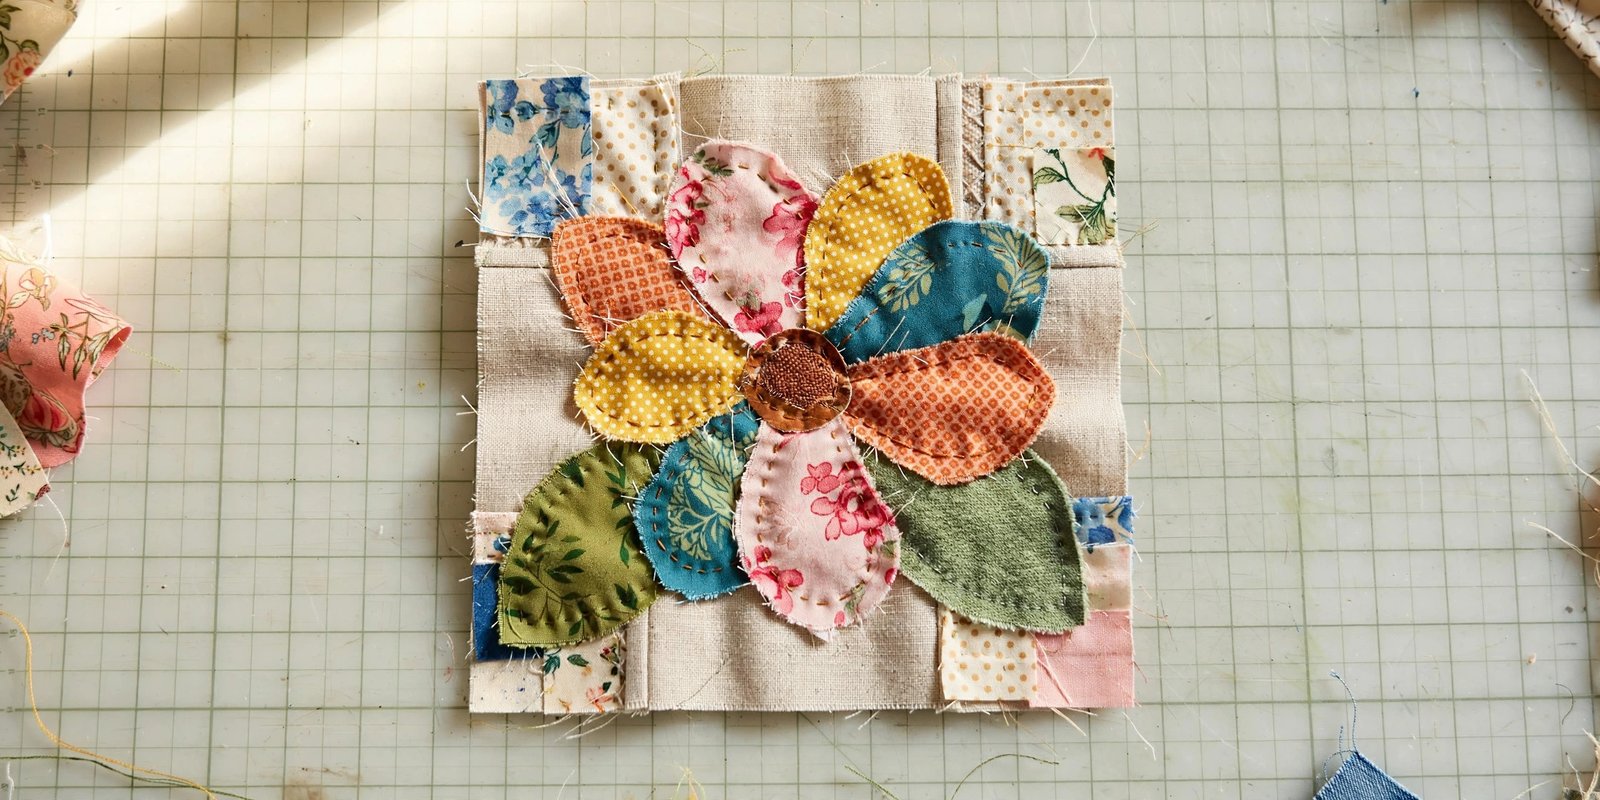
Learning how to sew raw-edge applique completely changed how I use my scrap bin. Before, I had bags of pretty offcuts I could not bear to throw away and no plan for any of them. Now those scraps become flowers on quilt blocks, initials on tote bags, and little birds on the back of a denim jacket. Raw-edge applique is the fastest, friendliest way to put a picture onto fabric, and it forgives almost everything.
If you have never tried applique, here is the idea in one sentence: you cut shapes from fabric, stick them onto a background, and stitch around each shape, leaving the raw edges exposed so they fray softly over time. It is quicker than turned-edge applique, it looks charmingly handmade, and it uses up the smallest scraps in your stash.
In this guide I will show you my exact process, from choosing a design to that last satisfying stitch around the edge. No special presser foot required, no advanced skills, just a sewing machine and a little patience.
What Raw-Edge Applique Really Is
Raw edge applique is exactly what it sounds like: applique where the edges of the shapes are left raw instead of being turned under. You stitch just inside the cut edge of each piece, and with washing and wear those raw edges fray into a soft, slightly textured halo. The result looks folksy and artistic, like something from a country quilt, and that is entirely the point.
This is different from turned-edge or needle-turn applique, where the edges are folded under and stitched invisibly for a crisp, formal look. Turned edge is beautiful, but it is slow and fussy. Raw-edge applique is the relaxed cousin: faster, easier, and honestly more fun. I reach for it whenever I want a design on a project this weekend instead of next month.
How to Sew Raw-Edge Applique: Supplies You Will Need
Your applique supplies are simple, and you probably own most of them. You need a background fabric, like a quilt block, a tote panel, or a T-shirt; fabric scraps for your motifs; double-sided fusible web; sharp scissors; an iron; your sewing machine; and thread. A fresh needle makes a real difference here, because a dull needle will chew the edges of small pieces, and my guide to choosing the right sewing machine needle explains why a sharp microtex or universal needle is my pick for this job.
The fusible web is the quiet hero of this technique. It is a paper-backed adhesive that you iron onto the back of your motif fabric, and it holds each shape exactly in place while you stitch. Without it, small pieces shift under the presser foot and your flower ends up looking seasick. Buy the lightweight sewable kind, not the heavy no-sew kind, because you want the needle to pass through it happily.
For thread, I like a slightly contrasting color for a folk-art look, or a matching color if I want the shape to speak softly. Both are correct. This is one of those techniques where your taste is the whole design brief.
Preparing Your Shapes
Start with a simple design. My strong opinion: your first raw-edge project should have big, bold shapes with gentle curves. Flowers, hearts, stars, simple animals. Avoid anything with tiny points or fiddly inner corners until you have the feel of it, because intricate shapes are frustrating to cut out and even more frustrating to stitch around.
Trace the shape onto the paper side of your fusible web, remembering that the finished shape will be a mirror image of what you draw. Iron the web onto the wrong side of your motif fabric following the package directions, let it cool, then cut out the shapes along your traced lines with sharp scissors. Clean cuts matter here, because ragged cutting shows in the finished edge, even with the charming fray.

Fusing and Placing the Pieces
Peel the paper backing off each shape to reveal the adhesive, then arrange your pieces on the right side of the background fabric. This is the fun part, so take a moment and really look at the composition. Step back, squint, move things a quarter inch. Once you fuse the applique, it is committed.
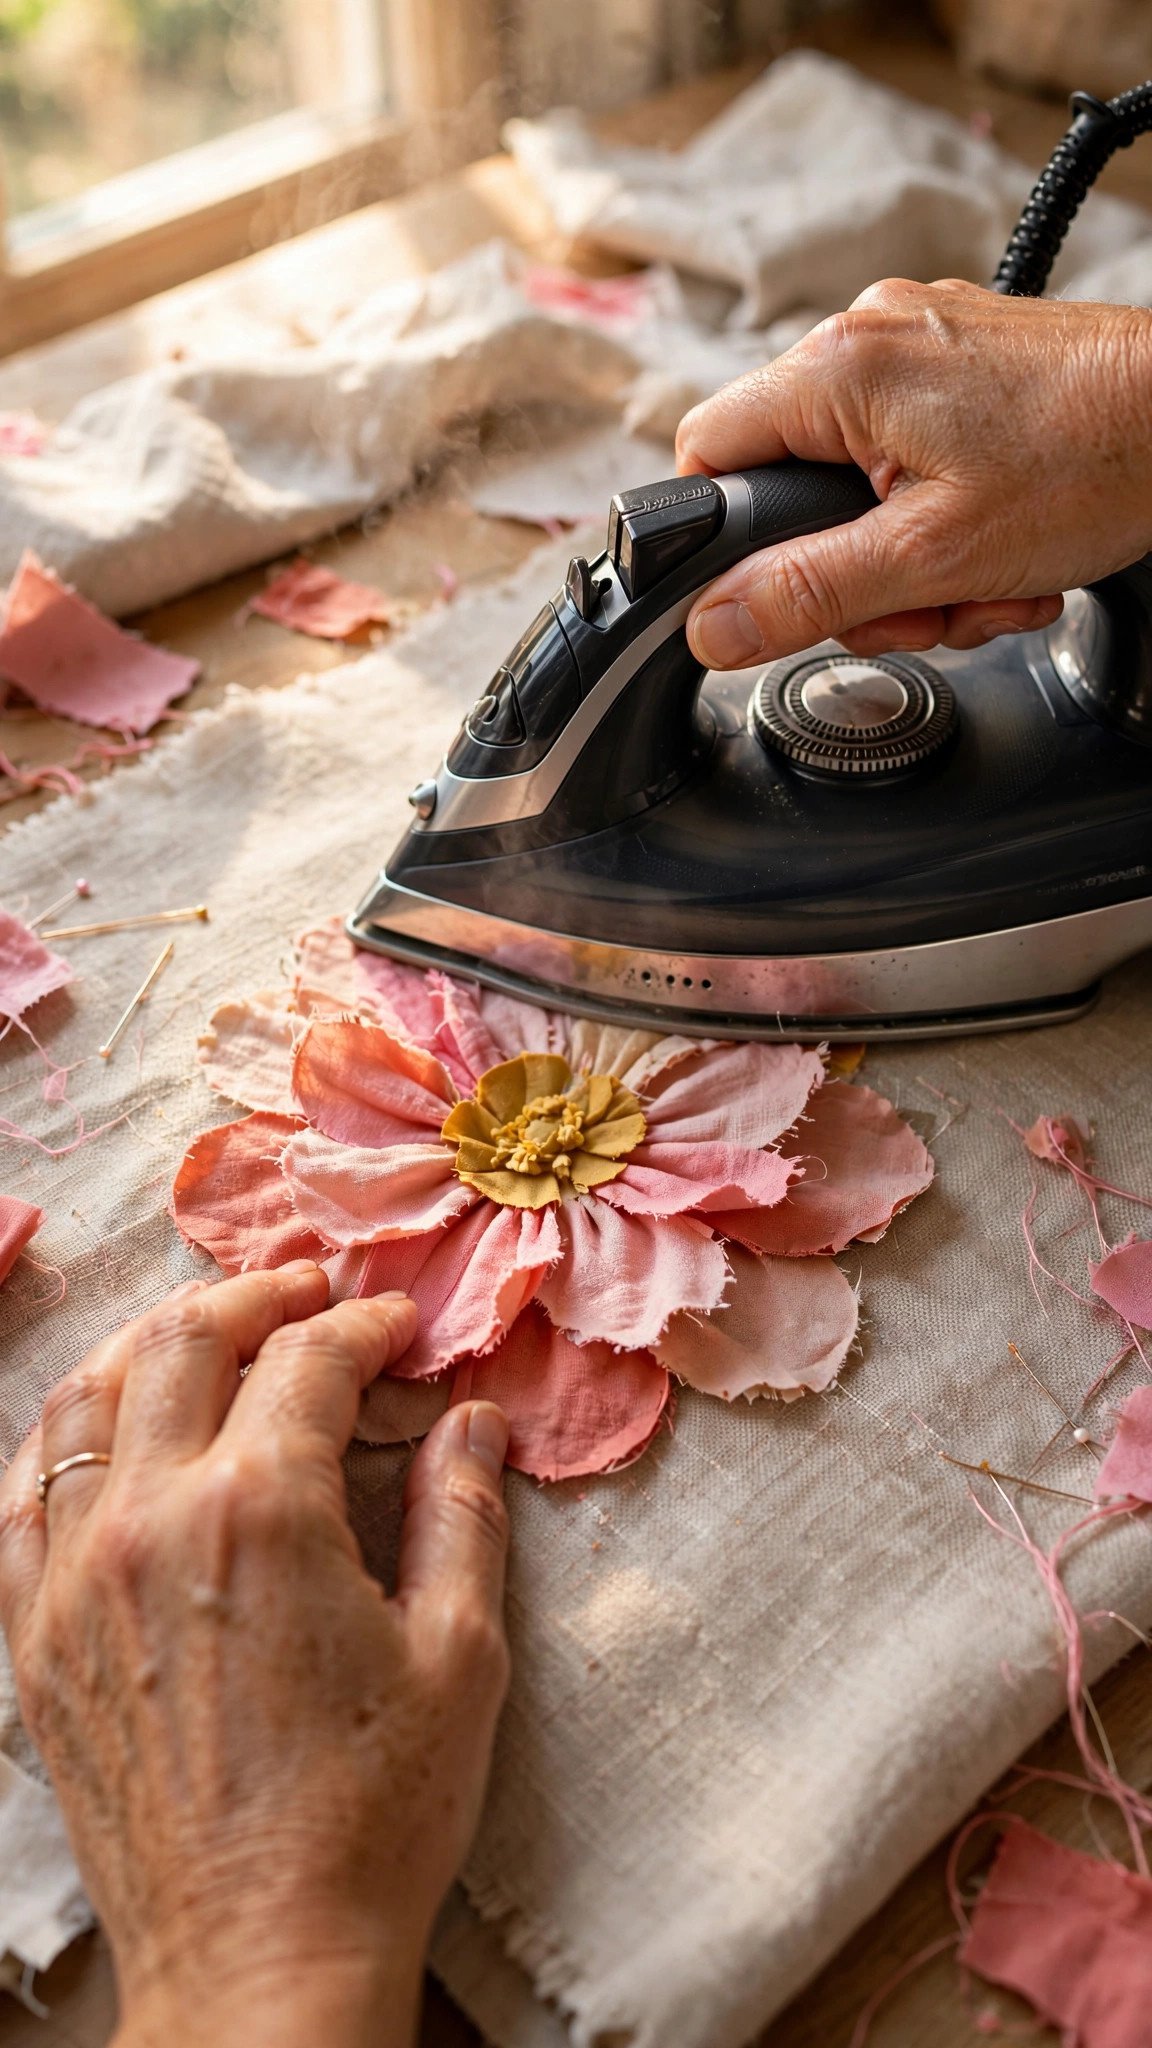
When the layout makes you happy, press each piece with a hot iron to fuse it down. Use a pressing cloth if your motif fabrics are delicate or dark, and hold the iron in place for the full count the fusible web instructions recommend instead of sliding it around. Sliding can shift your carefully arranged pieces. Let everything cool completely, because the bond sets as it cools, and stitching too soon can lift an edge mid-seam. Learning to iron in place properly, with pressure and patience instead of steam and sliding, is a small skill that pays off in every project you press.
Stitching Around the Raw Edges
Now the main event. Set your machine to a straight stitch, or choose a narrow zigzag or satin stitch if you want more coverage along the edge. Stitch around the edge of each shape, sewing just inside the raw edge, about an eighth of an inch in. Go slowly, especially around curves, and stop with the needle down to pivot whenever you change direction. The needle-down pivot is the single trick that keeps curves smooth instead of jagged.
For stitch settings, a stitch length around 2 to 2.5 millimeters works well for the straight stitch outline, and a satin stitch is just a very close zigzag that covers the edge completely. If your stitches look uneven, check your tension on a scrap sandwich first, and my notes on adjusting stitch length and width will help you dial it in. A plain straight stitch outline in contrasting thread is my personal favorite, because it looks hand drawn and shows off the fray.
Stitch every shape, including layered ones, working from the background layers toward the front. If your design has leaves behind petals, stitch the leaves first, then place and stitch the petals on top. Backstitch or tie off your thread tails at the start and end of each shape so nothing unravels later.

Letting It Fray on Purpose
Here is the part that feels wrong the first time: you are supposed to let it fray. After stitching, wash your finished piece and the raw edges will soften into that signature fuzzy halo. Each wash adds a little more character. This is why tightly woven quilting cottons are ideal for raw-edge work: they fray just enough to look charming without falling apart. Loosely woven fabrics can fray past your stitching line, so test a scrap if you are unsure.
If you want extra control, you can trim any wild threads after washing, or run a second row of stitching for a sketchier, more artistic look. Some of my favorite quilt blocks have two or three echo rows of stitching around each shape. And if you ever want to finish an edge by hand instead, a blanket stitch around the shape gives a beautiful hand-crafted alternative, and the essential hand stitches guide covers the technique.
My favorite project ideas for this technique: a quilt block with a big flower, a plain tote with your initial, a baby bib with a simple animal, or a sweatshirt with a row of stars across the chest. All of them take an afternoon, and all of them use scraps you already own.
FAQ
Will raw-edge applique fall apart in the wash?
No, as long as you used fusible web and stitched each shape securely. The edges fray a little, which is the intended look, but the stitching and the adhesive hold the shape firmly in place wash after wash.
Can I do raw-edge applique by hand?
Absolutely. A small running stitch or blanket stitch just inside the edge looks lovely and is very relaxing to sew. It takes longer than machine stitching, so save hand work for smaller projects.
What fabrics work best for raw-edge applique?
Quilting cottons are the gold standard: they cut cleanly, fuse well, and fray just the right amount. Avoid stretchy knits for your first projects, because they distort under the presser foot and the edges can curl.
Do I need stabilizer behind my project?
For quilt blocks and totes, no. For T-shirts and other knits, yes, fuse a lightweight stabilizer to the wrong side of the background first, or the stitching will pucker the stretchy fabric.

Written by June Carter
I am June, a sewing enthusiast who loves turning simple fabric into things people actually use. I test every technique and product I write about at my own machine before it lands here.