
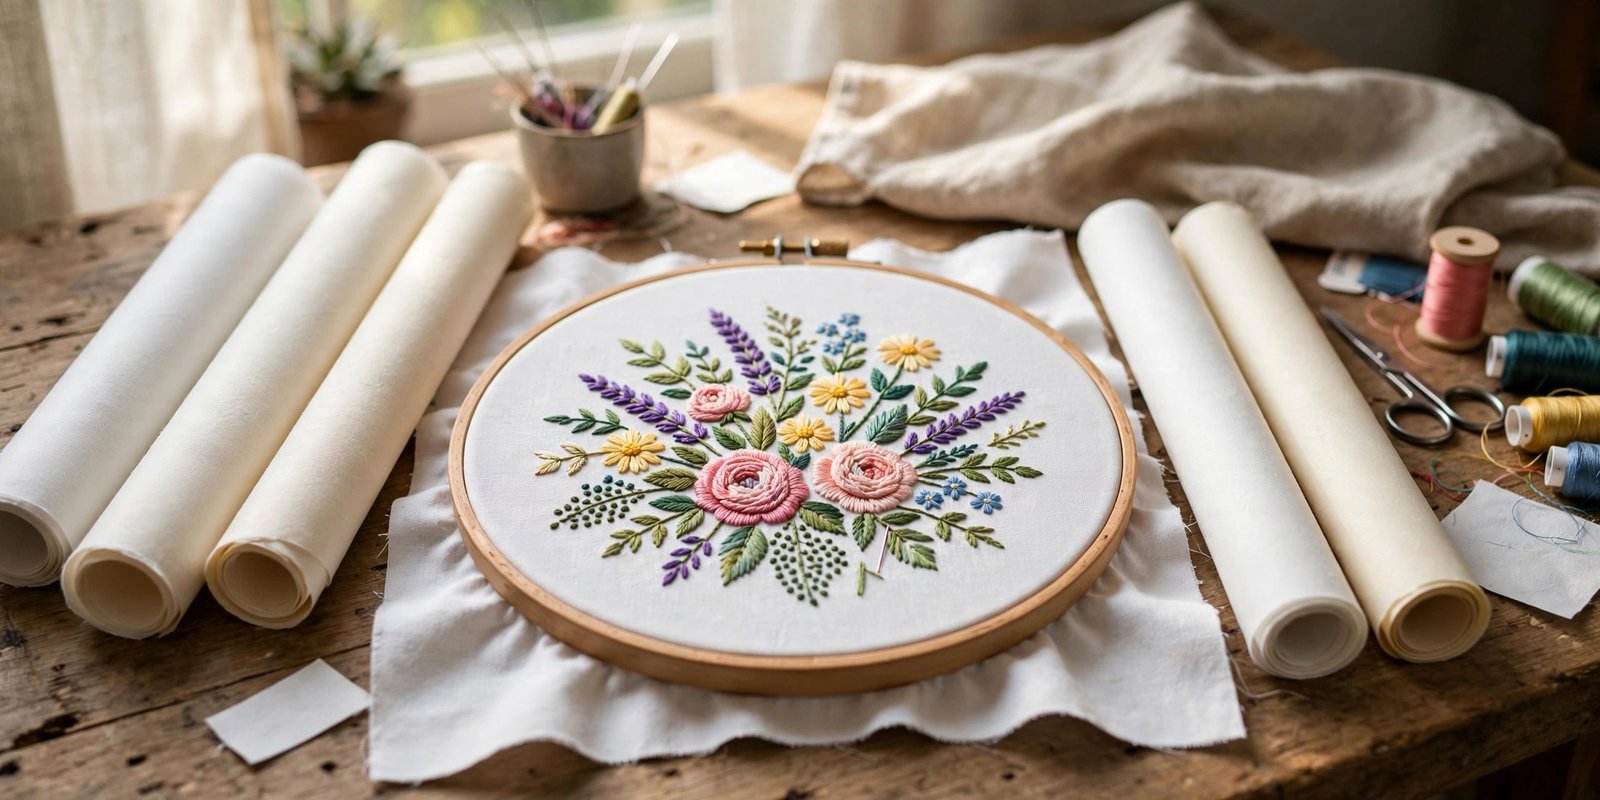
If you have ever stitched a beautiful design only to watch the fabric pucker into a wrinkled mess around it, I can almost guarantee the problem was not your machine, your tension, or your thread. It was the stabilizer. Learning how to choose embroidery stabilizer is the single fastest way to go from frustrating, homemade-looking embroidery to crisp, professional results. I say this from experience, because I spent my first year of machine embroidery blaming everything except the flimsy sheet of nothing I had under the fabric.
Stabilizer is the unsung hero of embroidery. It sits behind or on top of your fabric, holds everything steady while thousands of stitches land, and then either stays put forever, tears away, or dissolves in water. Choosing the right one is not complicated once you understand the four main types and the simple logic behind matching them to your fabric and design. Let me walk you through it the way I wish someone had walked me through it.
What Embroidery Stabilizer Actually Does
Every embroidery design is thousands of needle penetrations pulling thread tight against fabric. Without support, the fabric shifts, stretches, and puckers under that assault. Stabilizer gives the stitches something firm to anchor into. Think of it as the foundation of a house: nobody admires it, but everything collapses without it.
The wrong stabilizer causes a predictable list of miseries: puckering around the design, poor stitch quality, thread breakage, loose threads on the back, and fabric that distorts after the first wash. Here is the part that took me too long to learn: when your embroidery misbehaves, check the stabilizer before you touch your tension dials. Most embroidery problems are stabilizer problems in disguise.
The Four Main Types of Embroidery Stabilizer
There are four families, and each one is removed differently. Once you know the removal method, the use case almost explains itself.
Cut-away stays in the garment for life. You trim it close around the design after stitching and the rest remains permanently, supporting the stitches through years of wearing and washing. It comes in light, medium, and heavy weights. This is the workhorse for anything stretchy and anything with a high stitch count.
Tear-away is temporary support for stable fabrics. You stitch, then tear the excess away from the back. It is quick, clean, and satisfying, but it offers no long-term support, so it has no business on knits or stretchy fabrics.
Wash-away (water-soluble) dissolves completely in water and leaves no trace. It comes as a film, which is perfect as a topper on textured fabrics, and as a mesh, which is the standard for free-standing lace and 3D embroidery projects. Store it airtight and away from humidity, because it starts dissolving the moment it meets moisture.
Heat-away vanishes with the heat of an iron, which makes it the answer for delicate fabrics that cannot get wet, like certain velvets and silks. Always test heat-away on a scrap first, since heat and delicate fabric are a combination that demands respect.

How to Choose Embroidery Stabilizer for Common Fabrics
Here is the fabric-to-stabilizer logic I use at my cutting table. It covers the projects most of us actually sew.
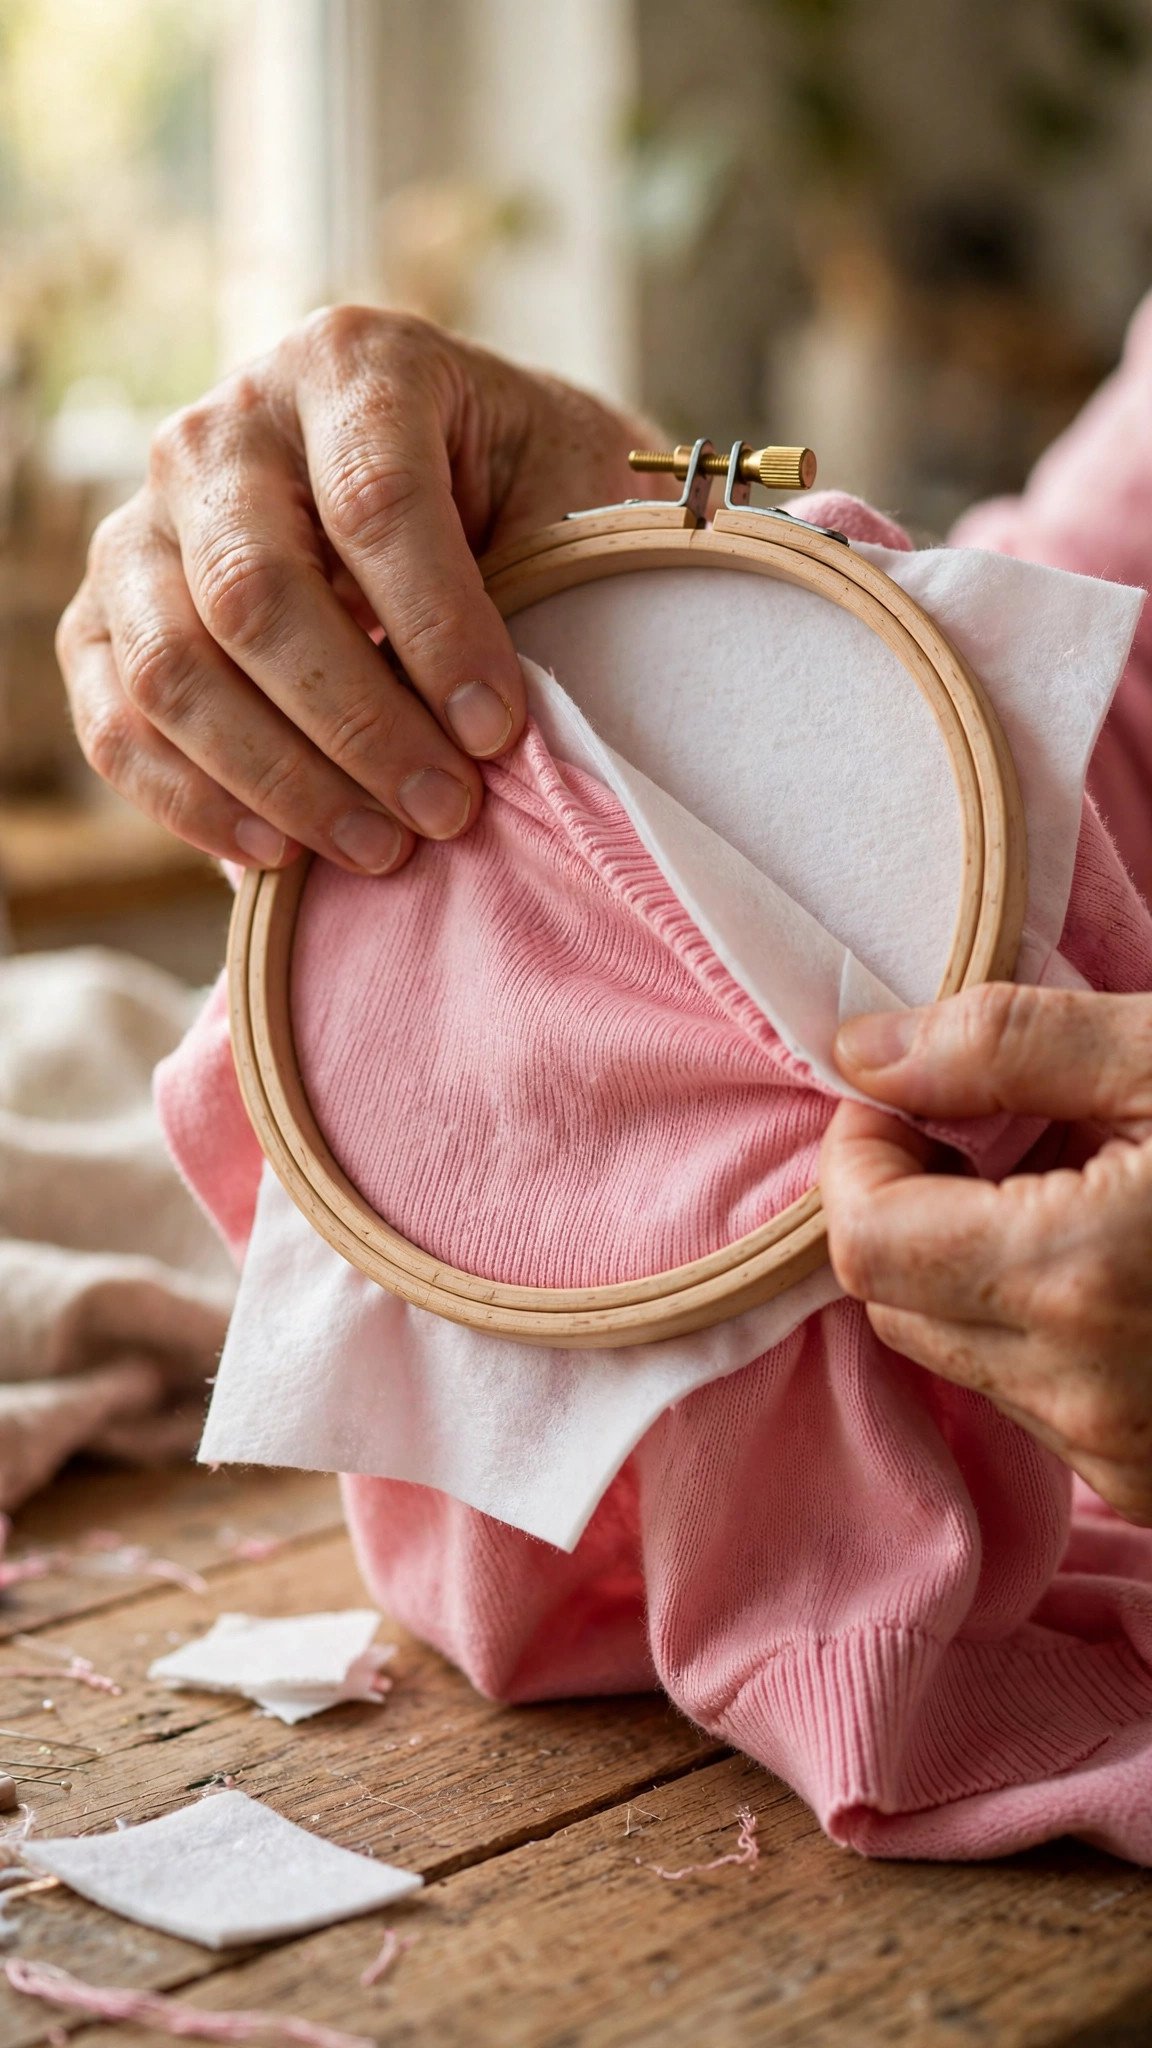
Knits and T-shirts: always cut-away, preferably a fusible polymesh that bonds to the fabric and prevents stretching. Knits move under the needle, and tear-away simply cannot hold them. If your knit project is puckering, there is an excellent chance you used tear-away where you needed cut-away. For a standard tee, a medium cut-away hooped with the fabric taut but not stretched is my default.
Denim and canvas: these stable wovens do beautifully with tear-away for light to medium designs, or a medium cut-away when the design is dense. The fabric itself provides most of the stability, so the stabilizer is just insurance.
Towels and textured fabrics: towels need two things, a medium cut-away on the back for support and a water-soluble topper on top. The topper creates a smooth plane over the pile so your stitches sit on top of the terry loops instead of sinking into them and disappearing. Without a topper, towel embroidery looks sunken and sad.
Sheers and delicates: organza, tulle, and fine silk want wash-away, which disappears completely and leaves no shadow or stiffness. For free-standing lace, hoop two layers of water-soluble mesh drum tight, stitch a design digitized specifically for lace, then rinse it away.
Appliqué: a fusible polymesh keeps the base fabric stable while you place and stitch appliqué pieces, giving you clean edges without shifting.
Matching Stabilizer Weight to Your Design Density
Fabric is only half the equation. The other half is stitch density, meaning how many stitches are packed into the design. The denser the design, the denser the stabilizer needs to be. This is the rule I repeat to every beginner: match the stabilizer to the stitch count.
For light, open designs with low stitch counts, a single layer of the appropriate type is usually enough. For medium-density designs, step up to a medium weight. For heavy, dense designs, go heavy, and do not be shy about doubling up. Two layers of medium cut-away will save a dense design on a knit that one layer would let pucker. When in doubt, add the layer. It is far easier than picking out a ruined design.
For tricky placements, like designs near a hem or on a textured fabric, use the sandwich method: stabilizer below, fabric in the middle, and a topper above. That combination gives you control from both sides. And a word about needles, because the wrong needle can undo good stabilizer work: pair dense designs with a fresh sewing machine needle suited to your fabric, and replace it at the first sign of fraying or skipped stitches.

Troubleshooting: When the Stabilizer Is Wrong
Puckering, those wavy gathered ripples around the design, almost always means the stabilizer is too light for the stitch count or the fabric was under-hooped. The fix is to step up a weight, double your stabilizer, or switch from tear-away to cut-away. Re-hoop with the fabric firm but not stretched, because hooping distortion is the other classic cause.
Thread breakage and poor stitch quality on an otherwise well-behaved machine often trace back to the fabric shifting microscopically with each stitch. More support, meaning a heavier stabilizer or an added layer, usually settles it. A design that looks fine fresh off the machine but deteriorates after washing was almost certainly stitched on tear-away when it needed the permanent support of cut-away.
If stitches are sinking into the fabric, you are missing a topper. If the design collapses or feels flimsy after the stabilizer is removed, the stabilizer was too light for the density. Every one of these has the same root cause and the same cure: match the support to the fabric and the stitch count, and test before you commit.
My Go-To Rules at the Cutting Table
After years of trial and error, I have distilled my stabilizer practice into rules I never break. First, cut your stabilizer larger than the hoop so the hoop grips stabilizer all the way around, not just fabric. Second, always test the combination on a scrap of the actual fabric with the actual design before you stitch the real thing. Scraps are cheap, ruined garments are not.
Third, remember the simple starting rule: cut-away for stretch fabrics and washable garments, tear-away for stable wovens, wash-away when the support must disappear completely, and a water-soluble topper whenever stitches might sink into texture. Fourth, hooping matters as much as the stabilizer itself: taut but never stretched, especially on knits. And finally, do not economize on stabilizer. It is the foundation everything stands on. If you are just starting out with machine embroidery, work through a few easy sewing projects for beginners first to get comfortable with hooping before you tackle dense designs.
FAQ
Can I use tear-away stabilizer on a T-shirt?
I strongly advise against it. T-shirts are knits, and knits need the permanent support of cut-away. Tear-away on a knit is the most common cause of puckering I see, and the design will only get worse with washing.
Do I really need a water-soluble topper for towels?
Yes, if you want the stitches to be visible. Without a topper, the stitches sink into the terry pile and disappear. A topper is inexpensive and makes the difference between professional-looking towel embroidery and a blurry mess.
How many layers of stabilizer should I use?
One layer is fine for light designs on stable fabric. Step up to two layers for dense designs, large designs, or anything on a knit. Large designs should always get cut-away, since it will not degrade with use.
What is the difference between wash-away mesh and wash-away film?
Mesh is sturdy enough to be the sole support for free-standing lace and 3D projects, and it resists perforation under dense stitching. Film is thinner and is best used as a topper on plush or textured fabrics, not as the main support.

Written by June Carter
I am June, a sewing enthusiast who loves turning simple fabric into things people actually use. I test every technique and product I write about at my own machine before it lands here.