
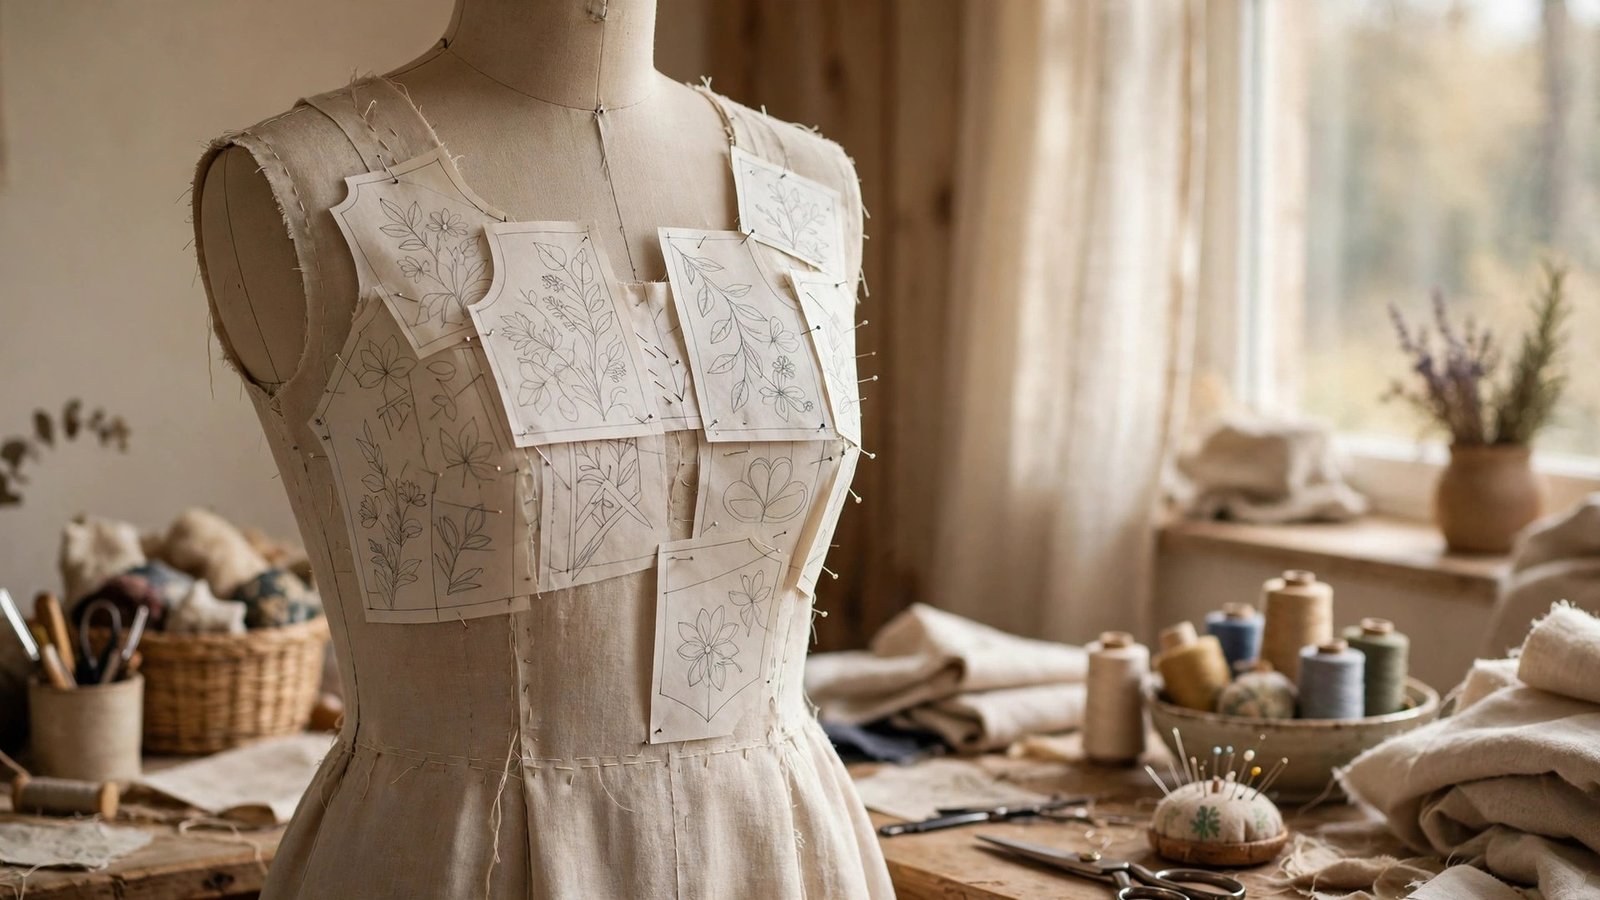
Knowing how to plan embellishment placement is the difference between a garment that looks thoughtfully decorated and one that looks as if the decoration landed wherever the needle happened to stop. I have seen beautiful embroidery ruined by being placed a little too high on a bodice, and simple applique made wonderful by sitting exactly where the eye expects it.
When I plan embellishment, I start away from the sewing machine, with the finished garment in mind. I think about where the eye travels, where the body moves, and where seams, darts, and closures will interrupt a design. A motif that crosses a side seam will never sit happily, and a heavy beaded panel on a soft bodice will pull the whole garment out of shape.
In this guide I will walk you through choosing a focal point, testing placement with paper templates, balancing a design across a garment, and checking how it will look when worn. The method works for embroidery, applique, lace, and trims, and it works whether you are decorating a cushion or a dress.
How to Plan Embellishment Placement: Find the Focal Point
Every good embellishment has a focal point, the one place the eye lands first. On a blouse it might be the centre of the chest or one shoulder. On a cushion it is usually the centre of the front panel. On a skirt it might be a hem border. Before you choose a motif, decide where that focal point should be, and let everything else support it.
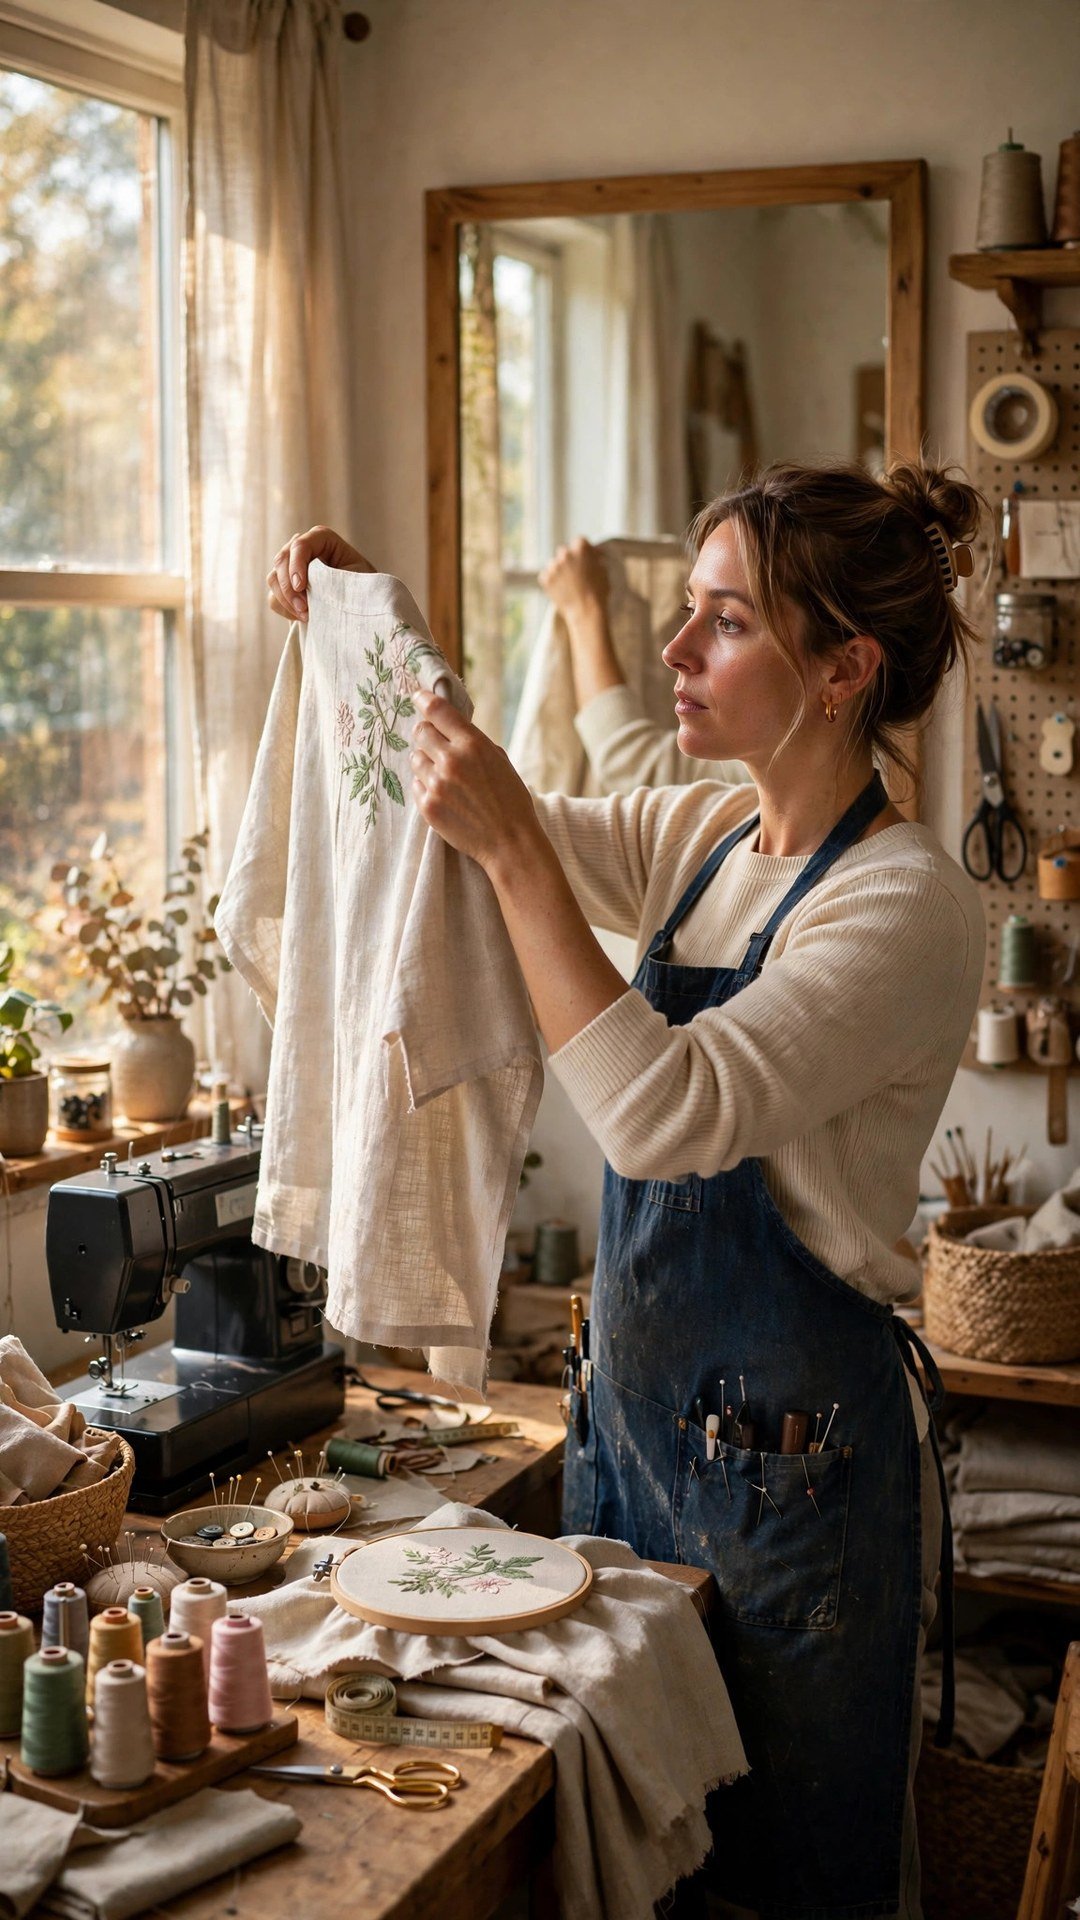
I stand the garment on a dress form or hold it up against myself in a mirror and look for the natural lines of the body. The neckline, the waist, and the hem are all strong horizontal lines, and a motif that sits just above or below one of them will look intentional. A motif that straddles a waist seam will look like a mistake, even if the stitching is perfect.
Scale matters as much as position. A tiny motif lost in the middle of a large cushion looks timid, while a huge motif crammed onto a narrow collar looks crowded. I cut a paper template of my motif at full size and hold it against the garment, stepping back to look from a normal distance. If I can see it clearly without it shouting, the scale is probably right.
Test With Paper Templates Before You Stitch
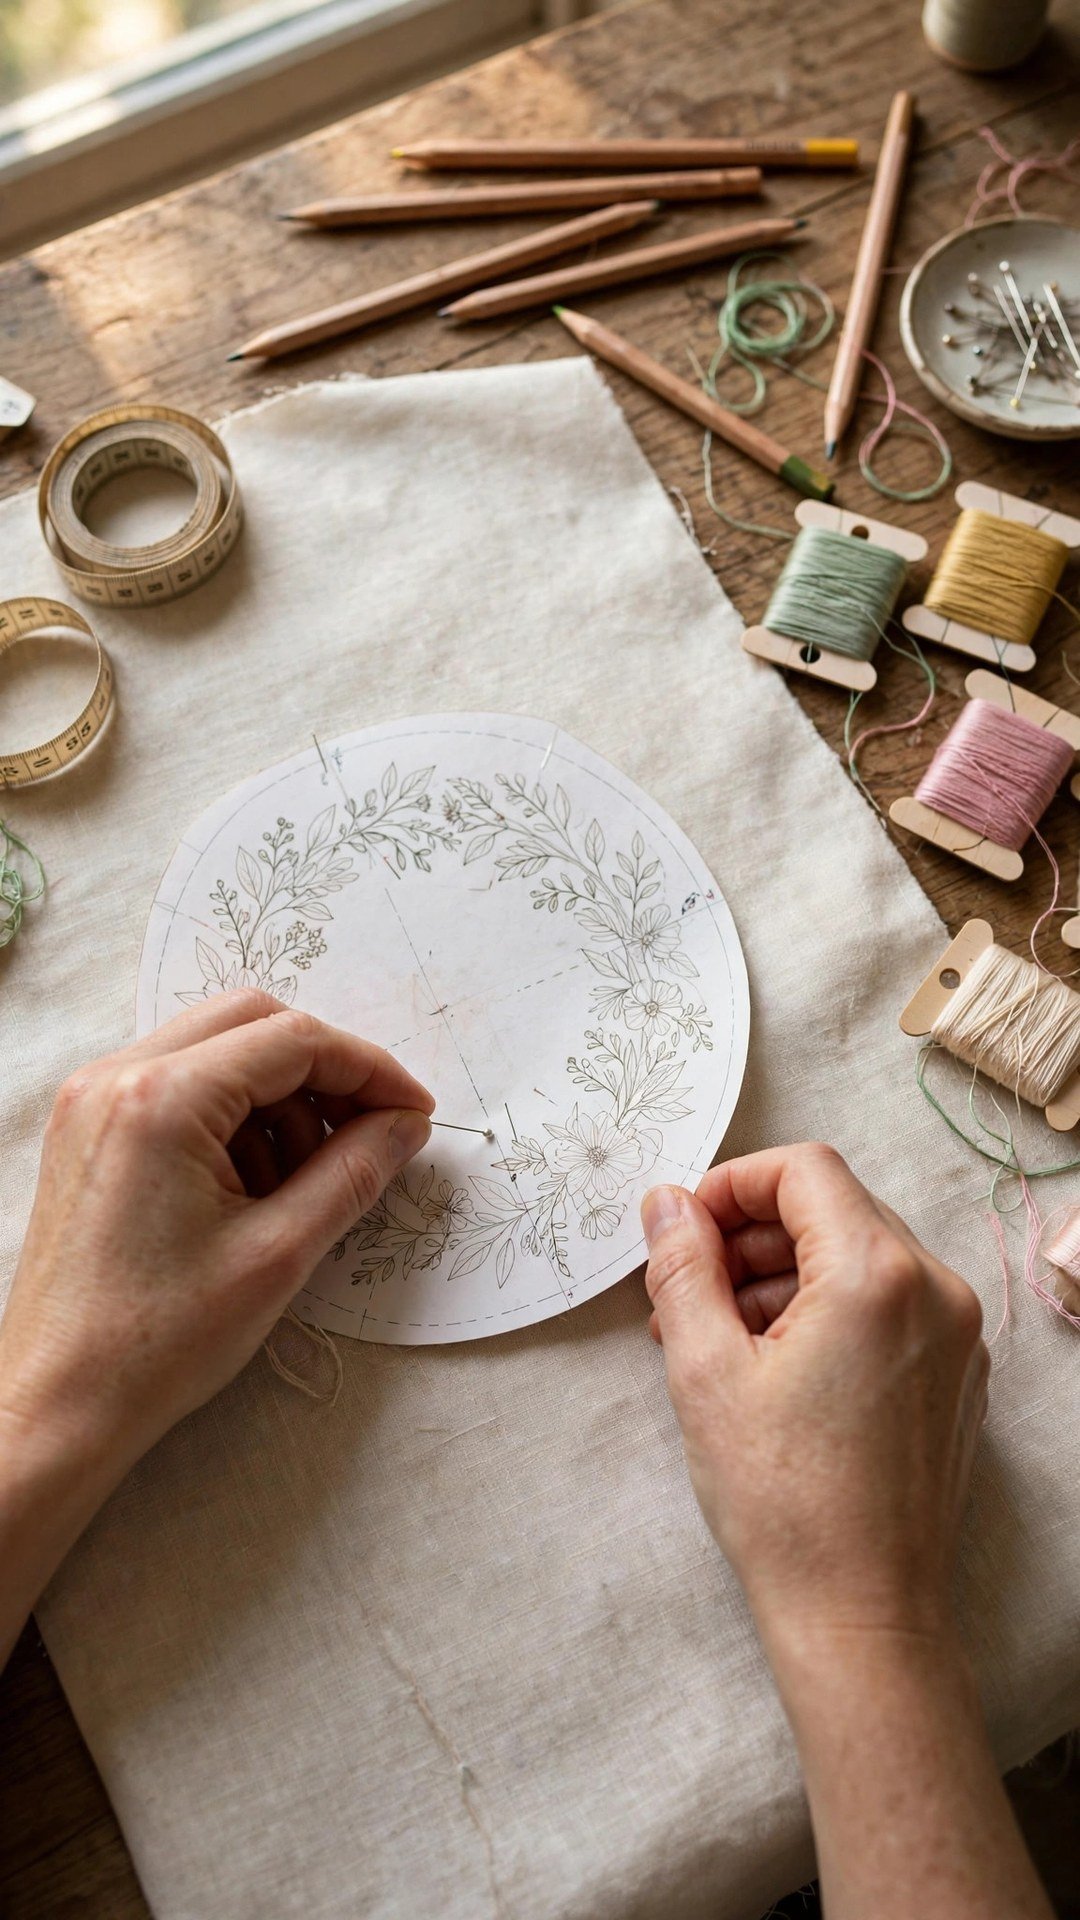
Paper templates are my favourite planning tool, because they cost nothing and they let me make mistakes that do not matter. I trace my motif onto paper, cut it out, and pin it to the garment. I can move it, turn it, try it larger or smaller, and photograph each version to compare them side by side.
For a symmetrical design, fold the template in half and check that both sides match. For a scattered design, like small flowers or stars, place the pieces one at a time and step back after each one, because a scattered design is easy to overfill. Less is often more, and a little empty space around a motif makes the motif itself look more precious.
Mark the final placement clearly once you are happy. I use chalk or a washable marker to mark the centre and the edges, and I take a photograph of the marked garment for reference. Good stabiliser choice matters here too, and my notes on how to choose embroidery stabilizer explain how to keep the fabric steady while you stitch.
Balance the Design Across the Garment
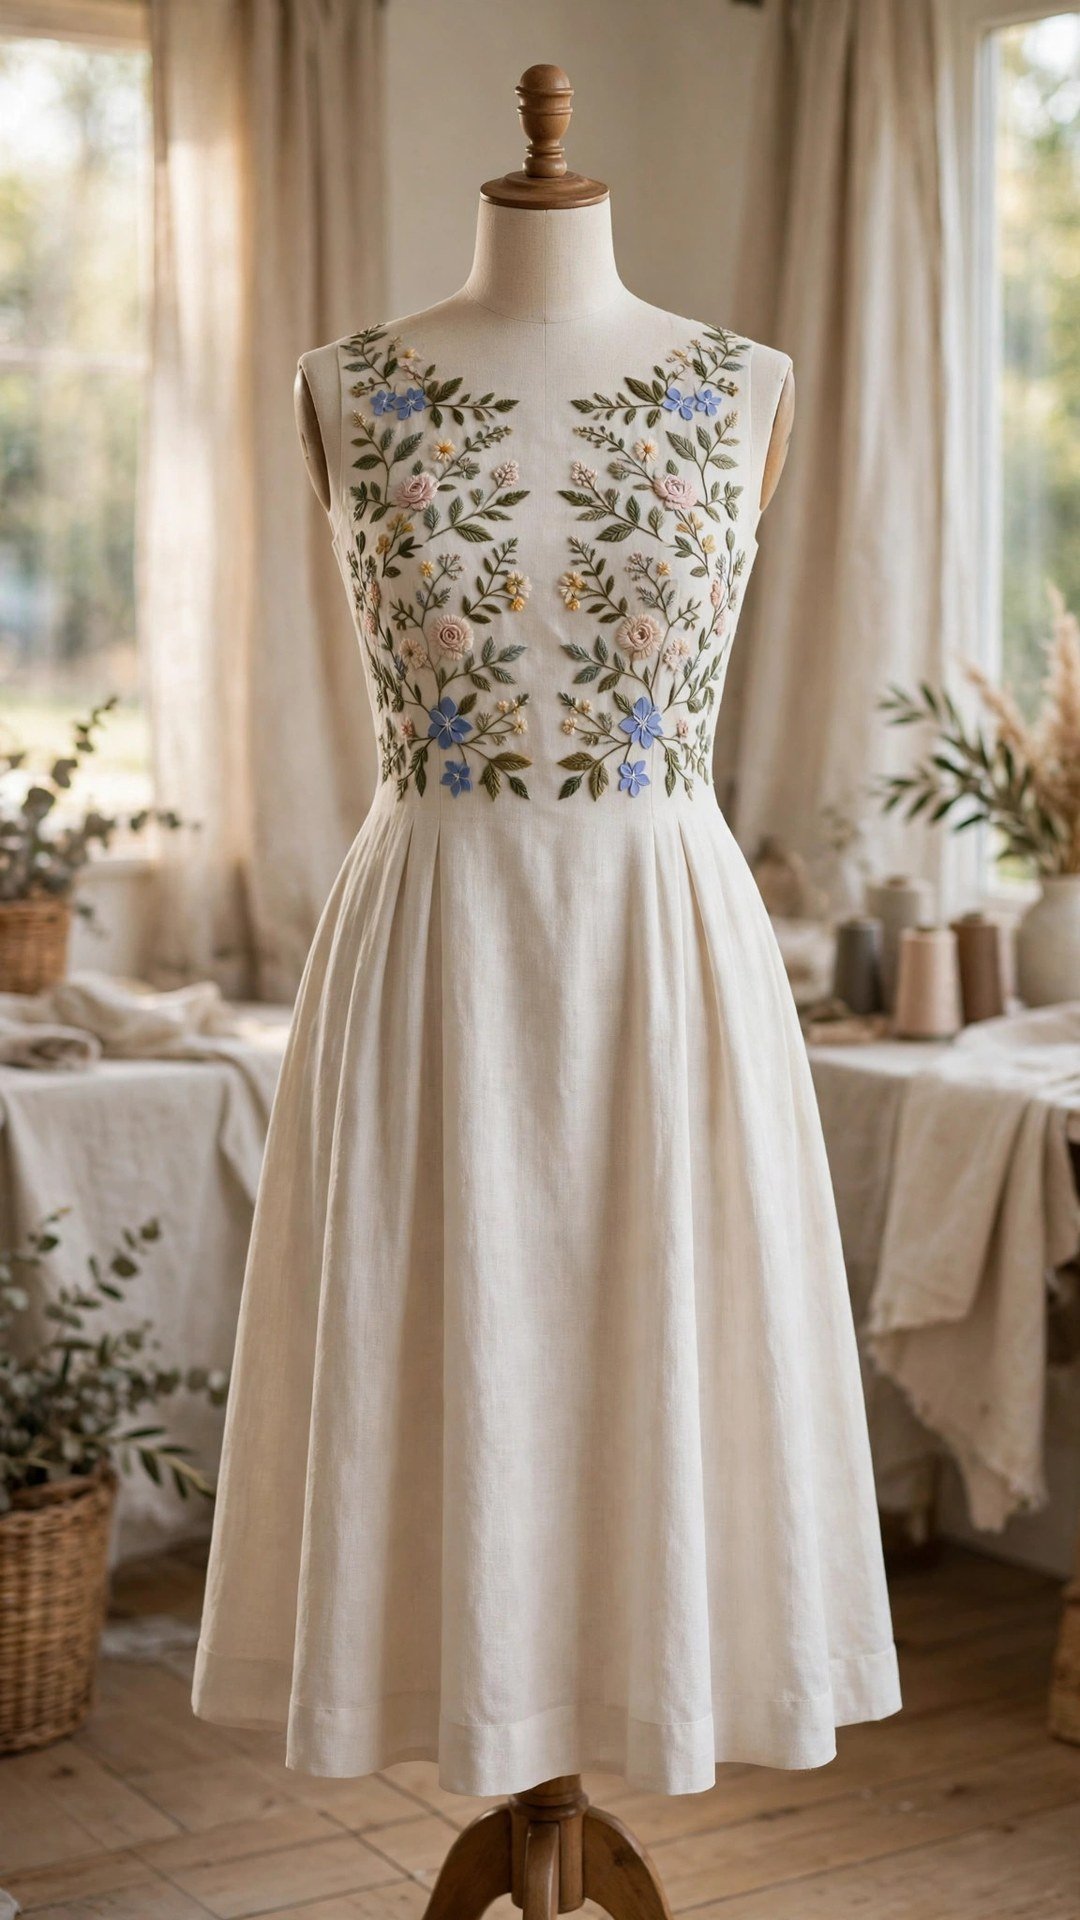
Balance is what makes a decorated garment feel calm rather than busy. A single large motif on one side can be balanced by a smaller motif on the other, or by a border along the hem. A design that is heavy at the top needs something at the bottom to anchor it, even if that something is only a narrow trim or a row of small stitches.
Watch out for seams, darts, buttons, and zips, because they will interrupt any design that crosses them. Plan your motif to sit between seams, or to end neatly at a seam, rather than running across it. If a design must cross a seam, stitch it after the garment is assembled, so the motif follows the finished shape.
Colour balance matters too. A bright motif on a plain garment needs breathing room, while a tone on tone design can be larger without looking loud. Hold your threads and fabrics against the garment in daylight before you commit, because artificial light can make colours look warmer or cooler than they really are.
Embellishment Placement on Different Pieces
Cushions and home decor are the most forgiving place to practise placement, because the piece is flat and the focal point is usually the centre. Centre your design, leave an even border of plain fabric around it, and check that it will not be hidden by a seam or a piping cord. A cushion that will sit against a sofa arm needs its design offset toward the visible side.
On garments, the rules change with the piece. A neckline design should follow the curve of the neck and sit evenly on both sides. A sleeve design usually looks best on the upper arm or the cuff, where it can be seen when the arm moves. A skirt hem border should run at a consistent distance from the hem all the way around, so measure carefully and mark before you stitch.
For children’s clothes, place embellishment where it will be seen and where it will survive play. A motif on the chest or the front of a skirt is visible and protected, while a motif on a knee or an elbow will wear out fast. For baby clothes, keep embellishment flat, soft, and well secured, with no small parts that could come loose. My guide to how to sew raw edge applique will help once you are ready to stitch.
Mistakes That Spoil Good Embellishment
The most common mistake I see is starting to stitch before the placement is decided. It is tempting to hoop the fabric and begin, but once the first stitches are in, moving the design means unpicking, and unpicking embroidery is slow and often leaves marks. Spend the planning time first, and the stitching will go quickly and happily.
Another mistake is crowding the design. A garment covered edge to edge with motifs can look rich in a photograph and overwhelming in real life. Leave plain space, especially around the face and the waist, where the eye needs rest. If you are unsure, photograph the garment with the templates in place and look at the photograph the next day with fresh eyes.
Forgetting the back of the garment is a quieter mistake. A design that looks wonderful from the front can look unfinished from the back if the back is completely plain. A small echo of the front design on the back makes the garment feel complete. The same idea applies to trims and lace, and my guide to how to add lace insertion shows how a small trim can tie a whole garment together.
Frequently Asked Questions
How do I centre an embroidery design on a garment?
Find the centre line of the garment and the centre of your design, mark both with chalk or pins, and line them up. Use a paper template at full size to check the position in a mirror before you hoop the fabric.
Should embellishment cross a seam?
Try to avoid it. A design that crosses a seam will break at the seam and rarely sits flat. Plan the motif to sit between seams or to end neatly at one, and stitch it after the garment is assembled if it must cross.
How big should an embellishment be?
Large enough to be seen from a normal distance, and small enough to leave breathing room around it. Cut a full size paper template, hold it against the garment, and step back to check the balance.
Where is the best place for embellishment on a dress?
The chest, one shoulder, the waist, or the hem are all strong focal points. Choose one main area and keep the rest of the dress quieter, so the eye has a clear place to land.
Can I move embellishment after I start stitching?
Moving it means unpicking, which is slow and can mark the fabric, so plan with paper templates first. Pin the template, try the garment on, photograph it, and only start stitching when you are happy.
Plan First, Stitch Second
Good embellishment placement is mostly patience and a paper template, and it is the part of the work nobody sees but everybody feels. Find your focal point, test it, balance it, and check it on the body before you stitch. When the placement is right, even a simple motif looks thoughtful.

Written by June Carter
I am June, a sewing enthusiast who loves turning simple fabric into things people actually use. I test every technique and product I write about at my own machine before it lands here.