
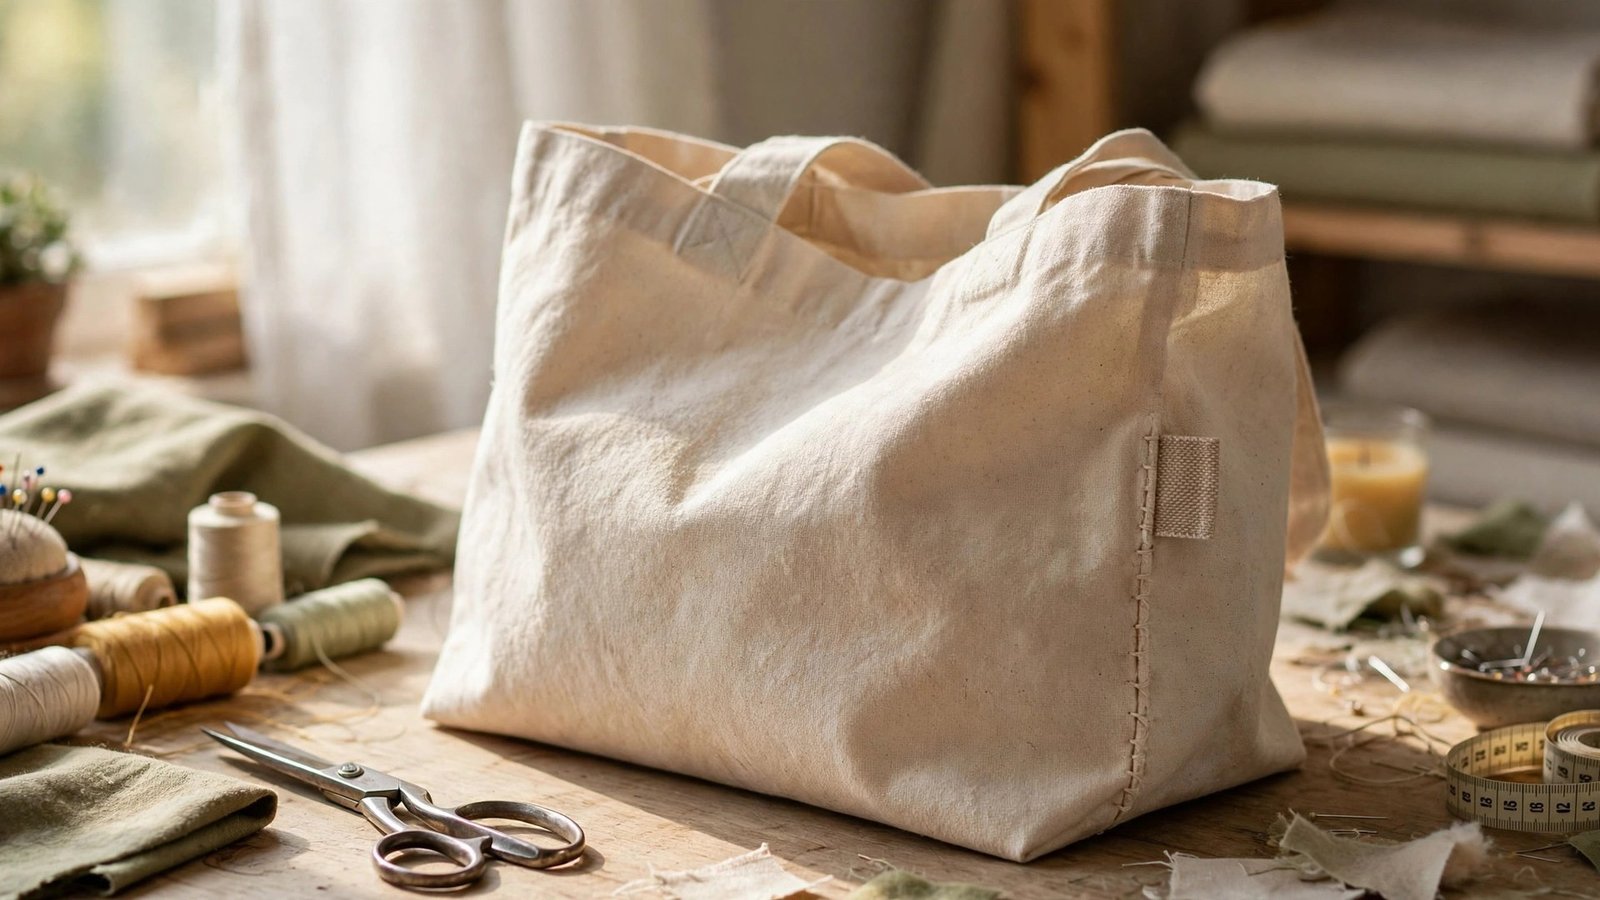
Learning how to add a fabric label is a small finishing step that makes handmade sewing feel properly finished. A label marks a garment as yours, tells the wearer which way is the back, and adds that quiet professional touch you see on shop bought clothes. It takes about five minutes, costs almost nothing, and it is one of those details people notice even when they cannot quite say why the piece looks so polished.
I started adding labels to my quilts and bags years ago, mostly so I could remember which year I made each one, and I quickly found I liked the way they looked too. A tiny folded label peeking out of a side seam, or a neat rectangle at the back neckline, turns a good project into a keepsake. The trick is placing it where it will be seen but never felt, and sewing it in so it lies flat and stays put through washing.
This guide covers the main types of labels, the best placement for garments, bags, and quilts, and two simple ways to sew one in: caught in a seam, or topstitched flat. Pick the method that suits your project, and your next finish will carry your name with pride.
Choosing a Label: Woven, Printed, or Handmade
Woven labels are the classic choice, with your text woven into the fabric itself so it never fades or washes out. They usually come with folded ends ready to sew into a seam, and they feel soft against the skin. Printed labels are printed on cotton tape or satin ribbon, and they are a good choice if you want a logo, a small picture, or a longer message, though the print can fade after many washes. Both are available from small makers in small batches, so you do not need to order hundreds.
You can also make your own labels at home. Print your name or a small design onto printable cotton fabric, cut it into strips, and finish the edges with a narrow hem or a zigzag stitch. Hand embroidered labels are another lovely option for quilts and gifts, and they carry a personal touch no shop label can match. Whatever you choose, keep the text short and the label small, because a large stiff label irritates the skin and distracts from the garment.
The Best Placement for Garments, Bags, and Quilts
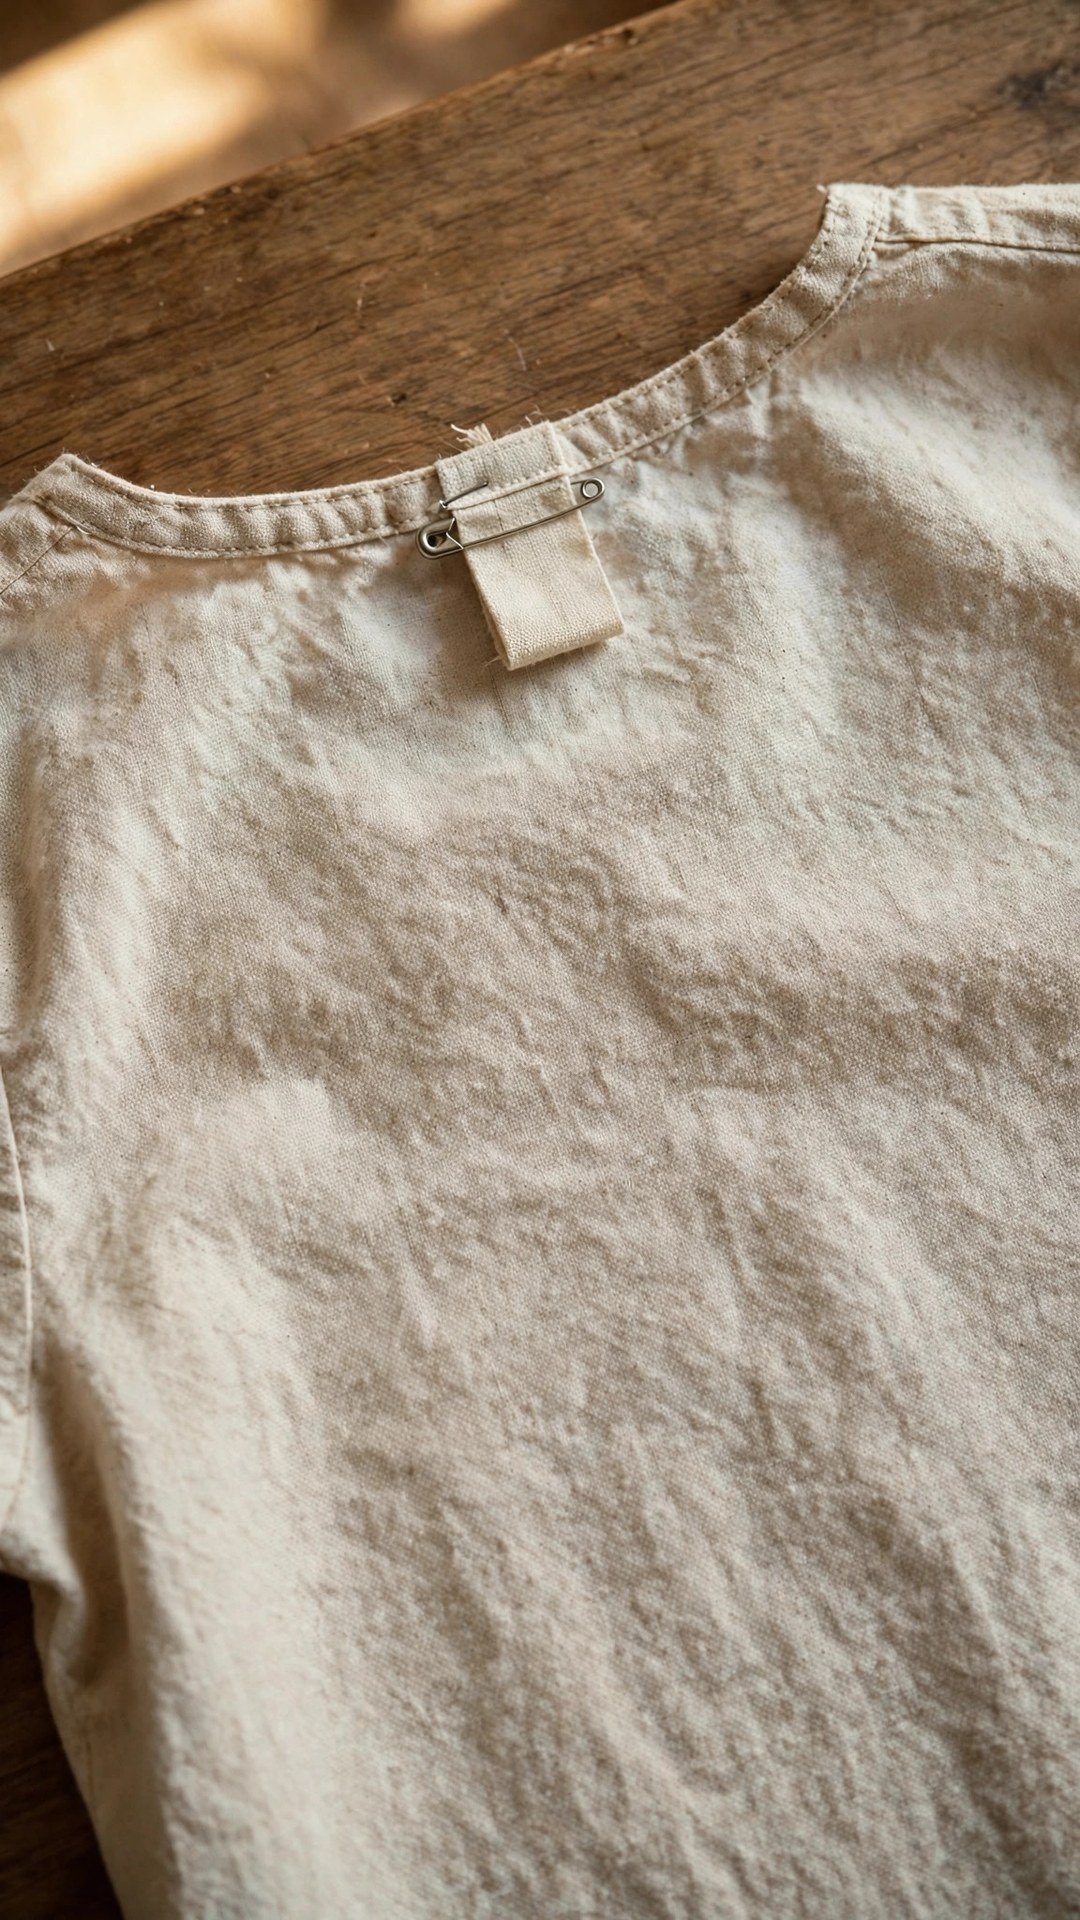
Placement matters more than most people think, because a label in the wrong spot gets felt every time the garment is worn. On tops and dresses, the back neckline is the classic spot, centred at the back neck, where it also tells the wearer which way round the garment goes. On trousers and skirts, the inside back waistband is the usual place, folded into the waistband seam or topstitched flat just below it.
On bags, the outside side seam is my favourite, with the label folded and caught in the seam so just the printed edge peeks out. It looks neat and it is easy to reach while you are sewing the bag together. On quilts, the back bottom corner is traditional, sewn on after quilting so it sits flat. Wherever you place it, pin it first and try the garment on, or hold the bag as you would carry it, to check that the label sits where you expect and does not poke or scratch.
Method One: Catching a Label in a Seam
The seam method is the neatest, because the label ends disappear inside the seam and only the printed part shows. Fold the label in half with the printed side out, or use a label with pre folded ends, and pin it to the seam allowance of one layer, with the fold facing into the garment and the raw ends lined up with the raw edge of the fabric. When you sew the seam, the label is caught in the stitching and the fold becomes a soft loop that sticks out just enough to read.
Sew the seam as usual, backstitching over the label to anchor it firmly, and press the seam open or to one side with the label lying flat. Check that the label is not twisted and that it sits straight, because a crooked label is very noticeable. This method works beautifully on side seams, on a lined tote bag, and on the neckline facing of a top, where the label can be caught between the facing and the garment.
Method Two: Topstitching a Label Flat
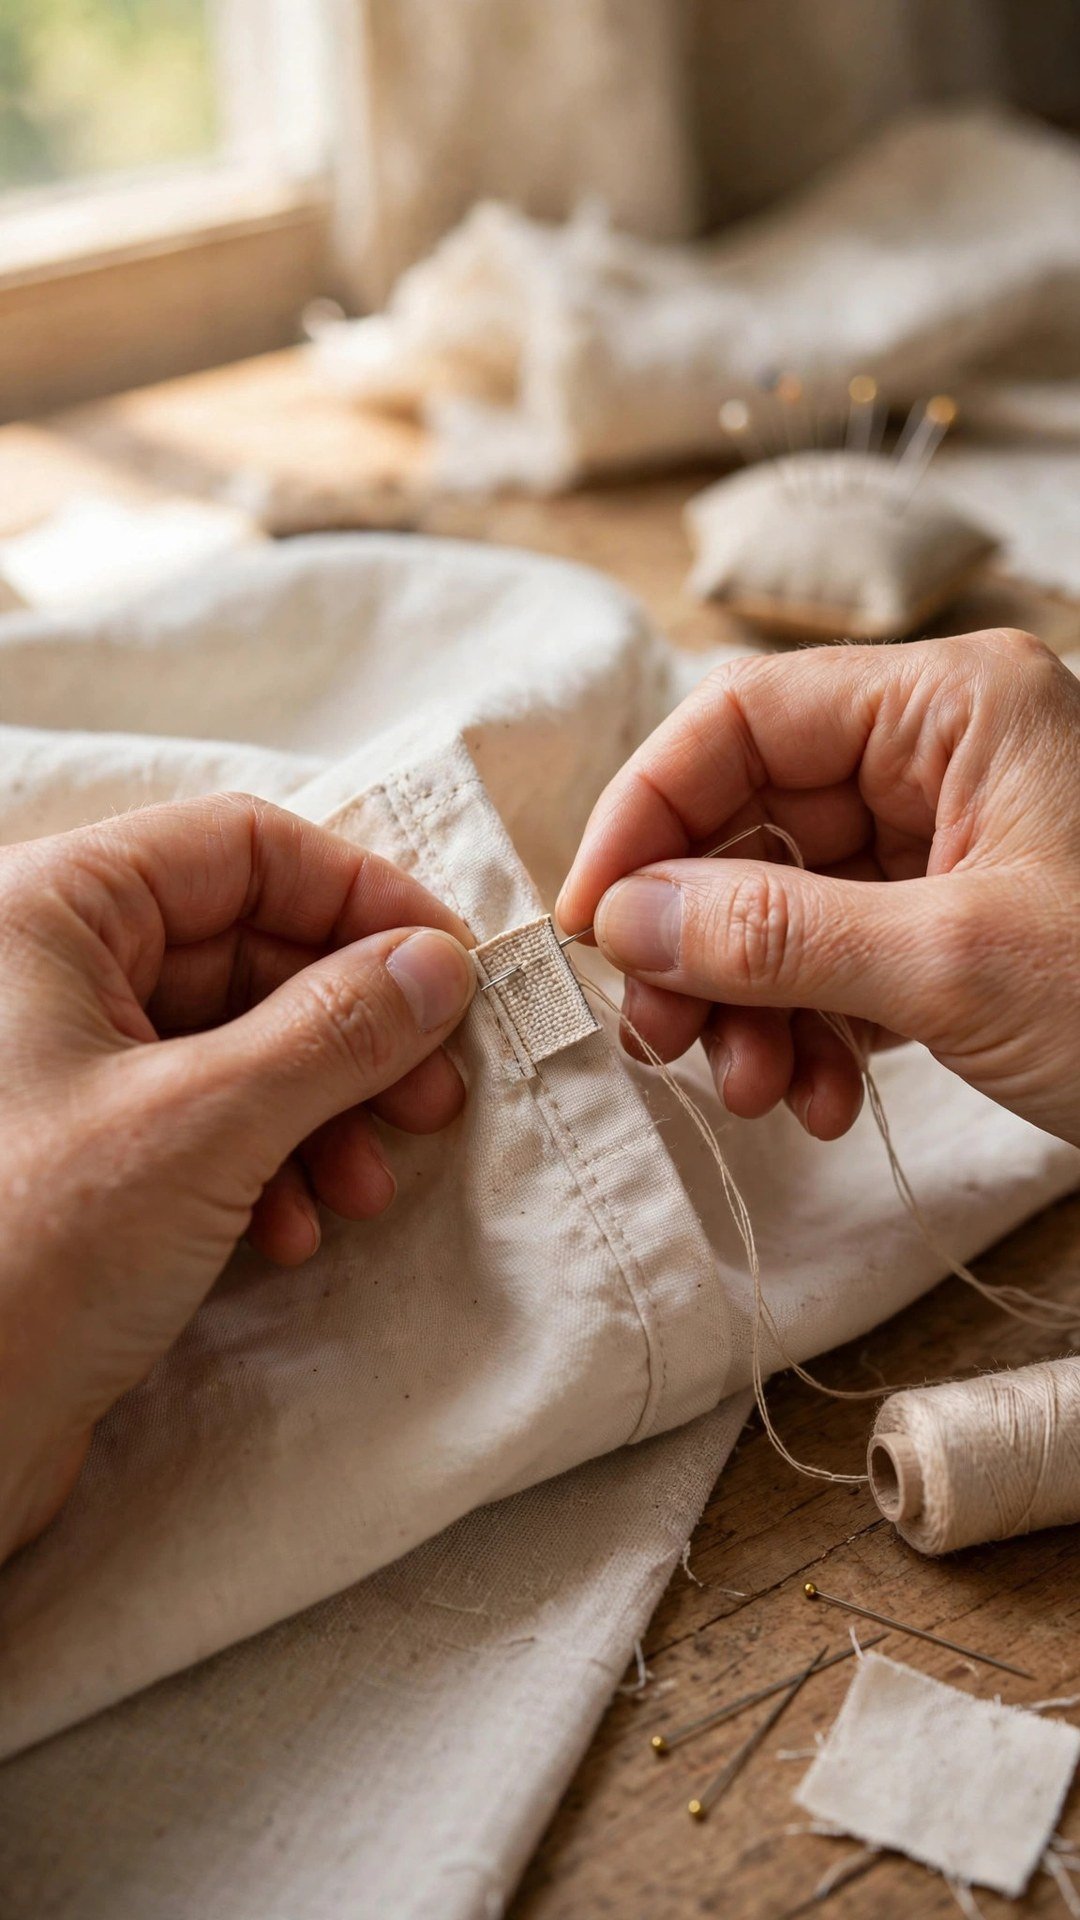
Topstitching is the best choice when the seams are already sewn, or when you are adding a label to a finished quilt or a shop bought item. Fold the short ends of the label under by about a quarter inch and press them, then pin the label exactly where you want it, checking twice that it is straight. A little fabric glue or a strip of fusible tape under the label holds it still while you sew, which is a big help on slippery fabrics.
Stitch close to the edge all the way around the label, pivoting neatly at the corners, and backstitch at the start and end. Use matching thread so the stitching blends in, or a contrasting thread if you want the stitching to be a feature. Keep the stitch length a little longer than usual, around 3 mm, so the label lies flat and the stitching looks tidy. Press the finished label gently from the wrong side, and check that no raw edges are peeking out.
Making Labels Last Through Washing
A label that falls off after the first wash is worse than no label at all, so a few care steps are worth taking. Always backstitch over the label ends, and on a seam caught label, stitch across the fold a second time for extra security. Choose a label fabric that can be washed the same way as the garment, and avoid stiff satin labels on children’s clothes, because they can feel scratchy and fray quickly.
If you make your own printed labels, heat set the ink exactly as the fabric instructions say, and wash a test label before you sew a batch into finished garments. For quilts and keepsakes that will be washed often, a woven label will outlast a printed one every time. A quick press after washing keeps the label lying flat, and if a corner ever lifts, a few hand stitches will put it right in a minute. The same careful finishing I use for bias binding applies here: neat edges and firm anchoring are what make a detail last.
Frequently Asked Questions
Where is the best place to put a fabric label?
On garments, the back neckline or inside back waistband is best, because it marks the back and stays out of the way. On bags, the outside side seam looks neat. On quilts, the back bottom corner is traditional.
Can I add a label after a garment is finished?
Yes. Topstitch it flat where you want it, folding the ends under first. Use a little fusible tape or fabric glue to hold it in place while you sew, and stitch close to the edge all the way around.
Do fabric labels fray in the wash?
Woven labels fray very little, especially when the ends are caught in a seam. Printed cotton labels can fray at the cut edges, so finish the edges with a narrow hem or zigzag, or fold the ends under before topstitching.
How do I make my own fabric labels?
Print your design onto printable cotton fabric, cut it into strips, and finish the edges. Or hand embroider your name on cotton tape. Keep the design simple and the text short, and heat set printed ink before washing.
What should a fabric label say?
Keep it simple: your name, your brand name, or a short message like handmade with love. A size or care note can go on a separate label. The label is small, so short text reads best and looks most professional.
A fabric label is a tiny detail with an outsized effect, and once you start adding them you will find it hard to stop. Choose a label you love, place it where it will be seen but never felt, sew it in firmly, and enjoy the moment someone asks where your beautiful handmade piece came from. You can tell them you made it yourself, and the label proves it. If you are finishing a bag, my guide to sewing a simple wallet is another small project that looks wonderful with a label.

Written by June Carter
I am June, a sewing enthusiast who loves turning simple fabric into things people actually use. I test every technique and product I write about at my own machine before it lands here.