

If you are learning how to read pattern layout diagrams, you are learning the map that tells you how to lay your pattern pieces on your fabric, and it is one of the most useful skills in sewing. The diagram looks like a confusing jumble of rectangles and arrows at first, but once you know what each symbol means, it becomes a clear set of instructions that saves fabric, keeps your garment on grain, and stops you cutting two left sleeves by accident.
A layout diagram shows you how to fold your fabric, where each piece goes, which pieces sit on the fold, and which way the grainline runs. It is drawn for a specific fabric width and a specific size range, so reading it correctly matters. In this guide I will decode the diagram piece by piece, explain the symbols you will meet most often, and walk you through laying out a real pattern, so your next cutting session feels calm instead of confusing.
What a Layout Diagram Actually Shows
A layout diagram is a bird’s eye view of your fabric, drawn as a long rectangle, with your pattern pieces placed inside it like pieces of a puzzle. The rectangle represents your fabric, usually folded, and the shapes inside it are your pattern pieces, drawn in outline and labelled with their piece numbers. The diagram tells you how much fabric you need, how to fold it, and where each piece sits, so you can cut efficiently without wasting fabric.
Most patterns include several layout diagrams, one for each fabric width, and sometimes one for each view or size range. Your job is to find the diagram that matches your fabric width, your size, and the view you are sewing, and ignore the rest. The diagrams are usually labelled clearly, for example forty five inch fabric, sizes 8 to 14, view A, and picking the wrong one is the most common layout mistake, so check the label twice before you start.
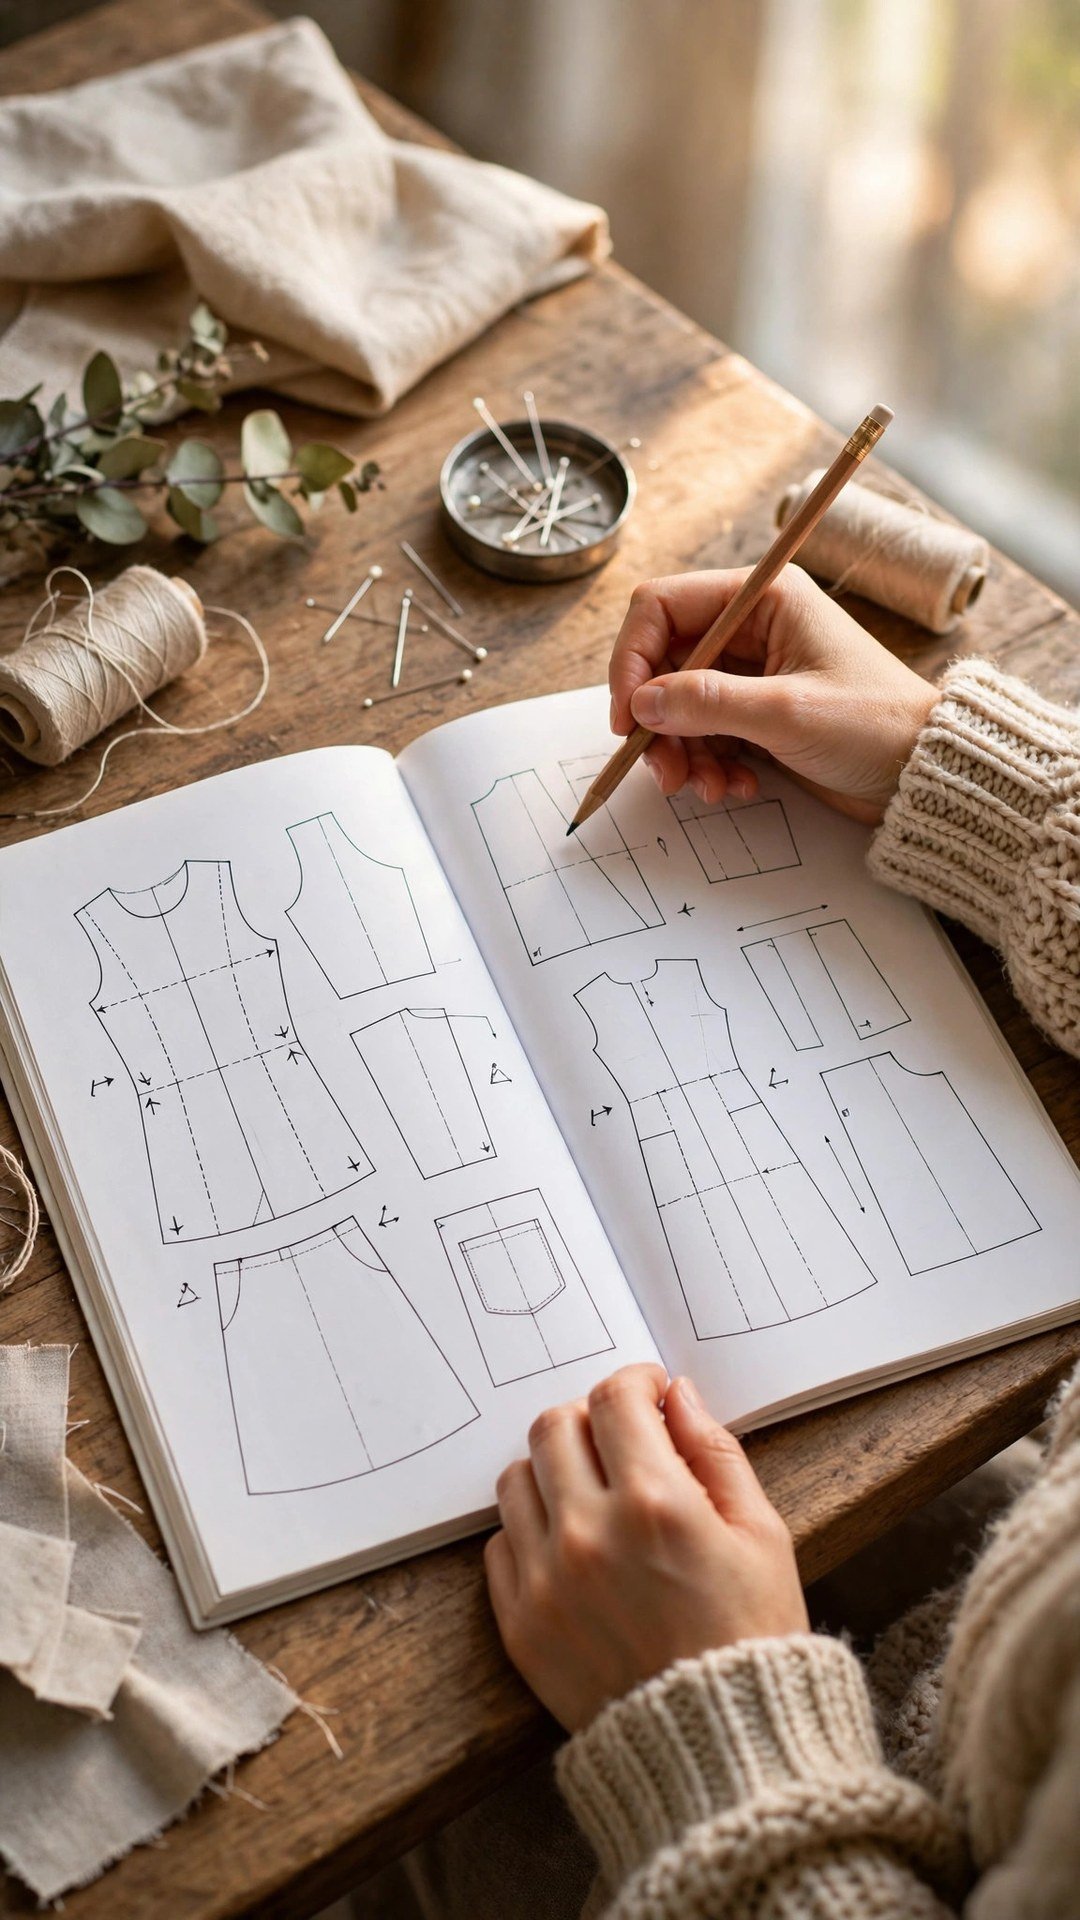
The Symbols You Need to Know
The most important symbol on a layout diagram is the grainline arrow, a long straight arrow printed on each pattern piece. That arrow must run parallel to the selvedge of your fabric, and it tells you the direction of the grain. If the grainline is off, your garment will twist, hang badly, and pull in odd directions, so check every piece with a ruler before you pin it down. The grainline is the first thing I check on every piece, every time.
The fold symbol is a long line with arrows at each end, or the word fold printed along one edge of a pattern piece. A piece marked place on fold sits with that edge exactly on the folded edge of your fabric, and you cut it as one piece, not two. If you cut it as two separate pieces by mistake, you will have a seam down the middle where there should be none, and the piece will be the wrong shape. Always look for the fold symbol before you cut.
How to Read Pattern Layout Diagrams Step by Step
Start by finding the right diagram for your fabric width, size, and view, and read any notes printed beside it. Those notes often tell you to cut certain pieces from interfacing, or to cut a piece on the bias, or to leave a piece out for a particular view, and missing a note is an easy way to cut the wrong pieces. Circle the pieces you need for your view with a pencil, so you can ignore the rest at a glance.
Next, fold your fabric exactly as the diagram shows. Most diagrams use a lengthwise fold, with the selvedges together and the fold on one side, but some use a crosswise fold or a double fold, so follow the diagram, not habit. Lay the fabric out flat on a table, smooth it gently, and check that the fold is straight and the selvedges line up. A wonky fold at this stage means wonky pieces later.
Now place the pieces one at a time, starting with the largest pieces first, because they are the hardest to fit. Place each piece with its grainline parallel to the selvedge, using a ruler to check, and pin or weigh it down before you move to the next piece. My guide to how to trace pattern pieces will help if you need clean copies first, and my guide to how to cut fabric on grain explains the grainline check in detail. Work through the diagram in order, checking each piece against the drawing as you go, and leave a small gap between pieces for cutting. When every piece is placed, step back and compare your layout to the diagram before you cut a single thread.
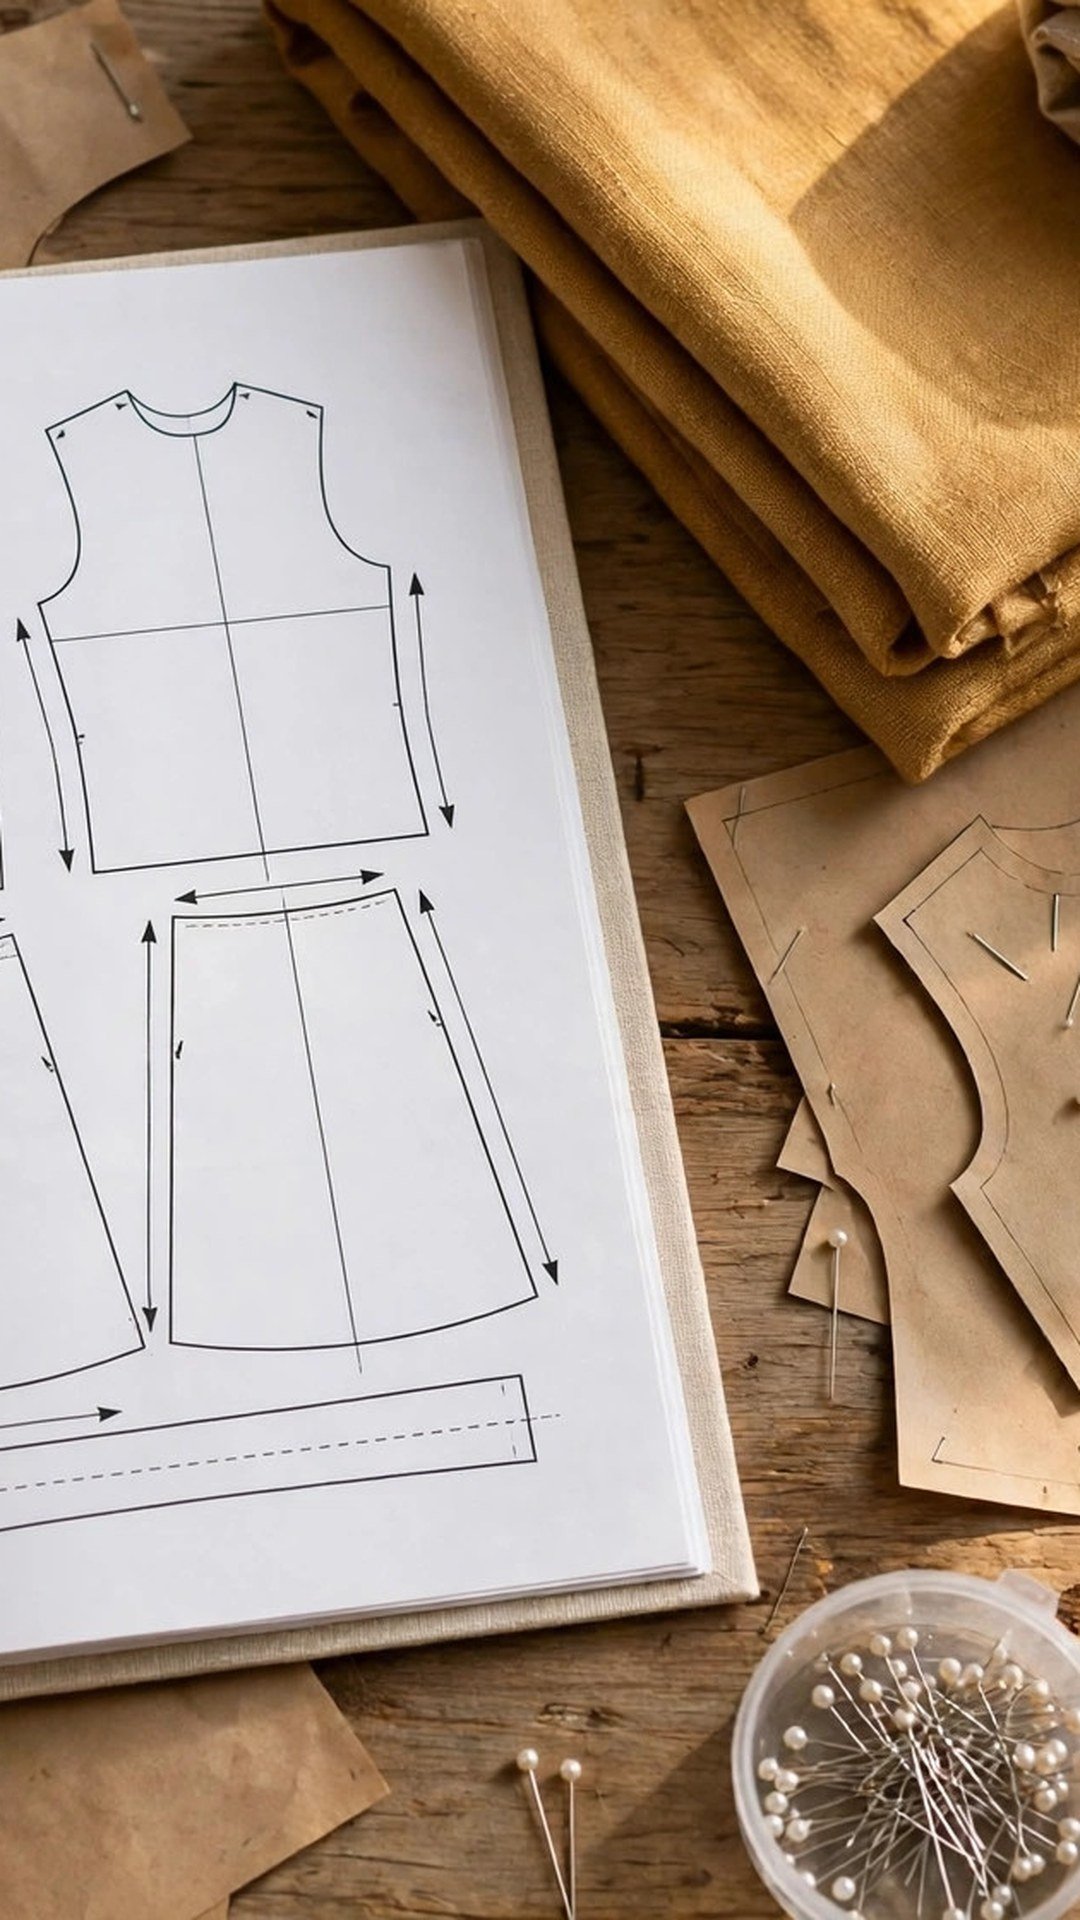
Common Layout Mistakes and How to Avoid Them
The most common mistake is placing a piece with the grainline at an angle, which makes the finished garment twist and hang badly. Always measure from the grainline arrow to the selvedge at both ends of the arrow, and adjust the piece until both measurements match. The second mistake is cutting a piece on the fold when it should be cut twice, or cutting it twice when it should be on the fold, so check the fold symbol on every piece before you cut.
The third mistake is forgetting that some pieces are cut from interfacing or lining, not from your main fabric, and the diagram usually shows these pieces shaded or labelled. Cut them from the right material, and keep them separate from your main pieces so they do not get mixed up. The fourth mistake is placing pieces too close together, leaving no room for the scissors or rotary cutter, which leads to nicked edges and wobbly cuts. Leave a comfortable gap, and remember that fabric saved by cramming pieces together is not worth a ruined piece.
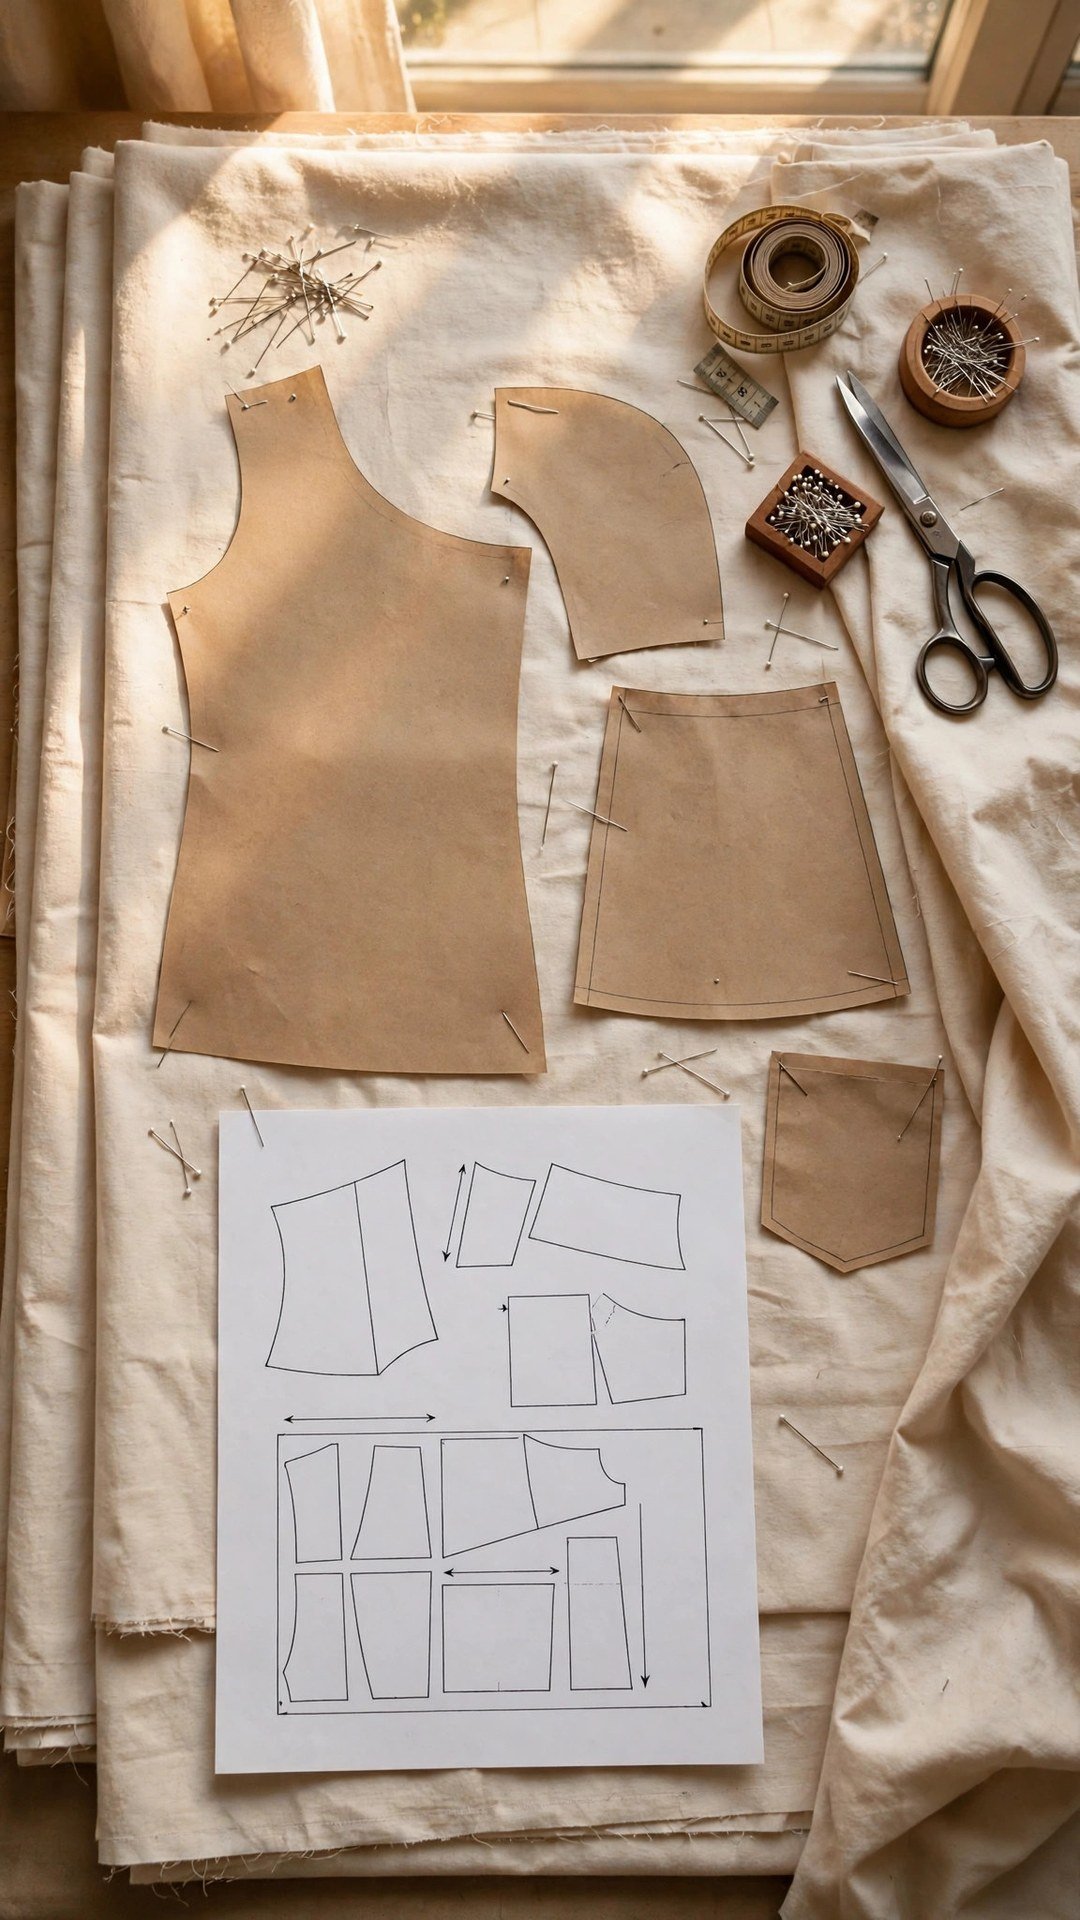
Practise With a Simple Pattern First
The best way to learn layout diagrams is to practise with a simple pattern, like a skirt or a tote bag, where there are only a few pieces and the layout is easy to follow. Lay the pieces out, compare them to the diagram, take a photo of your layout, and then cut. After a few simple projects, the diagrams will start to feel familiar, and you will read them at a glance instead of puzzling over each symbol.
Keep a notebook of layouts that worked well for you, noting the fabric width, the size, and any adjustments you made. That notebook becomes a personal reference that saves time on future projects, especially when you sew the same pattern again in a different fabric. I still refer to my own notes when I return to a favourite pattern after a long break, because the details fade faster than I expect.
If you are planning a first project, my guide to how to choose a first sewing project will help you pick something with a friendly layout diagram. Start simple, read the diagram carefully, and enjoy the satisfying moment when every piece fits neatly on your fabric, like a puzzle solved. That moment is one of the quiet pleasures of sewing, and it never gets old.
Frequently Asked Questions
What is a pattern layout diagram?
It is a bird’s eye drawing of your fabric with the pattern pieces placed inside it. It shows how to fold the fabric, where each piece goes, and which way the grainline runs for your fabric width and size.
How do I choose the right layout diagram?
Find the diagram that matches your fabric width, your size range, and the view you are sewing. The diagrams are labelled, and using the wrong one is the most common layout mistake.
What does place on fold mean?
It means one edge of the pattern piece sits exactly on the folded edge of the fabric, and you cut it as a single piece. Do not cut it as two separate pieces, or you will add a seam where there should be none.
Why does grainline direction matter?
The grainline must run parallel to the selvedge, or the finished garment will twist, hang badly, and pull in odd directions. Measure from the grainline arrow to the selvedge at both ends to check it.
What if my fabric has a directional print?
Lay all pieces facing the same way up, even if it uses a little more fabric, so the print runs the same direction on every piece. Check the pattern instructions for a note about directional fabric.
Read the Diagram, Then Cut With Confidence
A layout diagram is not a puzzle to fear, it is a map to follow, and once you know the symbols it becomes one of the most helpful pages in your pattern instructions. Find the right diagram, fold your fabric as shown, check every grainline, and place the largest pieces first. Do that, and your cutting will be efficient, your pieces will be on grain, and your finished garment will hang the way the designer intended. That is a skill worth learning well.

Written by June Carter
I am June, a sewing enthusiast who loves turning simple fabric into things people actually use. I test every technique and product I write about at my own machine before it lands here.