
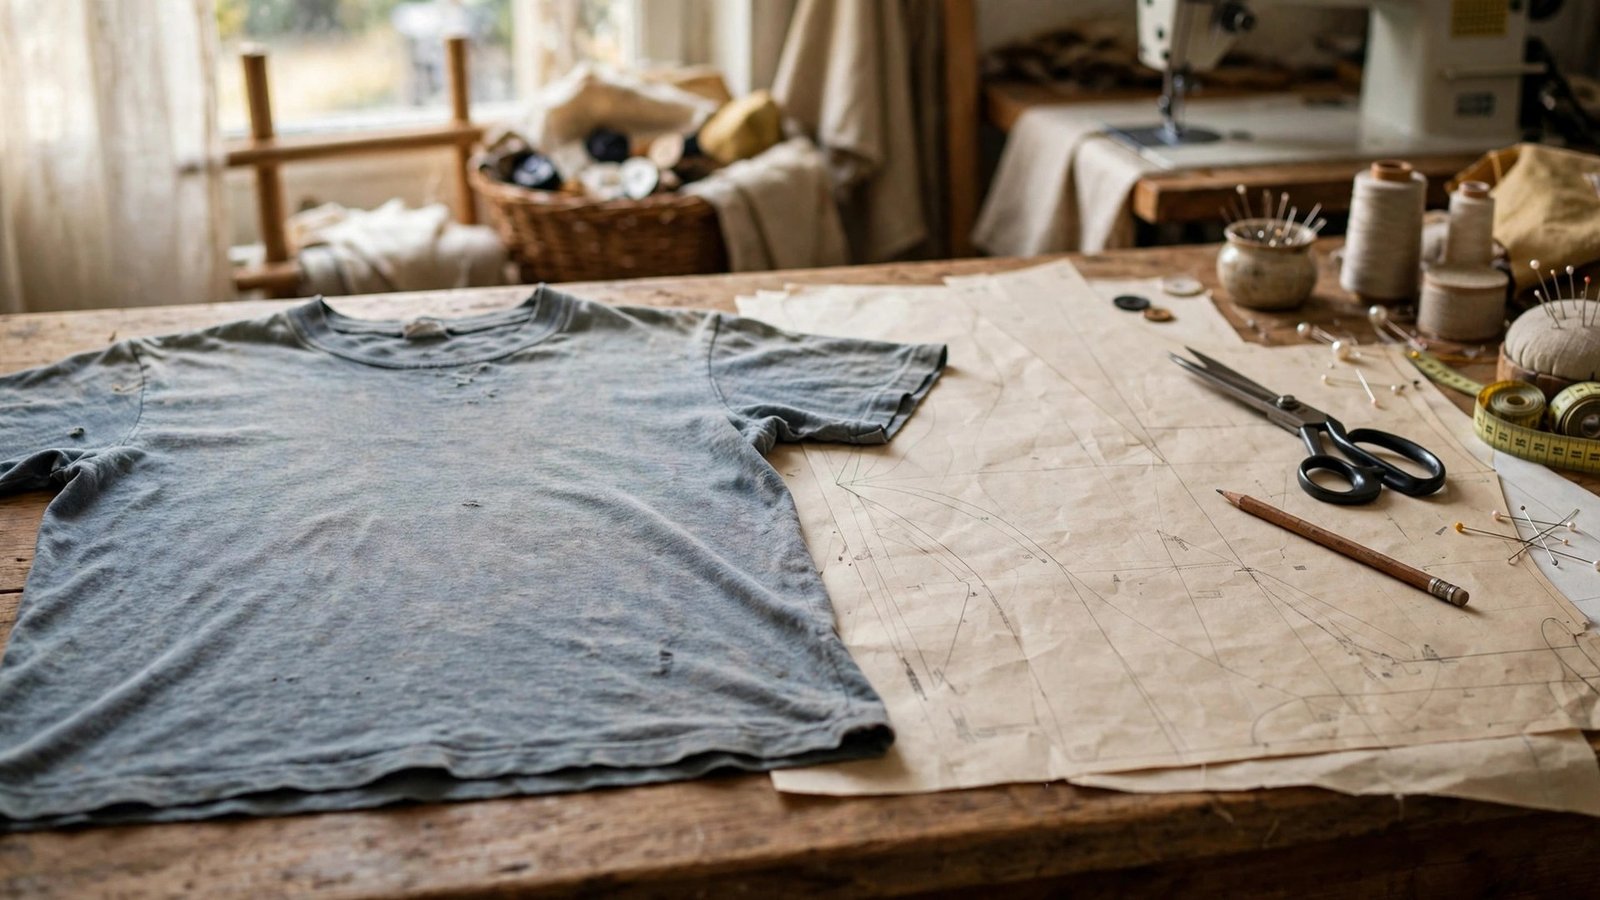
Learning how to make a pattern from an old T-shirt is one of the most satisfying skills in sewing, because it lets you copy a garment you already love. We all have a T-shirt that fits perfectly: the right length, the right sleeve, the right neckline. When it wears out, you do not have to say goodbye to the fit. You can trace it, turn it into a pattern, and sew it again in any fabric you like.
I traced my favourite T-shirt years ago, and I have sewn it in cotton jersey, in a soft knit, and in a striped fabric that makes me smile every time I wear it. The pattern cost nothing, the fit was already proven, and each new version took less time than the last. It is the closest thing to a free pattern that actually fits you.
In this guide I will show you how to choose the right T-shirt to copy, how to trace it accurately, how to add seam allowances, and how to test the pattern in a muslin before you cut your good fabric. My guide to how to trace pattern pieces covers tracing tools in more detail.
Choose the Right T-Shirt to Copy
Choose a T-shirt that fits you well now, not one you hope to fit into one day. It should be a simple style, without complicated details: a plain crew neck or V neck, straight sleeves, and a hem you like. A simple T-shirt traces cleanly, while a shirt with a lot of shaping, darts, or a curved hem is harder to copy accurately.
Check the fabric and the condition. A T-shirt that has stretched out of shape will give you a stretched pattern, so choose one that still holds its shape. Lay it flat and check that the shoulders, the side seams, and the hem are even. If one side has stretched more than the other, trace the better side and mirror it.
Wash and press the T-shirt before you trace it, so it is clean and flat. A wrinkled or shrunken shirt gives a wrinkled pattern, and you will carry that error into every version you sew. Take your time choosing, because the pattern is only as good as the shirt you copy.
Tracing the T-Shirt Accurately
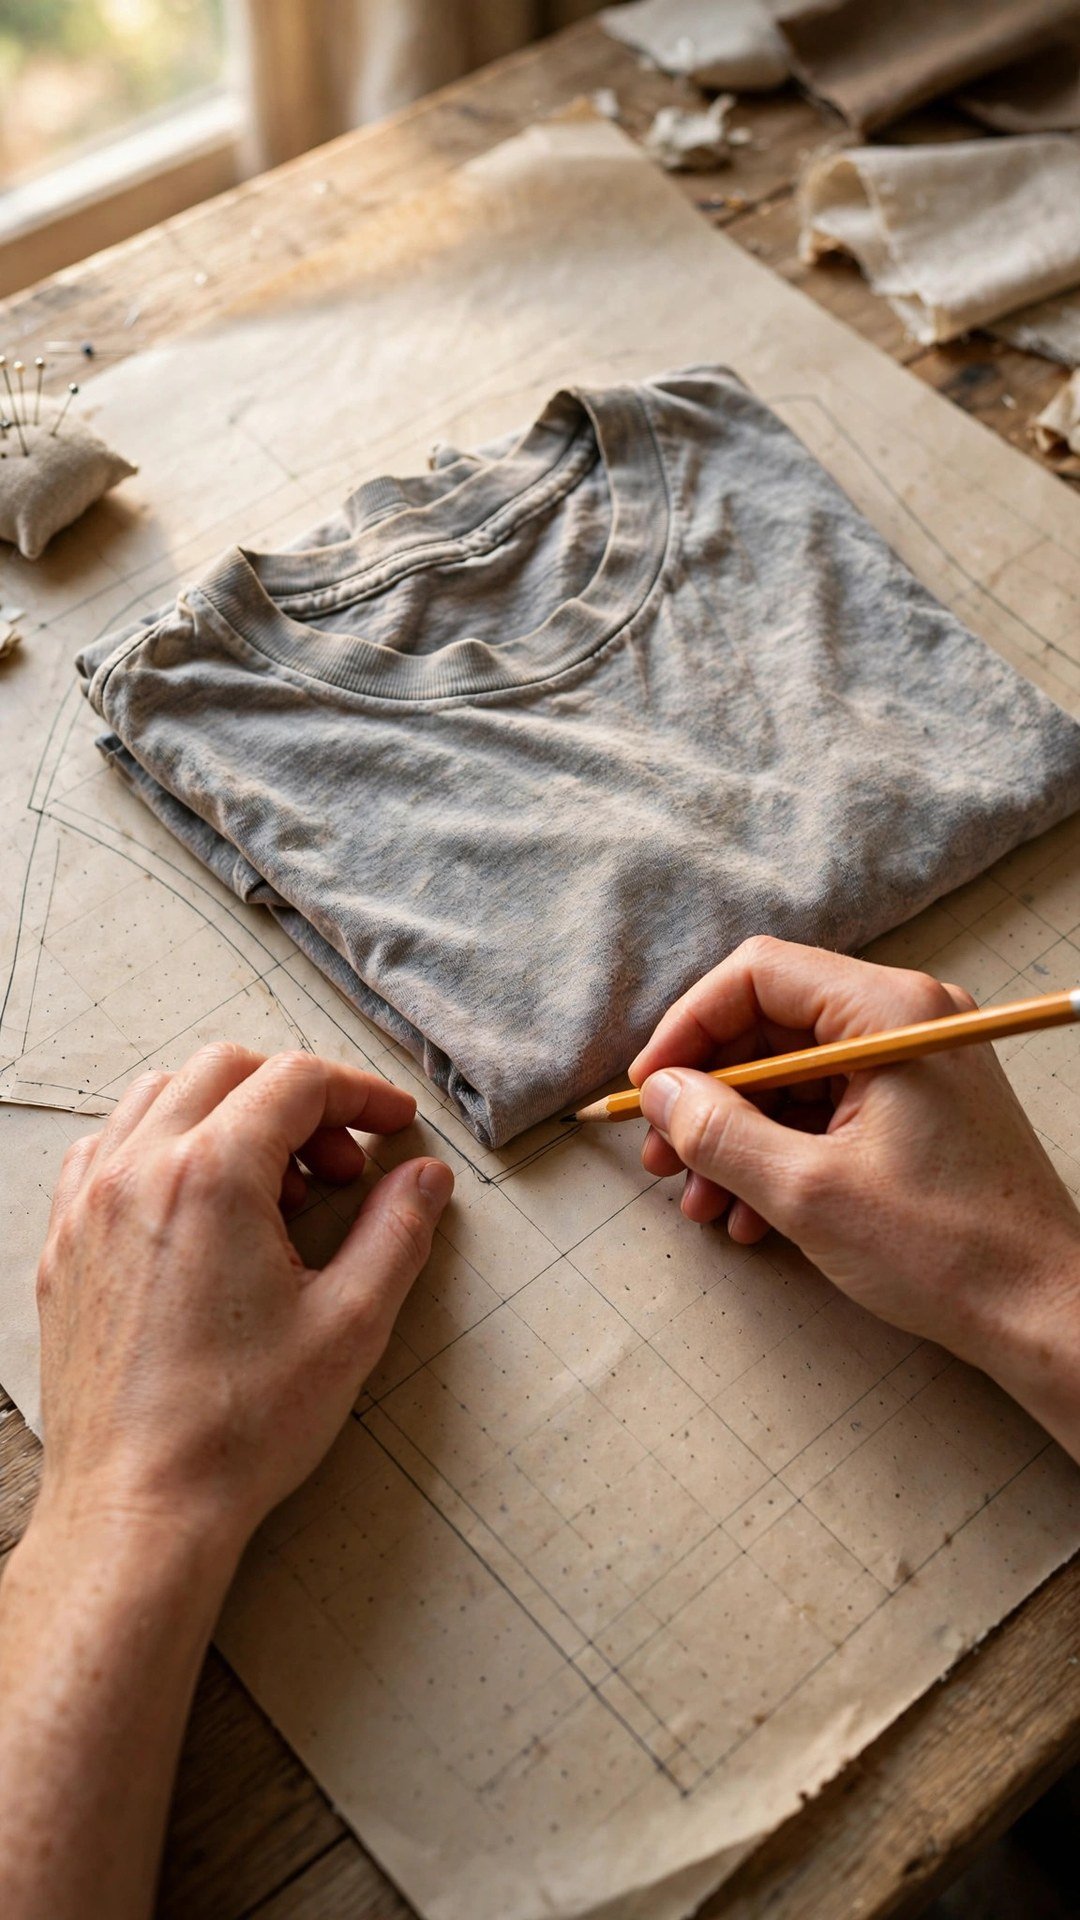
Fold the T-shirt in half lengthwise, matching the shoulder seams, the side seams, and the sleeves. Lay it on large pattern paper, with the fold along the edge of the paper or along a marked line. Pin it gently to the paper so it does not shift, and smooth out any wrinkles. The fold is your centre line, so it must be straight and true.
Trace around the shirt with a pencil, following the shoulder, the side seam, the hem, and the sleeve. For the neckline, trace the front neckline on one side of the paper and the back neckline on the other, or trace them on separate pieces. Mark the shoulder point, the underarm point, and the sleeve hem clearly, because those points guide your sewing later.
For the sleeve, trace it separately if it is easier, or trace it while it is folded with the body. If the sleeve is set in, mark where it joins the body. Add grainline arrows, notches at the shoulder and the underarm, and labels for front, back, and sleeve. A pattern without labels is a puzzle you will not enjoy solving later.
Adding Seam Allowances and Markings
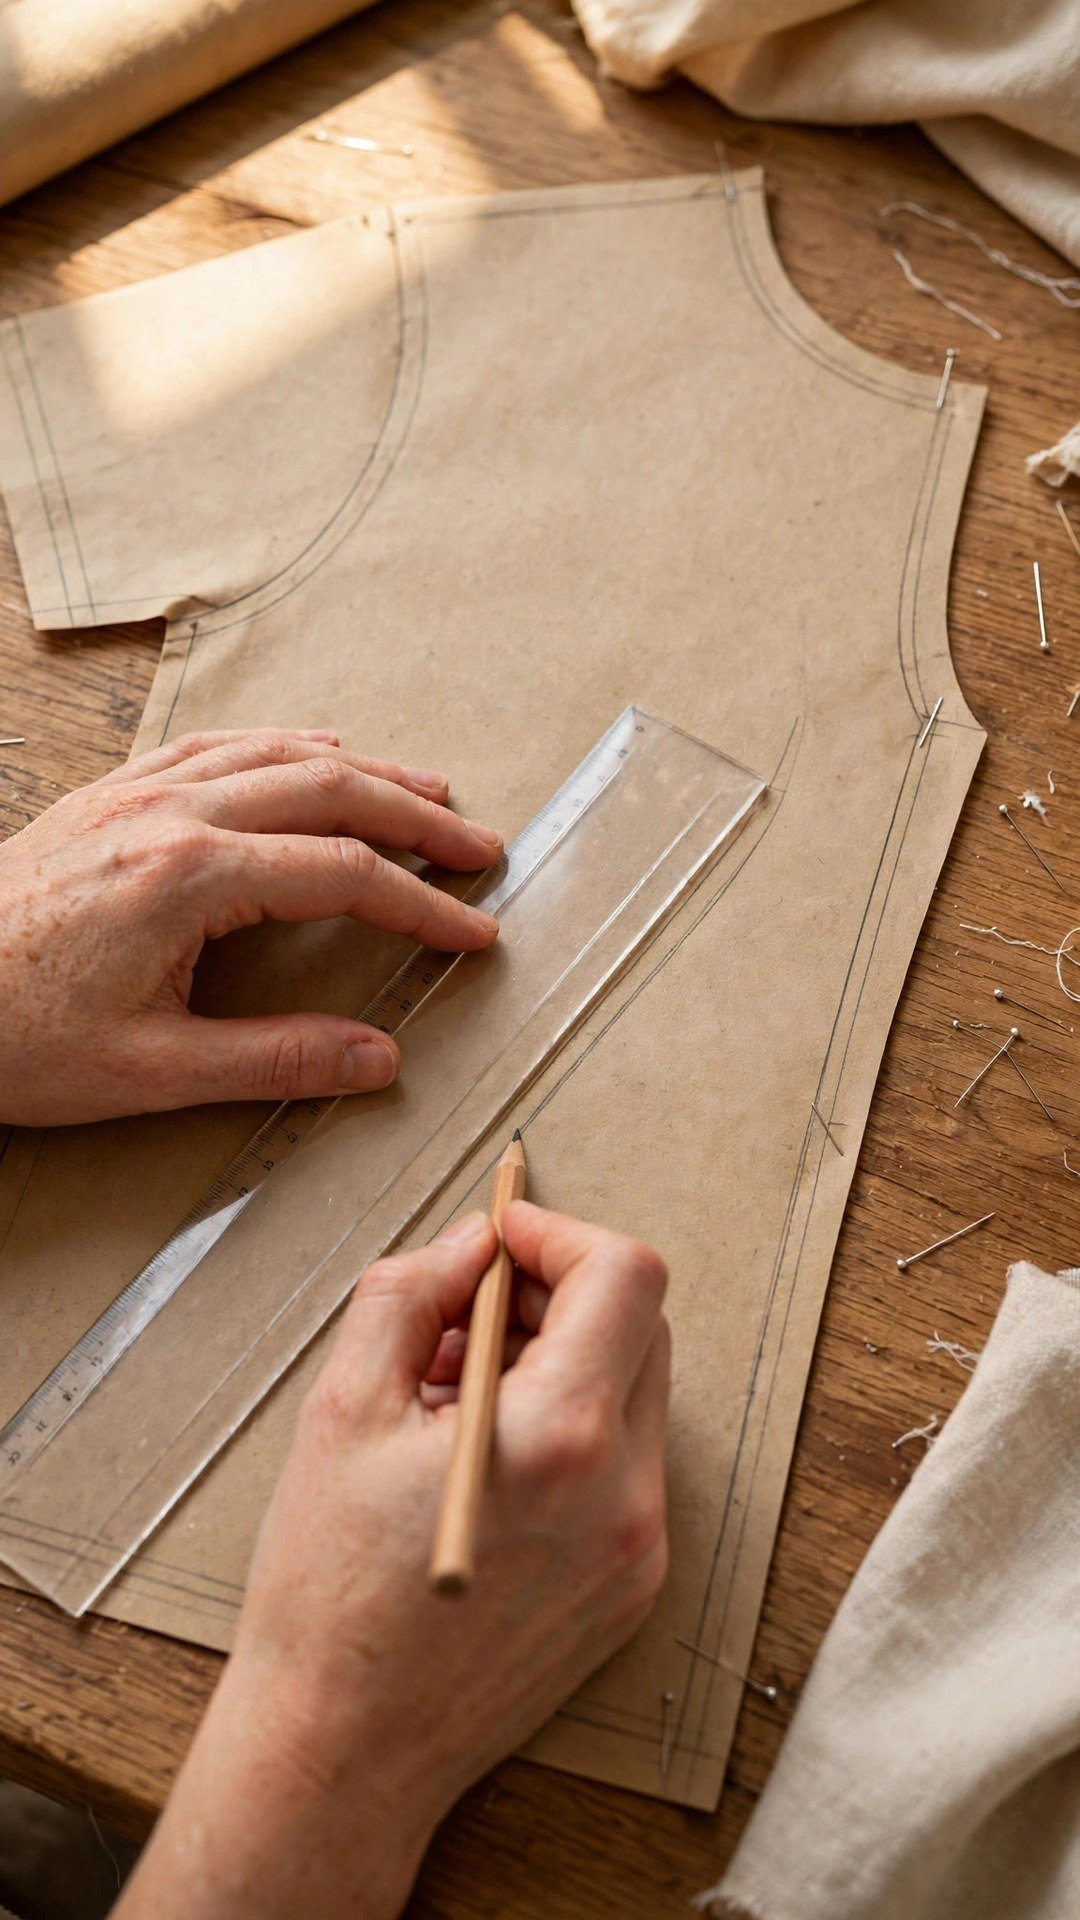
Your traced line is the stitching line, not the cutting line, because the original T-shirt was sewn on that line. Add seam allowances around the pattern: a half inch at the side seams and shoulders, a quarter inch at the neckline if you plan to bind it, and an inch at the hem. Use a ruler to draw the cutting line evenly, so the allowance is consistent all round.
True the pattern by checking the curves and the corners. The shoulder seam on the front and the back should be the same length, and the sleeve should fit the armhole. Measure the armhole curve on the body and the sleeve cap curve, and adjust them until they match. A sleeve that is too long for the armhole will pucker, and one that is too short will pull.
Cut the pattern out, and write the details on each piece: the garment name, the size, the fabric type, the number of pieces to cut, and the date. Store the pattern flat or rolled, not folded, so the paper does not crease at a critical point. A well labelled pattern is a pattern you will actually use again.
How to Make a Pattern from an Old T-Shirt
Start by washing and pressing your favourite simple T-shirt, then fold it in half and pin it to large pattern paper. Trace the outline carefully, marking the shoulder, underarm, and hem points, and trace the front and back necklines separately. Add grainlines, notches, and labels as you go.
Next, add seam allowances with a ruler, true the curves, and check that the sleeve fits the armhole. Cut the pattern pieces out, and lay them on a piece of muslin or an inexpensive knit. Cut the muslin, sew it together with a simple straight stitch, and try it on. This test version is your fitting check, and it is the step that saves your good fabric.
Try the muslin on and check the fit: the shoulders, the chest, the length, and the sleeves. Mark any changes directly on the muslin, then transfer those changes to the paper pattern. Adjust the pattern, make a second muslin if the changes are large, and only then cut your good fabric. My guide to how to make and fit a muslin walks through the fitting step in detail.
Sewing Your New T-Shirt from the Pattern
Choose a knit fabric with similar stretch to the original T-shirt. A cotton jersey with a little stretch is a good first choice, and it sews well on a regular machine with a ballpoint needle and a stretch stitch or a zigzag. Check the stretch of the new fabric against the old shirt: if it stretches much more or much less, the fit will change.
Cut the pattern pieces on the grain, with the stretch running across the body, and sew the shoulder seams first, then the sleeves, then the side seams. Use a ballpoint needle so you do not pierce the knit fibres, and a stitch that stretches with the fabric. Press the seams gently, without stretching them, and finish the neckline with binding or a band cut from the same fabric.
Try the shirt on before you hem it, and adjust the length if needed. Hem with a twin needle or a zigzag stitch, so the hem stretches when you put the shirt on. Press it lightly, wear it, and enjoy the fact that you copied a favourite. The next version will be even quicker, because the pattern is already done.

Frequently Asked Questions
Can I trace a T-shirt without taking it apart?
Yes. Fold it in half, lay it on pattern paper, and trace around it. You do not need to unpick the seams. Tracing a folded shirt gives you a symmetrical pattern, as long as the fold is straight and the shirt holds its shape.
How do I add seam allowances to a traced pattern?
Your traced line is the stitching line. Add a half inch at the side seams and shoulders, a quarter inch at the neckline, and an inch at the hem, using a ruler to draw the cutting line evenly.
Should I make a muslin first?
Yes, always. A muslin in inexpensive knit lets you check the fit, the length, and the sleeve before you cut good fabric. Mark changes on the muslin and transfer them to the pattern.
What fabric should I use for the new T-shirt?
Choose a knit with similar stretch to the original shirt. Cotton jersey is a good first choice. Use a ballpoint needle and a stretch stitch so the seams stretch with the fabric.
How do I trace the neckline correctly?
Trace the front neckline and the back neckline separately, because they are different depths. Mark which is which on the pattern, and add a quarter inch seam allowance if you plan to bind the neck.
Copy the Fit You Love, Sew It Again
Making a pattern from an old T-shirt turns a favourite garment into a pattern you can use for years. Trace it carefully, add seam allowances, test it in a muslin, and sew the new version in a knit you love. The fit is already proven, the cost is nothing, and the next T-shirt is yours to make whenever you like.

Written by June Carter
I am June, a sewing enthusiast who loves turning simple fabric into things people actually use. I test every technique and product I write about at my own machine before it lands here.