

Learning how to trace pattern pieces was the single habit that leveled up my sewing the fastest. It preserves the original pattern, lets you blend between sizes, and gives you a clean copy you can alter without any fear.
Tracing simply means copying a pattern piece onto fresh paper instead of cutting the original. It sounds like extra work, and the first time you do it, it is. But the second time you reuse that pattern, or the day you need a different size, you will be so glad you traced.
How to Trace Pattern Pieces: The Full Method
Here is the whole process in one place. The detailed sections below break down each step, but this overview shows you where everything fits.
- Prepare the original. Press crinkled tissue flat with a cool, dry iron and lay it on a large flat surface.
- Choose and highlight your size. Pick your size from your measurements and trace over its cutting line with a colored marker so it shows through the paper you will lay on top.
- Layer the tracing paper. Lay tracing paper over the pattern piece and secure both layers with pattern weights.
- Trace the outline. Follow the cutting lines for your size with a fine-tip marker, using a ruler for straight sections and a French curve for curves.
- Transfer every marking. Notches, grainline, darts, dots, pleats, and fold lines all get copied now.
- Label the piece. Pattern name, piece name and number, size, and cutting instructions.
- Cut out your traced copy. The original stays whole, with every size intact for next time.
Why Bother Tracing Instead of Just Cutting?
The biggest reason is multi-size patterns. Most commercial tissue patterns print several sizes nested together, and cutting out one size destroys the others. Tracing lets you keep every size available for future projects, which matters when your size changes or when you sew for someone else.
Tracing also protects expensive and vintage patterns, and it is the only sane way to work when you plan alterations. You can true up seams, blend between sizes, and experiment on the copy while the original stays pristine. For single-size PDF patterns the case is weaker, but I still trace when I know I will alter the fit, because a marked-up original is a pain to reuse.
My honest rule: always trace tissue patterns, always trace anything you might sew twice, and trace anything expensive. The twenty minutes it costs pays for itself the first time you reach for that pattern again.
What You Need to Trace Patterns Well
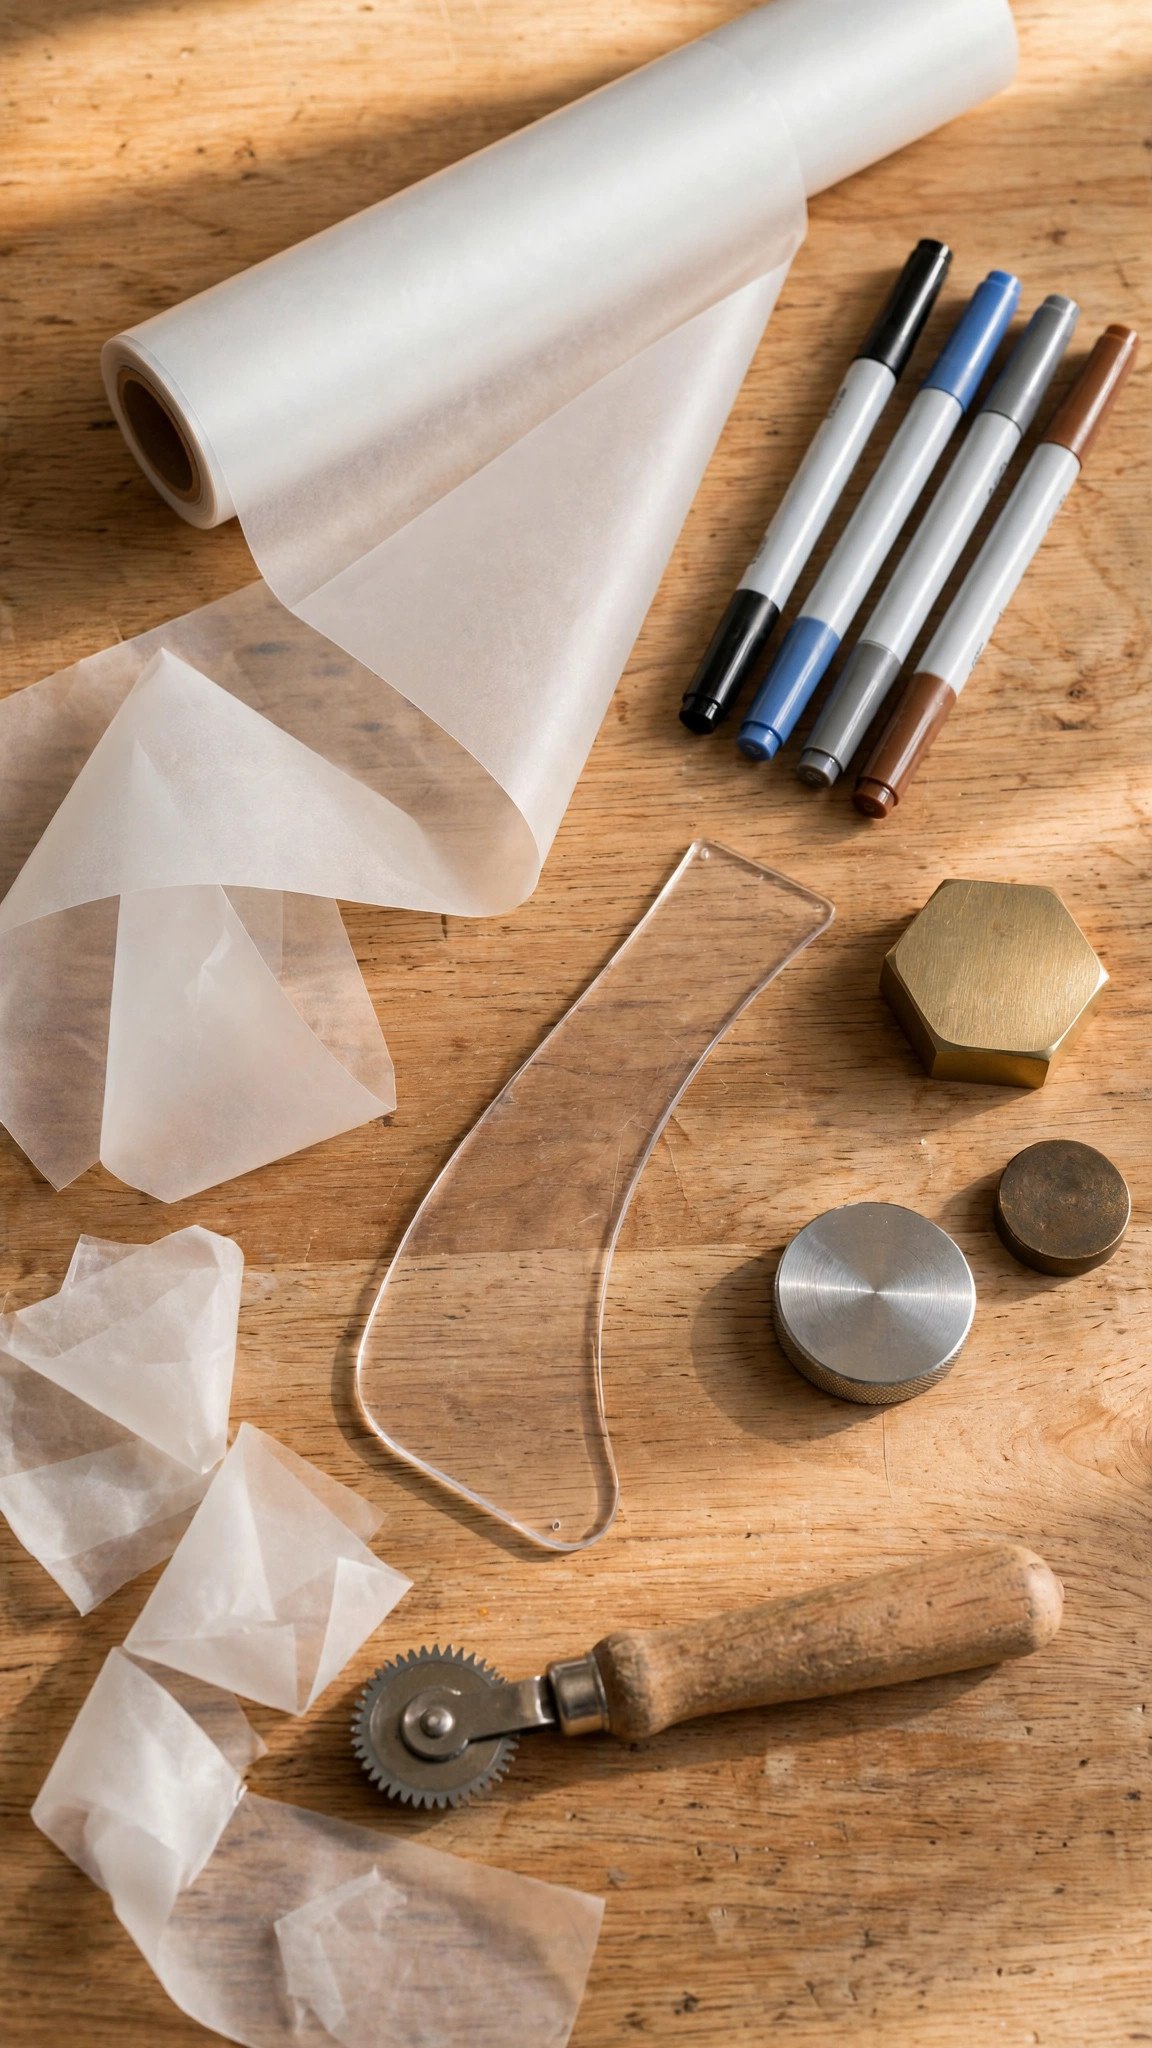
You do not need much, but the right supplies make tracing dramatically more pleasant. Swedish tracing paper is my favorite: it is translucent, durable, and you can even sew it for a quick fitting muslin. Plain tracing paper or examination-table paper works fine for simpler jobs.
Get fine-tip markers in a few colors so you can color-code sizes or pieces. Pattern weights hold everything flat without the little lift that pins cause, though clean cans or books work in a pinch. A clear ruler and a French curve keep your lines true, and a pencil is handy for drafting adjustments before you commit with marker.
Tracing the Outline and Your Size Line
Start by making sure the original lies perfectly flat. If the tissue is crinkled, press it gently with a cool, dry iron. Then choose your size from your accurate body measurements, not the size you buy in ready-to-wear, and highlight that size’s cutting line with a colored marker. On a busy multi-size sheet this highlighting step is what keeps you on the right line.
If you fall between sizes, this is your moment to blend. Draw a smooth new line that transitions from one size to the other, using a French curve for armholes and necklines. Then lay your tracing paper over the piece, secure it with weights, and trace the outline. Rotate the paper as you go rather than twisting your wrist on curves, and let the ruler guide the long straight runs.

Transferring Every Marking (This Is the Part People Skip)
An outline without markings is just a shape. Copy every symbol: notches, the grainline arrow, darts, pleats, dots, button placements, and fold lines. For darts, mark the dart tip and both dart legs, then join them with a ruler. The grainline arrow is the most critical marking of all, since it tells you how to position the piece on the fabric grain.
If the symbols look like hieroglyphics, my guide to sewing pattern symbols decodes the common ones. Once the markings are on your traced copy, you can move them to fabric later with a tracing wheel and marking paper, or with tailor’s chalk. Either way, the rule is the same: transfer everything before you put the original away, because you do not want to dig it out again for one forgotten notch.

Labeling and Storing Your Traced Pieces
Label every piece while the information is fresh: pattern name and number, piece name, size, cut quantity (for example, cut two of main fabric), and the grainline. I also note whether the pattern includes seam allowance and how much, right on the piece, so I never have to guess at cutting time.
Store traced pieces flat or loosely rolled, and keep the instruction sheet and any legend with them. If a piece gets wrinkled, a pass with a dry iron flattens it right out. A labeled, stored traced pattern is a little gift to your future self.
FAQ
Do I need to trace PDF patterns?
Usually not, since most PDFs are single-size and cheap to reprint. But trace them if you plan fit alterations, or if you want to preserve a clean copy. If you are new to PDFs, my guide to assembling tiled pattern pages gets you from printout to usable pattern.
What is the best paper for tracing patterns?
Swedish tracing paper, in my opinion. It is strong, translucent, and sewable, so it survives repeated use. For quick one-off copies, plain tracing paper or even parchment paper for small pieces works fine.
Can I trace without damaging the original at all?
Yes, that is the whole point. You never cut the original: you lay paper over it, trace, and cut only your copy. The original keeps every size intact.
How do I trace a piece that overlaps others on the tissue?
Highlight just your size line in a bold color first, then trace only that line. Overlapping pieces are exactly why tracing beats cutting: you can follow one line through the tangle without touching the rest.

Written by June Carter
I am June, a sewing enthusiast who loves turning simple fabric into things people actually use. I test every technique and product I write about at my own machine before it lands here.