

Learning how to print US letter pattern pages correctly is one of those unglamorous skills that saves you from the most heartbreaking sewing disaster there is: cutting into beautiful fabric with a pattern that printed at the wrong scale. It happens to almost everyone once. This tutorial makes sure it never happens to you.
A US letter pattern file is a PDF designed to print on standard 8.5 by 11 inch paper, the paper size most printers in North America use. The file is tiled, meaning the full-size pattern pieces are split across many pages that you print at home and tape together. The entire trick is in the print settings: one wrong checkbox and your size medium quietly becomes a size extra small.
I print patterns at home for almost every project, and my routine has not changed in years. Download the right file, open it in the right program, set the scale to actual size, print one test page, measure the test square, and only then print the rest. Follow that order and your patterns will come out exactly right, every single time.
Download the Right File Before You Print Anything
Most digital pattern shops give you several files: a US letter and A4 tiled file for home printing, a copy shop file for large-format printing, and sometimes a projector file. Open the zip or download folder and pick the file labeled US Letter. If you live outside North America and your printer is loaded with A4, use the A4 file instead: the two tile the same pieces onto slightly different page sizes, and using the wrong one is an easy way to get a scaling surprise.
Save the file to your computer, not just your downloads folder where it will get lost among manuals and receipts. I keep a dedicated sewing patterns folder, and inside it a folder per designer. Future you will be grateful when a favorite pattern needs reprinting two years from now.
Check whether your pattern includes size layers. Many modern PDFs let you toggle individual sizes on and off, which means you can print just your size instead of a tangle of overlapping lines. More on layers below: it is one of the best reasons to open patterns in the right software.
How to Print US Letter Pattern Pages: The Exact Settings
Here is my step-by-step routine. Do it in this order and do not skip the test page.
- Open the file in Adobe Acrobat Reader. Not your web browser, not a phone preview app. Browsers are notorious for quietly rescaling PDFs, and that silent rescaling is the number one cause of wrong-scale patterns. Adobe Acrobat Reader is free and it handles layers and scaling correctly.
- Check the size layers. Open the layers panel and switch off every size you do not need, leaving only your size visible. If you blend between sizes, leave both on. Keep the artboard and labels layers on: those carry the page borders and alignment marks you need for assembly.
- Open the print dialog. Go to File, then Print. Make sure the correct printer is selected and that the paper size is set to US Letter, 8.5 by 11 inches.
- Set the scale to Actual size. In the page sizing section, choose Actual size, or set a custom scale of 100 percent. Never choose Fit, Shrink oversized pages, or Fit to printable area: those options resize the pattern to the page margins and quietly change your garment’s measurements.
- Set orientation to Auto or Portrait. Most tiled pattern pages are portrait. Auto orientation lets the printer decide correctly per page, which handles the occasional landscape instruction page without drama.
- Turn off borderless printing. Borderless modes stretch the page to fill the paper edge to edge, which changes the scale. You want normal bordered printing with white margins.
- Print page one only. In the pages field, type 1. This single test page costs you one sheet of paper and saves you from reprinting thirty pages at the wrong size.
- Measure the test square. Nearly every pattern prints a test square on the first page, usually one inch or a few centimeters. Measure it with a ruler. It must match exactly. If it does, print the rest of the pages with the same settings.
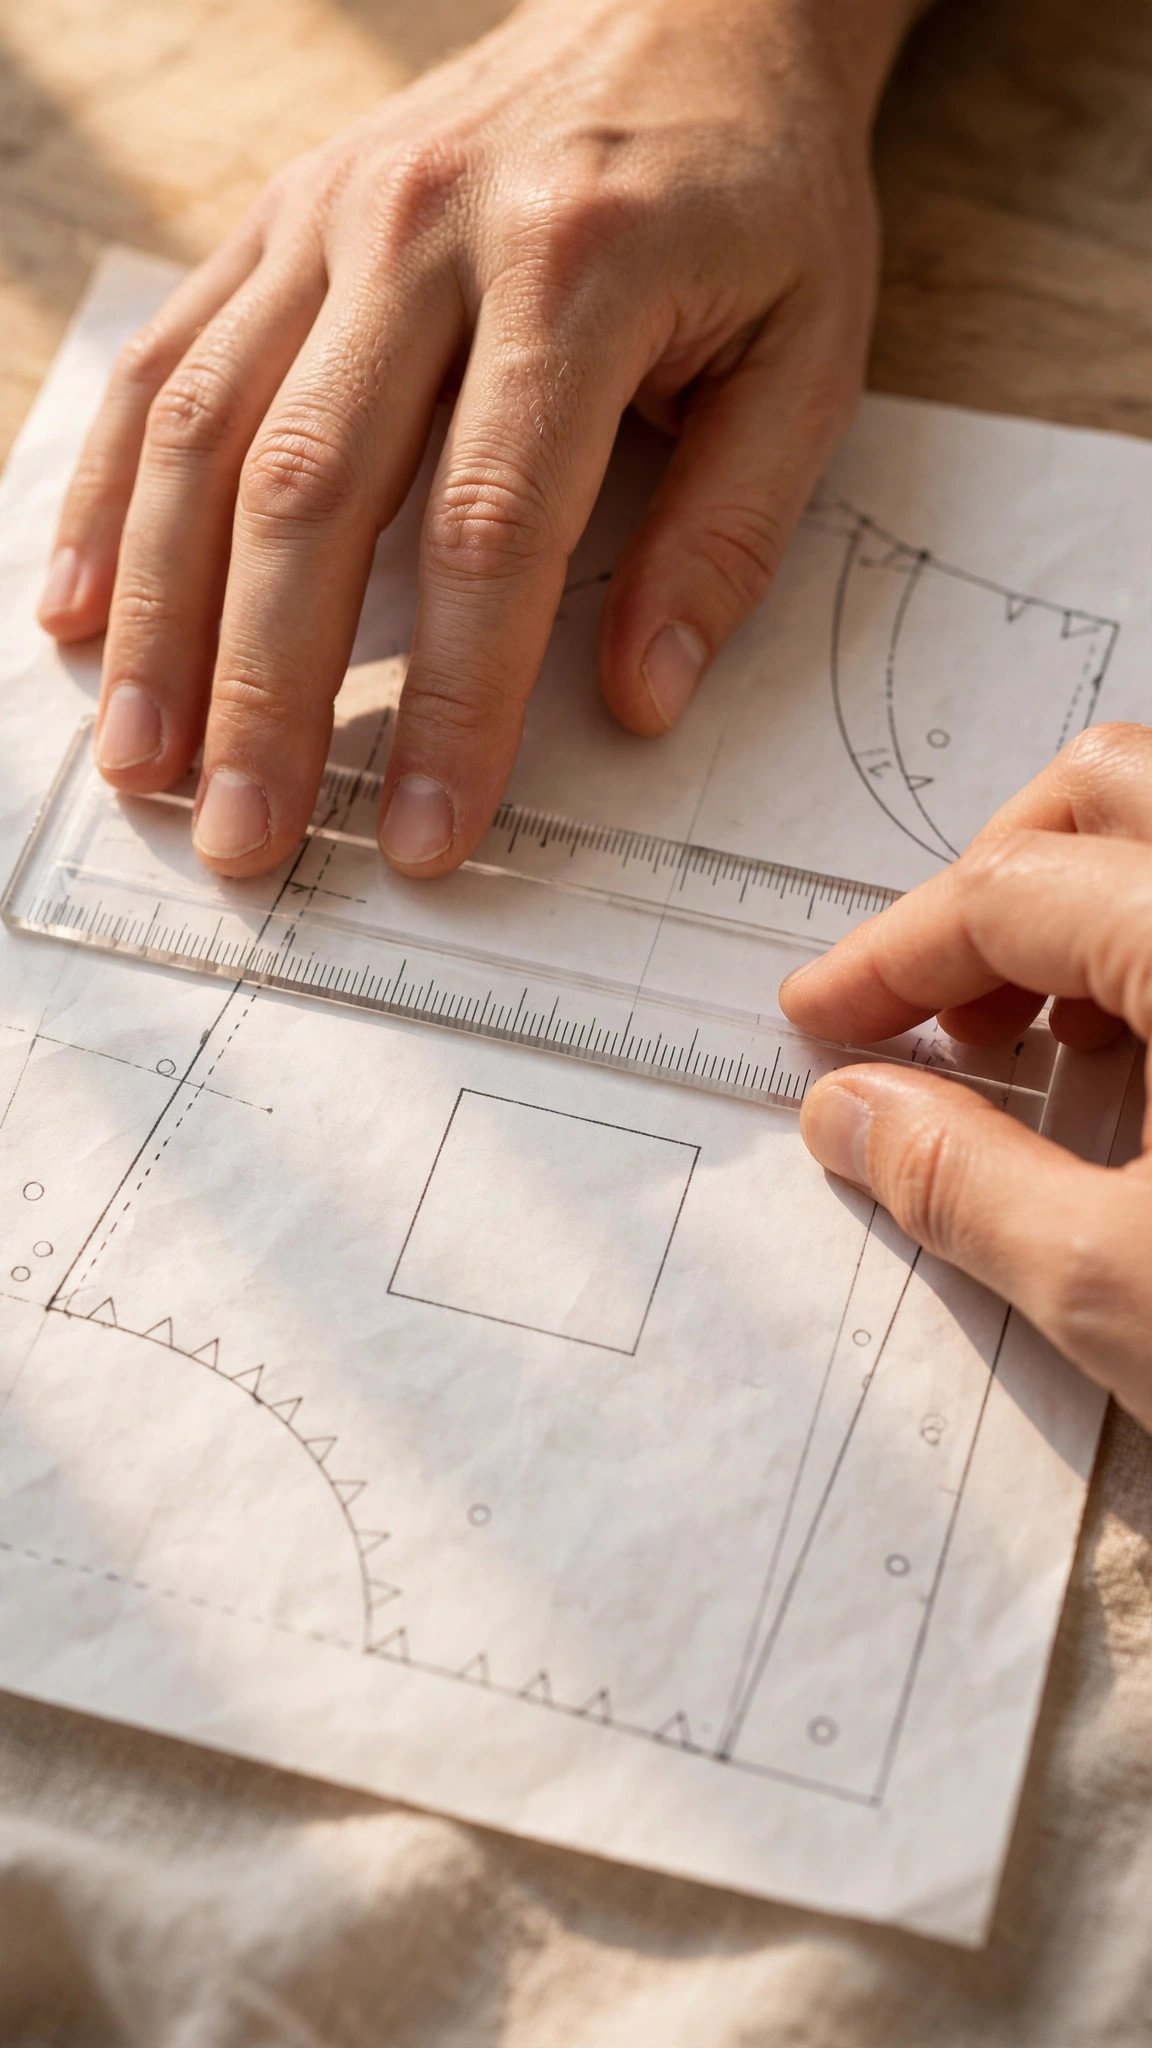
The Test Square: Your One-Page Insurance Policy
The test square is a small printed square, usually one inch on each side, that exists for exactly one purpose: proving your scale is correct before you commit. If the square measures one inch, your pattern pieces are full size. If it measures anything else, something in your settings is off.
Measure with a proper ruler, not a tape measure, and measure both the width and the height of the square. If the width is right but the height is off, your printer is distorting the page, which points to a driver setting like borderless mode or a paper size mismatch. Do not talk yourself into “close enough”: a two percent scale error on a bodice is the difference between a garment that fits and one that does not.
When the test square is wrong, work through the checklist before reprinting: correct file (US Letter, not A4), correct program (Acrobat Reader, not the browser), scale set to Actual size, borderless off, paper size set to Letter in both the dialog and the printer tray. Nine times out of ten, one of those five is the culprit.
Size Layers: Print Only What You Need
If your pattern has size layers and you have never used them, you are in for a treat. The layers panel in Adobe Acrobat Reader lists every size as a separate layer with an eye icon beside it. Click the eyes off for every size except yours, and the PDF redraws with only your size’s lines. Printing a single size means cleaner lines, less ink, and far less squinting at the cutting table.
This is also how you handle grading between sizes cleanly. Leave two sizes on, say your bust size and your hip size, and the blend between them is right there on the page instead of guessed at with a ruler. Just remember to re-enable sizes before printing the instruction pages if any of the cutting layouts reference other sizes.
One warning: layers only work reliably in Adobe Acrobat Reader on a computer. Phone PDF viewers and browser previews often ignore layers entirely and print every size at once, which is a mess of overlapping lines. If you must print from a phone or tablet, there are sewing-specific apps designed for it, but a computer and Reader remain the reliable route.
Common Printing Problems and How I Fix Them
Pages print but the scale is slightly off. Check for borderless printing first, then verify the paper loaded in the tray matches the paper size in the dialog. A Letter file printing onto A4 stock, or the reverse, will rescale silently.
Dashed and dotted lines print as solid. Some printers in ink-saving or draft mode simplify line styles. Switch to normal print quality. You need to tell grainlines, fold lines, and cutting lines apart at the cutting table, and solid-everything makes that impossible.
Pages come out in the wrong orientation. Set orientation to Auto rather than forcing portrait or landscape. If one stubborn page still flips, print it individually with the correct orientation selected.
The PDF opens with an error or missing pages. Re-download the file: large pattern PDFs sometimes corrupt on slow connections. Open the fresh copy in Reader and check the page count against the pattern’s instructions before printing.

From Printed Pages to a Usable Pattern
Once your pages are printed at the correct scale, the next job is assembly: trimming the page margins and taping the tiles into full-size pattern pieces. Work row by row, matching the alignment marks where pages meet, and tape with the marks lined up rather than the paper edges, since home printers rarely feed paper perfectly straight.
My full walkthrough of how to assemble A4 tiled pattern pages covers the trimming and taping method in detail, and the technique is identical for US letter pages. Once the pieces are assembled, trace your size onto fresh paper if you want to preserve the original, then cut out and get sewing. If any of the pattern markings confuse you, my guide to how to read sewing pattern symbols decodes every line, dot, and triangle.

FAQ
Can I print a sewing pattern from my web browser?
You can, but I do not recommend it. Browsers frequently rescale PDFs without telling you, which produces wrong-size patterns. Open the file in Adobe Acrobat Reader for reliable scaling and layer control.
What does Actual size mean in the print dialog?
It means the PDF prints at 100 percent with no resizing: one inch in the file prints as one inch on paper. It is the only setting that produces a full-scale pattern. Avoid Fit, Shrink, and Fit to printable area.
My test square is wrong. What should I check first?
Work through five things: the correct file for your paper size, Adobe Acrobat Reader as the program, Actual size or 100 percent scale, borderless printing off, and Letter paper selected in both the dialog and the tray.
Do I need to print every page of the pattern?
No. Print the test page first, then check the pattern’s print layout guide: many patterns let you print only the pages for your size and style variation, which saves a satisfying amount of paper and ink.

Written by June Carter
I am June, a sewing enthusiast who loves turning simple fabric into things people actually use. I test every technique and product I write about at my own machine before it lands here.