
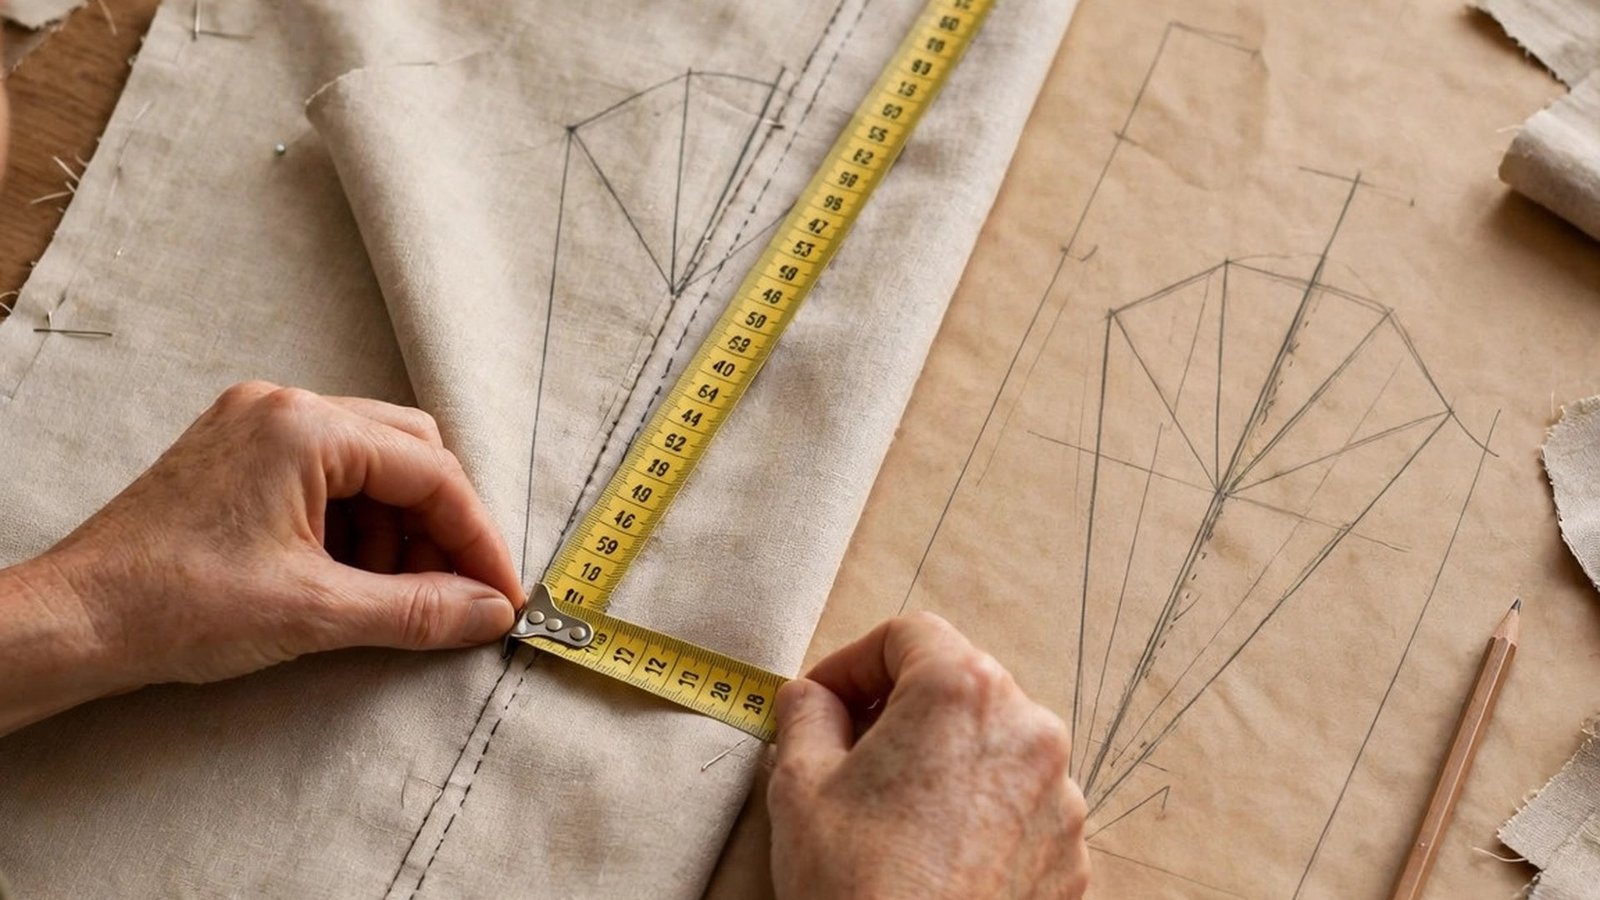
If you want to learn how to copy a favorite garment to make a pattern, you are about to learn one of the most satisfying skills in sewing. We all have that one garment, the dress, shirt, or skirt that fits perfectly, feels wonderful, and is slowly wearing out. Copying it means you can sew it again and again, in different fabrics and colours, long after the original has retired. It is like bottling a perfect fit and keeping it forever.
The method is called rubbing off, and it is simpler than it sounds. You lay the garment flat, trace each piece onto paper, add seam allowances, and test the result in cheap fabric before you cut your good fabric. In this guide I will show you how to choose the right garment to copy, how to trace each piece accurately, how to handle darts, pleats, and curves, and how to test the pattern so your first sewn copy fits as well as the original.
Choose the Right Garment to Copy
Not every garment copies well, so choose carefully. The best candidates are simple, well fitting garments made from stable woven fabric, with clear seams and few complicated details. A simple shift dress, a straight skirt, a boxy shirt, or a pair of wide leg trousers all copy beautifully, because their pieces are flat and easy to trace. Avoid garments with complex draping, stretchy knits, or heavy tailoring for your first copy, because those shapes are hard to capture accurately on paper.
Pick a garment that fits you well right now, not one you hope to fit into one day, and check that it is in good condition, with no stretched out areas or distorted seams. Lay it flat and look at it honestly: are the seams straight, is the hem even, does one side mirror the other? A garment that is already distorted will give you a distorted pattern, so choose one that still holds its shape well.
Wash and press the garment before you start, because a clean, flat garment traces far more accurately than a wrinkled one. If the garment has a lining, copy the outer pieces first, and treat the lining as a separate, simpler pattern later. My guide to how to make and fit a muslin will be useful later, when you test your copied pattern in cheap fabric before cutting the real thing.
Prepare Your Tools and Workspace
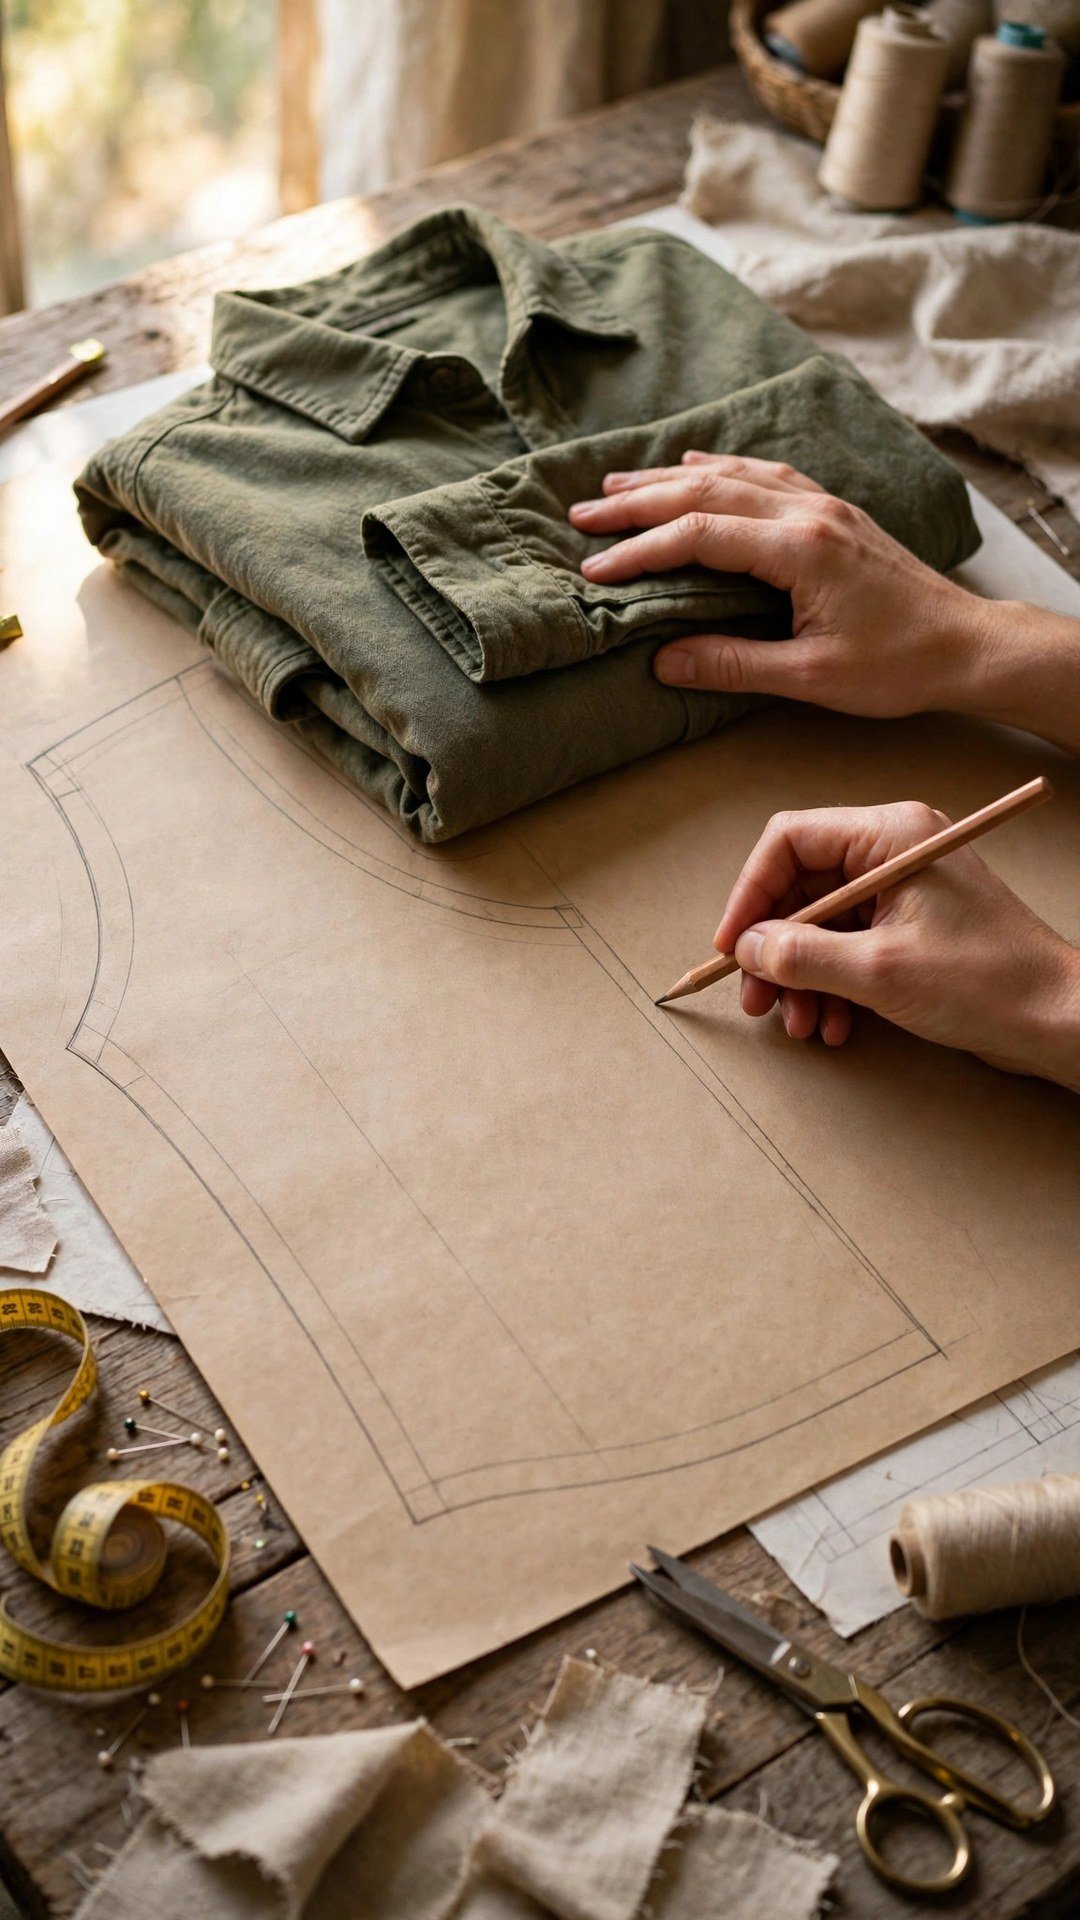
You need a large flat surface, bigger than the garment itself, and plenty of tracing paper, Swedish tracing paper, or plain pattern paper. You also need a sharp pencil, a ruler, a French curve, pins, a measuring tape, and a set of weights or heavy books to hold the garment flat while you trace. A tracing wheel and carbon paper can help you transfer seam lines through layers, but a pencil and patience work just as well.
Work in good light, and clear the table completely before you start, because you need room to lay the garment flat and move around it. Keep a notebook beside you, and write down everything you notice about the garment as you work: the seam allowances, the hem depth, the dart positions, the button spacing, and any details you want to reproduce. Those notes are the pattern instructions you are writing for yourself, and they will save you from guessing later.
How to Copy a Favorite Garment to Make a Pattern Step by Step
Start with the largest and simplest piece, usually the front or back bodice, and lay the garment flat on your paper with the piece you are tracing facing up. Smooth the fabric gently, pin it to the paper at the corners and along the edges, and use weights to hold it flat without stretching it. Trace around the piece with a sharp pencil, following the seam lines, not the outer edge, and mark the grainline, notches, and darts as you go.
For each piece, trace the stitching line first, then add the seam allowance outside it, using the method in my guide to how to add seam allowances to a pattern. Measure the seam allowance on the original garment by turning it inside out and measuring from the stitching to the raw edge, and use the same width on your copy. Label each traced piece with its name, the garment it came from, and the size, so you never mix it up with another pattern.
Work through the garment piece by piece, tracing the front, back, sleeves, collar, and any facings or pockets, and checking that matching seams are the same length as you go. For sleeves, trace one sleeve, then flip it to check the other side, and for symmetrical pieces, trace half the piece on the fold and mirror it. Take your time, and do not rush the curves, because a curve traced carelessly will not sew smoothly later.
Handle Darts, Pleats, Curves, and Details
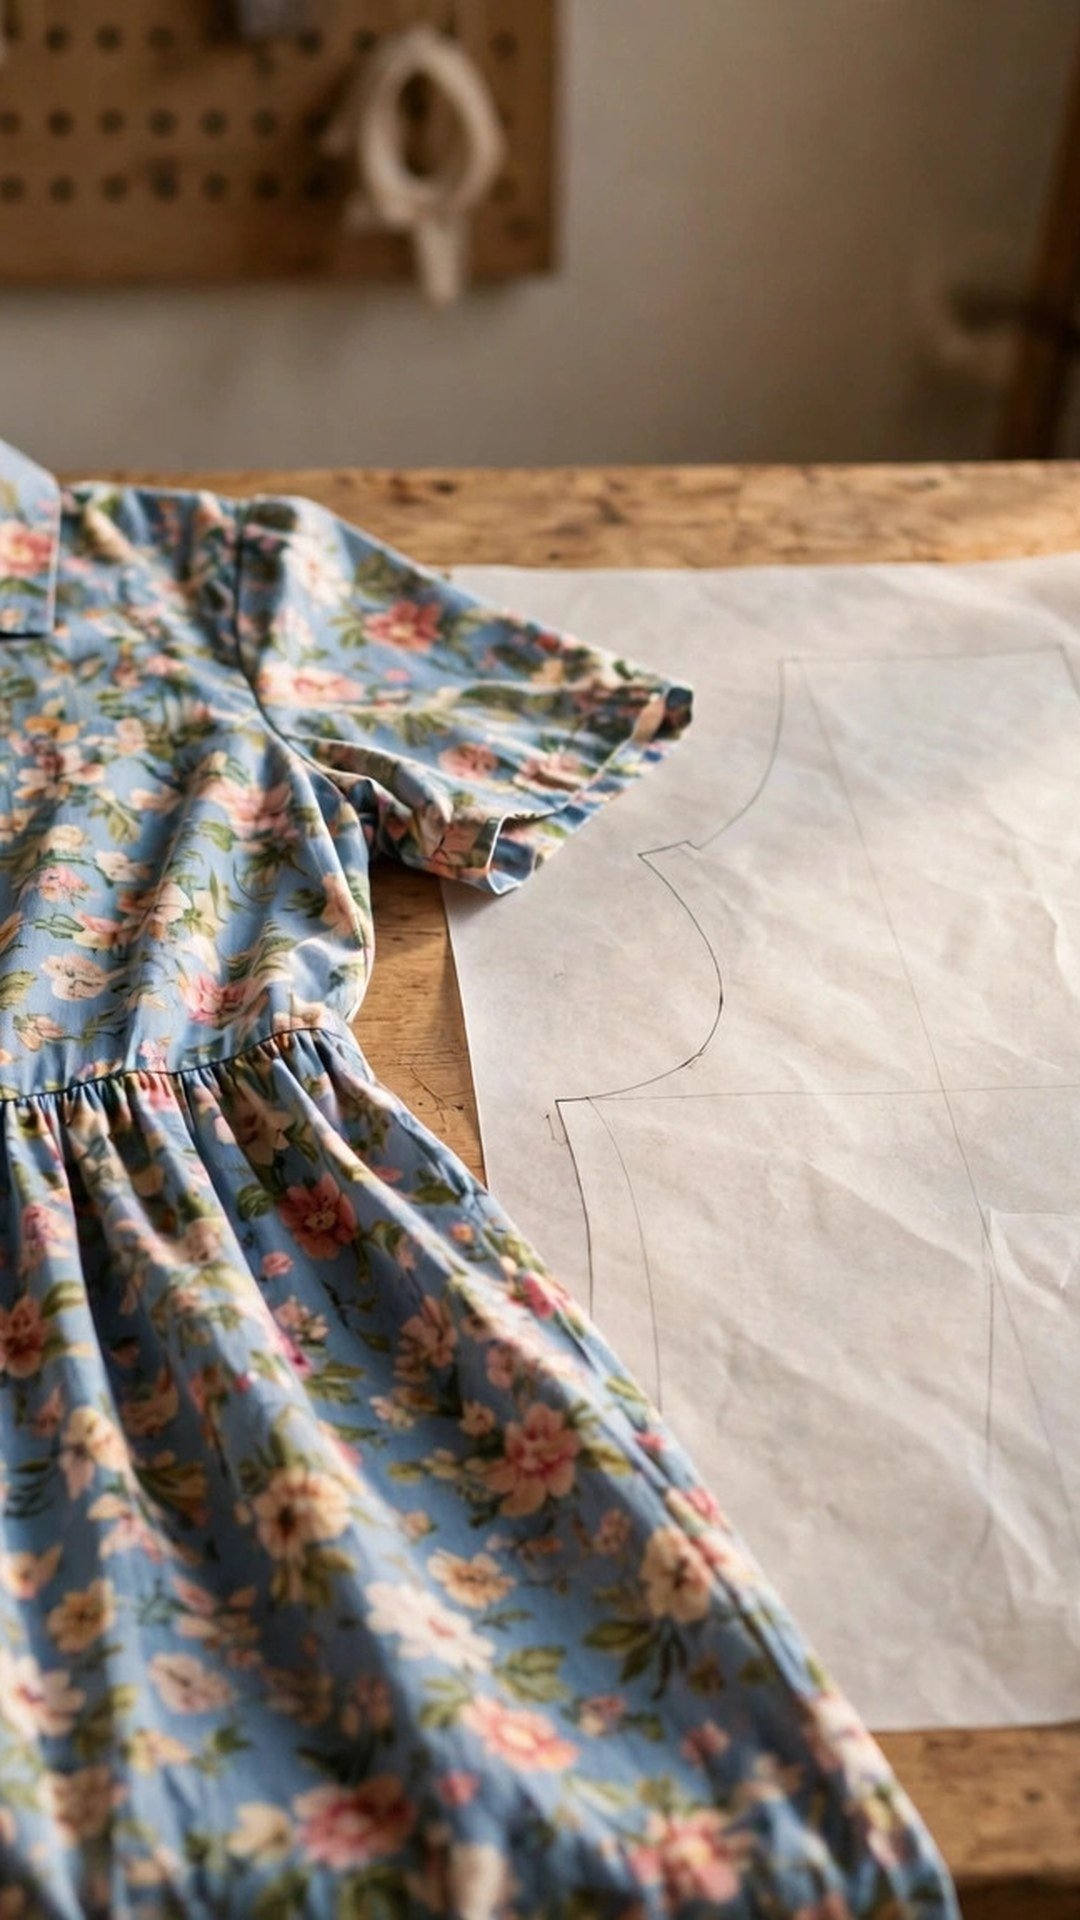
Darts and pleats are the details that give a garment its shape, and they need careful attention when you copy. For a dart, mark the dart point and the two dart legs on your tracing, measure the dart depth and length, and draw the dart on the pattern exactly as it appears on the garment. For a pleat, mark the fold lines and the depth of the pleat, and note whether it is pressed in one direction or left soft.
Curves like necklines and armholes need the same patient treatment as any curve, marking dots at regular intervals and joining them smoothly with a French curve. Check the curve against the original garment by laying your traced piece over it and comparing the shapes. If the curve does not match, retrace it, because a neckline that is off by even a quarter inch will show in the finished garment.
Test the Pattern Before You Cut Good Fabric
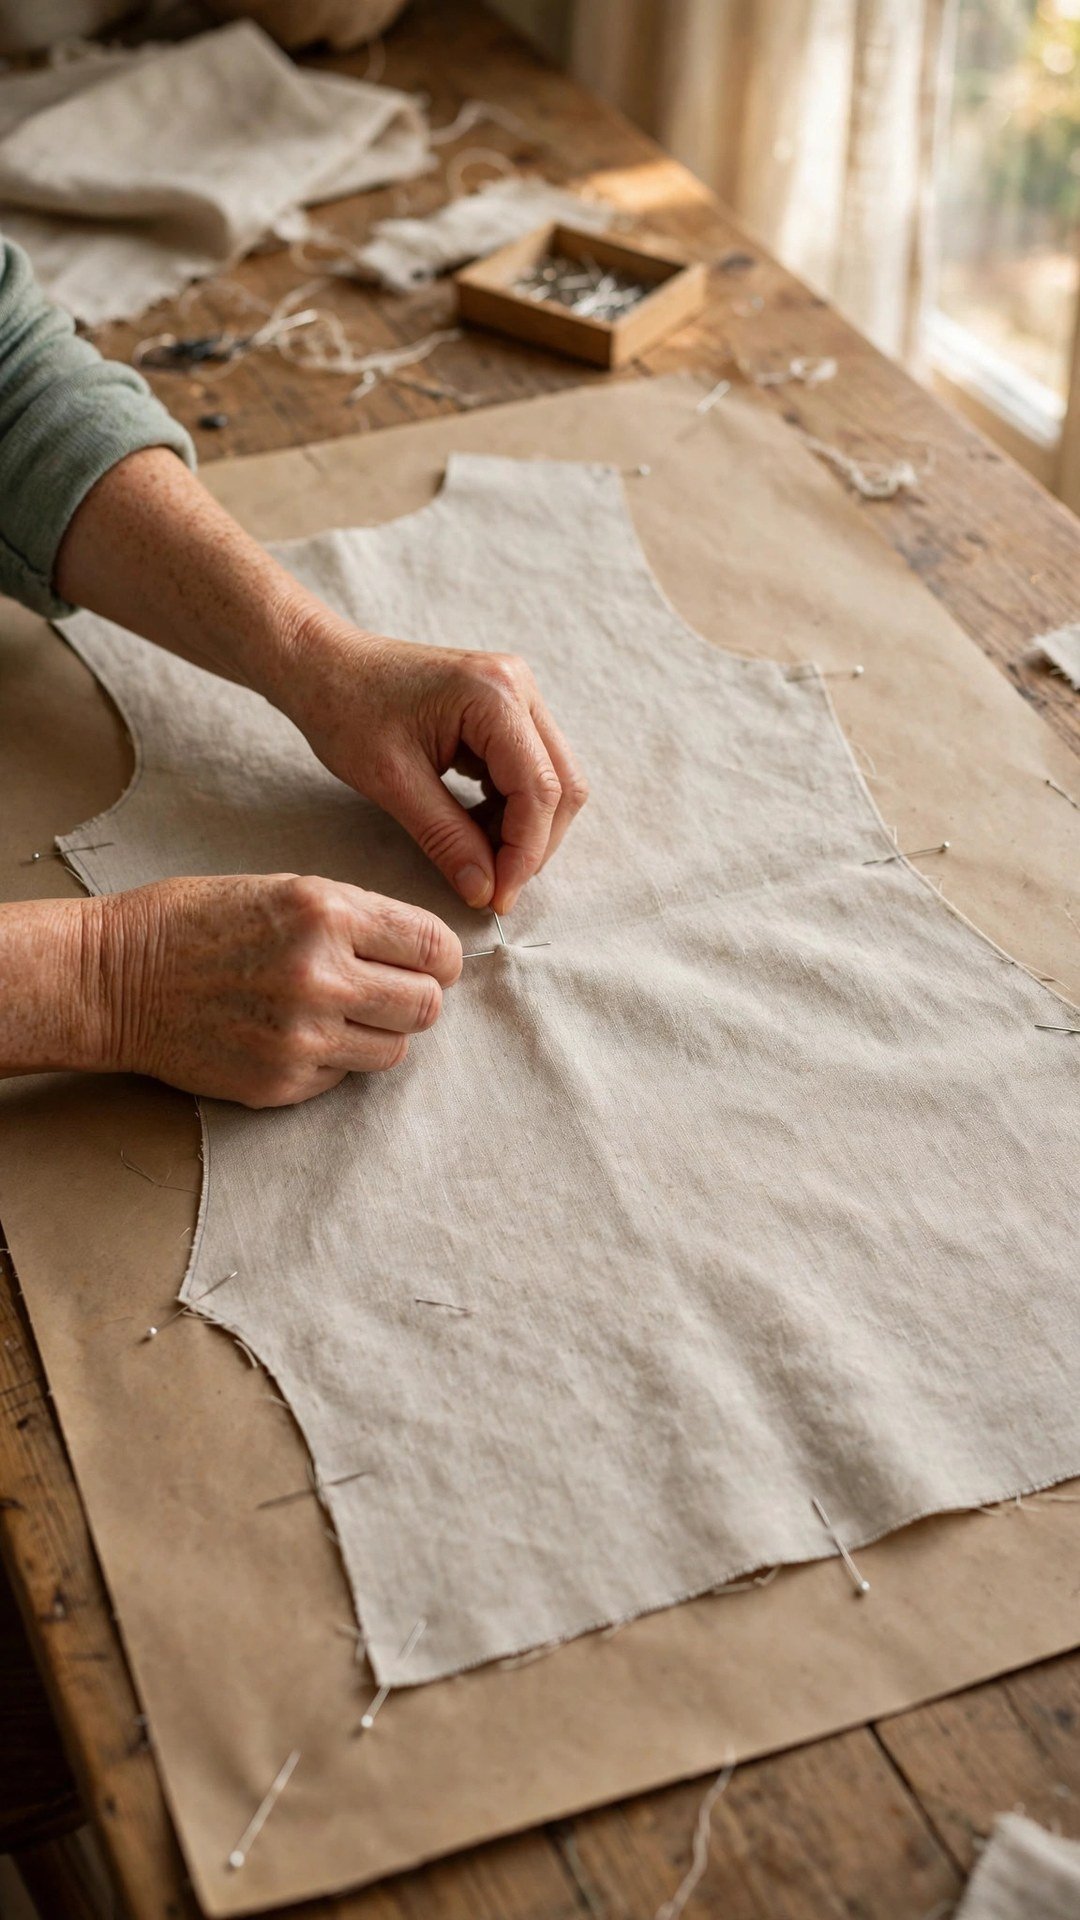
Never cut your good fabric from a freshly copied pattern without testing it first, because even a careful tracing can have small errors. Sew a test version, called a toile or muslin, in cheap fabric, using the same seam allowances and construction as the real garment. Try it on, check the fit, and mark any changes directly on the toile, then transfer those changes back to your paper pattern.
Compare the toile to the original garment side by side, checking the length, width, shoulder position, and overall shape. If the toile is too tight, let out the seams, and if it is too loose, take them in, and update the pattern each time. This test is the step that separates a successful copy from a disappointing one, and it is worth every minute it takes. My guide to how to take accurate body measurements will help you check the fit objectively.
Once the toile fits well, sew the real garment with confidence, knowing the pattern is proven. Keep the toile as a reference, and store the paper pattern flat with your notes and photos, so you can sew the garment again whenever you like. That is the real reward of copying: a favourite garment that never wears out, because you can make a fresh one any time you want.
Frequently Asked Questions
Can I copy any garment to make a pattern?
Simple, well fitting garments in stable woven fabric copy best, like shift dresses, straight skirts, and boxy shirts. Avoid complex draping, stretchy knits, and heavy tailoring for your first copy.
Do I need to add seam allowances when copying?
Yes. Trace the stitching line first, then add the seam allowance outside it, using the same width as the original garment. Measure the original by turning it inside out.
How do I trace a garment accurately?
Lay it flat on paper, smooth it without stretching, pin it at the corners, and trace the seam lines with a sharp pencil. Mark grainlines, notches, and darts as you go, and check matching seams are the same length.
Should I test a copied pattern first?
Always sew a test version in cheap fabric first, try it on, mark any fit changes on the test, and transfer them to the paper pattern. Never cut good fabric from an untested copy.
How do I store a copied pattern?
Store the paper pieces flat with your notes and photos, labelled with the garment name and size. Keep them in a large envelope or rolled in a tube, and back up the notes digitally.
Copy It Once, Sew It Forever
Copying a favourite garment is slow work, but it is some of the most rewarding work in sewing, because it turns a garment you love into a pattern you can use forever. Choose a simple, well fitting piece, trace it carefully, handle the details with patience, and test the pattern in cheap fabric before you cut the real thing. Do that, and your wardrobe will gain a proven favourite you can sew again and again, in every fabric and colour you love.

Written by June Carter
I am June, a sewing enthusiast who loves turning simple fabric into things people actually use. I test every technique and product I write about at my own machine before it lands here.