
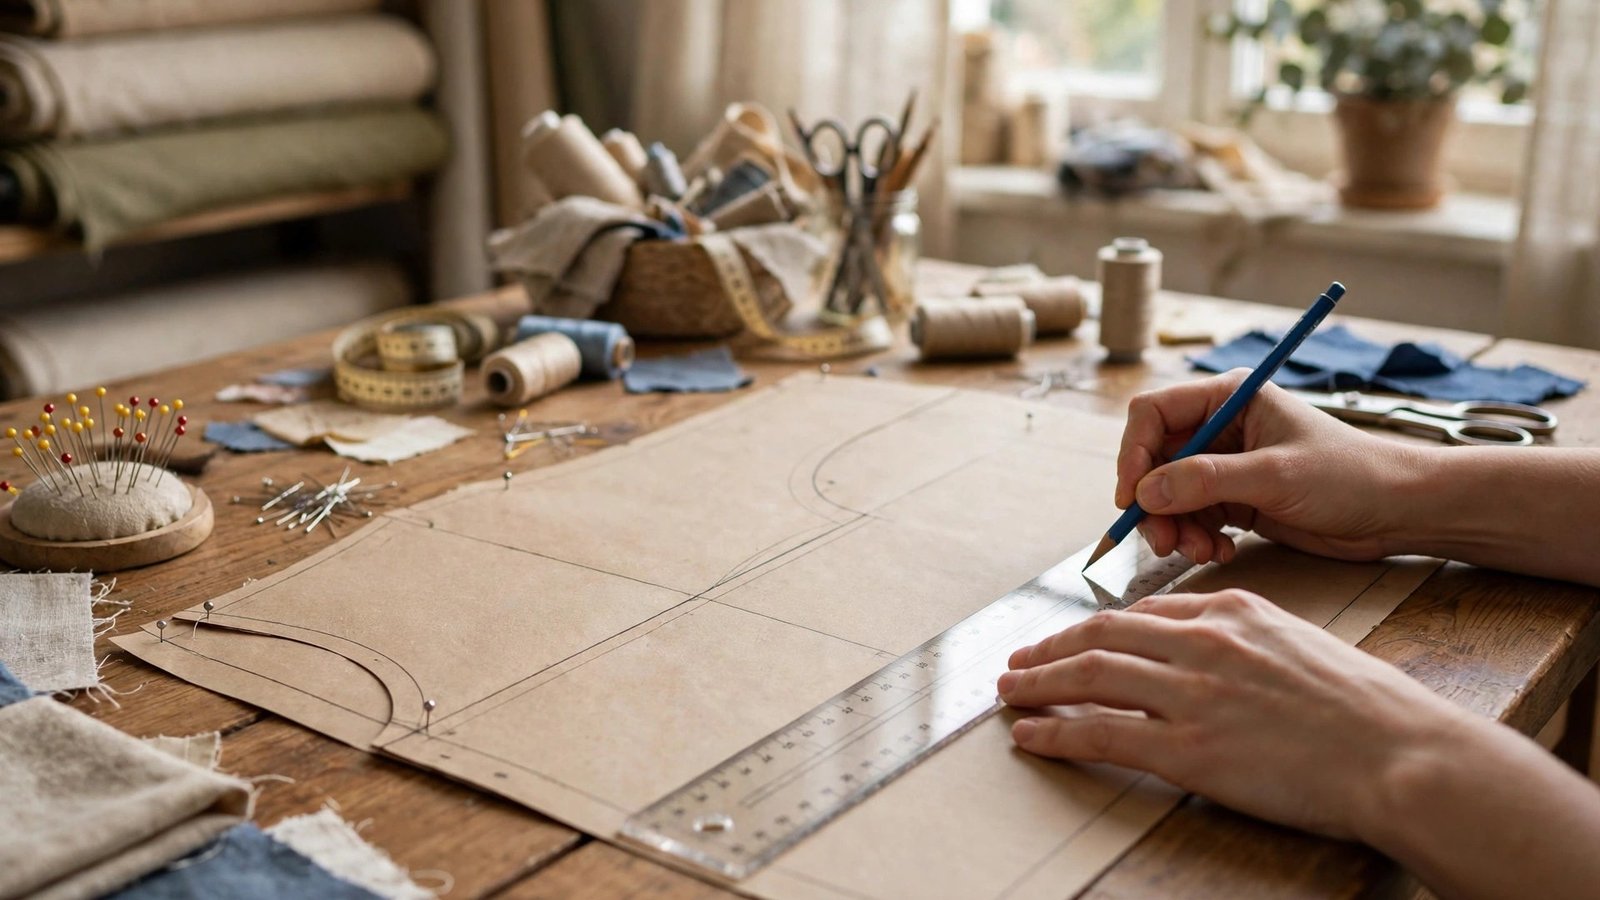
If you need to learn how to add seam allowances to a pattern, you have probably bought a pattern that comes without them, and the first thing to know is that this is normal, not a mistake. Many independent patterns, vintage patterns, and patterns you draft yourself arrive as bare stitching lines, which means the finished garment edge is drawn, but the extra fabric you need for the seam is not. Adding that extra fabric yourself is a core sewing skill, and once you learn it, a whole world of patterns opens up.
The idea is simple: you trace the pattern piece onto fresh paper, then draw a second line outside the first one, at a fixed distance all the way around. That distance is your seam allowance, and keeping it even is the whole game. In this guide I will show you the tools, the widths I use for different seams, the method for straight edges and curves, and the checks that catch mistakes before you cut your fabric.
What Is a Seam Allowance and Why It Matters
A seam allowance is the strip of fabric between the stitching line and the raw edge of the fabric, and it is what holds your garment together. Without it, you would be stitching right on the edge, and the seam would fray and fall apart. With too much of it, the garment comes out too big, and the extra bulk makes seams lumpy and hard to press. Getting it right matters because every fitting and finishing decision in sewing assumes a known seam allowance.
Most modern patterns include a seam allowance already, usually five eighths of an inch, and the cutting line is printed for you. Patterns without a seam allowance show you the stitching line instead, and you have to add the cutting line yourself. The good news is that you get to choose the width, which means you can use a generous allowance where you might need to adjust the fit, and a narrow one where bulk would be a problem.
Tools You Need for Clean Seam Allowances
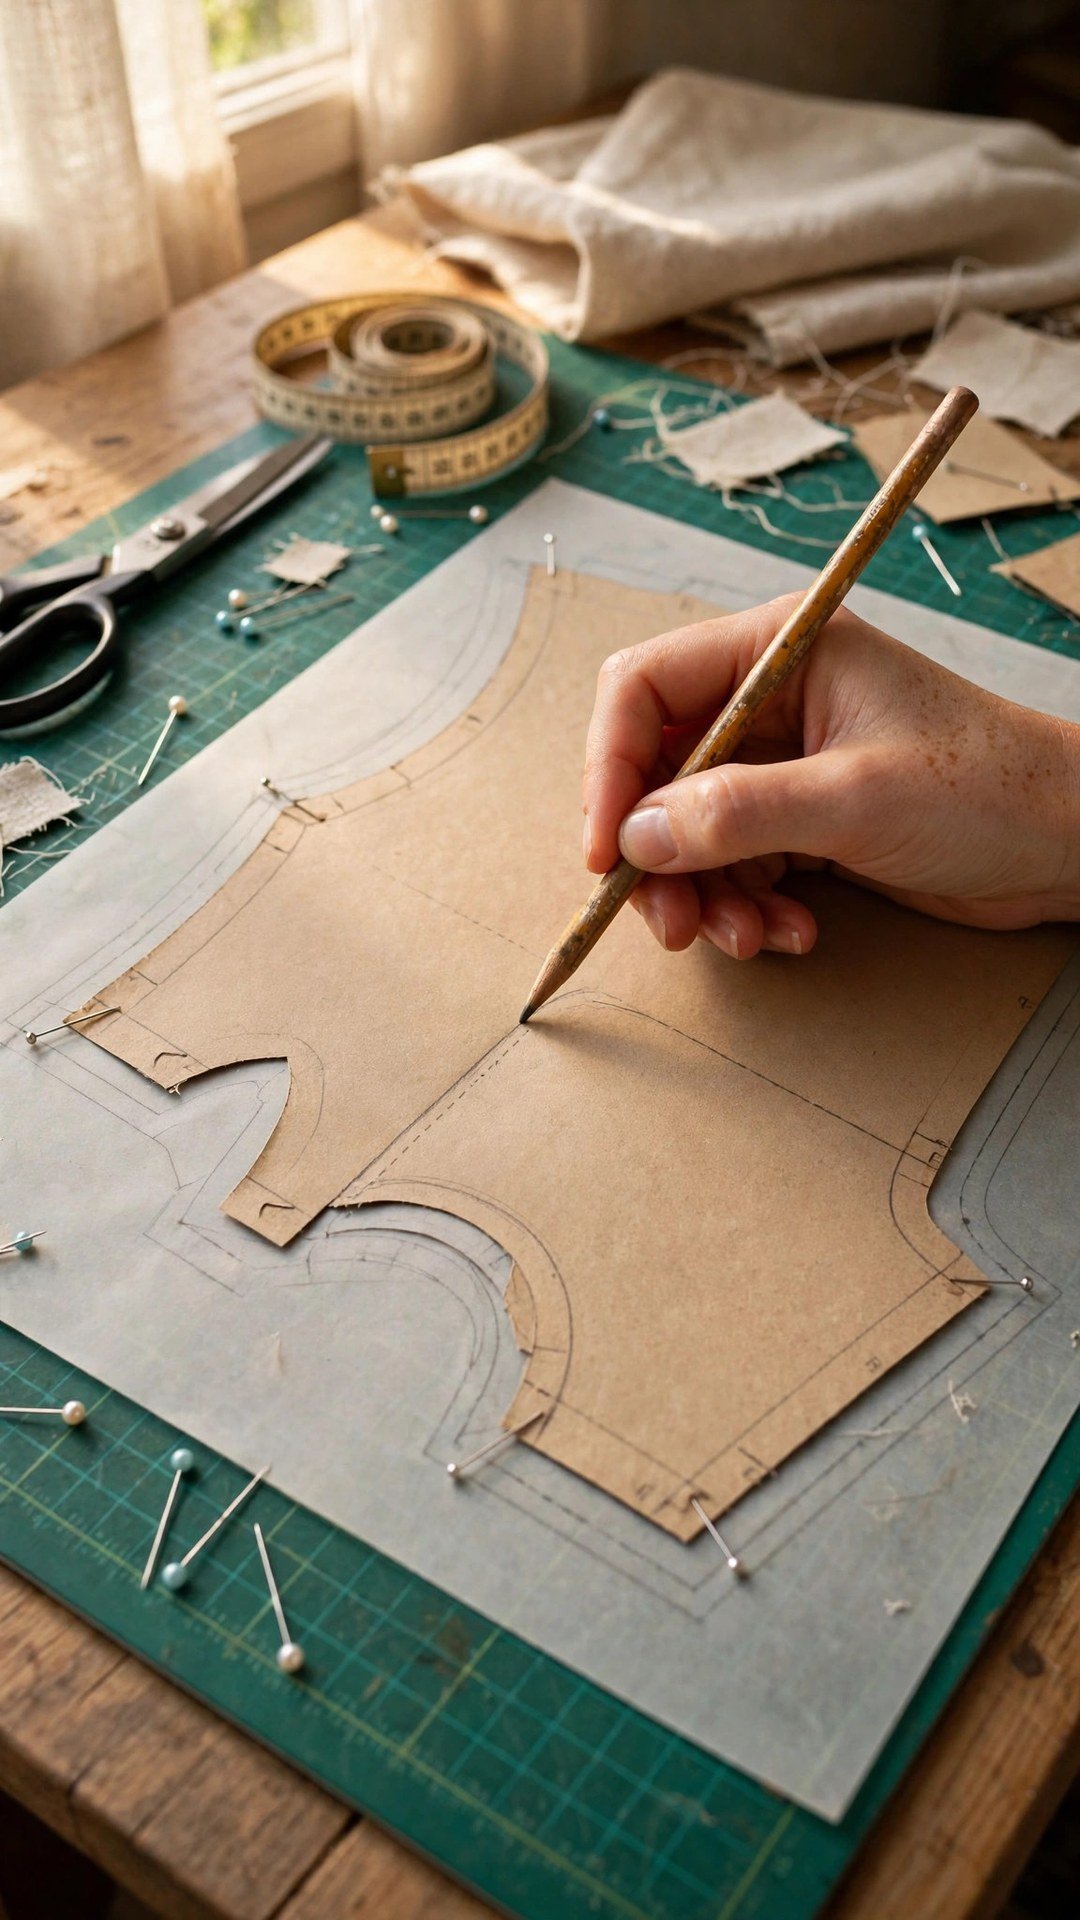
You do not need expensive tools for this, but the right ones make the job far easier and far more accurate. You need tracing paper or Swedish tracing paper, a sharp pencil, a clear ruler or a seam gauge, and a pair of paper scissors. A French curve or a flexible curve ruler helps enormously on curved edges, and a tracing wheel and carbon paper are useful if you are copying directly from a printed pattern.
A clear gridded ruler is my favourite tool here, because you can see the pattern line through it and measure the allowance at a glance. A seam allowance ruler, the kind with a slot or a curved edge, is a nice extra if you add allowances often, but it is not essential for your first few patterns. Work on a flat table with good light, and tape the pattern down so it cannot shift while you trace, because a pattern that moves even a little will give you a wobbly allowance.
How to Add Seam Allowances to a Pattern Step by Step
Start by tracing the pattern piece exactly as printed, including all notches, grainlines, and markings, onto your tracing paper. Label the piece clearly with the pattern name, piece name, size, and the words stitching line, so nobody mistakes it for the cutting line later. This traced copy is your working copy, and the original stays untouched, which means you can always go back and start again if something goes wrong.
Now choose your seam allowance width. I use five eighths of an inch for most garment seams, one inch for side seams I might need to let out, a quarter inch for fine or enclosed seams, and one and a half inches for hems. Mark the allowance at regular intervals along each edge, measuring out from the stitching line with your ruler, and put a small dot at each measurement. On straight edges, two or three dots are enough, and you can join them with a straight ruler line.
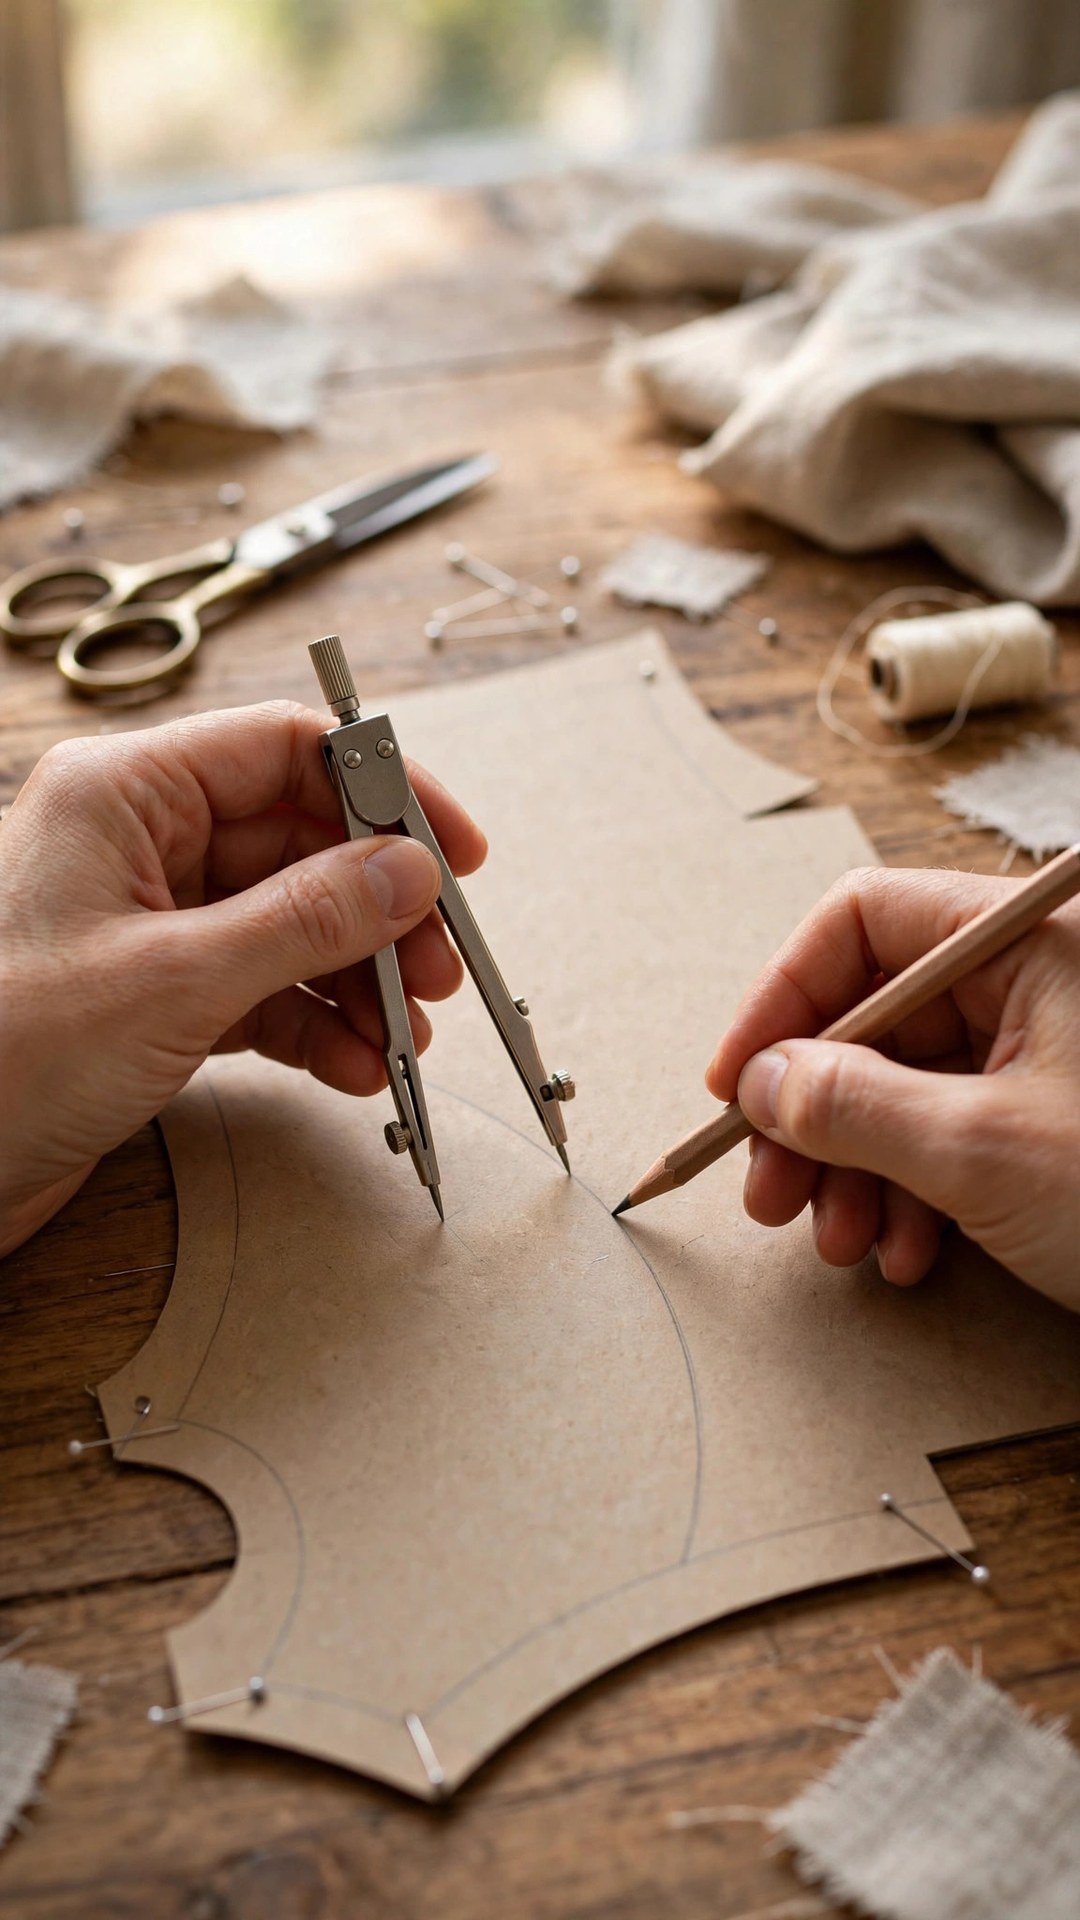
On curves, mark dots every half inch or so, then join them with a smooth line using your French curve, keeping the distance even all the way around. This is the fiddly part, and it is worth slowing down for, because a curve with an uneven allowance will not sew smoothly. If you are working from a printed PDF, my guide to how to print PDF patterns at actual size will help you start with a correctly scaled copy. Once every edge is marked, join the dots, darken the cutting line, and add the grainline and notches to the new outer line, transferring them straight out from the original marks.
Seam Allowance Widths for Different Seams
Not every seam needs the same allowance, and choosing well makes your sewing easier. Side seams and centre back seams get a generous allowance, usually five eighths of an inch or a full inch, because these are the seams you adjust for fit, and you need fabric to let out if the garment is too tight. Shoulder seams and sleeve seams can use the standard five eighths, and they rarely need adjusting once the fit is right.
Neckline and armhole seams, which are usually curved and often finished with a facing or binding, work well with a narrower allowance of three eighths of an inch, because less bulk means a smoother curve. Hems need the most allowance of all, because the fabric has to fold up and be stitched down, so allow at least one and a half inches, and two inches for a wide hem on a skirt or trousers. Write the allowance you used on each pattern piece, so you remember it when you sew.
Mistakes to Avoid When Adding Allowances
The most expensive mistake is adding a seam allowance to a pattern that already has one, because the finished garment comes out too big all over, and no amount of pressing will fix it. Always check first, and if you are unsure, measure a known piece against your body measurements, as my guide to compare body and garment measurements explains. The second mistake is using different widths on pieces that join together, like a front and back bodice, which makes the seam lengths mismatch and the pieces impossible to align.
The third mistake is forgetting the hem allowance, which leaves you with nothing to turn up at the bottom of the garment. Mark hems clearly on the pattern, and add the hem allowance before you cut, not after. The fourth mistake is a wobbly allowance on curves, which shows up as a seam that puckers or pulls, so take your time with the French curve and check the distance with your ruler as you go.
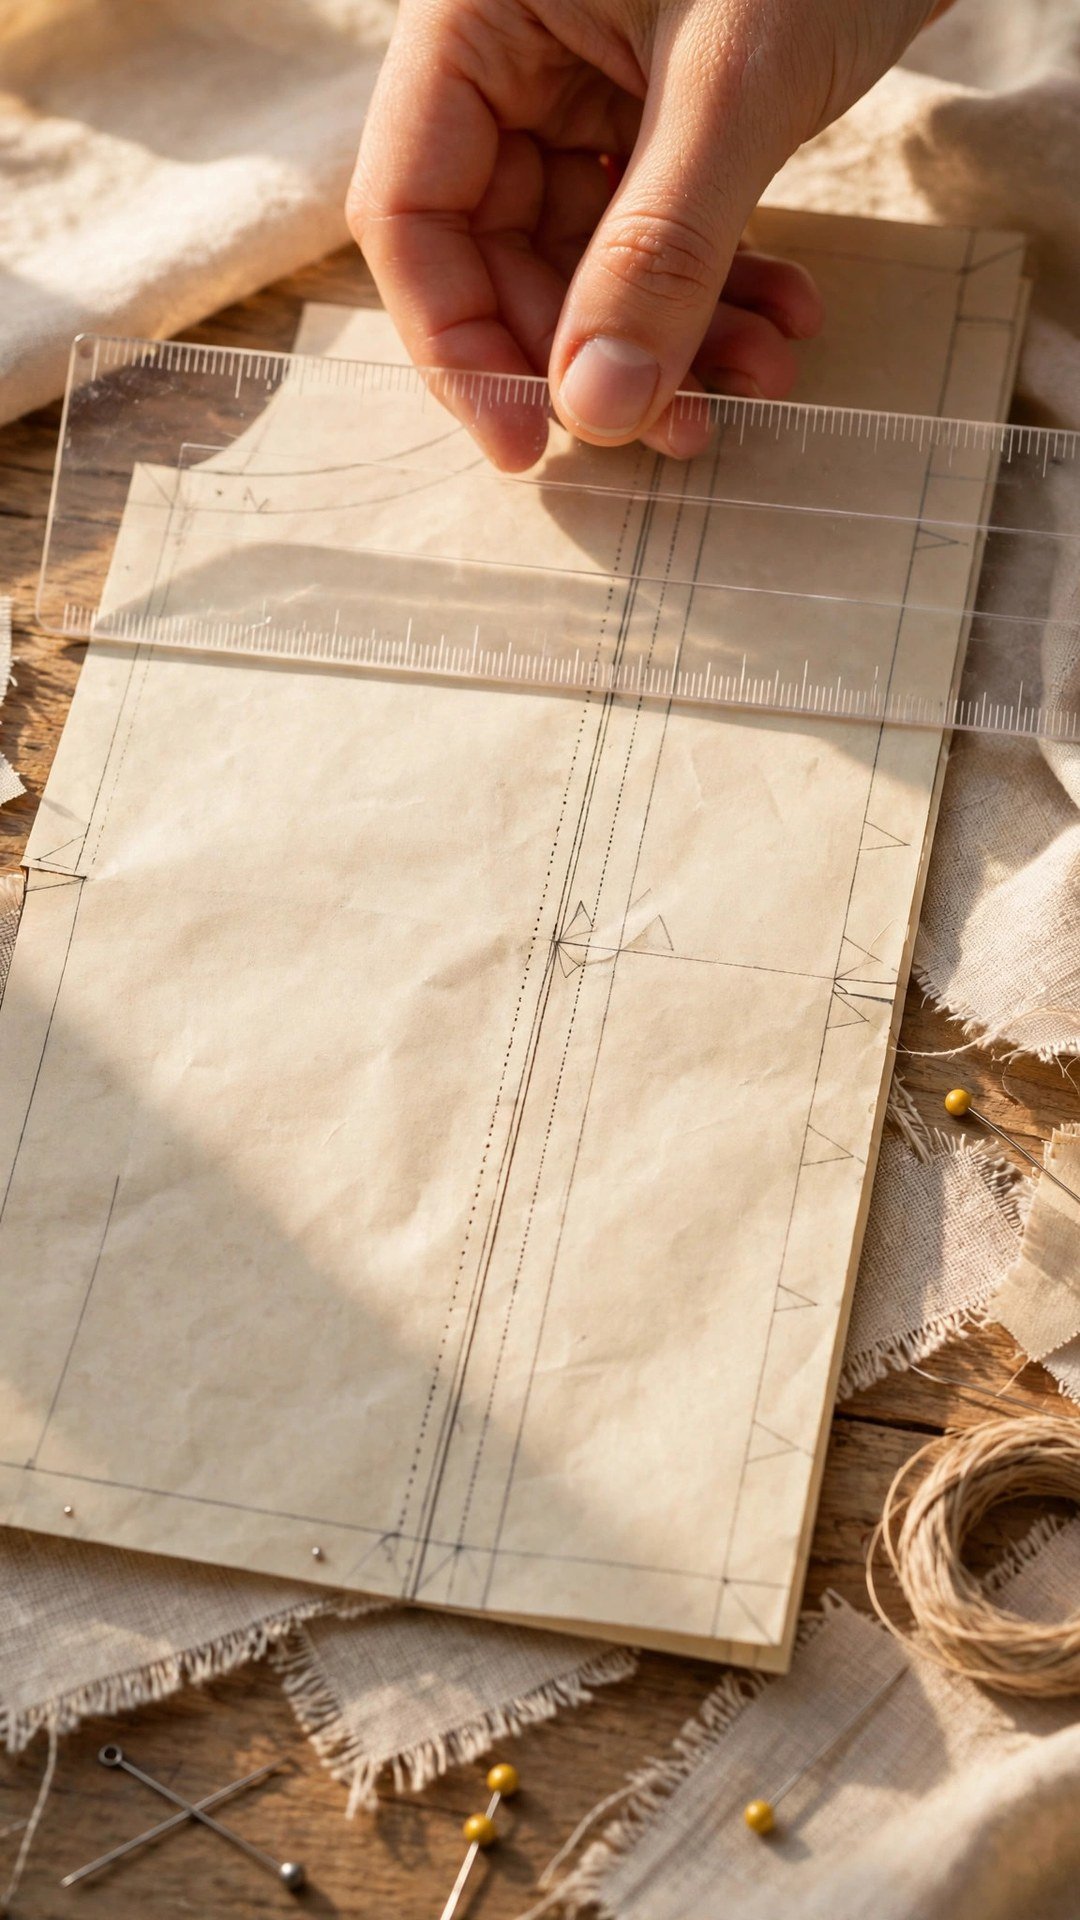
Finally, do not forget to transfer the notches and grainline to the new cutting line. A pattern without notches is a puzzle with missing pieces, and a grainline drawn on the old line is useless once you cut on the new one. Before you cut fabric, lay the finished pieces out, check that matching seams are the same length, and make sure every piece is labelled with its name, size, and allowance. That five minute check catches almost every error.
Frequently Asked Questions
Do all sewing patterns include seam allowances?
No. Many modern patterns include them, usually five eighths of an inch, but independent, vintage, and self drafted patterns often show only the stitching line. Always check the pattern instructions before you add anything.
What seam allowance should I use?
Use five eighths of an inch for most seams, one inch for side seams you may adjust, three eighths for curved necklines and armholes, and at least one and a half inches for hems.
How do I add seam allowance to a curved edge?
Mark dots at a fixed distance from the stitching line every half inch around the curve, then join them with a smooth line using a French curve. Check the distance with a ruler as you go.
Can I add seam allowances directly on fabric?
You can, but tracing onto paper first is safer and more accurate. Paper lets you correct mistakes, label each piece clearly, and keep the original pattern untouched for next time.
What happens if I forget the hem allowance?
You will have nothing left to turn up at the bottom of the garment, and the hem will be too short. Always mark and add the hem allowance on paper before you cut fabric.
Trace Carefully, Then Cut Confidently
Adding seam allowances is one of those skills that looks fussy until you have done it twice, and then it feels like second nature. Trace the piece, choose your widths with a reason, mark the curves patiently, and check that matching seams line up before you cut. Do that, and patterns without allowances stop being intimidating and start being an invitation, because you can now sew any pattern, from any source, with confidence that the fit will be what you intended.

Written by June Carter
I am June, a sewing enthusiast who loves turning simple fabric into things people actually use. I test every technique and product I write about at my own machine before it lands here.