

If you need to learn how to adjust a pattern for a long torso, you are solving one of the most common fitting problems in sewing, and it is far easier than it looks. A long torso means the distance from your shoulder to your waist is longer than the pattern expects, so tops ride up, waist seams sit too high, and dresses pull at the waist. The fix is a simple length adjustment: you cut the pattern across the torso, spread the pieces apart by the amount you need, and true the lines back up. It takes about fifteen minutes, and it changes everything about how a garment fits.
I learned this adjustment the hard way, after years of thinking I was between sizes when really I just needed more length. Adding length to the bodice does not change the bust or waist fit, it just moves the waistline down to where your waist actually is. In this guide I will show you how to measure your torso, find the lengthen line on the pattern, and add the length cleanly, including how to handle darts, waist seams, and a dress that needs length in two places.
Before you start, make a muslin. A quick test garment in cheap fabric will show you exactly how much length you need, and it is far cheaper than cutting into good fabric and discovering the problem too late. My guide to how to make and fit a muslin walks through that test step, and it is the single best habit you can build for fitting.
How to Adjust a Pattern for a Long Torso: Measuring First
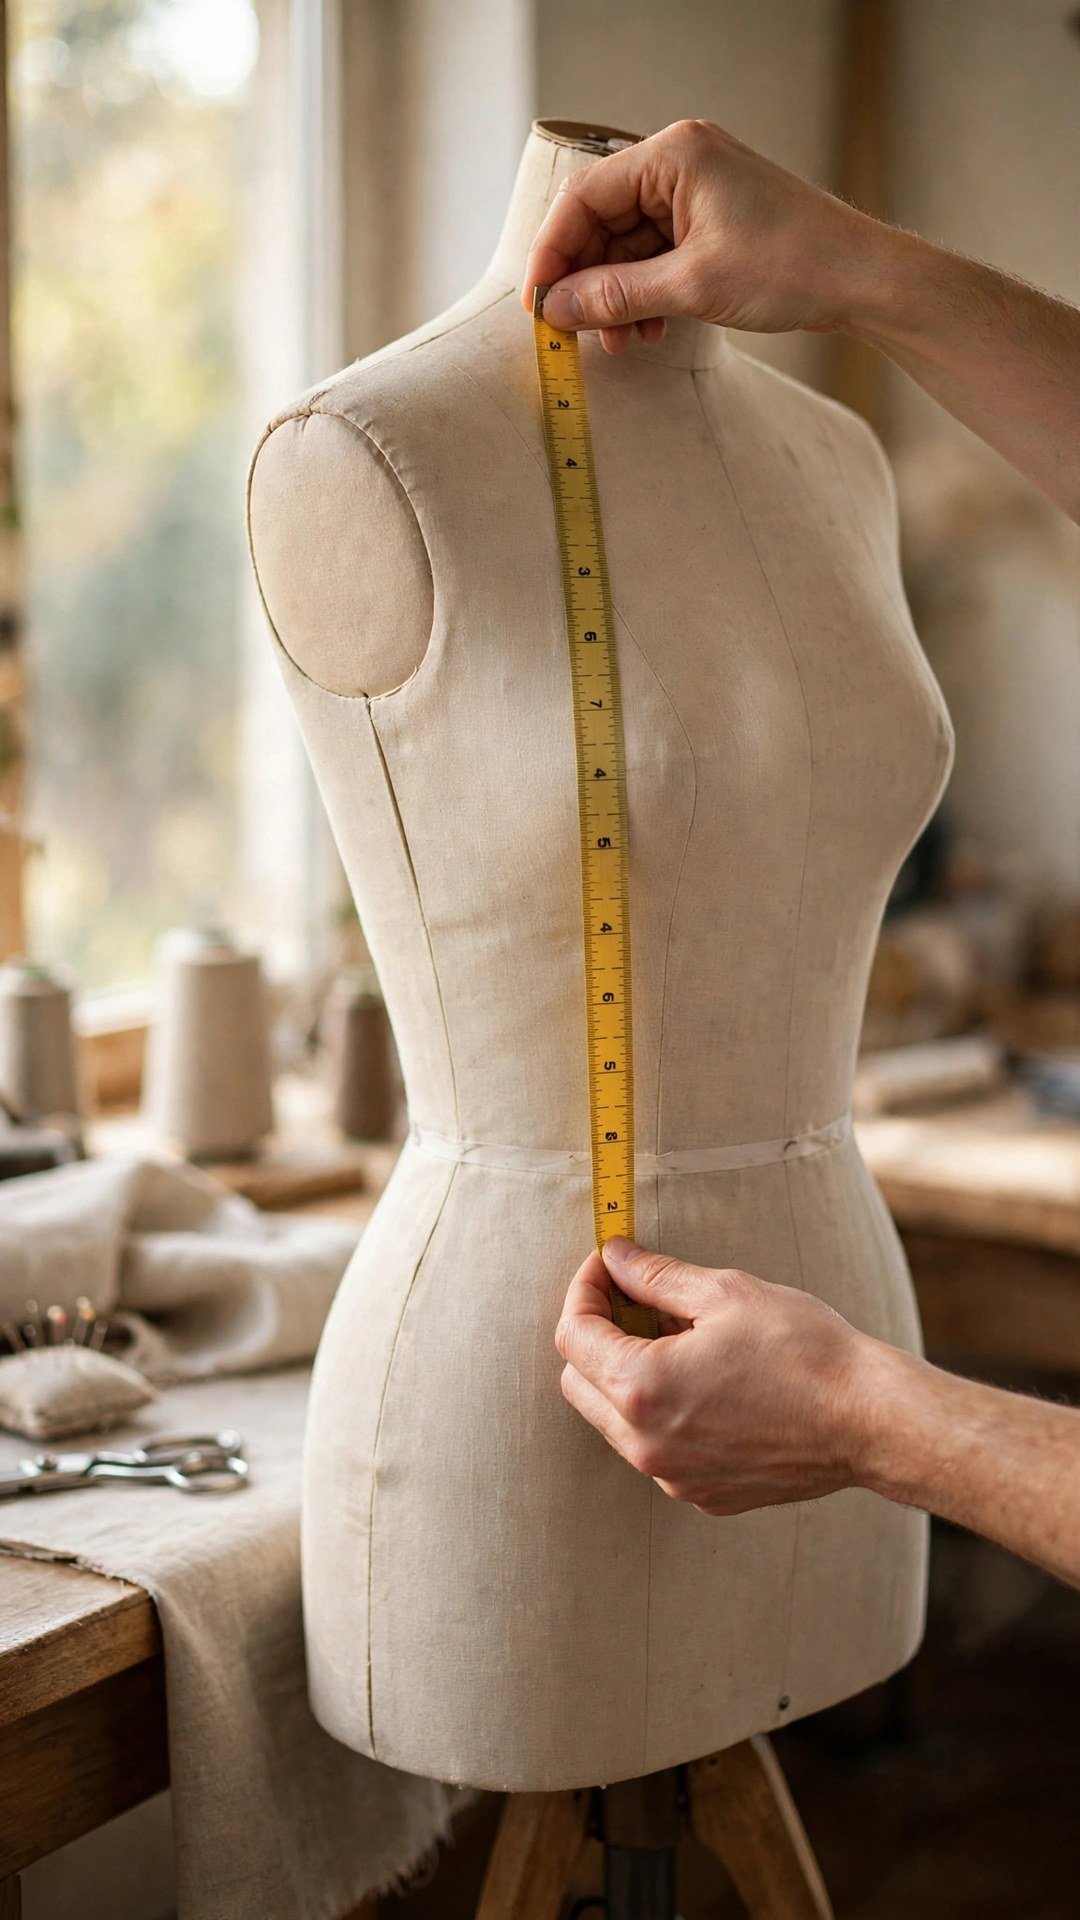
Start by measuring your torso length, because guessing is what leads to overcorrecting. Measure from the top of your shoulder, at the point where a shoulder seam would sit, down to your natural waist, which is the narrowest part of your torso and usually sits at your belly button level or just above it. Stand straight, breathe normally, and ask someone to help if you can, because measuring yourself around a curve is tricky. Write the number down, then measure the same distance on the pattern, from the shoulder seam to the waistline, following the straight grain. The difference between the two numbers is the amount of length you need to add.
For most people with a long torso, the difference is between one and two inches, though it can be more. If your muslin shows the waist seam sitting an inch too high, add an inch. If it sits two inches high, add two. Do not add extra length just in case, because too much length creates its own problems, with a waistline that sags and a bodice that looks too long. And measure both the front and the back, because the back torso is often longer than the front, and the two pieces may need different amounts. A careful measurement is the whole adjustment, and my guide to how to take accurate body measurements covers the measuring technique in detail.
Finding the Lengthen Line and Spreading the Pattern
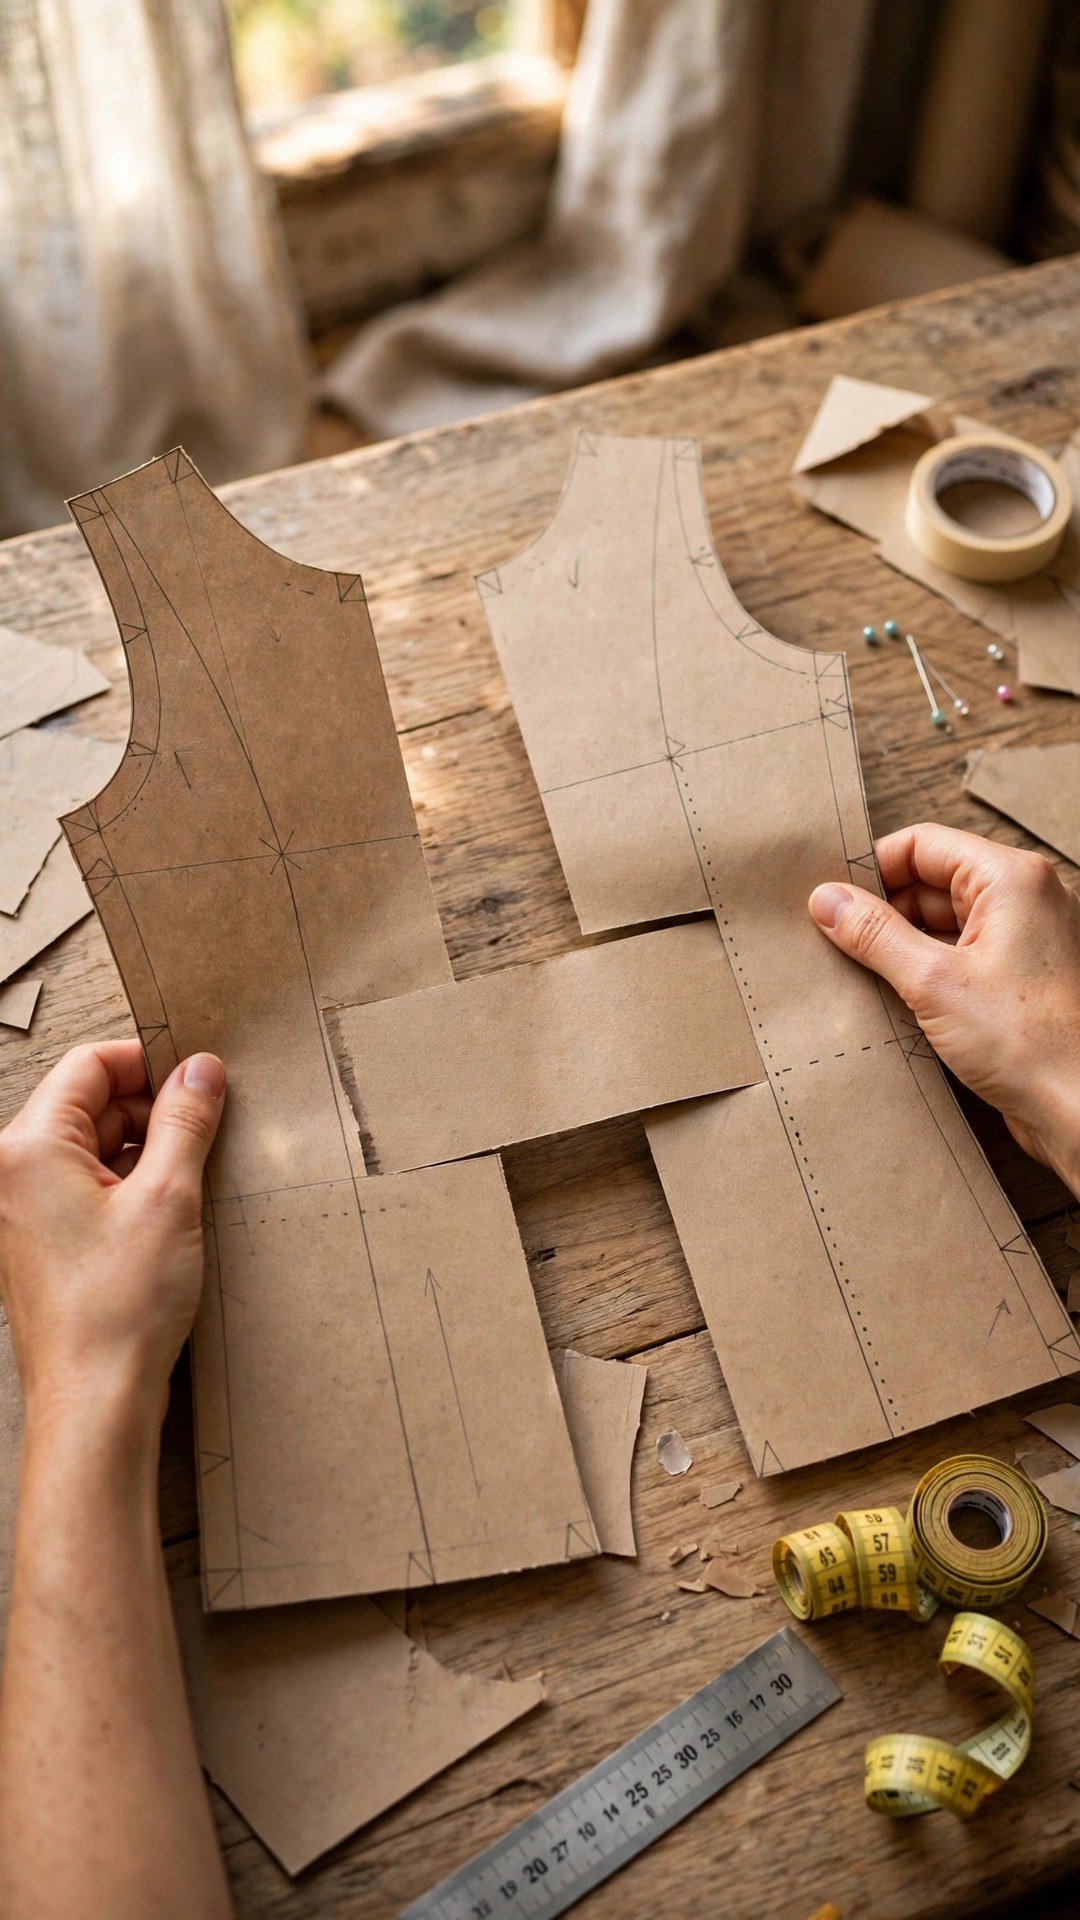
Most bodice patterns have a lengthen and shorten line printed across the torso, usually a double line with arrows, sitting between the bust and the waist. That is where you cut. If your pattern has no printed line, draw your own straight across the pattern, at right angles to the grainline, in a clear space between the bust dart and the waistline. Cut along the line all the way across the piece, so the pattern separates into a top piece and a bottom piece.
Now place the two pieces on a fresh sheet of paper, lining the grainlines up so they stay in a straight line, and slide the bottom piece down by the amount you measured. Tape the top piece down first, then tape a strip of paper behind the gap to bridge it, and tape the bottom piece to that strip. You have just added length to the pattern, and the gap is the extra length. If you are adding more than two inches, consider splitting the amount between two lines, one above the waist and one below it, so the shape stays balanced. The general lengthening method is covered in how to lengthen or shorten a pattern, if you want to see the same technique on a skirt or a sleeve.
Truing the Lines After You Add Length
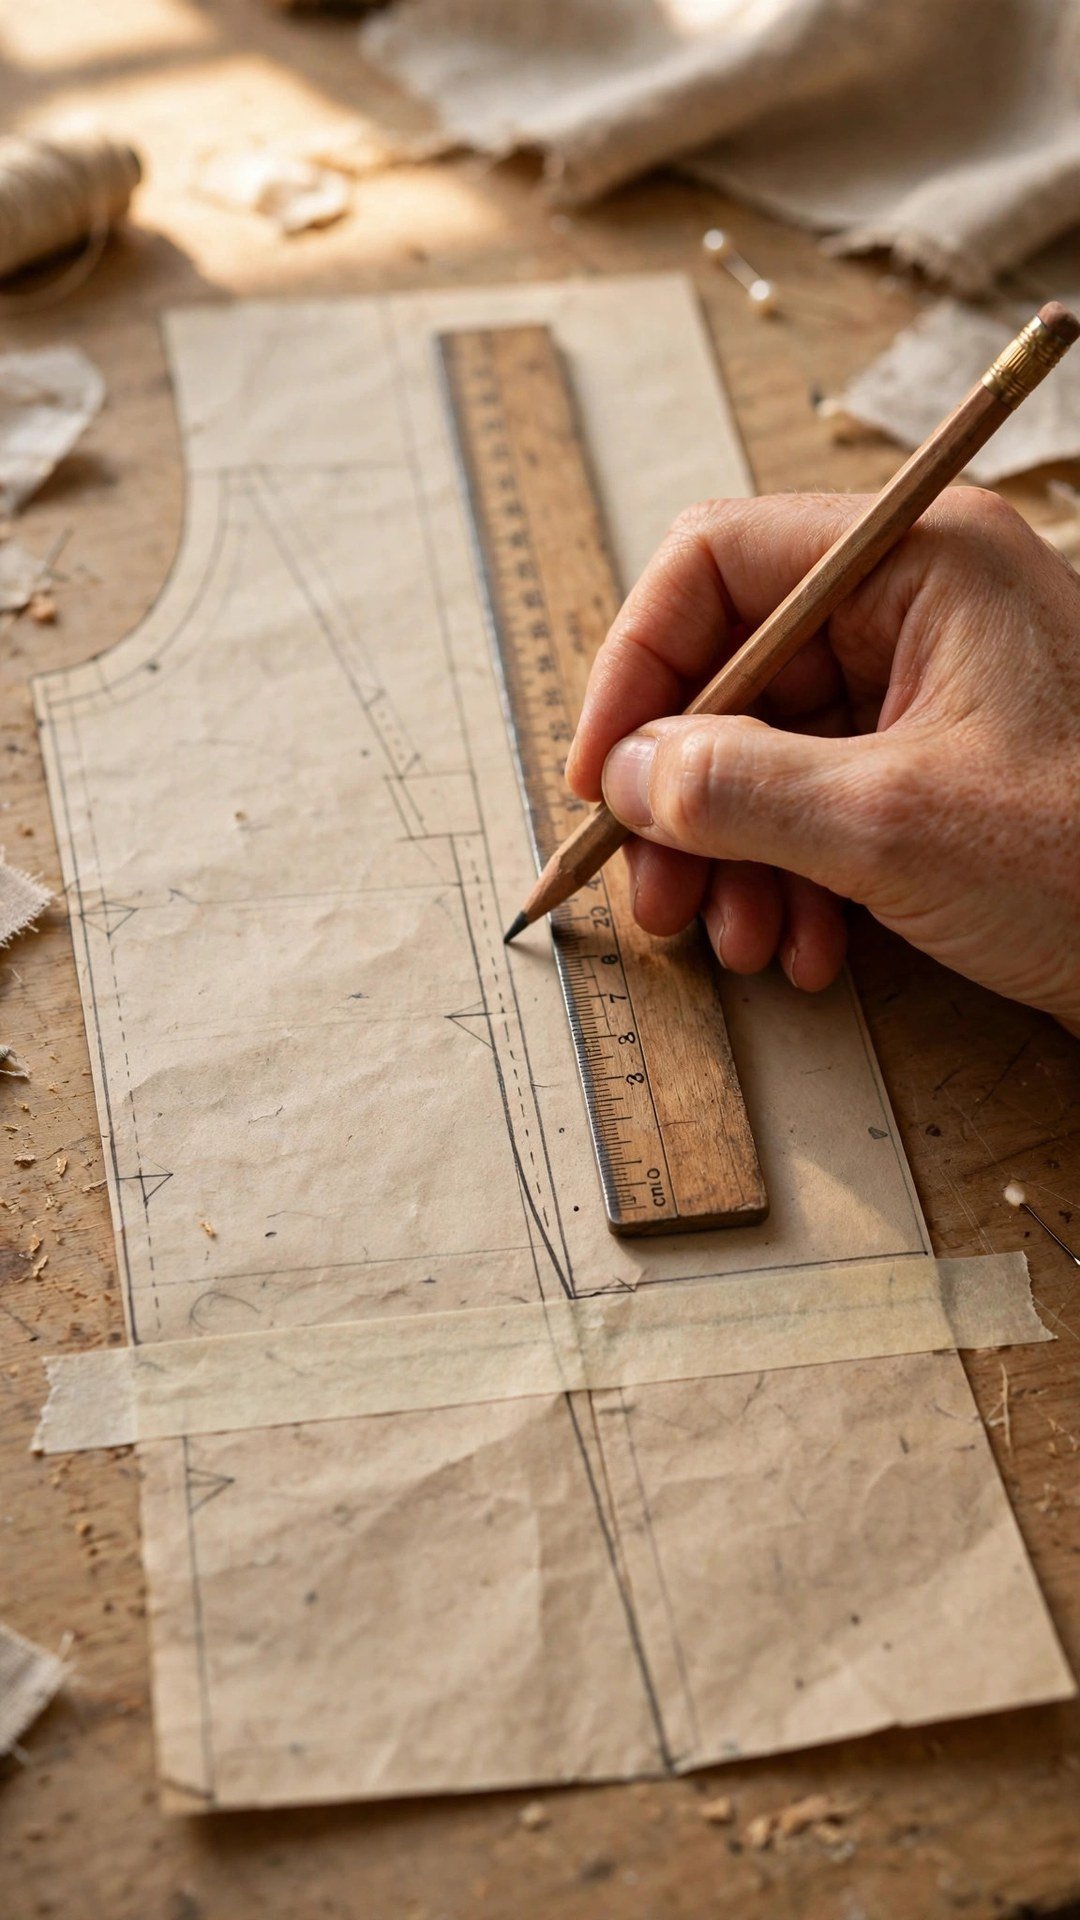
Adding length is only half the job. The other half is truing, which means redrawing the side seams, the centre lines, and any darts so they flow smoothly across the gap. Lay a ruler along the side seam and draw a straight line from the top piece to the bottom piece, bridging the gap. Do the same for the centre front or centre back, and for any seam that crosses the cut line. If a dart crosses the cut, redraw the dart legs so they meet cleanly at the dart point, and check that the dart is still the same length as before.
Then check the waistline itself. The waist seam should still be a smooth curve or a straight line, depending on the design, and it should meet the side seam at a clean right angle so the pieces sew together without a point or a notch. Walk the seam: measure the side seam of the front piece and the side seam of the back piece, and make sure they are the same length after the adjustment, or the side seam will not match when you sew it. This walking step catches most truing mistakes before they reach the fabric, and it takes only a minute with a tape measure.
Adjusting Dresses, Darts, and Waist Seams
A dress with a waist seam needs care, because adding length above the waist moves the waistline down, and that changes where the skirt starts. Add the length to the bodice only, above the waist seam, and leave the skirt as it is. Then check that the waist seam of the bodice still matches the waist seam of the skirt in length, because if the bodice waist has grown wider or narrower through the truing, the skirt will not fit it. If the waist seam is gathered or eased, a small difference is fine, but a flat waist seam needs an exact match.
Darts need attention too. A bust dart that sat in the right place before the adjustment may now sit too high, because the length was added below it. If the dart point now sits above your bust point, redraw the dart lower by the amount you added, so the point lands where it should. The same applies to a waist dart. And if your pattern is a princess seam rather than a darted bodice, add the length across the whole panel, keeping the curved seam smooth through the gap. When you choose your size before you start, how to choose your pattern size will help you pick the size that fits your bust and waist, so the length adjustment is the only change you need.
Frequently Asked Questions
How do I know if I have a long torso?
Measure from your shoulder to your natural waist and compare it with the same measurement on the pattern. If your body measurement is longer than the pattern by an inch or more, you have a long torso for that pattern. Tops that ride up and waist seams that sit too high are the classic signs.
Where do I add length to a bodice pattern?
Add it at the lengthen line between the bust and the waist, or draw your own line there if the pattern has none. Adding length below the bust and above the waist keeps the neckline and the shoulder fitting as they should.
How much length should I add?
Add the exact difference between your torso measurement and the pattern measurement, usually one to two inches. Check it with a muslin first, and do not add extra just in case, because too much length sags at the waist.
Do I need to adjust the sleeves too?
No. A long torso adjustment only changes the bodice length, not the arm length. Sleeves are adjusted separately if your arms are long, and the two adjustments do not affect each other.
Can I add length to a dress pattern?
Yes. Add the length to the bodice above the waist seam, then check that the bodice waist still matches the skirt waist. For a very long torso, split the length between two lines so the shape stays balanced.
Length Changes Everything
A long torso adjustment is a small cut, a small spread, and a careful redraw, and it is the difference between a top that rides up and a top that fits. Measure your torso, spread the pattern by the exact amount, true the lines, and test it in a muslin. Your waistline will finally sit where it belongs.

Written by June Carter
I am June, a sewing enthusiast who loves turning simple fabric into things people actually use. I test every technique and product I write about at my own machine before it lands here.