
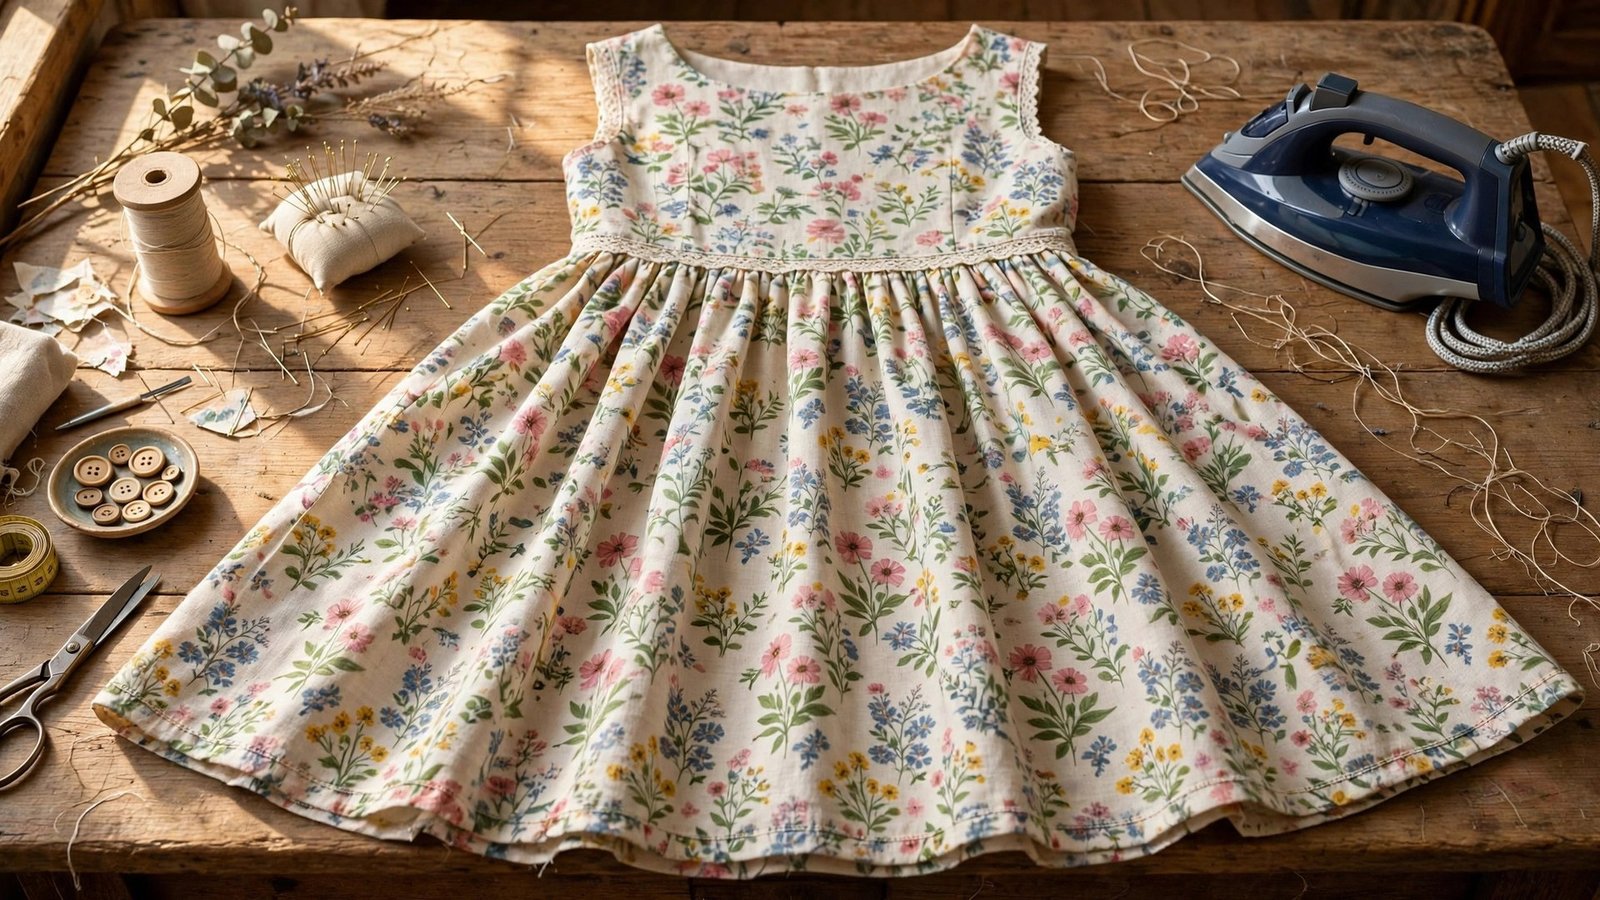
If you want to know how to keep facings flat, here is the truth I wish someone had told me years ago: a flat facing is decided before you stitch a single seam. It comes from the right interfacing, a facing cut on grain, and a good understitch. Get those three things right and the facing stays where it belongs. Get them wrong and it will flip out at the neckline forever, no matter how hard you press it.
I have a dress in my wardrobe that I love and almost never wear, because the neckline facing rolls out every time I put it on. I pressed it, I topstitched it, I even tried fashion tape. Nothing worked, because the facing was cut too wide and the interfacing was too floppy.
This guide covers choosing and applying interfacing, cutting and sewing the facing, the understitch that does most of the work, and the fixes for a facing that already flips. By the end, your necklines and armholes will sit flat and stay flat, wash after wash.
Start with the Right Interfacing
Interfacing is the quiet partner in every flat facing. It gives the facing enough body to hold its shape without going stiff, and it stops the facing from stretching out of shape at a curved neckline. For a lightweight cotton, use a light to medium fusible woven interfacing. For linen, a medium woven interfacing works well. For a drapey rayon, use a light interfacing that supports without changing the hand of the fabric.
The most common mistake is choosing interfacing that is too light, or skipping it entirely. An uninterfaced facing is just a floppy strip of fabric, and it will roll out the first time the garment moves. The second mistake is choosing interfacing that is too heavy, which makes the neckline stand away from the body like a cardboard collar. Test your interfacing on a scrap first. Fuse it, let it cool, and feel how it behaves. It should support the fabric without making it stiff. My guide to how to choose fusible interfacing covers matching interfacing weight to fabric weight.
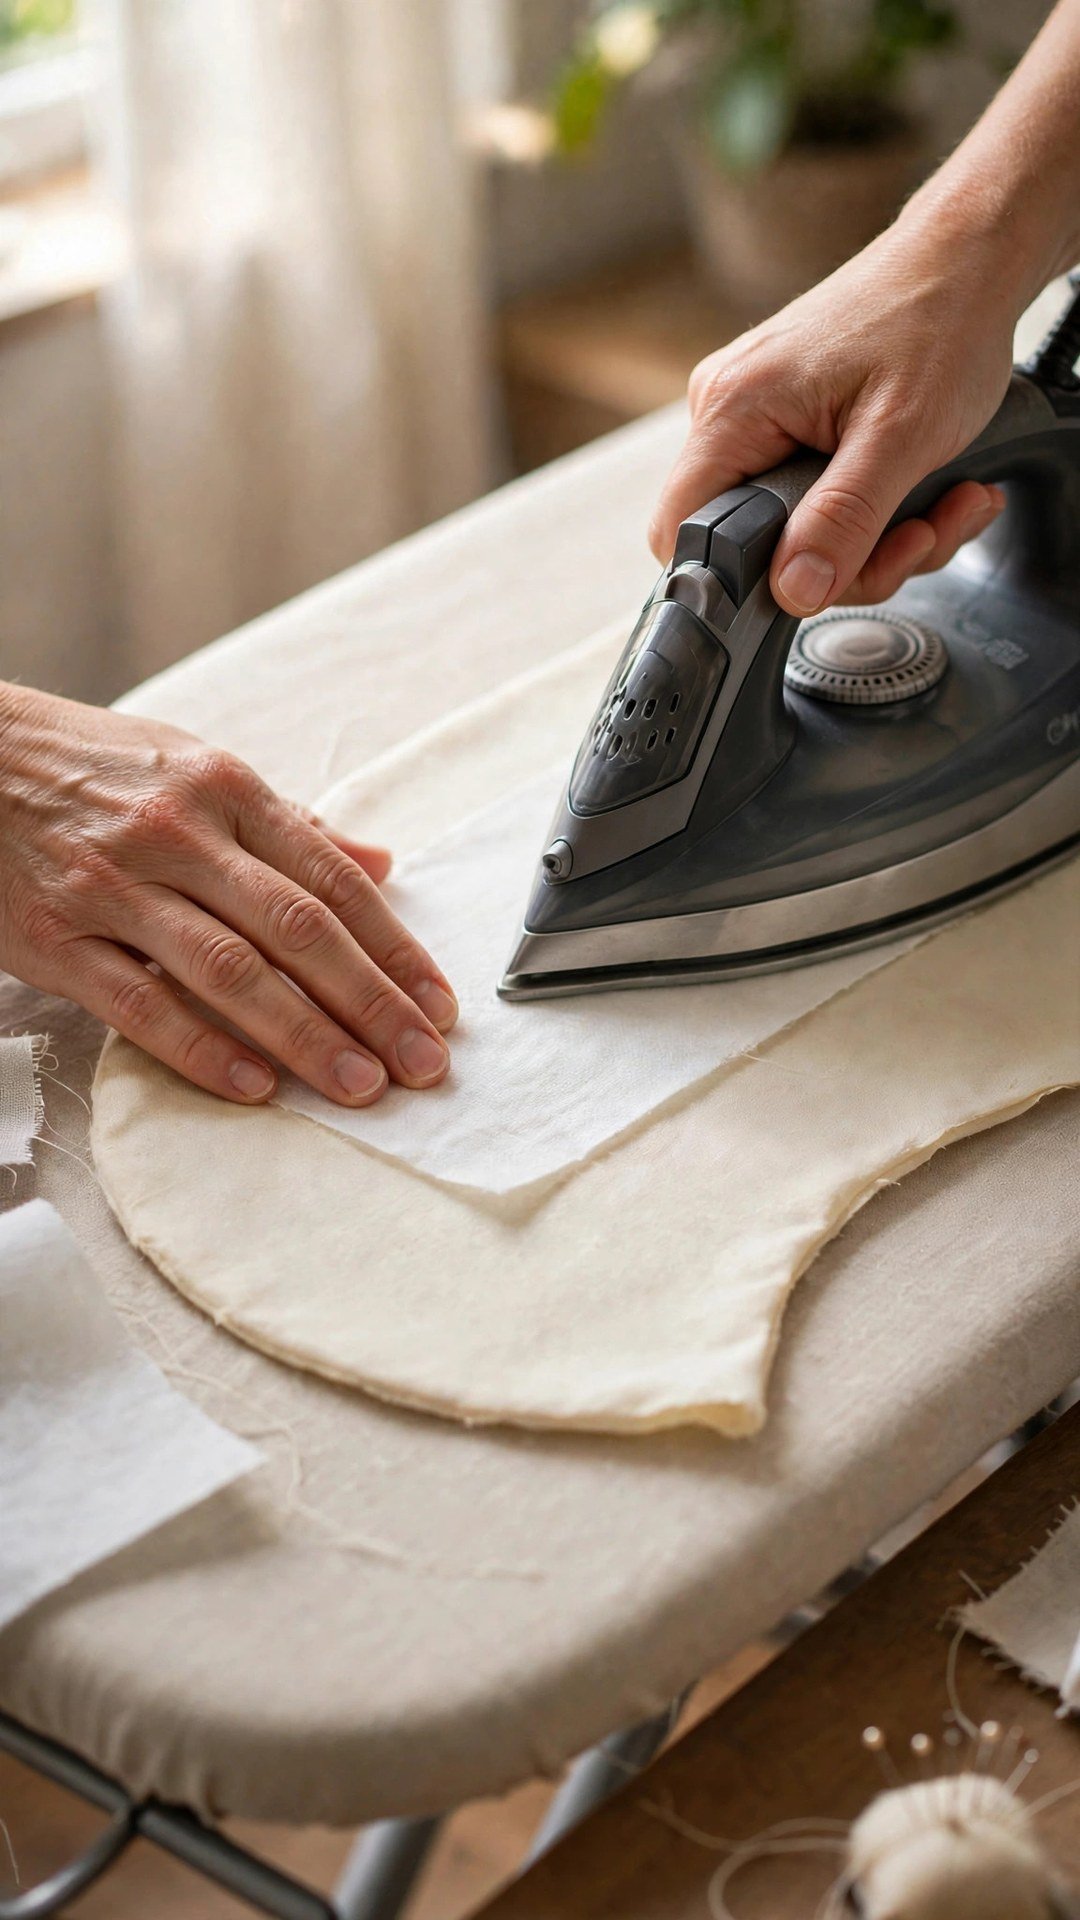
When you fuse, use a press cloth, the right heat for your fabric, and enough time for the glue to bond. Press, lift, and move to the next section rather than sliding the iron, which can shift the interfacing and create bubbles. Let the piece cool completely before you handle it. If you are seeing bubbles or a rippled surface, my guide to how to fuse interfacing without bubbles will help you fix your technique.
How to Keep Facings Flat While You Sew
Cut the facing on the same grain as the garment piece it finishes, and cut it exactly to the pattern. A facing that is cut a fraction too wide will always push outward, because there is more fabric than the neckline it has to sit inside. If your pattern gives you a facing piece, use it as drafted. Do not widen it for extra coverage, because that extra width is exactly what rolls out.
Stitch the facing to the garment right sides together, then grade the seam allowances. Trim the facing seam allowance a little narrower than the garment seam allowance, so the layers step down and the seam rolls toward the facing side. Clip curves and notch the seam allowance on a curved neckline so the seam can lie flat when turned. On an inside curve, clip little notches. On an outside curve, cut little V shapes out. This is the step most beginners skip, and it is the step that makes the difference.
Now press. Press the seam open first if you can, then press the facing to the inside, rolling the seam line just a fraction to the inside so it does not show from the front. Press from the wrong side, use steam, and let it cool under the iron or a tailor’s clapper if you have one. A facing that is pressed well at this stage has a real chance of staying put.
The Understitch Does the Heavy Lifting
Understitching is the single most important technique for keeping a facing flat, and it takes about three minutes. After you have stitched the facing on and pressed the seam toward the facing, stitch a line of topstitching through the facing and all the seam allowances, close to the seam line. This locks the seam allowances to the facing so they cannot roll back toward the outside of the garment.
To understitch, press the seam allowances toward the facing, then stitch from the right side of the facing, about an eighth of an inch from the seam line, catching the seam allowances underneath. Go slowly around curves, and stop the understitching just short of the shoulder seams or side seams so you do not stitch through layers you should not catch. When you turn the facing to the inside, the seam stays rolled inward, held by that quiet line of stitching.
If your pattern has a facing that is hard to understitch, for example a very narrow facing or a facing on a fiddly curve, do it in sections and pivot the fabric under the needle at the curves. My full guide to how to sew a neckline facing shows the understitch step with more detail on curved necklines.

Tack It Down So It Stays Put
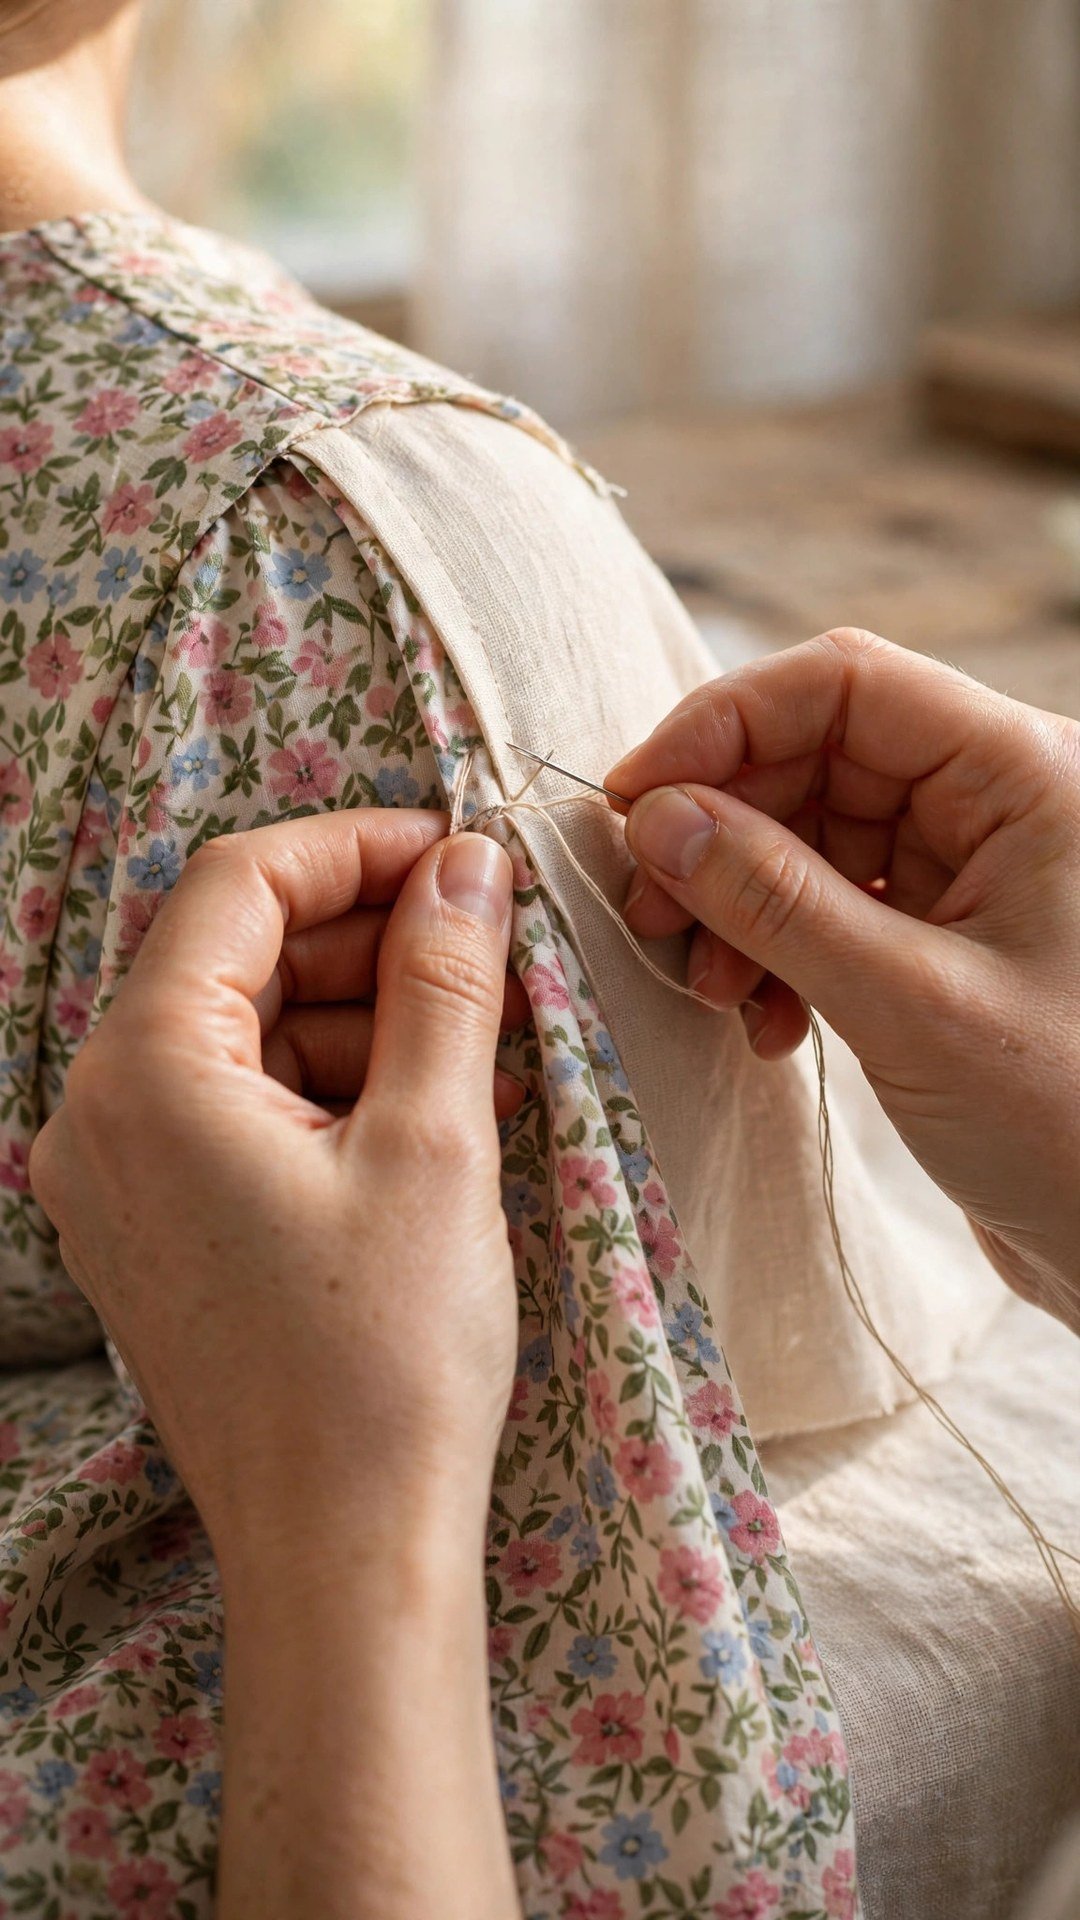
Even a well understitched facing benefits from being anchored at the seams. Tack the facing to the seam allowances at the shoulder seams and the side seams with a few hand stitches, catching just the facing and the seam allowances, not the outside of the garment. These little stitches are invisible from the front and they stop the facing from creeping out when you move.
On a sleeveless garment, tack the facing at the armhole seam too, and consider a couple of extra tacks at the centre back or along the facing edge if the facing is wide. The tacks should be small and loose enough that they do not pucker the garment.
Fixing a Facing That Already Flips Out
If your facing is already flipping, start with the simplest fix. Unpick the facing at the shoulder seams, press it thoroughly, understitch any sections you missed, and tack it down properly. In many cases the understitch was skipped entirely, and adding it now solves the whole problem.
If the facing is too wide, trim it. Unpick it, trim a quarter inch off the outer edge, re-finish the edge, and sew it back on. A narrower facing has less leverage to roll outward. If the facing is too floppy, fuse a light interfacing to the wrong side of the facing after you have unpicked it, press it well, and reattach it. This rescue works well on a simple round neckline.
If nothing works, you can replace the facing with a bias binding finish instead. Remove the facing entirely, bind the neckline with bias binding made from your fabric, and press it to the inside. It is a different look, but it is neat, flat, and permanent. I have done this on two garments I otherwise loved, and both of them went from unworn to wardrobe favourites. For pressing help while you fix things, see my guide to how to press seams while sewing.
Frequently Asked Questions
Why does my neckline facing keep flipping out?
Usually because the facing is uninterfaced, too wide, or missing an understitch. The understitch is the most common missing step. Add interfacing, understitch the seam, and tack the facing at the shoulder seams, and it should stay put.
Should I interface the whole facing piece?
Yes, for most garments. Interface the full facing piece with a fusible interfacing suited to your fabric weight. On a very lightweight or sheer fabric, you can interface only the outer half of the facing, but a full facing gives the most reliable result.
What is understitching?
Understitching is a line of stitching through the facing and the seam allowances, close to the seam line, that locks the seam allowances to the facing. It keeps the seam rolled to the inside so the facing cannot flip out. It is invisible from the right side of the garment.
Can I topstitch instead of understitching?
You can, and on a casual garment a visible row of topstitching looks lovely. But topstitching alone is less effective than understitching, because it holds the facing to the garment rather than locking the seam allowances in place. For the flattest result, understitch first, and add topstitching only as a design choice.
How wide should a facing be?
Use the width your pattern gives you, usually between two and three inches. A facing wider than that has more leverage to roll outward. If you are drafting your own facing, keep it around two inches wide and interface it well.
Flat facings are not luck. They are interfacing, accurate cutting, grading, clipping, understitching, and a few invisible tacks. Give each step its proper attention and your necklines will sit quietly and neatly, exactly where they belong, for the life of the garment.

Written by June Carter
I am June, a sewing enthusiast who loves turning simple fabric into things people actually use. I test every technique and product I write about at my own machine before it lands here.