
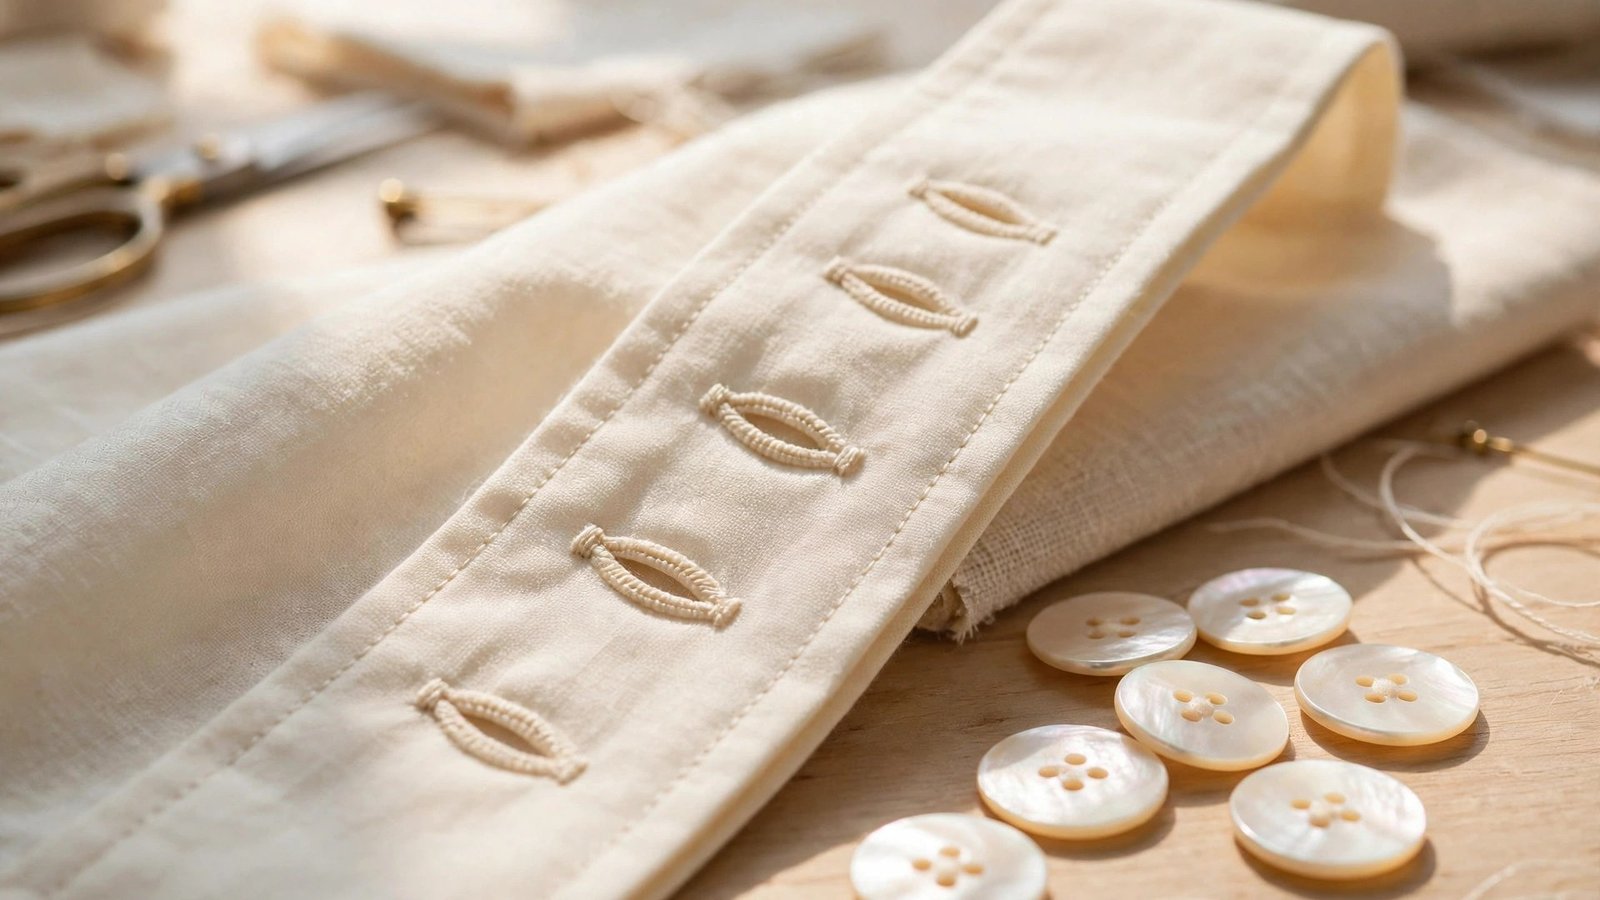
If you want to know how to prevent buttonholes from fraying, start here: a buttonhole frays when its raw cut edge is left unprotected, so the fix is to support the fabric before you stitch, sew a dense satin stitch that covers the edge, and seal the cut after you open it. I have rescued many a shirt by learning this the hard way, after watching a buttonhole I stitched in a hurry turn into a ragged slit within a month of wear.
Buttonholes take more abuse than almost any other part of a garment. A button is pushed through them dozens of times, pulled sideways every time the garment is worn, and washed again and again. A weak buttonhole does not just look scruffy, it lets the button slip out, and the whole garment becomes unwearable. The good news is that preventing fraying is mostly about preparation, and it adds only a few minutes to the project.
This guide covers why buttonholes fray, how to stabilise the fabric before stitching, how to sew a dense buttonhole that covers the edge, how to cut it open safely, and how to fix a buttonhole that has already started to fray.
Why Buttonholes Fray in the First Place
A buttonhole is a deliberate slit in your fabric, and fabric does not like slits. The cut edges want to unravel, and every time a button passes through, it tugs at those edges. On loosely woven fabric, the threads pull free easily. On lightweight fabric, the stitching can distort and leave gaps where threads escape. On fabric cut on the bias or across the grain, the weave is even more vulnerable.
Stabilise the Fabric Before You Stitch
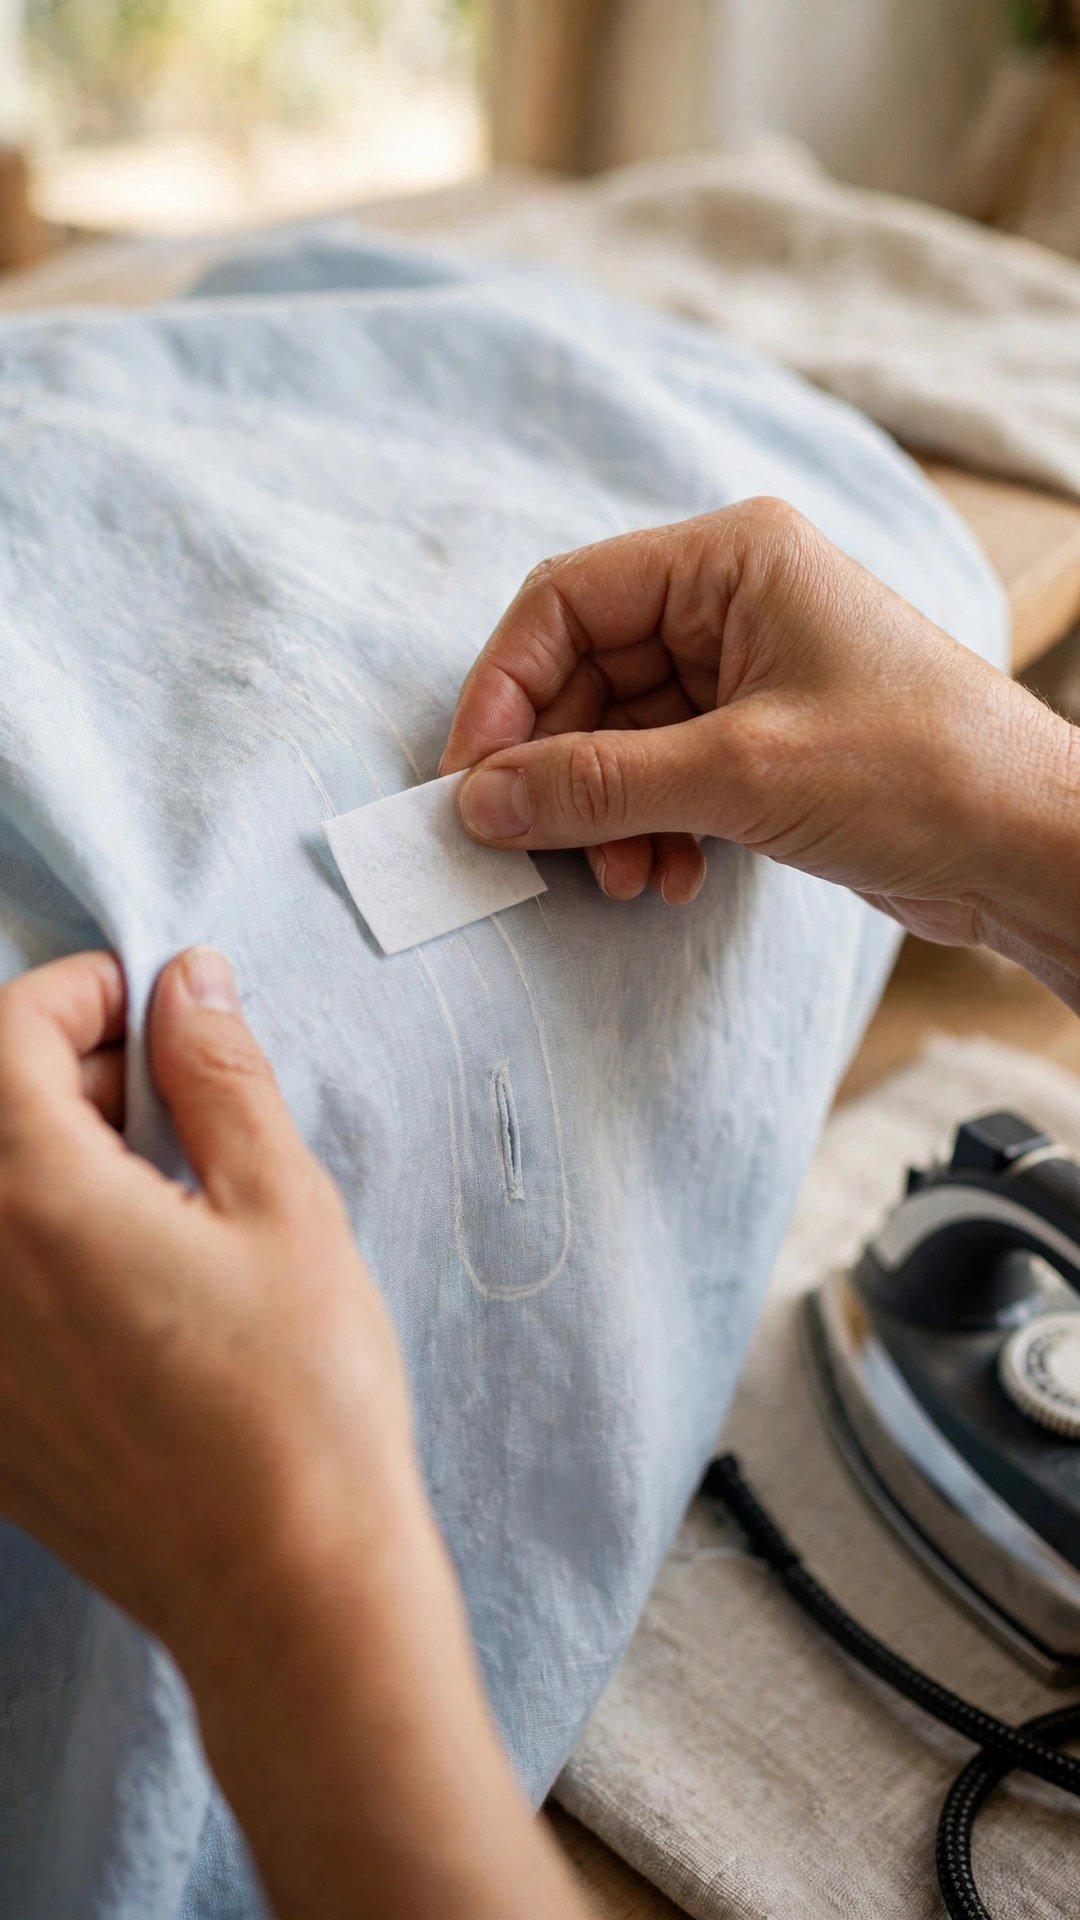
Stabilising is the single most effective step for preventing fraying, and it takes only a minute. Fuse a small rectangle of lightweight fusible interfacing to the wrong side of the fabric where the buttonhole will sit. The interfacing supports the weave, stops the fabric from shifting under the needle, and gives the satin stitch something firm to grip. For lightweight or loosely woven fabric, use a slightly firmer interfacing, and for knits, use a knit interfacing that stretches with the fabric.
If you cannot fuse interfacing, for example on a fabric that cannot take heat, use a tear away stabiliser underneath the fabric while you sew. Pin or baste it in place so it cannot shift, sew the buttonhole through all layers, then tear the stabiliser away gently from the wrong side. A water soluble stabiliser also works and rinses away cleanly, which is useful on sheer fabric where a torn edge might show.
For extra insurance on fragile fabric, I sometimes add a second layer of support: a small square of organza or a scrap of the same fabric fused behind the buttonhole area. This is especially useful on silk, rayon, and loosely woven linen, where the weave is open and the threads are eager to escape. My guide to fusing interfacing without bubbles shows how to apply interfacing smoothly, and my guide to choosing fusible interfacing helps you pick the right weight for your fabric.
Sewing a Dense Buttonhole That Covers the Edge
A good buttonhole is a dense satin stitch that completely covers the raw edge. Check your machine’s buttonhole stitch and adjust the density so the stitches sit close together with no gaps. If your machine lets you adjust the stitch width, make the buttonhole wide enough to cover the edge generously. A narrow, sparse buttonhole looks tidy for about a week and then starts to fray.
Cutting Open and Sealing the Buttonhole
Once the buttonhole is stitched, it needs to be cut open, and this is where many buttonholes are ruined. Place a pin across each end of the buttonhole, just inside the bar tack, to stop the seam ripper from cutting too far. Then slide the seam ripper into the centre of the buttonhole and cut toward one pin, turn the work around, and cut toward the other pin. Never cut in one long push from end to end, and never use scissors, which are far harder to control in a small space.
After cutting, inspect the edge. The satin stitch should cover the raw fabric completely. If you see tiny threads poking out, trim them carefully with small sharp scissors, cutting close to the stitching without nicking it. Then seal the edge. A tiny drop of fray check liquid on the cut edge, applied with a pin or a toothpick, seals the threads and stops them from working loose. Let it dry fully before you push a button through.
If you do not have fray check, a tiny amount of clear nail polish or a dot of fabric glue works in a pinch, but use it sparingly so it does not stiffen the buttonhole or show on the right side. On washable garments, test the sealant on a scrap first, because some sealants soften in the wash. For general fray control on seams and edges, my guide to preventing fabric fraying covers the wider set of techniques.

Fixing a Buttonhole That Has Already Frayed
If a buttonhole has already started to fray, do not panic: it can usually be saved. First, trim away the loose threads carefully, then apply fray check to the damaged edge and let it dry. If the stitching itself is intact but the edge is ragged, you can satin stitch over the damaged area by hand, using a matching thread and small, close stitches that cover the raw edge.
If the stitching has been nicked or has unravelled, the best fix is to stitch a new buttonhole. Cover the old one with a small patch of matching fabric fused to the wrong side, then sew a fresh buttonhole in exactly the same place, slightly longer if needed to cover the damage. On a shirt placket, a small decorative patch or a covered button can hide the repair so well that nobody will ever know.
For a buttonhole that has stretched out of shape, the fix is to tighten the opening. Hand stitch a few small stitches across the end of the buttonhole to shorten it, or add a small snap behind the buttonhole to take the strain off it. Prevention is always easier than repair, so once you have fixed one buttonhole, go back and stabilise the rest before they follow the same path.
Buttonhole Habits That Keep Garments Wearable
A few habits keep every buttonhole you sew in good shape for years. Always interface the buttonhole area, even on stable fabric. Always test on a scrap first. Always cut open with pins guarding the ends. And always seal the cut edge, even when it looks fine, because fraying starts invisibly and shows up weeks later.
Choose the right buttonhole for the fabric. A standard buttonhole works for most wovens. A keyhole buttonhole suits thicker fabric and larger buttons. A bound buttonhole looks beautiful on tailored garments but takes more skill. And on knits, always stabilise and consider a corded buttonhole, where a cord is stitched into the satin stitch for extra strength.
Finally, remember that buttonholes are a stress point, so treat them like one. Reinforce the area, use good thread, and check your buttonholes when you press a garment. A quick look during pressing catches early fraying while it is still a thirty second fix instead of a repair job.
Frequently Asked Questions
Why do my buttonholes fray even though I used interfacing?
The interfacing may be too light for the fabric, or the satin stitch may be too sparse to cover the raw edge. Use a firmer interfacing on loosely woven fabric, increase the stitch density, and seal the cut edge with fray check after opening.
Should I seal a buttonhole with fray check?
Yes, on most garments. A tiny amount applied to the cut edge with a pin seals the threads and stops fraying. Let it dry fully before use, and test it on a scrap first if the garment will be washed often.
What is the safest way to cut a buttonhole open?
Place a pin across each end inside the bar tack, then cut from the centre toward each pin with a sharp seam ripper. Never cut in one long push, and never use scissors. The pins stop the ripper from cutting through the end stitching.
Can I fix a buttonhole that has already frayed?
Yes. Trim loose threads, seal the edge, and hand stitch over any gaps with matching thread. If the stitching is badly damaged, fuse a patch behind it and sew a fresh buttonhole in the same place.
Do knit fabrics need different buttonholes?
Yes. Knits stretch, so they need knit interfacing behind the buttonhole and a stabiliser while stitching. A corded buttonhole adds strength. Without stabilising, a knit buttonhole will stretch out of shape and fray quickly.
A buttonhole is a small thing, but it carries the whole garment. Interface it, stitch it densely, cut it open carefully, and seal the edge. Those four steps take minutes, and they are the difference between a buttonhole that lasts for years and one that frays in a month.

Written by June Carter
I am June, a sewing enthusiast who loves turning simple fabric into things people actually use. I test every technique and product I write about at my own machine before it lands here.