
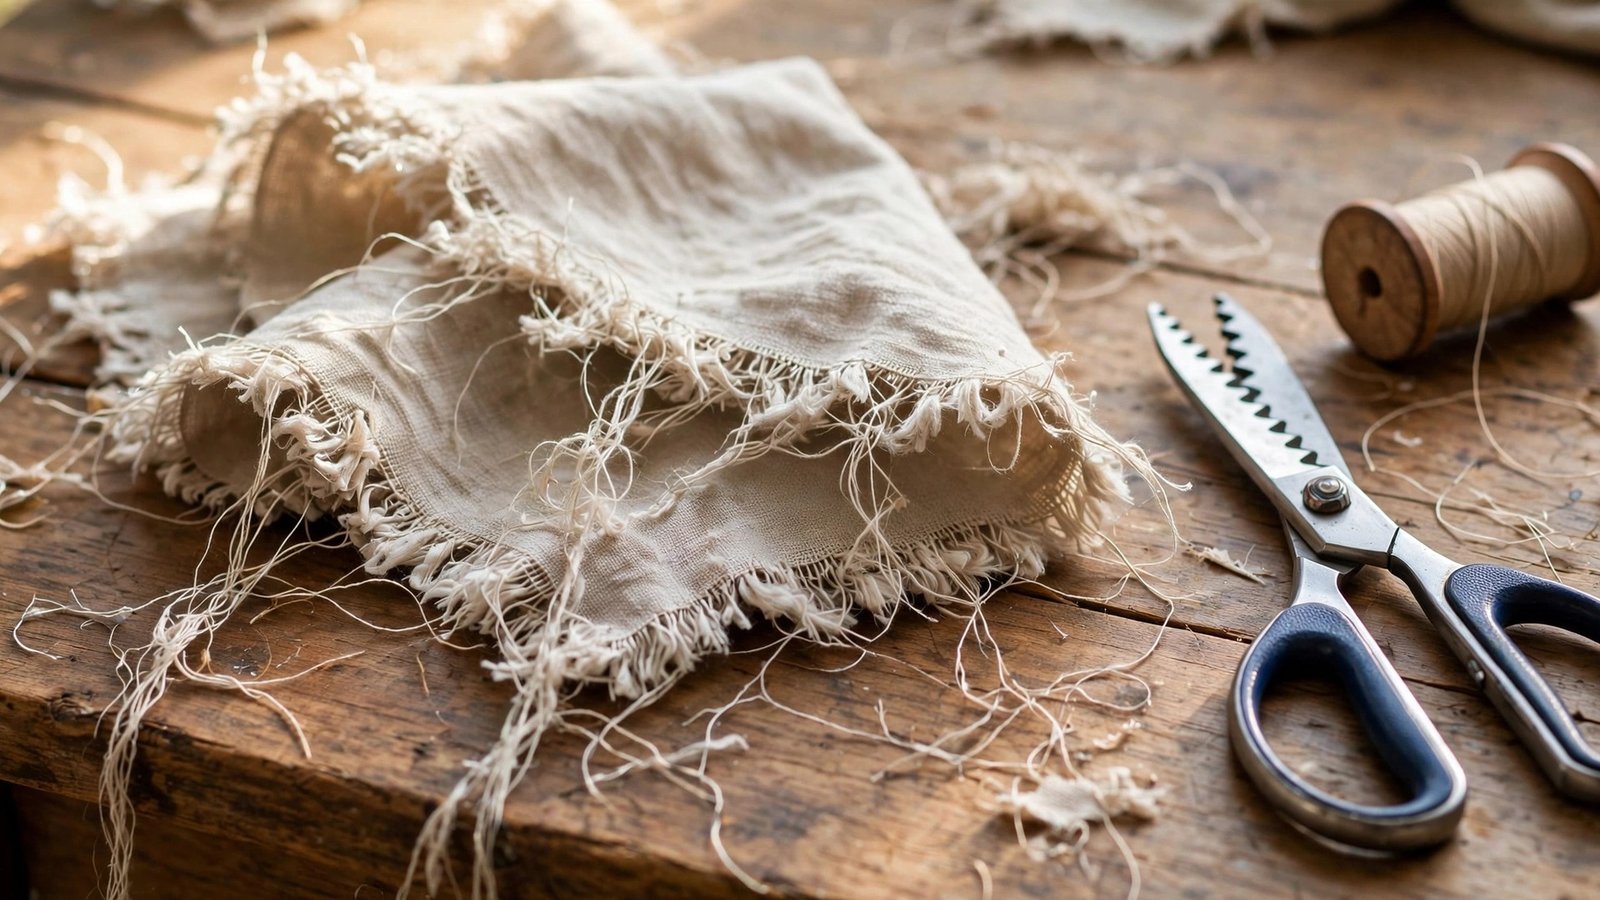
You know that sinking feeling when you cut out a gorgeous piece of linen, turn around to thread your machine, and come back to find the edges shedding threads like a nervous cat? That is exactly why learning how to prevent fabric fraying is one of the first real skills worth nailing at the sewing table. Fraying is not a sign you messed up. It is simply what woven fabric does when its threads get cut and left to their own devices.
I am June, and I sew nearly every day, so I have opinions about this. Here is mine: the sewists with the cleanest garment insides are not the ones with the fanciest machines. They are the ones who treat every raw edge with a little respect from the moment the scissors close. Fraying control is a habit, not a gadget. These are the methods I actually use, from the fastest fixes to the finishes that look straight out of a boutique.
Why Fabric Frays (and Which Fabrics Are the Worst Offenders)
Fraying happens because woven fabric is just two sets of threads, warp and weft, crossing over each other. Cut across them and the thread ends have nothing holding them in. Loosely woven fabrics like linen, rayon challis, and silk charmeuse start shedding almost the second you look at them. Tightly woven fabrics like quilting cotton and denim hold on much longer. Knits barely fray at all, because their looped structure does not unravel the same way, which is one small mercy.
Here is the part most beginners miss: fraying is mostly about handling. Every time you pick up a cut piece, fold it, unfold it, or drag it across the table, you are working those thread ends loose. I keep my cut pieces flat and move them as little as possible until I am ready to sew. Gentle handling alone will not stop fraying, but rough handling will absolutely speed it up, and on a loosely woven linen the difference is dramatic.
How to Prevent Fabric Fraying at the Sewing Machine
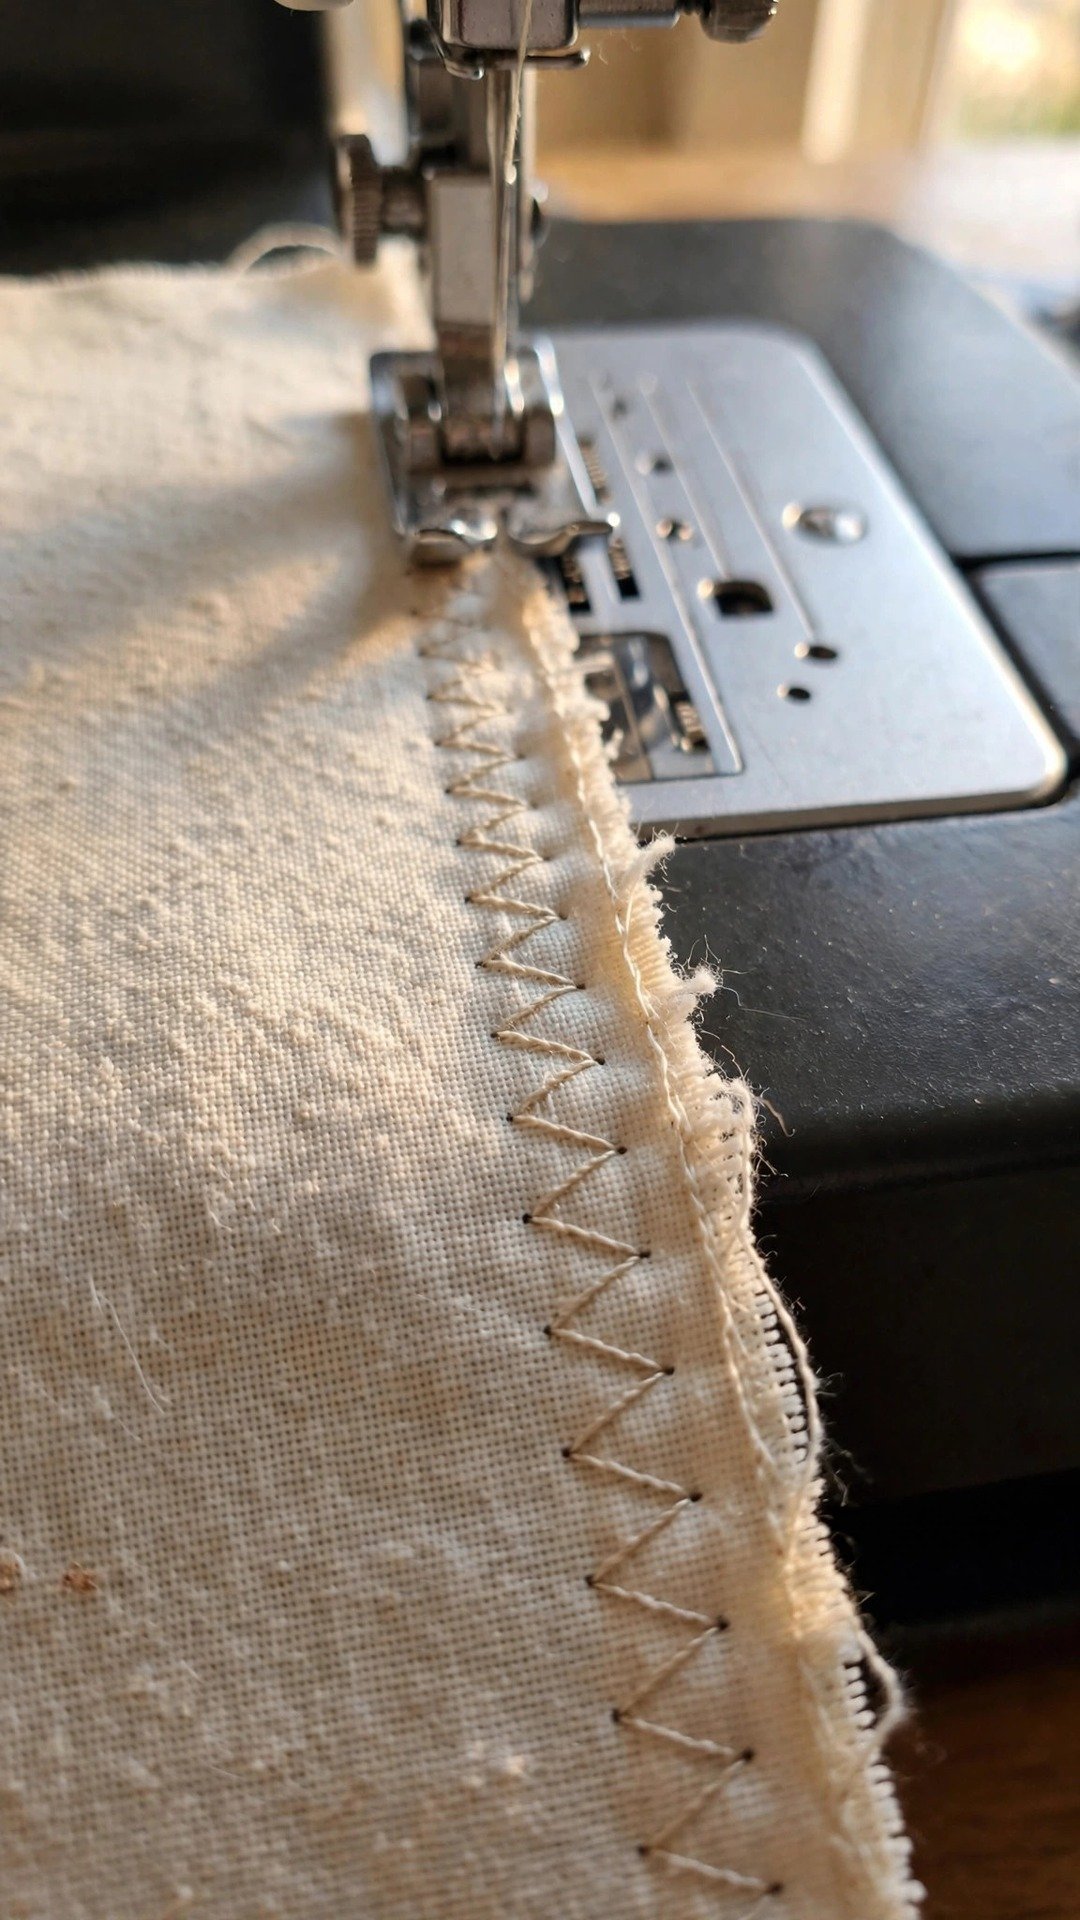
My everyday answer is the zigzag stitch, which nearly every machine already has. After sewing your seam, run a zigzag stitch right along the raw edge so the stitches straddle it and trap the loose threads inside. You can also zigzag each piece before you sew the seam, which I prefer for fabrics that shed aggressively, because it stabilizes every raw edge up front and buys you calm, tidy pieces to work with.
Play with your settings on a scrap first. A medium width with a fairly short length gives a nice dense fence of thread, and adjusting your stitch length and width is worth two minutes of testing. Too wide and the stitches pull the edge into little puckers. Too narrow and threads still escape past the stitching. Some machines also have an overcasting stitch, which is basically a zigzag with a straight stitch built in, and it is lovely for this job because it holds the edge flat while it wraps it.
Pinking Shears: The Fastest No-Sew Fix
Pinking shears cut a zigzag cut instead of a straight one, and that little zigzag is surprisingly effective at slowing fraying. Each tiny point interrupts the threads at a different spot, so they cannot march off the edge in formation. It is the fastest fix in this whole article: snip, done, move on with your project.
Two caveats from someone who learned the hard way. First, do not use pinking shears for the initial cutting of your pattern pieces, because they are not precise enough for that job. Cut your pieces with regular shears or a rotary cutter, then pink the seam allowances afterward. Second, pinking slows fraying but does not stop it forever on very loose weaves. For those fabrics, I combine pinking with a zigzag stitch right inside the pinked edge for a belt-and-suspenders finish that survives the wash without shedding.

Enclosed Finishes: French Seams, Flat-Felled Seams, and Bias Tape
When I want an inside that looks as good as the outside, I enclose the raw edges completely. French seams are my pick for lightweight and sheer fabrics: sew the seam wrong sides together first, trim the allowance close, press, then sew again with right sides together so every raw edge ends up tucked inside its own little tunnel. No exposed threads means nothing can fray, and the result looks genuinely couture. Both French seams and their cousins are enclosed seams that hide every raw edge from sight.
For sturdier garments, flat-felled seams do the same enclosing job with extra strength, which is why you see them on jeans and work shirts. And when you need to bind the edges around curves like armholes and necklines, bias tape is the answer. A strip of bias tape wrapped over the raw edge and stitched down covers every loose thread while adding a pretty pop of contrast inside the garment. If you are hemming, a double fold hem works on the same principle: fold the raw edge under twice and stitch, and the edge disappears entirely into the fold.

The Serger Option (and What to Do Without One)
Let us be honest: a serger is the gold standard here. An overlock stitch wraps the raw edge in thread while trimming it clean in one pass, and it is fast, durable, and professional looking. If you sew a lot of garments, it earns its corner of the table. If a serger is on your wishlist, read my notes on choosing a serger for home use before you shop, because the feature lists can be overwhelming.
No serger? You are still in great shape. The zigzag-plus-pinking combination I described above handles most fabrics beautifully, and enclosed seams like French seams actually look nicer than serging on delicate fabrics anyway. I sewed for years with just my regular machine and nobody ever flipped my seams inside out and judged me. Probably.
Prep Habits That Stop Fraying Before It Starts
Most fraying battles are won before you ever sit at the machine. First, prewash your fabric before cutting, because washing is when yardage frays the most. Here is the trick: finish the cut ends of your yardage with a zigzag stitch or pinking shears before it goes in the wash, and you will lose almost nothing to the agitation. Second, pay attention to cutting on the grain. Cuts made off grain expose longer thread ends and fray faster, so a true grainline cut is genuinely a fraying prevention step, not just a fitting one.
For sheers and other drama fabrics, I steal a brilliant hack: cut narrow strips of lightweight fusible interfacing and fuse them along the edges of each pattern piece before you sew. It seals the edges and nearly stops fraying while adding zero bulk to the seam. For small areas like pocket corners, a dab of fray check, which is a liquid seam sealant, works wonders. It dries clear and flexible and glues the thread ends in place. And one specialty trick: heat sealing melts the edge of synthetic fabric into a solid bead that can never fray, using a quick pass near a flame or a soldering iron. This is for synthetics only. Natural fibers do not melt, they just burn, so test on a scrap and keep the flame far from your good fabric until you trust the technique.
FAQ
Will pinking shears stop fraying completely?
Not completely, especially on loosely woven fabrics. Pinking shears slow fraying down a lot, which is often enough for a garment that gets gentle wear. For heavy-use items or very sheddy fabrics, pair pinking with a zigzag stitch or choose an enclosed seam for full protection.
Can I prevent fraying without a serger?
Absolutely. A zigzag stitch along the raw edge is the classic no-serger answer, and French seams or bias-bound edges look even better on many fabrics. A serger is faster, but it is a convenience, not a requirement for clean edges.
Does prewashing make fraying worse?
It can, because agitation works thread ends loose. The fix is simple: finish the raw ends of your yardage with pinking shears or a zigzag stitch before washing. Then prewash without fear, since skipping the prewash risks shrinkage surprises later.
What is the best fraying fix for delicate silk?
French seams, without question. They enclose every raw edge, add almost no bulk, and look beautiful on silk. For edges that stay exposed, a narrow zigzag stitch or a tiny dab of fray check on the very edge will hold things together without stiffening the fabric.

Written by June Carter
I am June, a sewing enthusiast who loves turning simple fabric into things people actually use. I test every technique and product I write about at my own machine before it lands here.