
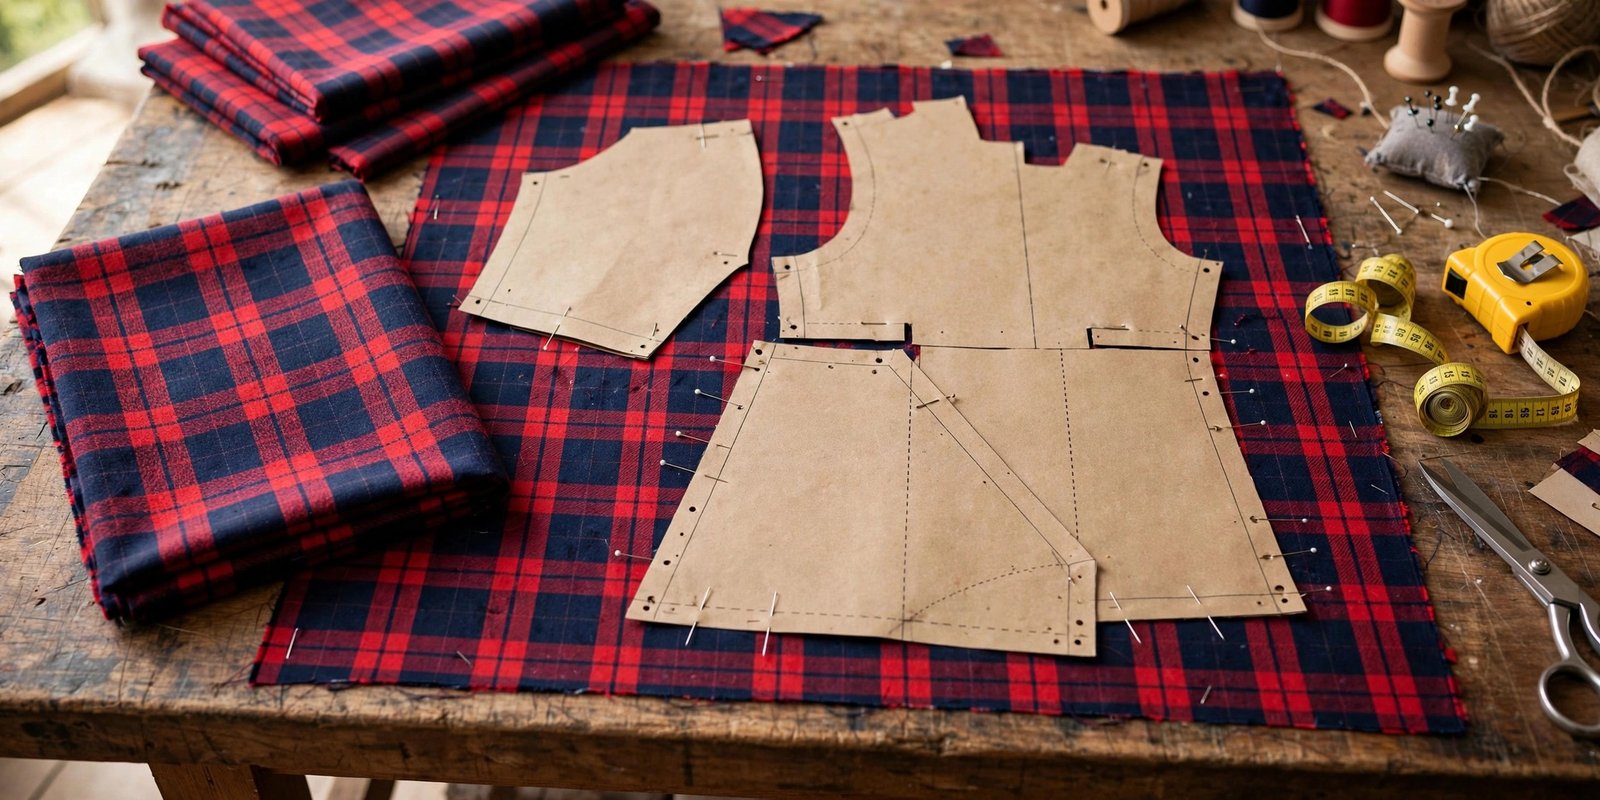
Nothing says “handmade” in the wrong way like stripes that jog sideways at the side seam of a shirt. I learned how to match stripes and plaids the hard way, on a pair of plaid pajama pants where the checks met at the inseam like a broken zipper. The fix was not talent. It was a system: buy extra fabric, cut on a single layer, mark your match points, pin like you mean it, and sew slowly. Follow that system and your stripes and plaids will line up so cleanly that people will ask where you bought the garment.
Pattern matching sounds fussy, but it is really just planning. Almost all of the work happens before you ever sit down at the machine. This guide covers the whole process in the order I actually do it: choosing a suitable pattern, buying enough fabric, cutting, marking, pinning, and stitching.
Why Matching Matters More Than You Think
Stripes and plaids are some of the loudest prints in the fabric store, which means mistakes are loud too. A mismatched stripe at a side seam draws the eye instantly, while a matched one practically disappears. When the pattern flows unbroken across a seam, the garment looks store-bought in the best sense, like the pieces were cut from one continuous cloth.
Here is my honest opinion: beginners avoid stripes and plaids far longer than they need to. The techniques are simple and mostly about patience, not skill. Start with an easy stripe on a simple garment, learn the system once, and you will never fear a plaid again. Some of my favorite makes are plaid shirts precisely because matched checks look so impressive for so little extra effort.
Buy Extra Fabric: How Much You Need
You cannot match a pattern you do not have enough fabric to shift around, so this step comes before everything else. Plan on buying roughly 15 to 25 percent more yardage than the pattern envelope calls for. Large plaid repeats need more extra than small ones, because each pattern piece may need to slide a full repeat to land in the right spot.
A useful rule from old sewing manuals: for an even plaid, add the size of one full pattern repeat plus half a repeat for each major pattern piece, such as the front, back, sleeves, and skirt panels. For an uneven stripe or plaid, buy the “with nap” yardage on the envelope, since all pieces must be laid out facing the same direction anyway. When in doubt, sketch a rough cutting layout before you buy. If you need help with the math, my guide to calculating fabric yardage walks through measuring for tricky layouts.
Also check the pattern envelope before you fall in love with a design. Some patterns are marked “not suitable for plaids,” and they mean it. Choose simple styles with few seams for your first matching project. Every seam you eliminate is one match you do not have to make.
Straighten the Grain and Cut on a Single Layer
The most common reason plaids do not match is fabric cut off grain or cut on a folded double layer where the two layers were never truly aligned. Fix both problems at once: straighten your fabric first by pulling a thread across the grain and trimming along that line, then open the fabric out and cut every visible piece on a single layer, right side up.
Single-layer cutting takes longer, but it is the whole secret. When the fabric is folded, the top layer can creep a fraction of an inch, and that fraction is exactly what breaks your match at the seam. Small interior pieces like facings can still be cut on the fold, but fronts, backs, sleeves, and skirt panels each get their own careful layout. My guide to cutting fabric on grain covers the thread-pulling method if you have never straightened yardage before.
Center the front and back pieces on a prominent bar of the plaid or stripe so the garment looks balanced. A bold stripe running dead center down the front looks intentional and sharp. Trace any cut-on-fold pieces onto translucent paper first so you can see the fabric design through the pattern and position it exactly where you want it.

How to Match Stripes and Plaids at the Seams
Here is the marking method I use on every project. Lay your main pattern piece, usually the front, on the fabric where you want it and pin it in place. Then take the adjoining piece and overlap the two pattern pieces so the seam lines, not the cutting lines, meet at the notches. Put a pin straight down through the notch as a pivot point.
Pivot the second piece until its grain line sits correctly, then trace the plaid or stripe lines onto the pattern tissue at three different spots using a colored pencil. Mark where the bars cross the seam allowance. When you move that piece to its cutting position on the fabric, slide it until your traced marks sit exactly on the matching stripes, then pin and cut. You are matching at the stitching lines, which is the only place the match will ever be seen.
For stripes, life is simpler: you only need to align in one direction. For plaids, mark both the horizontal and vertical bars. On sleeves, match the horizontal stripes at the front notch and center the strongest vertical bar down the middle of the sleeve. At the waistline, match the vertical bar at center front and center back, and check that the horizontal placement looks pleasing before you cut.

Pin, Baste, and Sew Without Shifting
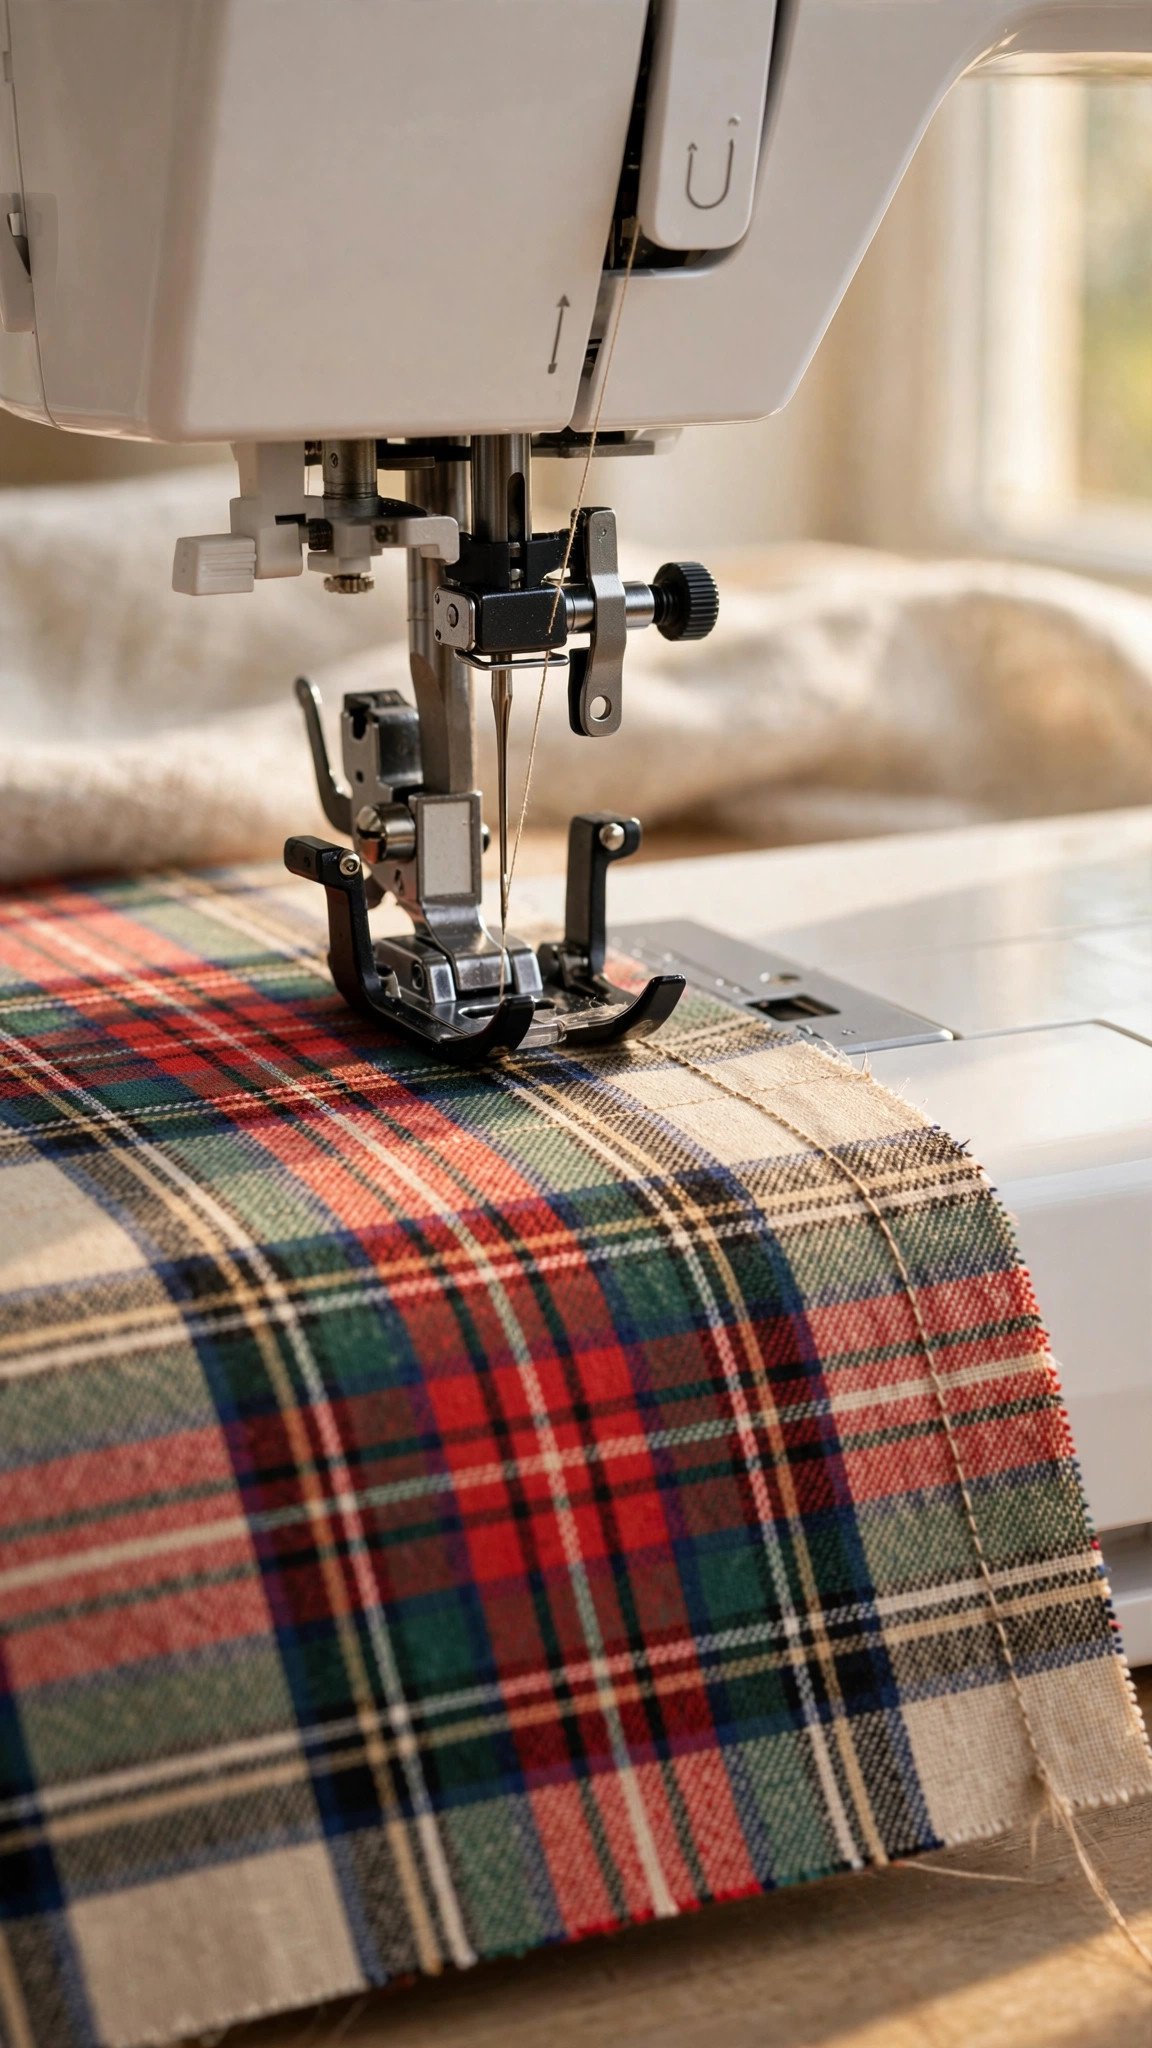
Matching is won or lost at the machine, because layers love to creep as they feed. Pin generously, placing a pin through every stripe or plaid bar along the seam. It feels excessive the first time you do it. Do it anyway. For slippery fabrics, hand basting is even better than pinning, and basting stitches pull out far more easily than a seam you have to rip.
A walking foot is the single best tool upgrade for this job. It feeds the top and bottom layers together so nothing shifts mid-seam. Sew slowly, and do not pull the fabric from behind the needle. If you are new to pinning technique, my guide to pinning and clipping fabric correctly covers the habits that keep layers locked together.
After sewing, check the match from the right side before you press. If a seam drifted, it is much easier to unpick now than after pressing sets the crease. I check every matched seam this way, and I still catch a drifter often enough that the habit pays for itself.
When a Perfect Match Is Impossible
Here is the part tutorials sometimes skip: some seams cannot be matched perfectly, and knowing which ones saves you hours of frustration. Curved seams like sleeve caps and armholes cannot match along their whole length, because the two curves are different shapes. Match at the front notch and the shoulder point, baste, and ease in any slight fullness. Matching the visible front section is enough to look professional.
You can also sidestep matching entirely as a design choice. Cutting pockets, yokes, collars, or cuffs on the bias turns the plaid into a deliberate contrast detail, and nobody expects bias-cut pieces to match. Shirt dresses and button-downs are perfect candidates for this trick. An uneven plaid or stripe, where the design does not mirror, needs all pieces laid in one direction like a napped fabric, so plan your layout accordingly.
FAQ
How much extra fabric do I really need for pattern matching?
Plan for 15 to 25 percent more than the envelope states. Big plaid repeats need the most extra, because each piece may need to shift a full repeat. Sketch your layout before buying so you do not run short mid-project.
Do I really have to cut every piece on a single layer?
For every visible piece, yes. Folded cutting lets the layers creep, and that creep is the number one cause of mismatched seams. Interior pieces like facings can be cut on the fold if they will never show.
Can I match plaids on curved seams like sleeve caps?
Only partially. Match at the notches and the most visible points, baste the seam, and ease the rest. A full match along two different curves is geometrically impossible, so do not chase it.
What is the easiest first project for learning to match stripes?
A simple pullover top or pajama pants in a medium-width even stripe. Few seams, straight lines, and a forgiving fit make it the perfect practice piece before you tackle a plaid shirt.

Written by June Carter
I am June, a sewing enthusiast who loves turning simple fabric into things people actually use. I test every technique and product I write about at my own machine before it lands here.